Introduction
In today’s digital age, where data storage plays a crucial role in our daily lives, having a reliable and efficient method of preserving and duplicating data becomes essential. When it comes to expanding the storage capacity of devices such as smartphones, cameras, or even gaming consoles, micro SD cards have emerged as a popular choice. These small, portable memory cards provide a convenient way to store and transfer data.
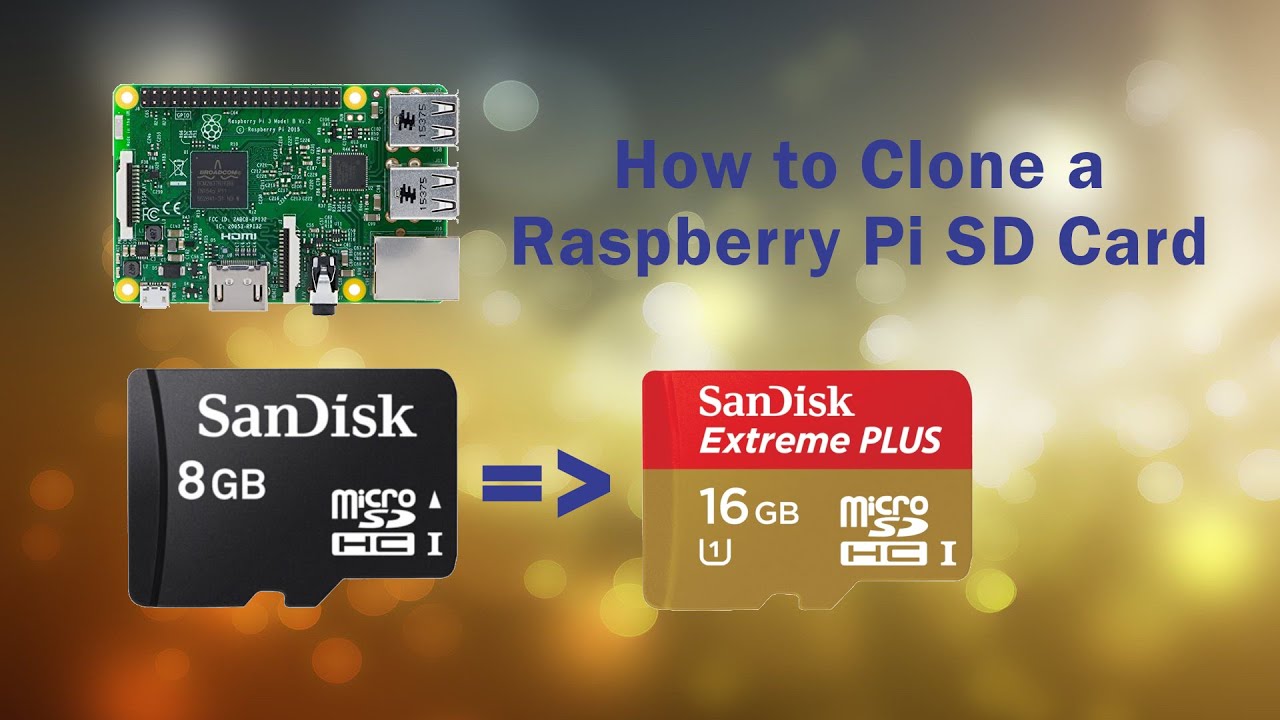
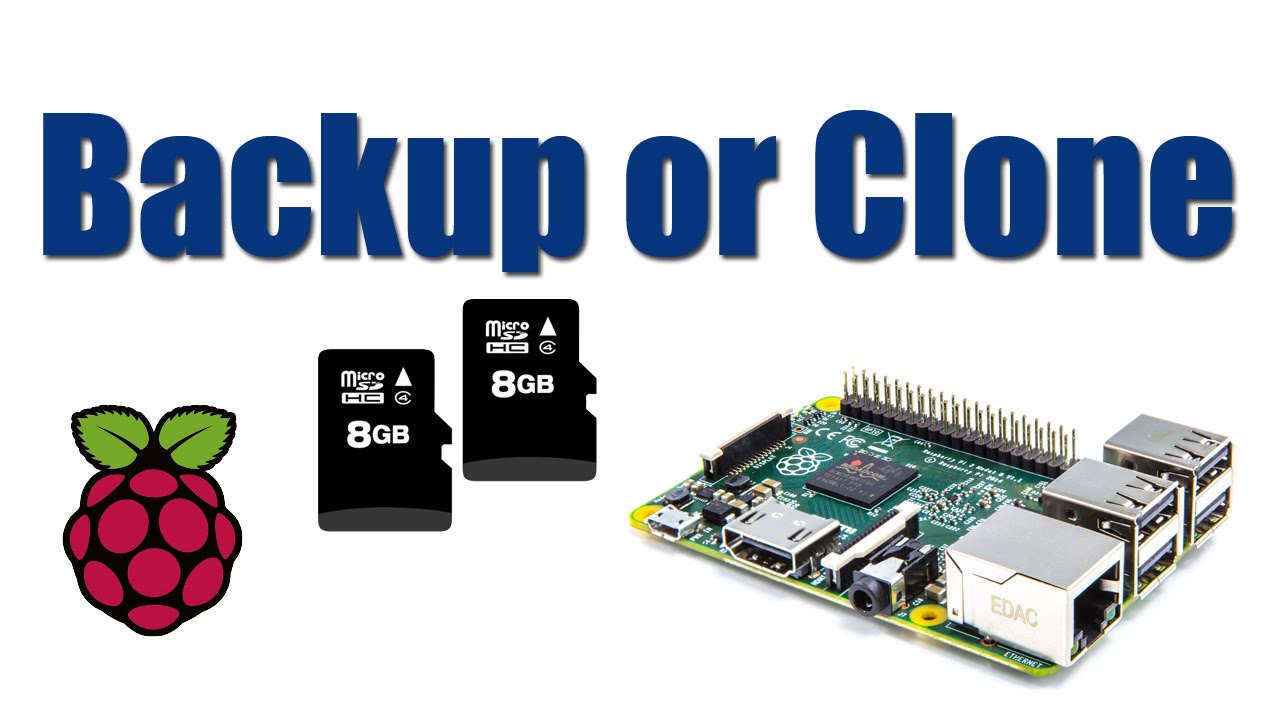
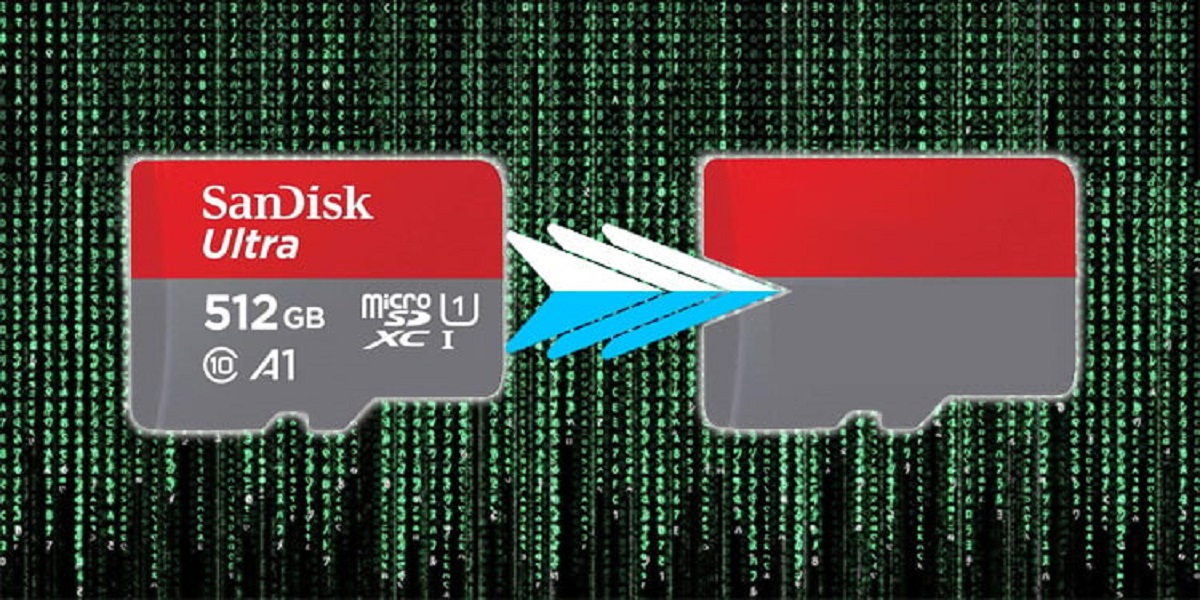
However, there may be situations where you need to clone a micro SD card. Cloning, or creating an exact replica of the original micro SD card, can be beneficial for several reasons. For instance, you might want to migrate your data to a larger capacity card, back up important files, or share data with another person without transferring the original card.
Cloning a micro SD card may seem like a daunting task, but with the right tools and a little guidance, it can be straightforward. In this article, we will walk you through the step-by-step process of cloning a micro SD card, ensuring that you can seamlessly duplicate your data without any loss or corruption.
Before we dive into the specifics of cloning a micro SD card, there are a few tools you will need to gather. Firstly, you will need a computer with a built-in or external SD card reader. This will allow you to connect the micro SD card to your computer for cloning. Additionally, you will need disk imaging software, which enables you to create an exact copy of the micro SD card’s contents.
Now that you understand the importance of clone a micro SD card and have the necessary tools, let’s proceed with the step-by-step instructions for the cloning process. By the end of this article, you will be equipped with the knowledge to effortlessly clone your micro SD card and preserve your valuable data.
Why Should You Clone a Micro SD Card?
There are several compelling reasons why you might want to clone a micro SD card. Let’s explore some of the key motivations behind this process.
- Data Backup: Cloning your micro SD card provides a reliable backup solution for your data. By creating an exact copy of the card, you can ensure that even if the original card gets lost, damaged, or corrupted, your data remains safe and accessible.
- Data Transfer: If you need to share data with others but don’t want to transfer the original micro SD card, cloning is an ideal solution. By cloning the card, you can provide a duplicate that others can use without worrying about the safety of your original data.
- Upgrading to a Larger Capacity Card: As your storage needs grow, you may find the need to upgrade to a larger capacity micro SD card. Cloning allows you to effortlessly transfer all your data, including apps, files, and settings, from the old card to the new one, saving you time and effort.
- Preserving System Settings: Whether you’re using the micro SD card in a smartphone, camera, or other devices, there may be specific system settings and configurations that you’ve customized. Cloning ensures that these settings are preserved, making it a convenient option when switching to a new card.
- Testing and Experimentation: If you’re an advanced user or developer, cloning a micro SD card can be valuable for testing and experimentation purposes. By creating clones, you can safely make changes, try out new configurations, and troubleshoot issues without affecting the original data.
Overall, cloning a micro SD card offers a range of benefits, from data protection and convenience to flexibility in upgrading and testing. By creating exact copies of your micro SD card, you can confidently manage and manipulate your data without the fear of losing important files or settings.
What You Will Need
Before you can begin the process of cloning a micro SD card, there are a few essential tools and materials you will need to gather. Here’s a list of everything you will need:
- Computer with SD Card Reader: You will need a computer that has a built-in SD card reader or an external SD card reader. This will allow you to connect the micro SD card to your computer and access its contents. Make sure your computer’s SD card reader is compatible with the micro SD card you want to clone.
- Micro SD Card: Obviously, you will need the micro SD card that you want to clone. Ensure that it is inserted properly into the SD card reader and make note of its drive letter or assigned name.
- Disk Imaging Software: To create an exact copy of the micro SD card, you will need disk imaging software. There are several options available, both free and paid. Some popular disk imaging software includes Win32 Disk Imager, Etcher, and Rufus. Choose the software that best suits your needs and install it on your computer.
- Destination Drive: You will also need a destination drive to store the cloned image of the micro SD card. This can be a separate micro SD card, a USB flash drive, or even your computer’s hard drive. Ensure that the destination drive has sufficient space to accommodate the cloned image.
Once you have gathered these necessary tools and materials, you will be ready to move on to the next steps of the cloning process. It’s important to have everything prepared beforehand to ensure a smooth and efficient cloning experience.
Step 1: Insert the Micro SD Card into Your Computer
The first step in cloning a micro SD card is to insert it into your computer. Follow these simple instructions to proceed:
- Locate the SD card slot on your computer. It is usually located on the side or front of laptops, or on the front or back of desktop computers. If your computer does not have a built-in SD card slot, you can use an external SD card reader that connects to your computer via USB.
- Gently insert the micro SD card into the SD card slot or connect it to the external SD card reader. Ensure that it is inserted in the correct orientation, aligning the notches or metal contacts on the card with the corresponding slots in the reader.
- Once inserted, your computer should recognize the micro SD card as a removable storage device. It will assign a drive letter or name to the card, which you will need for the next steps of the cloning process. Take note of the assigned letter or name.
It’s important to handle the micro SD card with care during the insertion process. Avoid applying excessive force or inserting it in the wrong direction, as this can potentially damage the card or the SD card slot. If you encounter any difficulties in inserting the micro SD card, refer to the user manual or consult the manufacturer’s website for guidance specific to your computer or external SD card reader.
With the micro SD card successfully inserted into your computer and recognized as a removable storage device, you are ready to proceed to the next step – using disk imaging software to create a clone of the card’s contents.
Step 2: Use Disk Imaging Software
After inserting the micro SD card into your computer, the next step in cloning the card is to use disk imaging software. Follow these instructions to utilize the software for creating a clone of the micro SD card:
- Open the disk imaging software that you have installed on your computer. Make sure it supports micro SD card cloning.
- Once the software is launched, you will typically see a simple and intuitive user interface. Look for options related to disk imaging, cloning, or creating an image of a drive.
- Select the option to create a disk image or clone a drive. The specific wording may vary depending on the software you are using. Make sure you are choosing the appropriate option to clone the micro SD card.
At this stage, the disk imaging software should be ready to clone the micro SD card. The next steps will involve selecting the source (original) and destination (where the cloned image is saved) drives.
Step 3: Select the Source and Destination Drives
Once you have opened the disk imaging software and chosen the option to clone a drive, you will need to select the source (original) and destination (where the cloned image will be saved) drives. Follow these steps to proceed:
- In the disk imaging software, you will see a list of available drives on your computer. Identify the drive that corresponds to the micro SD card you inserted in Step 1. It will be labeled with the drive letter or assigned name that you noted earlier.
- Select the micro SD card from the list of available drives. This will be your source drive from which the cloning will take place.
- Next, choose the destination drive where you want to save the cloned image of the micro SD card. This can be another micro SD card or a storage device such as a USB flash drive or the computer’s hard drive. Make sure the destination drive has sufficient free space to accommodate the full size of the micro SD card’s content.
It’s important to verify that you have selected the correct drives for both the source and destination. Double-check the drive letters or assigned names to ensure accuracy. Selecting the wrong drives can result in data loss or overwriting important files.
Once you have selected the source and destination drives, you are ready to initiate the cloning process. The disk imaging software will start creating an exact replica of the micro SD card on the specified destination drive, preserving all the files and data it contains.
Step 4: Start the Cloning Process
With the source and destination drives selected, you are now ready to start the cloning process using the disk imaging software. Follow these instructions to initiate the clone:
- Double-check that you have chosen the correct source (micro SD card) and destination drives before proceeding. Verifying this information is crucial to ensure that the cloning process goes smoothly.
- In the disk imaging software, you should find a button or option to start the cloning process. It may be labeled as “Start,” “Clone,” “Copy,” or something similar. Click on this button to begin the cloning process.
- Depending on the size of the micro SD card and the speed of your computer, the cloning process may take some time to complete. The software will display a progress bar or notification to indicate the status of the cloning.
- During the cloning process, it is important to avoid any interruptions or disturbances. Allow the software to work without closing the application or disconnecting the drives.
The duration of the cloning process will vary depending on factors such as the size of the micro SD card and the speed of your computer. It may take a few minutes or longer for the cloning process to finish, so be patient and let the software do its job.
Once the cloning process is complete, you can move on to the next step to verify the accuracy of the cloned micro SD card.
Step 5: Verify the Cloned Micro SD Card
After the cloning process is complete, it is crucial to verify the accuracy and integrity of the cloned micro SD card. Follow these steps to ensure that the cloning was successful:
- Eject the original micro SD card from your computer or disconnect the external SD card reader if you were using one.
- Insert the cloned micro SD card into the SD card slot or connect the external SD card reader to your computer.
- Open the file explorer on your computer and navigate to the cloned micro SD card. Check if all the files, folders, and data from the original micro SD card are present on the cloned card.
- Select a few random files and open them to ensure they can be accessed without any errors or corruption. Pay attention to important files, such as photos, documents, or application data, to ensure their integrity.
If you encounter any issues during the verification process, such as missing files, errors, or corrupted data, the cloning may not have been successful. In such cases, it is recommended to repeat the cloning process from the beginning, ensuring that you have selected the correct source and destination drives and following the instructions carefully.
On the other hand, if the cloned micro SD card contains all the files and data from the original card, and they are accessible without any issues, you can be confident that the cloning process was successful. Congratulations! You now have an identical copy of the original micro SD card.
Once you have verified the accuracy of the cloned micro SD card, you can proceed to safely remove it from your computer or disconnect the external SD card reader.
Step 6: Safely Remove the Cloned Micro SD Card
After verifying the cloned micro SD card and ensuring that all the data is intact, it is important to safely remove the card from your computer. Follow these steps to safely eject the cloned micro SD card:
- Ensure that you have properly saved and closed any files or applications that were accessing the cloned micro SD card.
- Locate the system tray or menu bar on your computer’s operating system. Look for an icon that represents removable storage devices or USB devices.
- Click on the icon, and you should see a list of devices connected to your computer. Look for the entry that corresponds to the cloned micro SD card.
- Right-click or select the appropriate option to safely eject the cloned micro SD card from your computer. This action ensures that all data transfers and write processes are completed before disconnecting the card.
- Wait for a notification or confirmation message indicating that it is safe to remove the cloned micro SD card. This message may vary depending on your operating system.
- Once you receive the confirmation, gently remove the cloned micro SD card from the SD card slot or disconnect the external SD card reader from your computer.
It is essential to follow the proper procedure for safely ejecting the cloned micro SD card to avoid any data loss or corruption. Abruptly removing the card without safely ejecting it can result in file system errors or damage to the cloned data.
With the cloned micro SD card safely removed from your computer, you have successfully completed the entire process of cloning a micro SD card. You now have a reliable backup or duplicate of your original card, ready to be used or stored for future needs.
Conclusion
Cloning a micro SD card is a valuable technique that allows you to duplicate the contents of your original card for data backup, sharing, upgrading, or testing purposes. By following the step-by-step process outlined in this guide, you can successfully clone a micro SD card without any loss or corruption of data.
We started by understanding the importance of cloning a micro SD card and the various reasons why you might want to do it. Whether it’s for data backup, transferring data to a larger capacity card, preserving system settings, or testing and experimentation, cloning provides a convenient solution.
Next, we discussed the essential tools and materials you need for the cloning process, including a computer with an SD card reader, the micro SD card itself, and disk imaging software.
We then walked through the step-by-step instructions, starting with inserting the micro SD card into your computer and using disk imaging software to create a clone. We emphasized the importance of selecting the correct source and destination drives and ensuring their accuracy.
After the cloning process, it was crucial to verify the integrity of the cloned micro SD card. We highlighted the need to check for missing files or corrupted data to ensure the cloning was successful.
Lastly, we covered the necessary steps to safely remove the cloned micro SD card from your computer, completing the entire process.
Cloning a micro SD card is a practical skill to have, providing you with a reliable way to backup and manage your data. Whether you’re a casual user wanting to preserve precious memories or a technologically savvy individual exploring new possibilities, cloning a micro SD card gives you peace of mind and flexibility.
Now that you have a clear understanding of the cloning process, go ahead and start duplicating your micro SD cards with confidence, knowing that your data is secure and accessible whenever you need it.