Introduction
Welcome to the world of Raspberry Pi mini PCs! If you’re a tech enthusiast or someone who loves experimenting with electronics, you’re in for a treat. In this guide, we’ll show you how to create your own mini PC using Raspberry Pi.
So, what exactly is a Raspberry Pi? Raspberry Pi is a series of small single-board computers developed to promote low-cost computing and programming education. Despite its compact size, Raspberry Pi packs a powerful punch. It’s capable of performing many tasks that a traditional computer can do, from browsing the internet and playing videos to running software and controlling external devices.
To make your own mini PC with Raspberry Pi, you’ll need a few basic materials. Don’t worry; we’ll walk you through each step of the process. So, let’s dive in and get started!
Firstly, you’ll need a Raspberry Pi board. There are different models available, but for this guide, we’ll be using the Raspberry Pi 4 Model B, which offers impressive specifications and performance. Additionally, you’ll need a microSD card to serve as the storage medium for the operating system and files. Make sure to choose a high-quality card with sufficient capacity.
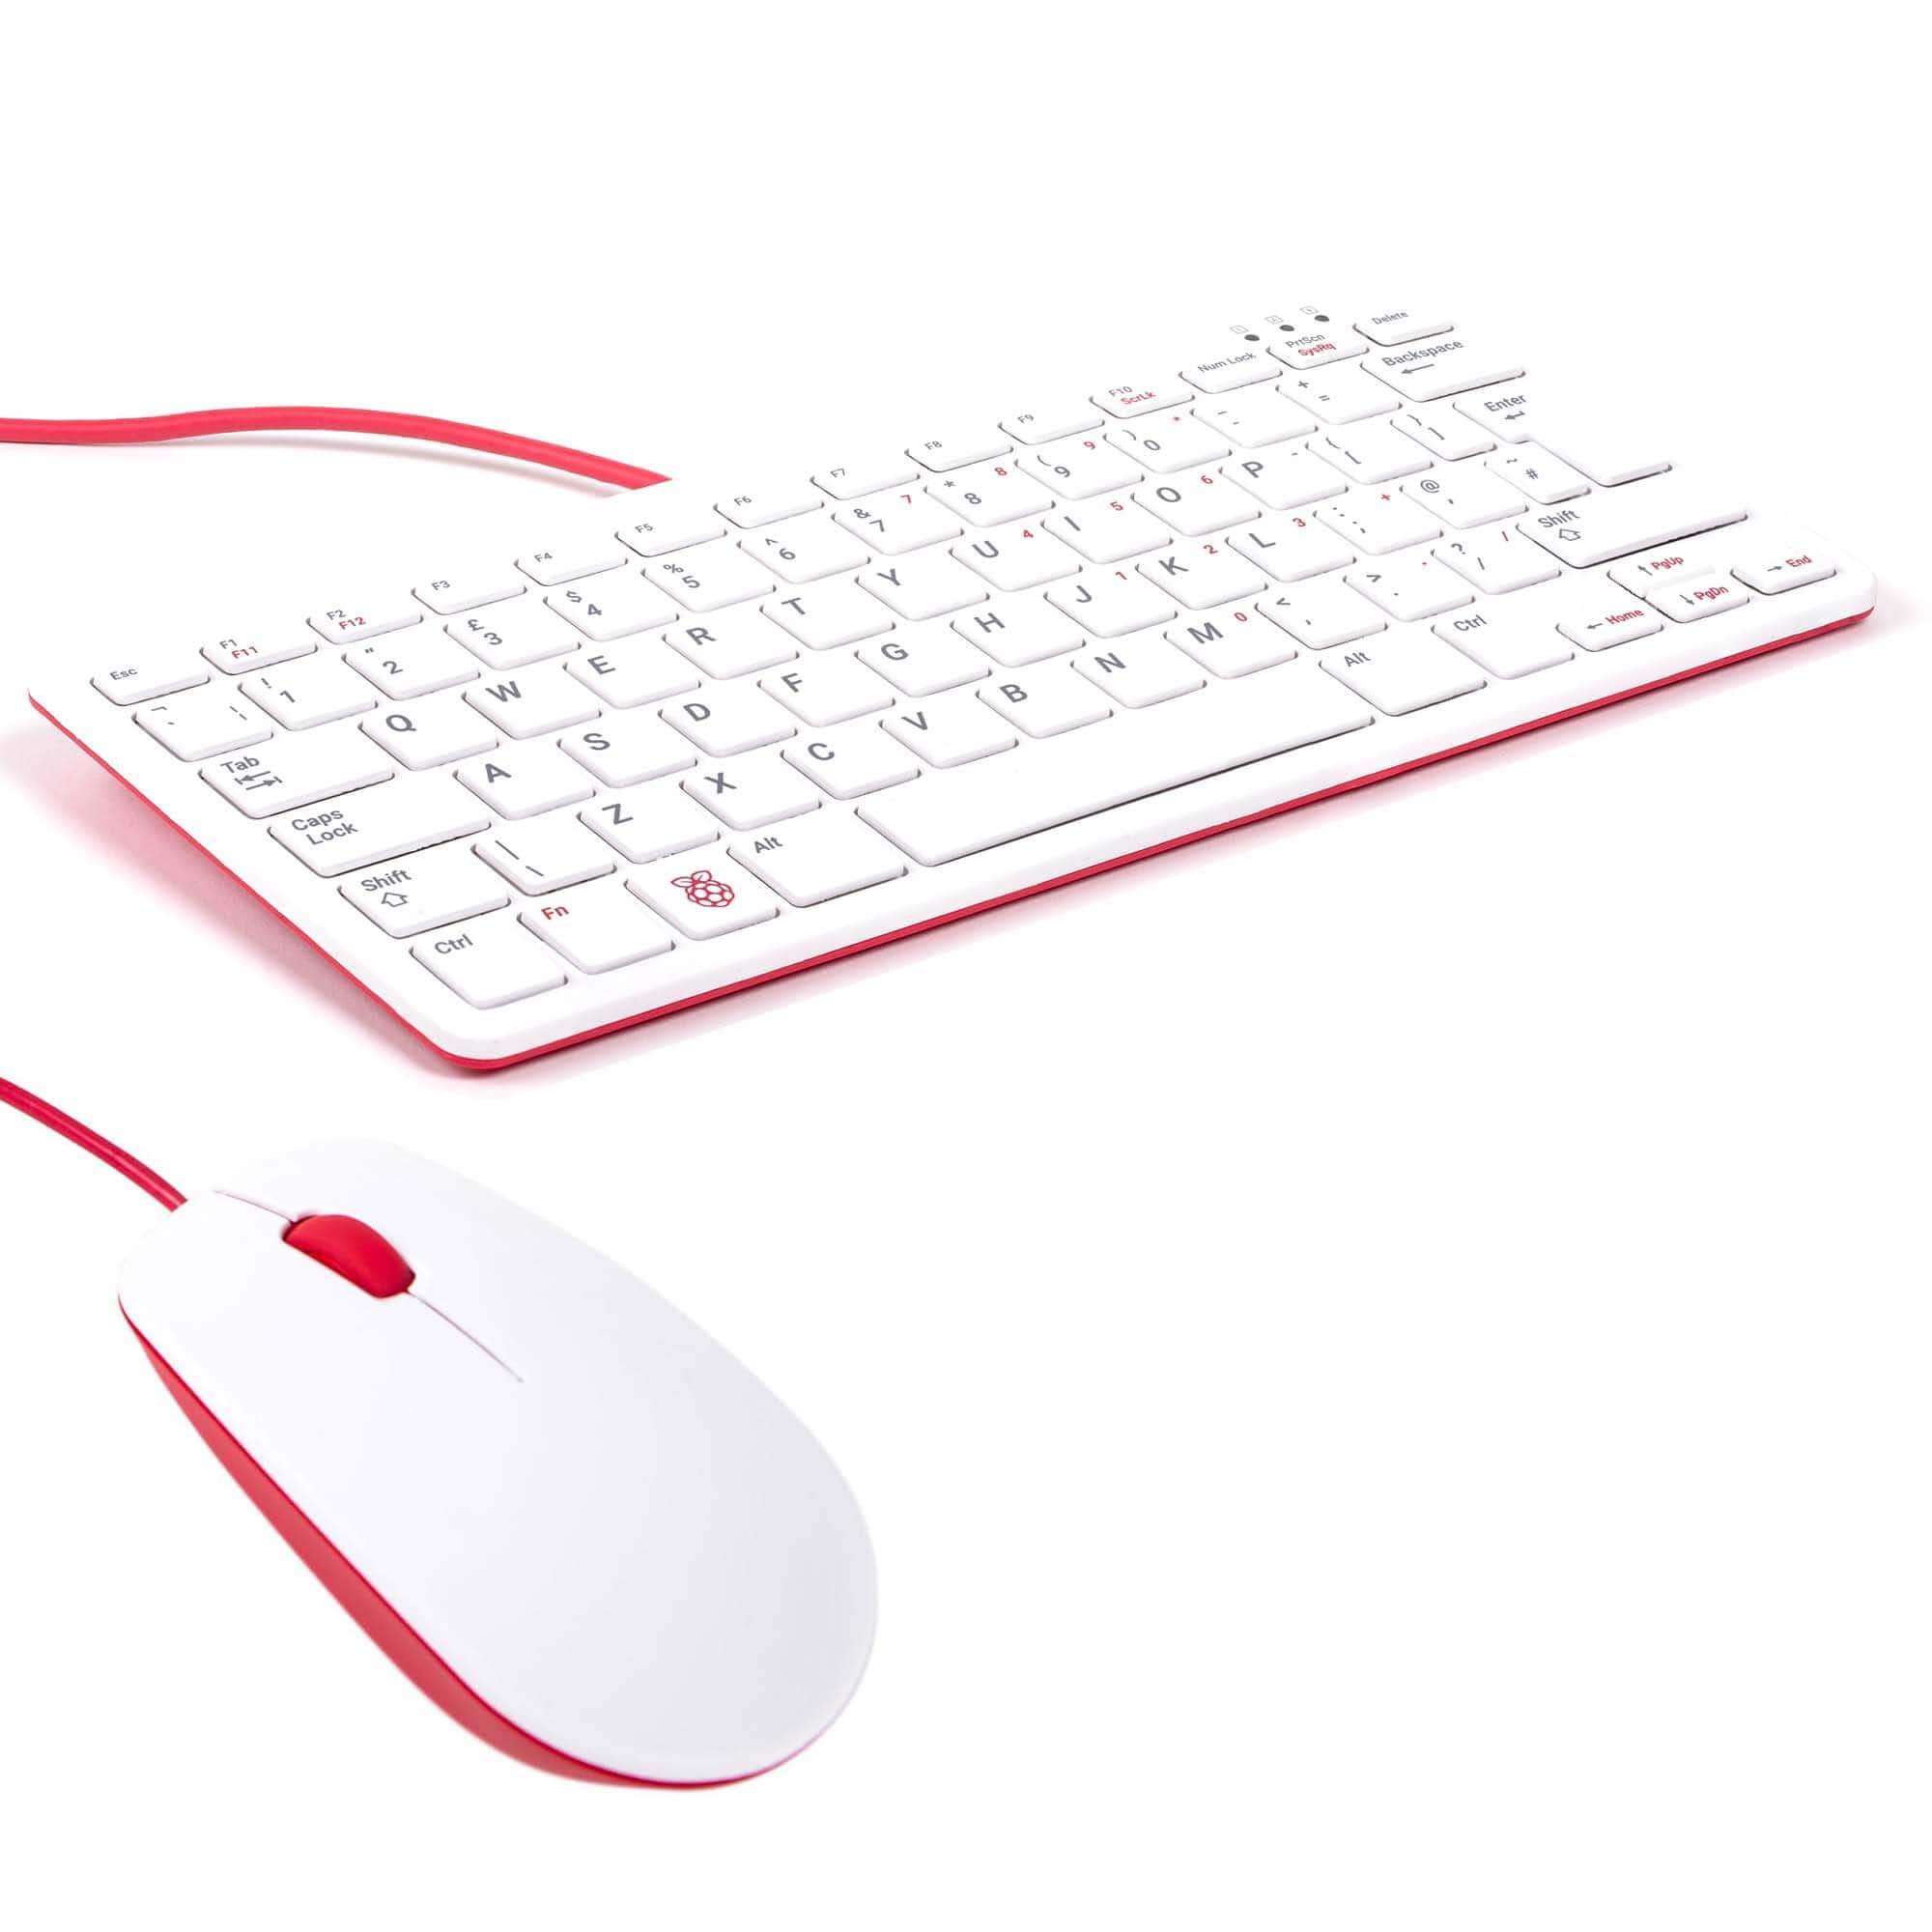
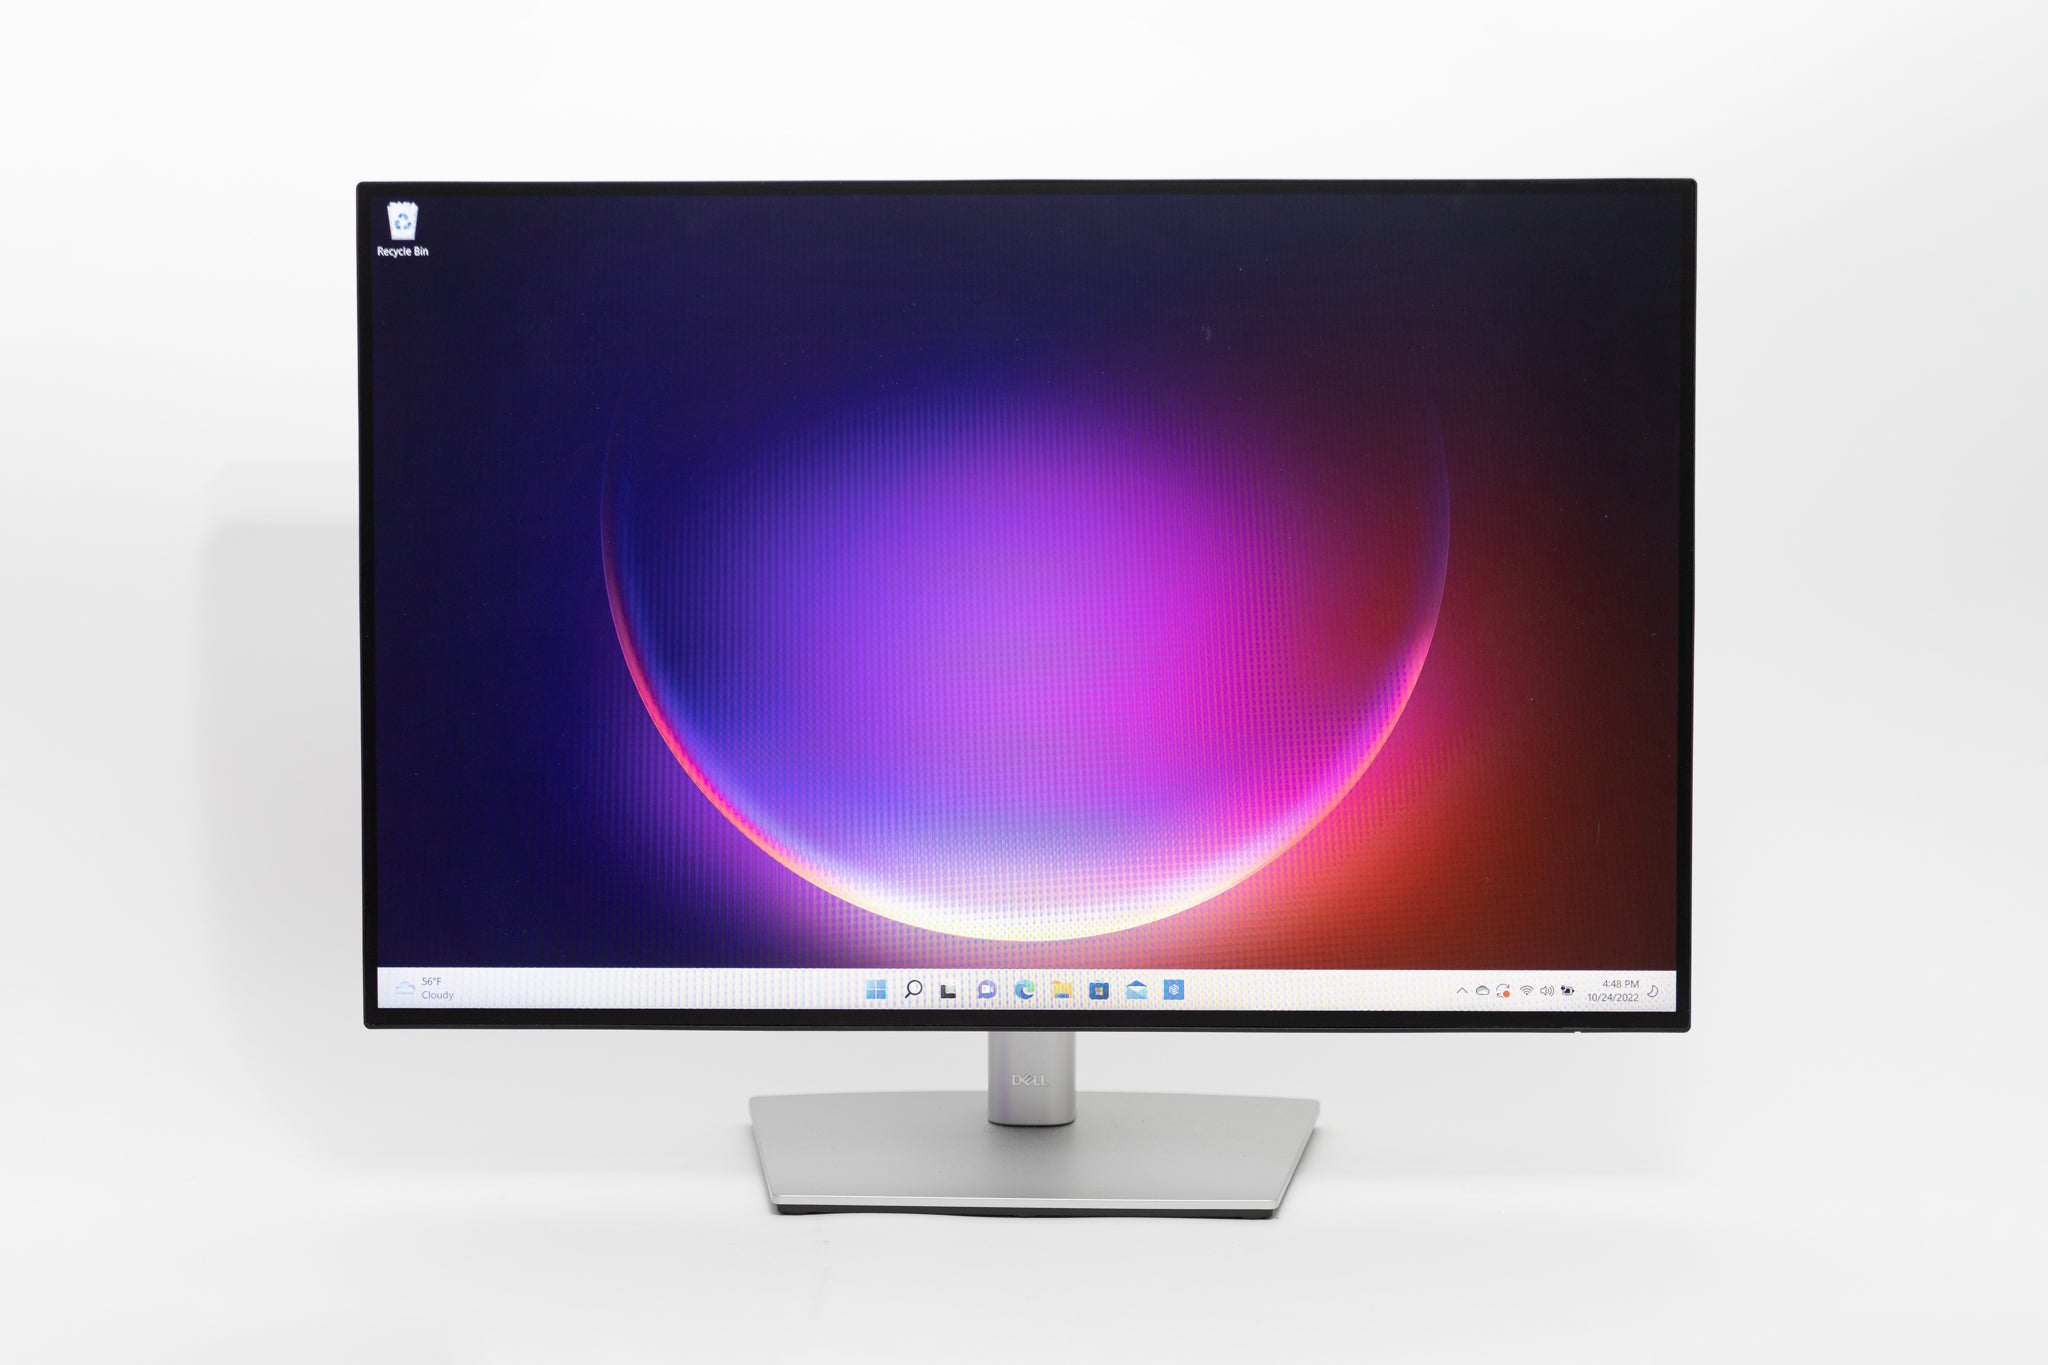
Next, you’ll need a power supply that can deliver at least 2.5A. Raspberry Pi boards require a stable power source to function properly, so investing in a reliable power supply is crucial. Additionally, you’ll need an HDMI cable to connect the Raspberry Pi to a monitor or TV and a USB keyboard and mouse for input.
Lastly, you’ll need a computer with an SD card reader and an internet connection. This will be used to download the operating system and configure the Raspberry Pi.
In the next section, we’ll walk you through the process of installing the operating system on your Raspberry Pi mini PC. Get ready to embark on a journey of creating your own customized and versatile mini PC that can be used for a wide range of applications!
What is Raspberry Pi?
Raspberry Pi is a series of small single-board computers that have gained immense popularity among tech enthusiasts, hobbyists, and educators. It was created by the Raspberry Pi Foundation with the goal of providing an affordable and accessible platform for learning and exploring computer programming and electronics.
The Raspberry Pi boards are compact in size, typically ranging from the size of a credit card to a small portable computer. But don’t let their size fool you – these little devices are packed with power and potential. They come equipped with a processor, memory, storage, and various ports and connectors to connect peripherals and expand the functionality.
One of the key features that set Raspberry Pi apart is its versatility. It can run various operating systems, including the popular Linux-based Raspbian, Ubuntu, and Windows 10 IoT Core. This flexibility allows users to adapt Raspberry Pi to suit their specific needs, whether it’s for DIY projects, home automation, media streaming, or even as a basic desktop computer.
Despite its affordability, Raspberry Pi is not just a toy or a simplified version of a regular computer. It is a powerful tool that allows users to learn computer programming languages like Python or Scratch, experiment with electronics and robotics, and develop their own projects from scratch. Many individuals and educational institutions have embraced Raspberry Pi as a means to teach coding, problem-solving, and hands-on learning.
One of the greatest strengths of Raspberry Pi is its vibrant and supportive community. Thousands of Raspberry Pi enthusiasts and developers share their projects, tutorials, and ideas online, making it easy for beginners to get started and experienced users to push the boundaries of what can be accomplished with Raspberry Pi.
With its low cost, small form factor, and endless possibilities, Raspberry Pi continues to inspire creativity and innovation. It has become a popular choice for makers, students, and professionals who want to explore the world of computer programming and electronics without breaking the bank.
Now that you have a better understanding of what Raspberry Pi is, let’s move on to the next section, where we’ll discuss the materials you’ll need to create your own mini PC with Raspberry Pi.
Materials Needed
Before you embark on the journey of creating your own mini PC with Raspberry Pi, let’s gather all the necessary materials. Here’s a list of what you’ll need:
- Raspberry Pi board: The heart of your mini PC will be a Raspberry Pi board. For this guide, we recommend using the Raspberry Pi 4 Model B, as it offers excellent performance and capabilities.
- MicroSD card: You’ll need a microSD card to serve as the storage medium for the operating system and files. Make sure to choose a high-quality card with a minimum capacity of 16GB to accommodate the operating system and your projects.
- Power supply: Raspberry Pi boards require a stable power source to function properly. It is recommended to use a power supply that can deliver at least 2.5A of current. Look for a power supply that is specifically designed for Raspberry Pi or provides 5V DC output with a micro USB connector.
- HDMI cable: You’ll need an HDMI cable to connect the Raspberry Pi to a monitor or TV. Make sure to check the HDMI version supported by your monitor or TV to ensure compatibility.
- USB keyboard and mouse: To interact with your mini PC, you’ll need a USB keyboard and mouse. Any standard USB keyboard and mouse will work with Raspberry Pi.
- Computer with SD card reader: You’ll need a computer with an SD card reader to download the operating system and configure the Raspberry Pi. Most modern laptops and desktop computers have built-in SD card readers. If your computer doesn’t have one, you can use an external SD card reader.
- Monitor or TV: You’ll need a monitor or TV with an HDMI input to connect your Raspberry Pi for display. Ensure that your monitor or TV has an available HDMI port.
- Internet connection: An internet connection is required to download the operating system and software for your Raspberry Pi. Make sure you have a stable internet connection during the setup process.
With all these materials in hand, you’re ready to proceed to the next section, where we’ll guide you through the process of installing the operating system on your Raspberry Pi. Let’s turn your Raspberry Pi board into a fully-functional mini PC!
Installing the Operating System
Now that you have gathered all the materials, it’s time to install the operating system on your Raspberry Pi. The operating system is the software that allows your mini PC to run and perform various tasks. Follow these steps to get started:
- Download the operating system: Visit the official Raspberry Pi website and navigate to the downloads page. Choose the recommended operating system for your Raspberry Pi model and click on the download link. The most popular operating system for Raspberry Pi is Raspbian, which is based on the Debian Linux distribution.
- Prepare the microSD card: Insert the microSD card into your computer’s SD card reader. Use the official Raspberry Pi Imager software or suitable software like balenaEtcher to format the microSD card and write the downloaded operating system image onto it. Follow the instructions provided by the software to complete the process.
- Remove the microSD card safely: Once the imaging process is complete, safely remove the microSD card from the computer. This ensures that the data is written correctly and avoids any potential corruption of the card.
- Insert the microSD card into the Raspberry Pi: Locate the microSD card slot on the Raspberry Pi board and gently insert the microSD card. Ensure that it is properly seated in the slot.
- Power up the Raspberry Pi: Connect the power supply to the micro USB port on the Raspberry Pi and plug it into a power source. The Raspberry Pi should start booting up and initializing the operating system from the microSD card.
- Follow the on-screen instructions: Connect the Raspberry Pi to a monitor or TV using an HDMI cable. You will see the initial setup wizard displayed on the screen. Follow the on-screen prompts to configure the language, keyboard layout, and other settings.
- Create a username and password: During the setup process, you will be prompted to create a username and password for your Raspberry Pi. Choose a strong password to ensure the security of your mini PC.
- Update the operating system: After completing the initial setup, it is recommended to update the operating system and software packages to the latest versions. Open the Terminal on your Raspberry Pi and run the commands:
  sudo apt-get update
  sudo apt-get upgrade
This will download the latest updates and install them on your Raspberry Pi.
Congratulations! You have successfully installed the operating system on your Raspberry Pi. In the next section, we’ll guide you through the process of setting up the Raspberry Pi and connecting it to a monitor, keyboard, and mouse.
Setting Up the Raspberry Pi
Now that you have installed the operating system on your Raspberry Pi, it’s time to set up the board and prepare it for use. Follow these steps to get started:
- Connect the power supply: Make sure the Raspberry Pi is turned off and disconnect the power supply. Connect the micro USB end of the power supply to the power port on the Raspberry Pi. Plug the other end into a power source.
- Connect the monitor, keyboard, and mouse: Use an HDMI cable to connect the HDMI output port on the Raspberry Pi to the HDMI input on your monitor or TV. Connect a USB keyboard and mouse to the USB ports on the Raspberry Pi.
- Connect to the internet: If you want to connect your Raspberry Pi to the internet via Wi-Fi, make sure you have a wireless adapter compatible with Raspberry Pi and follow the instructions provided by the manufacturer. Alternatively, you can connect an Ethernet cable to the Ethernet port on the Raspberry Pi for a wired internet connection.
- Power on the Raspberry Pi: Once all the connections are made, turn on the power supply. The Raspberry Pi will start booting up, and you’ll see the desktop environment appear on your monitor or TV.
- Configure basic settings: Upon the first boot, you may need to configure a few basic settings, such as your country, time zone, and Wi-Fi network credentials. Follow the on-screen prompts to complete the initial setup.
- Update software: After the initial setup, it’s a good idea to update the software packages installed on the Raspberry Pi. Open the Terminal and run the following commands:
  sudo apt-get update
  sudo apt-get upgrade
This will download the latest updates and install them on your Raspberry Pi.
- Restart the Raspberry Pi: To apply any changes and ensure everything is working properly, it’s recommended to restart the Raspberry Pi. You can do this by clicking on the power icon in the menu and selecting “Restart.”
Great job! You have successfully set up your Raspberry Pi. In the next sections, we’ll dive deeper into configuring the Raspberry Pi, installing programs and software, and customizing the desktop environment to make it your own.
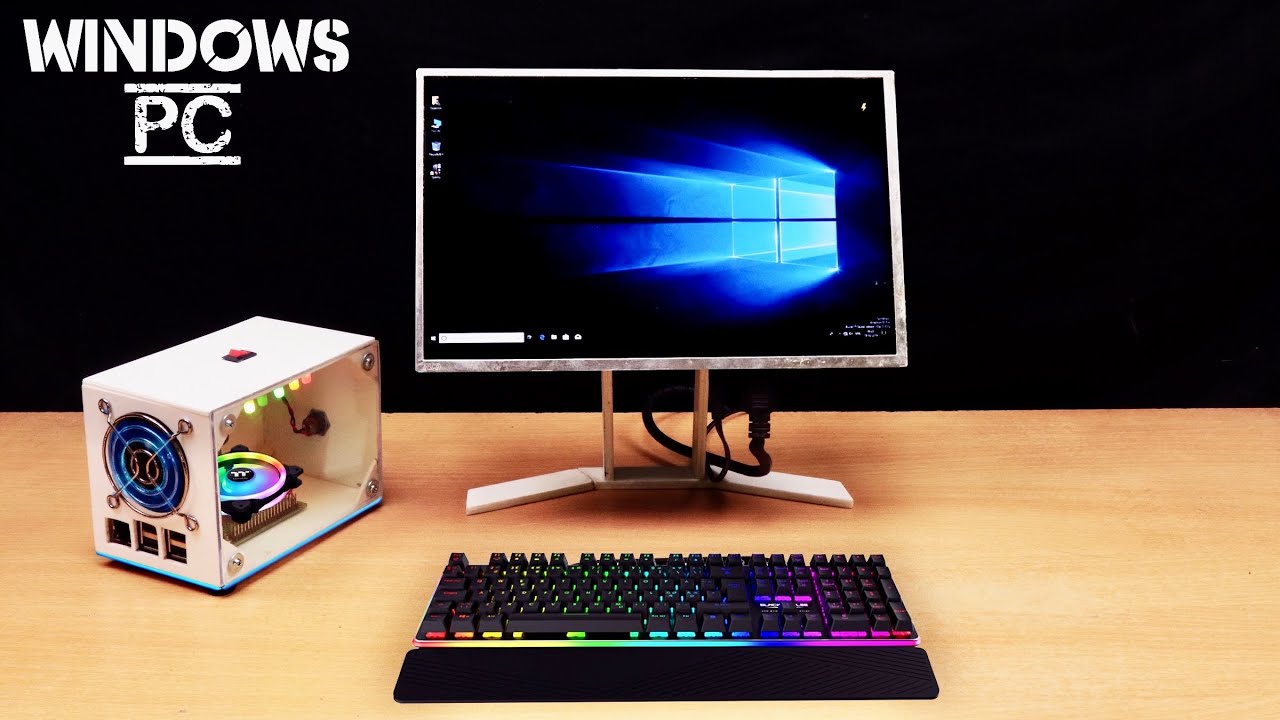
Connecting the Monitor, Keyboard, and Mouse
When setting up your Raspberry Pi, it’s important to connect the monitor, keyboard, and mouse properly to ensure smooth operation and a seamless user experience. Follow these steps to connect your peripherals:
- Monitor: Start by connecting your Raspberry Pi to a monitor or TV using an HDMI cable. Plug one end of the HDMI cable into the HDMI output port on the Raspberry Pi and the other end into the HDMI input port on your monitor or TV. Make sure the monitor or TV is powered on.
- Keyboard and Mouse: Connect your USB keyboard and mouse to the USB ports on the Raspberry Pi. Most USB keyboards and mice will work without any additional setup.
- Check the connections: Ensure all connections are secure and properly inserted into their respective ports. Double-check that the HDMI cable is firmly connected to both the Raspberry Pi and the monitor or TV, and that the keyboard and mouse are connected to the USB ports.
- Power on the Raspberry Pi: Once all the connections are made, turn on the power supply to start the Raspberry Pi. You should see the desktop environment displayed on the monitor or TV.
- Adjust the resolution: If the display does not appear correctly or the screen seems distorted, you may need to adjust the resolution settings. Right-click on the desktop, select “Preferences,” and choose “Screen Configuration.” From there, you can select the appropriate resolution for your monitor or TV.
- Test the keyboard and mouse: Verify that the keyboard and mouse are functioning properly by typing and moving the cursor on the screen. If there are any issues, make sure the connections are secure and try reconnecting the peripherals.
With the monitor, keyboard, and mouse properly connected to your Raspberry Pi, you are now ready to explore its capabilities and start using it as a fully functional mini PC. In the following sections, we’ll guide you through connecting to Wi-Fi, configuring the Raspberry Pi, installing programs and software, and customizing the desktop environment.
Connecting to Wi-Fi
To fully utilize the capabilities of your Raspberry Pi mini PC, it’s essential to connect it to a Wi-Fi network. Follow these steps to connect your Raspberry Pi to Wi-Fi:
- Open the desktop environment: Ensure that your Raspberry Pi is powered on and the monitor is displaying the desktop environment.
- Click on the Wi-Fi icon: Look for the network icon on the top-right corner of the desktop. It typically looks like a series of bars or waves. Click on the icon to display the available Wi-Fi networks.
- Select your Wi-Fi network: From the list of available networks, click on the name of your Wi-Fi network. If your network requires a password, you will be prompted to enter it. Type in your Wi-Fi password and click “Connect.”
- Wait for the connection: Your Raspberry Pi will now attempt to connect to the selected Wi-Fi network. Wait for a moment as it establishes the connection. You may see a spinning icon indicating that it is connecting.
- Verify the connection: Once the connection is established, the network icon will change to show the connection status. It may display the Wi-Fi signal strength or a checkmark to indicate a successful connection.
- Test the connection: To ensure that your Raspberry Pi is connected to the Wi-Fi network, you can open a web browser and visit a website or use the Terminal to ping a web address. If the connection is successful, you should be able to access the internet on your Raspberry Pi.
By connecting your Raspberry Pi to a Wi-Fi network, you can enjoy the convenience of wireless connectivity and access online resources directly from your mini PC. This opens up a world of possibilities for browsing the web, downloading software, and connecting to networked devices in your home or office.
In the next sections, we’ll guide you through configuring the Raspberry Pi, installing programs and software, customizing the desktop environment, and connecting external devices. With each step, you’ll discover new ways to personalize and enhance your Raspberry Pi mini PC.
Configuring the Raspberry Pi
After connecting your Raspberry Pi to Wi-Fi, it’s time to configure and fine-tune your mini PC to suit your preferences. Here are some essential configurations to consider:
- Update software: Keeping your Raspberry Pi up to date is crucial for security and performance. Open the Terminal and run the following commands:
  sudo apt-get update
  sudo apt-get upgrade
This will download the latest updates and install them on your Raspberry Pi.
- Change the default password: For security reasons, it’s important to change the default password for the Raspberry Pi user account. Open the Terminal and run the command:
passwd
Follow the prompts to create a new password.
- Enable SSH: SSH (Secure Shell) allows you to remote control your Raspberry Pi from another computer. To enable SSH, open the Terminal and run the command:
  sudo systemctl enable ssh
  sudo systemctl start ssh
SSH will now be enabled on your Raspberry Pi.
- Expand the file system: By default, the Raspbian operating system may not use the entire capacity of your microSD card. To extend the file system and utilize the full capacity, open the Terminal and run the command:
sudo raspi-config
Select “Advanced Options” and then “Expand Filesystem” to resize the file system to fill the available space.
- Configure boot options: The raspi-config tool also allows you to customize various boot options. You can access the menu by running the command:
sudo raspi-config
Explore the available options, such as configuring the splash screen, overclocking settings, and booting to the command line or desktop.
- Set up VNC: VNC (Virtual Network Computing) allows you to remotely access the graphical desktop of your Raspberry Pi. Install a VNC server on your Raspberry Pi, such as RealVNC or TightVNC, and configure it to start automatically on boot. This will give you the ability to control your Raspberry Pi from another device on the same network.
- Explore additional configurations: Raspberry Pi offers a wide range of configuration options, from managing network settings and enabling Bluetooth to setting up a camera module and customizing system preferences. Take time to explore the various configuration options available, either through the raspi-config tool or by editing configuration files directly.
By configuring your Raspberry Pi, you can optimize its performance, enhance security, and tailor it to your specific needs and preferences. Take advantage of the flexibility and versatility of the Raspberry Pi platform to create a mini PC that truly suits your requirements.
In the next sections, we’ll guide you through installing programs and software, customizing the desktop environment, and connecting external devices. Stay tuned to unlock even more possibilities with your Raspberry Pi mini PC.
Installing Programs and Software
One of the great advantages of using a Raspberry Pi mini PC is its ability to run a wide range of software and programs. Whether you want to browse the web, create documents, or delve into coding and electronics, here’s how you can start installing software on your Raspberry Pi:
- Package Manager: A package manager is a powerful tool that allows you to install, update, and manage software on your Raspberry Pi. The default package manager for Raspbian is apt. To install a program, open the Terminal and use the following command:
sudo apt-get install [program-name]
Replace `[program-name]` with the name of the software you want to install.
- Raspberry Pi Store: The Raspberry Pi Store, accessible through the desktop environment, offers a collection of software, games, and educational resources specifically tailored for the Raspberry Pi. Open the store and browse the available options. Click on the software you want to install, and it will be downloaded and installed automatically.
- Third-party repositories: Many software packages are not available in the default repositories. However, you can often find them in third-party repositories. First, add the repository to your system by following the instructions provided by the third-party source. Then, use the package manager to install the desired software.
- Manual installation: Some software may not be available through the package manager or repositories. In such cases, you may need to manually download the software from the developer’s website. Follow the installation instructions provided by the software’s developer to install it on your Raspberry Pi.
- Custom scripts and programs: If you have coding skills, you can create your own scripts and programs to extend the functionality of your Raspberry Pi. Write your scripts or programs using a text editor or an integrated development environment (IDE), save them with the appropriate file extension (e.g., .py for Python scripts), and run them through the command line or desktop environment.
Remember to install software that is suitable for the hardware and operating system of your Raspberry Pi. Check the system requirements and compatibility before proceeding with the installation.
Whether you’re installing applications for productivity, media streaming, programming, or any other purpose, the Raspberry Pi provides a versatile platform to run various software and programs.
In the next section, we’ll guide you through customizing the desktop environment to make your Raspberry Pi mini PC truly your own.
Customizing the Desktop Environment
One of the great features of the Raspberry Pi is the ability to customize the desktop environment to suit your personal preferences. Whether you want to change the appearance, add shortcuts, or enhance functionality, here are some ways to customize your Raspberry Pi’s desktop environment:
- Desktop themes and wallpapers: Change the look and feel of your desktop by applying different themes and wallpapers. Right-click on the desktop and select “Desktop Preferences” to access the settings. Choose from the available themes and wallpapers or download new ones from online sources.
- Customize the taskbar: The taskbar, also known as the panel, provides quick access to various applications and system information. You can customize its appearance and behavior. Right-click on the taskbar and select “Panel Preferences” to access the settings. Adjust the panel size, add or remove applets, and customize the menu options to your liking.
- Application shortcuts: Add shortcuts to your favorite applications on the desktop or the taskbar for quick access. Right-click on an application in the menu and select “Add to Desktop” or “Add to Panel” to create a shortcut. This allows you to launch your frequently used applications with a single click.
- Change the desktop icons: Modify the icons displayed on the desktop. Right-click on the desktop and select “Desktop Preferences.” From there, you can choose which icons to display, such as the home folder, trash, mounted drives, or network locations.
- Configure the menu: Customize the applications menu to suit your needs. Right-click on the menu icon and select “Menu Editor.” From there, you can rearrange the menu structure, add or remove categories, and modify the entries in the menu.
- Install additional software: Personalize your Raspberry Pi by installing additional software that suits your needs and preferences. Explore the software repositories and the Raspberry Pi Store for applications, games, and utilities that enhance your user experience.
- Enable/disable features: Fine-tune your desktop environment by enabling or disabling certain features. This can help improve performance or cater to your specific requirements. Access the system settings or specific application preferences to configure features such as screen savers, power-saving options, notifications, and auto-start applications.
- Experiment with different desktop environments: If you’re not satisfied with the default desktop environment, you can explore alternative desktop environments like LXQt, MATE, or Xfce. Install a different desktop environment through the package manager, log out, and log back in to experience a new look and feel.
Customizing the desktop environment allows you to make your Raspberry Pi mini PC truly your own. Choose themes and wallpapers that resonate with your style, organize shortcuts and panels for quick access to your favorite applications, and make use of additional software to enhance your user experience.
In the next section, we’ll guide you through connecting external devices to expand the capabilities of your Raspberry Pi. Get ready to explore new possibilities with your mini PC!
Connecting External Devices
The Raspberry Pi mini PC is not limited to its built-in peripherals. You can easily connect a wide range of external devices to expand its capabilities. Here are some of the external devices you can connect to your Raspberry Pi:
- USB devices: The Raspberry Pi provides multiple USB ports, allowing you to connect various USB devices. This includes USB flash drives, external hard drives, keyboards, mice, game controllers, webcams, and more. Simply plug them into the USB ports on the Raspberry Pi, and they should be detected and ready to use.
- Bluetooth devices: If your Raspberry Pi has built-in Bluetooth or you are using a compatible USB Bluetooth dongle, you can connect wireless peripherals such as Bluetooth keyboards, mice, speakers, and headphones. Enable Bluetooth on your Raspberry Pi and follow the device-specific instructions to pair and connect them.
- Audio devices: Raspberry Pi has a 3.5mm audio jack for connecting headphones, speakers, or an audio input/output device. Simply plug in your audio device and adjust the audio settings in the Raspberry Pi’s system preferences to direct the audio output to the desired device.
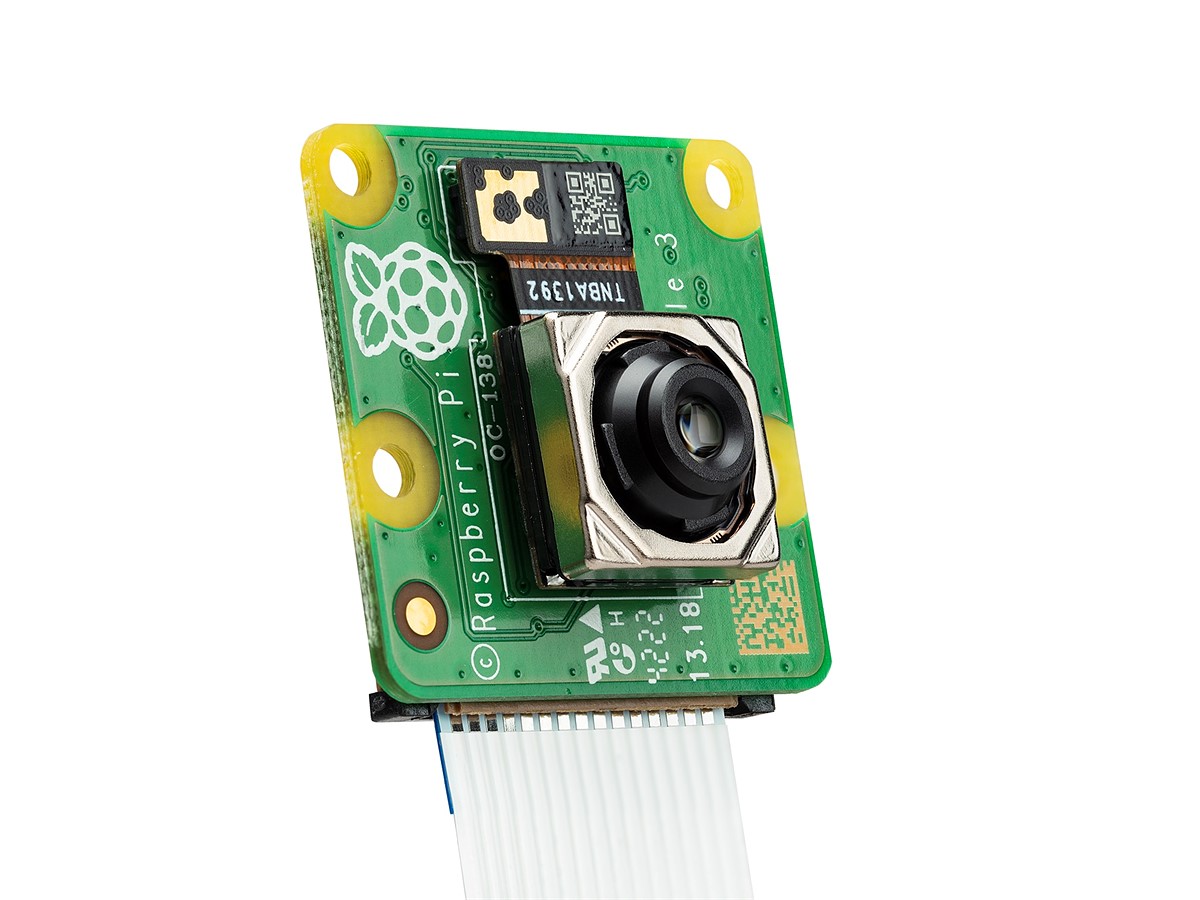
- Display devices: In addition to connecting a monitor or TV via HDMI, the Raspberry Pi also supports other display interfaces such as DSI (Display Serial Interface) and CSI (Camera Serial Interface). You can connect compatible displays, touchscreens, and cameras to these interfaces to expand the display capabilities or use the Raspberry Pi for specific applications that require camera functionality.
- GPIO devices: The Raspberry Pi’s General Purpose Input/Output (GPIO) pins allow you to connect and control external devices such as LEDs, sensors, motors, and more. With the appropriate circuits and programming, you can create interactive projects and prototypes by interfacing with the physical world.
- Network devices: The Raspberry Pi can act as a server or network device. You can connect it to your local network via Ethernet or Wi-Fi. This opens up possibilities for file sharing, media streaming, home automation, and running services such as a web server or media server.
- Other compatible devices: Raspberry Pi supports various other devices and add-ons, including USB hubs, 3D printers, temperature sensors, infrared sensors, and more. Check the compatibility and installation instructions provided by the device manufacturer or the Raspberry Pi community.
Connecting external devices to your Raspberry Pi allows you to expand its functionality and tailor it to your specific needs. Whether you want to add storage, improve audio capabilities, interface with sensors, or explore wireless connectivity options, the Raspberry Pi offers compatibility and versatility.
In the next sections, we’ll provide troubleshooting tips and solutions to common issues you may encounter during your Raspberry Pi journey. Stay tuned to overcome any challenges and make the most out of your mini PC experience!
Troubleshooting Tips
While using your Raspberry Pi mini PC, you may encounter some challenges or issues. Don’t worry – we’ve got you covered with these troubleshooting tips:
- No display on the monitor: Ensure that the HDMI cable is securely connected to both the Raspberry Pi and the monitor. Check if the monitor is set to the correct input source. If the issue persists, try using a different HDMI cable or testing the Raspberry Pi with another monitor or TV.
- No response from the keyboard or mouse: Double-check that the USB devices are properly connected to the Raspberry Pi. If they are connected through a USB hub, try connecting them directly to the USB ports. Restart the Raspberry Pi and check if the keyboard and mouse work. If not, try using different USB devices.
- Wi-Fi connection issues: Make sure you have entered the correct Wi-Fi password during the setup process. Verify that the Wi-Fi network is functioning properly and within range. Consider restarting the router and reconnecting the Raspberry Pi to Wi-Fi. If it still doesn’t connect, double-check the Wi-Fi adapter compatibility and drivers.
- Slow performance: Check if there are any unnecessary processes or applications running in the background. Disable any unused services or features to free up system resources. Ensure that the microSD card has sufficient free space and is not fragmented. Consider using an upgrade power supply and ensure that the Raspberry Pi is not overheating.
- Software compatibility issues: Ensure that the software you are trying to install is compatible with your Raspberry Pi model and operating system. Check the system requirements and installation instructions provided by the software developer. Consider seeking support or alternative software if compatibility issues persist.
- GPIO connection problems: Verify that the external devices connected to the GPIO pins are properly wired. Check if there are any loose connections or incorrect wiring. Ensure that you have the correct libraries and drivers installed for your GPIO device. Test your code and troubleshoot any programming errors.
- Power supply issues: Make sure you are using a reliable power supply with sufficient current output. The Raspberry Pi may encounter stability issues or unexpected behavior if the power supply is inadequate. Try using a different power supply or connecting the Raspberry Pi to a different power source.
- General system crashes or freezes: Check if your Raspberry Pi is running the latest software updates. Update the software packages and firmware to resolve any known issues. Avoid running memory-intensive applications simultaneously to prevent memory bottlenecks. Monitor the system temperature and ensure that the Raspberry Pi is not overheating.
If these troubleshooting tips don’t resolve your issue, remember to check the official Raspberry Pi community forums, websites, or support channels for additional guidance and solutions. The Raspberry Pi community is vast and knowledgeable, and there are likely others who have encountered similar problems and found solutions.
Remember to approach troubleshooting with patience, as it is part of the learning process. With perseverance and the right resources, you’ll soon overcome any challenges and leverage the full potential of your Raspberry Pi mini PC.
Conclusion
Congratulations on completing the guide to creating your own mini PC with Raspberry Pi! You have learned about Raspberry Pi, gathered the necessary materials, installed the operating system, configured the Raspberry Pi, connected external devices, and troubleshooted common issues along the way. Now, you have a customized and versatile mini PC that can be used for a variety of applications.
The Raspberry Pi offers endless possibilities for tech enthusiasts, makers, and learners. It provides a low-cost and accessible platform for exploring computer programming, electronics, and more. With its compact size and powerful capabilities, the Raspberry Pi can be used for diverse projects, ranging from home automation and media streaming to robotics and gaming.
Remember to continue exploring the vast Raspberry Pi community, which offers resources, tutorials, and support for all levels of users. Engage in forums, join online communities, and share your own projects and experiences. The Raspberry Pi community is a fantastic place to learn, inspire, and grow as you further expand your Raspberry Pi knowledge and skills.
From here, you can continue to enhance your mini PC by installing additional software, exploring more advanced projects, and building upon the foundation you have established. Whether you want to develop your coding skills, create DIY projects, or simply enjoy the features of your mini PC, the Raspberry Pi will continue to provide endless opportunities for innovation and creativity.
Now, it’s time to unleash your imagination and embark on exciting new adventures with your Raspberry Pi mini PC. Enjoy exploring, creating, and pushing the boundaries of what your mini PC can do!