Introduction
Welcome to the world of expandable storage! In this guide, we will walk you through the process of installing an SD card into your device. Whether you want to add extra storage space for your photos, videos, or music, or you simply need to transfer files between devices, an SD card is a convenient and portable solution.
Before we dive into the step-by-step instructions, it’s important to note that not all devices are compatible with SD cards. Some devices, like smartphones or tablets, have built-in memory while others, like cameras or laptops, feature dedicated SD card slots. Make sure to check your device specifications to ensure compatibility before proceeding with the installation.
Additionally, it’s always a good idea to power off your device before making any hardware changes. This helps prevent any data loss or potential damage to the device.
Now that you have a brief introduction, let’s get started with the installation process. Follow the steps outlined in this guide, and you’ll be enjoying the benefits of expanded storage in no time!
Step 1: Checking Compatibility
Before you begin the installation process, it’s crucial to ensure that your device is compatible with an SD card. As mentioned earlier, not all devices have a dedicated SD card slot or support external storage. Here’s how you can determine if your device is compatible:
- Read the device specifications: Check the user manual or visit the manufacturer’s website to find information about external storage support. Look for details about SD card compatibility and the maximum size it can support.
- Inspect the device: Physically examine your device for an SD card slot. It is usually located on the side or back of smartphones, tablets, or laptops. Cameras may have a specific compartment or slot for the SD card.
- Research online: Use online forums, tech websites, or customer reviews to gather information from other users who have successfully installed an SD card on the same device model as yours. Their experiences and recommendations can be insightful.
Once you have determined that your device is compatible with an SD card, you can proceed with the installation process. Remember, not all devices have the same installation method, so it’s essential to follow the steps specific to your device.
Now that you’ve ensured compatibility, let’s move on to the next step of installing your SD card.
Step 2: Powering Off Your Device
Before you begin the installation, it is crucial to power off your device. This step ensures that there is no active power running through the device, minimizing the risk of any potential data loss or hardware damage during the installation process. Here’s how you can power off your device:
- Save your work: Make sure to save any ongoing tasks or files that you are working on before shutting down your device. This prevents any unsaved changes or data loss.
- Close all applications: Close all open applications and programs running on your device. This ensures that no active processes or operations are running that could interfere with the shutdown process.
- Press the power button: Locate the power button on your device. It is usually located on the top or side for smartphones and tablets, or on the keyboard or chassis for laptops and computers. Press and hold the power button until you see the option to power off your device.
- Select “Power off”: On your screen, you will see the option to power off your device. Tap or click on the “Power off” option to initiate the shutdown process.
- Wait for shutdown: Give your device some time to complete the shutdown process. The time required may vary depending on the device model.
Once your device is completely powered off, you can proceed to the next step of locating the SD card slot for installation.
Step 3: Locating the SD Card Slot
Now that your device is powered off, it’s time to locate the SD card slot. The location of the SD card slot may vary depending on the type of device you have. Here are some common locations to look for:
- Smartphones and tablets: The SD card slot is often found on the side or top edge of the device. It might be hidden under a small cover or tray. Look for a small rectangular slot labeled “SD” or “MicroSD” near the volume buttons or SIM card tray.
- Laptops and computers: Some laptops and computers have built-in SD card slots on the side or front of the device. These slots are typically rectangular with a spring-loaded mechanism to insert and eject the SD card.
- Cameras and other devices: For cameras or other devices, check the user manual or examine the device’s body for a dedicated slot or compartment specifically designed for the SD card.
If you’re unable to locate the SD card slot, refer to the device’s user manual or visit the manufacturer’s website for specific instructions. They will provide detailed information and illustrations on the location of the SD card slot for your particular device model.
Once you have successfully located the SD card slot, you are ready to proceed with the next step of inserting the SD card. Stay tuned!
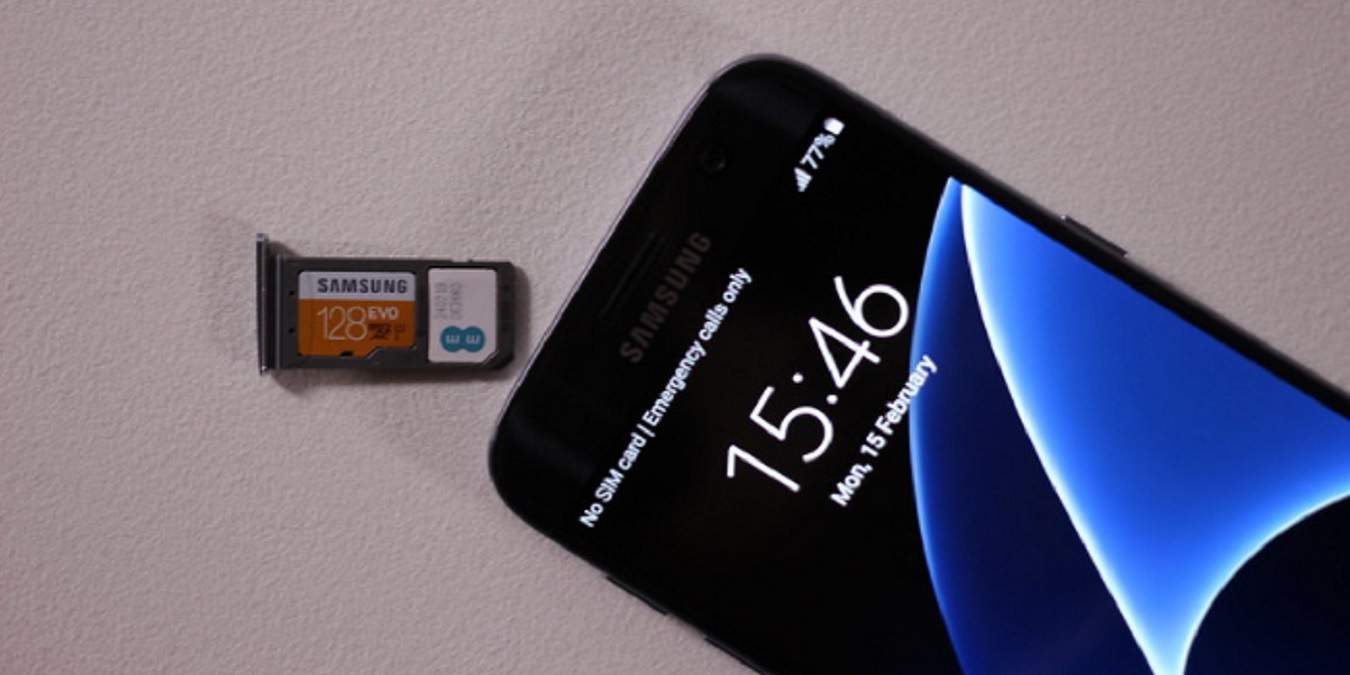
Step 4: Inserting the SD Card
Now that you have identified the location of the SD card slot, it’s time to insert the SD card into your device. Follow these steps to ensure a successful installation:
- Prepare the SD card: If your SD card is new, remove it from its packaging. Check for any protective covers on the contacts or the card itself. If present, gently peel them off.
- Align the SD card: Hold the SD card with the label facing up and the metal contacts facing down. Ensure that the notched or slanted corner of the card matches the slot on your device. This ensures the correct alignment for insertion.
- Insert the SD card: Gently slide the SD card into the slot, applying gentle pressure until it is fully inserted. Be careful not to use excessive force as this could damage the card or the slot. It should slide in smoothly until it is flush with the device’s surface.
- Secure the SD card (if applicable): If your device has a latch, cover, or tray to secure the SD card, make sure to follow the specific instructions provided for your device. This ensures that the card is securely held in place and prevents accidental ejection.
Once the SD card is inserted and secured (if applicable), you can proceed with the next step of powering on your device and configuring it to recognize the SD card. Exciting times lie ahead!
Step 5: Powering On and Configuring
With the SD card successfully inserted into your device, it’s time to power it on and configure the settings to recognize the new storage. Follow these steps to ensure a smooth setup:
- Power on your device: Press and hold the power button until your device powers on. Depending on the device, you may see a boot screen or manufacturer logo as it starts up.
- Access device settings: Once your device has fully powered on, navigate to the settings menu. This can usually be done by tapping on the gear icon or by accessing the settings app on your device.
- Find storage settings: Within the device settings menu, locate and select the “Storage” or “Memory” option. This will allow you to manage and configure the storage settings of your device.
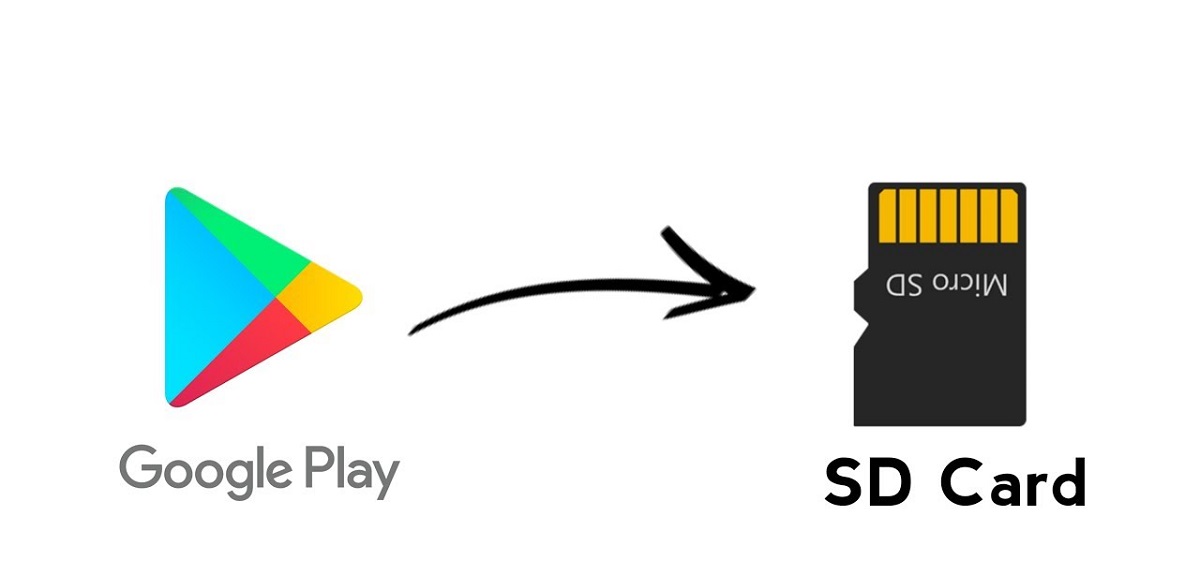
- Mount the SD card: In the storage settings menu, you should see an option to “Mount” or “Enable” the SD card. Select this option to activate the SD card and integrate it into your device’s storage system.
- Format the SD card (if necessary): Depending on your device, you may be prompted to format the SD card to ensure compatibility. If prompted, follow the on-screen instructions to format the SD card, which will erase any existing data on it. Be sure to back up any important files before proceeding.
- Configure storage preferences (optional): Some devices allow you to customize how the SD card is used. You may have the option to choose whether the card is used as portable storage or internal storage, or to move certain apps or files to the SD card. Explore the storage settings to customize your usage preferences.
Once you have configured the settings and the SD card is recognized by your device, congratulations! You are now ready to take advantage of the expanded storage space.
Keep in mind that the configuration process may vary slightly depending on your device’s operating system and manufacturer. If you encounter any issues or need further assistance, consult the device’s user manual or visit the manufacturer’s support website for detailed instructions specific to your device model.
Now that your SD card is successfully installed and configured, let’s move on to the final step of verifying the installation.
Step 6: Verifying the Installation
After completing the previous steps, it’s important to verify that the SD card installation was successful and that your device is recognizing the newly added storage. Here’s how you can verify the installation:
- Access storage settings: Navigate back to the storage settings menu on your device. This can usually be found in the device settings by selecting the “Storage” or “Memory” option.
- Check SD card status: In the storage settings, you should see the status of the SD card. It should display that the SD card is recognized, mounted, and available for use. Additionally, it should also show the amount of storage space available on the SD card.
- Test file transfer: To further ensure that the SD card is functioning properly, you can test file transfer to and from the SD card. Copy a small file, such as a photo or a document, from your device’s internal storage to the SD card. Then, try accessing the file from the SD card to ensure it is accessible.
- Verify storage increase: If you installed the SD card to expand your device’s storage capacity, check if the total storage capacity has been increased in the storage settings. It should reflect the additional storage space provided by the SD card.
- Access files or media: If you transferred any files or media onto the SD card, launch the respective applications, such as a gallery or music player, to ensure that the files stored on the SD card are accessible and playable.
If you encounter any issues during the verification process, double-check the installation and configuration steps. Ensure that the SD card is properly inserted, securely mounted (if applicable), and correctly recognized by your device.
If you are unable to resolve any potential issues, consult the device’s user manual or reach out to the manufacturer’s support for further assistance.
Congratulations! If you have successfully verified the SD card installation and everything is functioning as expected, you are now ready to enjoy the additional storage space and the convenience it brings to your device.
Conclusion
Congratulations on successfully installing an SD card into your device! By following the step-by-step instructions outlined in this guide, you have expanded your device’s storage capacity and opened up new possibilities for storing and accessing your files and media.
Remember, before beginning the installation process, it’s important to check the compatibility of your device with an SD card. By ensuring compatibility, you can avoid any issues or potential damage to your device.
Throughout the installation process, you powered off your device, located the SD card slot, inserted the SD card correctly, powered on and configured your device, and finally verified the successful installation.
Now that the SD card is installed and recognized by your device, you can enjoy benefits such as storing more photos, videos, and music, transferring files between devices, and increasing the overall storage capacity of your device.
Should you encounter any issues or have further questions, it’s always a good idea to refer to your device’s user manual or contact the manufacturer’s support for assistance.
Thank you for following this guide, and we hope that your experience with your newly installed SD card is a seamless and rewarding one. Happy storing and transferring!