Why Use an SD Card with Your Android Device
Your Android device already comes with internal storage, so why would you need to use an SD card? Well, there are several reasons why using an SD card can be beneficial:
- Expand Storage Capacity: One of the main reasons to use an SD card with your Android device is to expand its storage capacity. As we store more photos, videos, and apps on our devices, internal storage can quickly become limited. With an SD card, you can easily add extra storage space, allowing you to keep more files and media on your device without worrying about running out of space.
- No More Storage Woes: With an SD card, you can say goodbye to those annoying “Insufficient storage” messages that pop up when trying to download or update apps. By moving apps and data to the SD card, you free up space on your device’s internal storage, ensuring smoother app installations and updates.
- Backup and Transfer Files: An SD card can serve as a convenient backup for your important files. By storing your photos, videos, and documents on the SD card, you have an extra layer of protection in case your device gets lost or damaged. Additionally, you can easily transfer files between devices by simply moving the SD card from one device to another.
- Flexibility: Using an SD card gives you the flexibility to customize your storage options. You can choose the capacity that suits your needs, ranging from a few gigabytes to several terabytes. Whether you need extra space for your media collection or want to store large files, an SD card provides you with the flexibility to do so.
- Increased Performance: Some Android devices allow you to adopt the SD card as internal storage. By doing so, you can improve the performance of your device by seamlessly integrating the SD card with the internal storage. This option is particularly beneficial for devices with low internal storage capacity.
In summary, using an SD card with your Android device offers numerous advantages, including expanded storage capacity, improved performance, and convenient file backup and transfer. If you find yourself running out of internal storage or facing frequent storage-related issues, investing in an SD card can greatly enhance your Android experience.
Understanding SD Card Types and Capacities
When it comes to SD cards, there are various types and capacities to choose from. Understanding the differences between them is essential to ensure compatibility with your Android device. Here are some key things to know:
- SD, SDHC, and SDXC: SD cards are classified based on their capacity and speed capabilities. The three main types are SD (Secure Digital), SDHC (Secure Digital High Capacity), and SDXC (Secure Digital eXtended Capacity). SD cards, typically with a capacity of up to 2GB, are suitable for older devices. SDHC cards, ranging from 2GB to 32GB, are designed for devices that support the SDHC format. SDXC cards, on the other hand, offer high capacities starting from 64GB and going up to several terabytes.
- Speed Class: SD cards also have speed classes that indicate their minimum sustained write speeds. The speed classes range from Class 2 (minimum 2MB/s) to Class 10 (minimum 10MB/s). These speed classes are important for tasks like capturing high-resolution photos or recording videos, as they ensure smooth and uninterrupted data transfer.
- UHS Speed Class: Some SD cards also have UHS (Ultra High Speed) speed classes, denoted by Roman numerals (I, II, and III), indicating higher data transfer rates. UHS-I cards offer a minimum write speed of 10MB/s, UHS-II cards offer a minimum of 30MB/s, and UHS-III cards offer a minimum of 60MB/s. These higher speed classes are particularly beneficial for devices that require fast data transfer, such as DSLR cameras.
- Compatibility: It is essential to ensure that the SD card you choose is compatible with your Android device. Most devices support SDHC and SDXC cards, but it’s always advisable to check the device specifications or consult the manufacturer’s guidelines. Additionally, some older devices might not support higher capacity or high-speed cards, so be mindful of these limitations.
- Choosing the Right Capacity: When selecting an SD card for your Android device, consider your storage needs. If you primarily use your device for basic tasks like browsing and messaging, a lower capacity SD card might be sufficient. However, if you frequently capture photos, record videos, or download large apps, opting for a higher capacity card will ensure you have ample storage space.
In summary, understanding the different types and capacities of SD cards is crucial to ensure compatibility with your Android device. Consider the speed class and UHS speed class for your specific requirements, and choose a capacity that aligns with your storage needs. By selecting the right SD card, you can maximize the storage capabilities of your Android device and enhance your overall user experience.
Inserting and Removing an SD Card from Your Android Device
Adding an SD card to your Android device is a simple process that can expand your storage capacity and enhance your device’s capabilities. Here’s a step-by-step guide on how to insert and remove an SD card:
- Choose the right SD card: Ensure that you have a compatible SD card that matches your device’s specifications. Check the device manual or manufacturer’s website for the recommended card type and capacity.
- Power off your device: It’s always a good practice to switch off your Android device before inserting or removing an SD card. This helps prevent any data corruption or damage to both the device and the card.
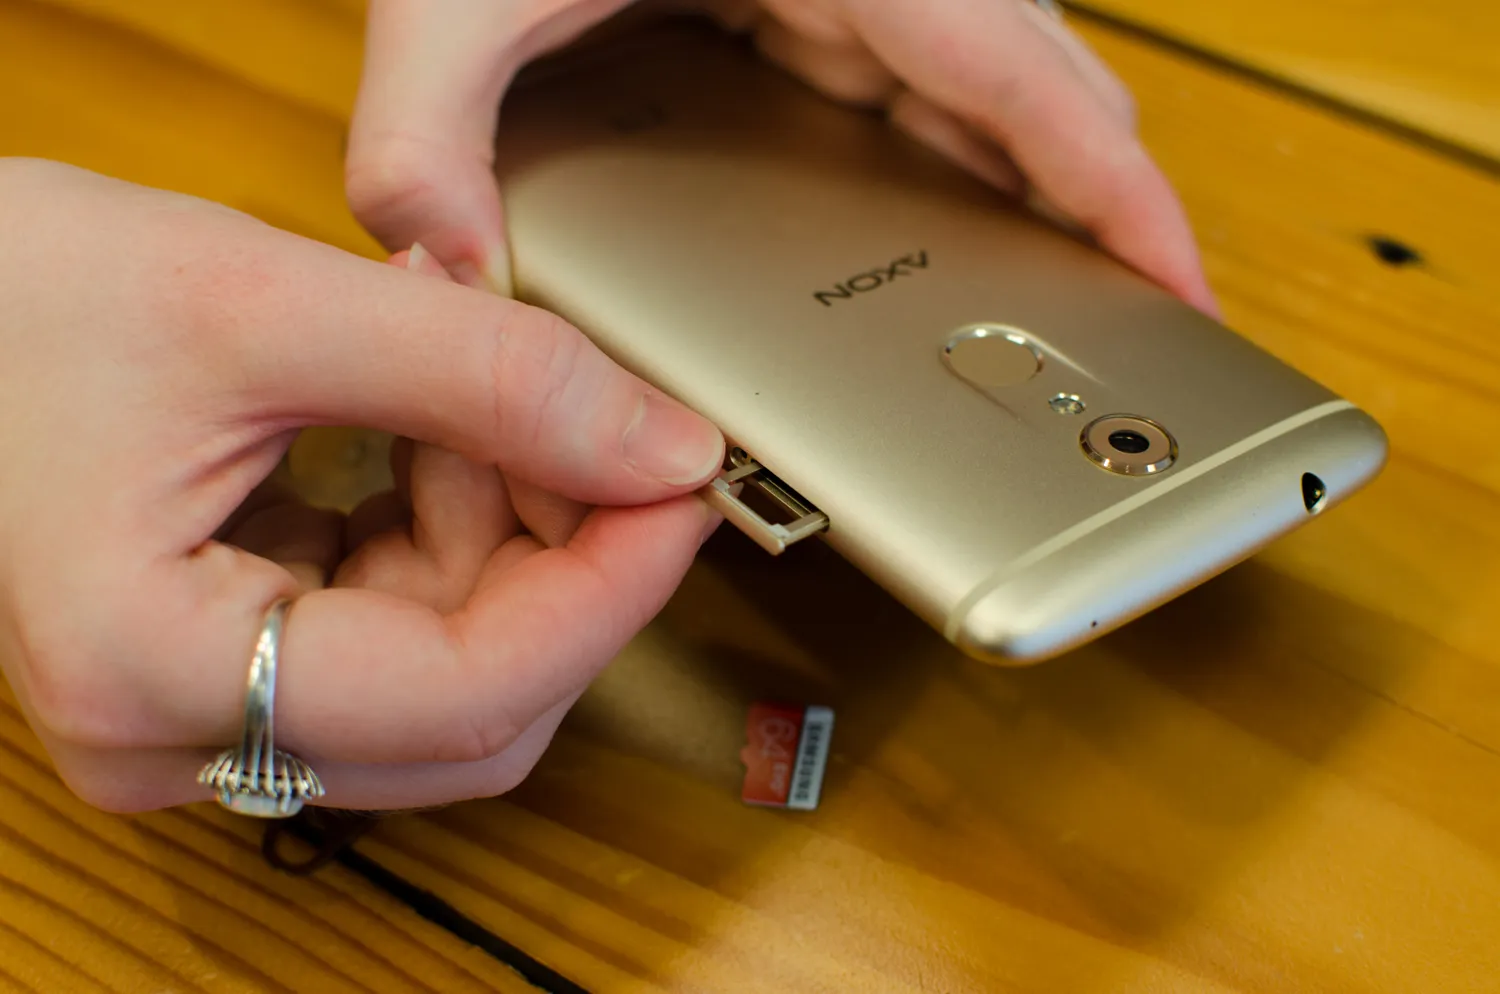
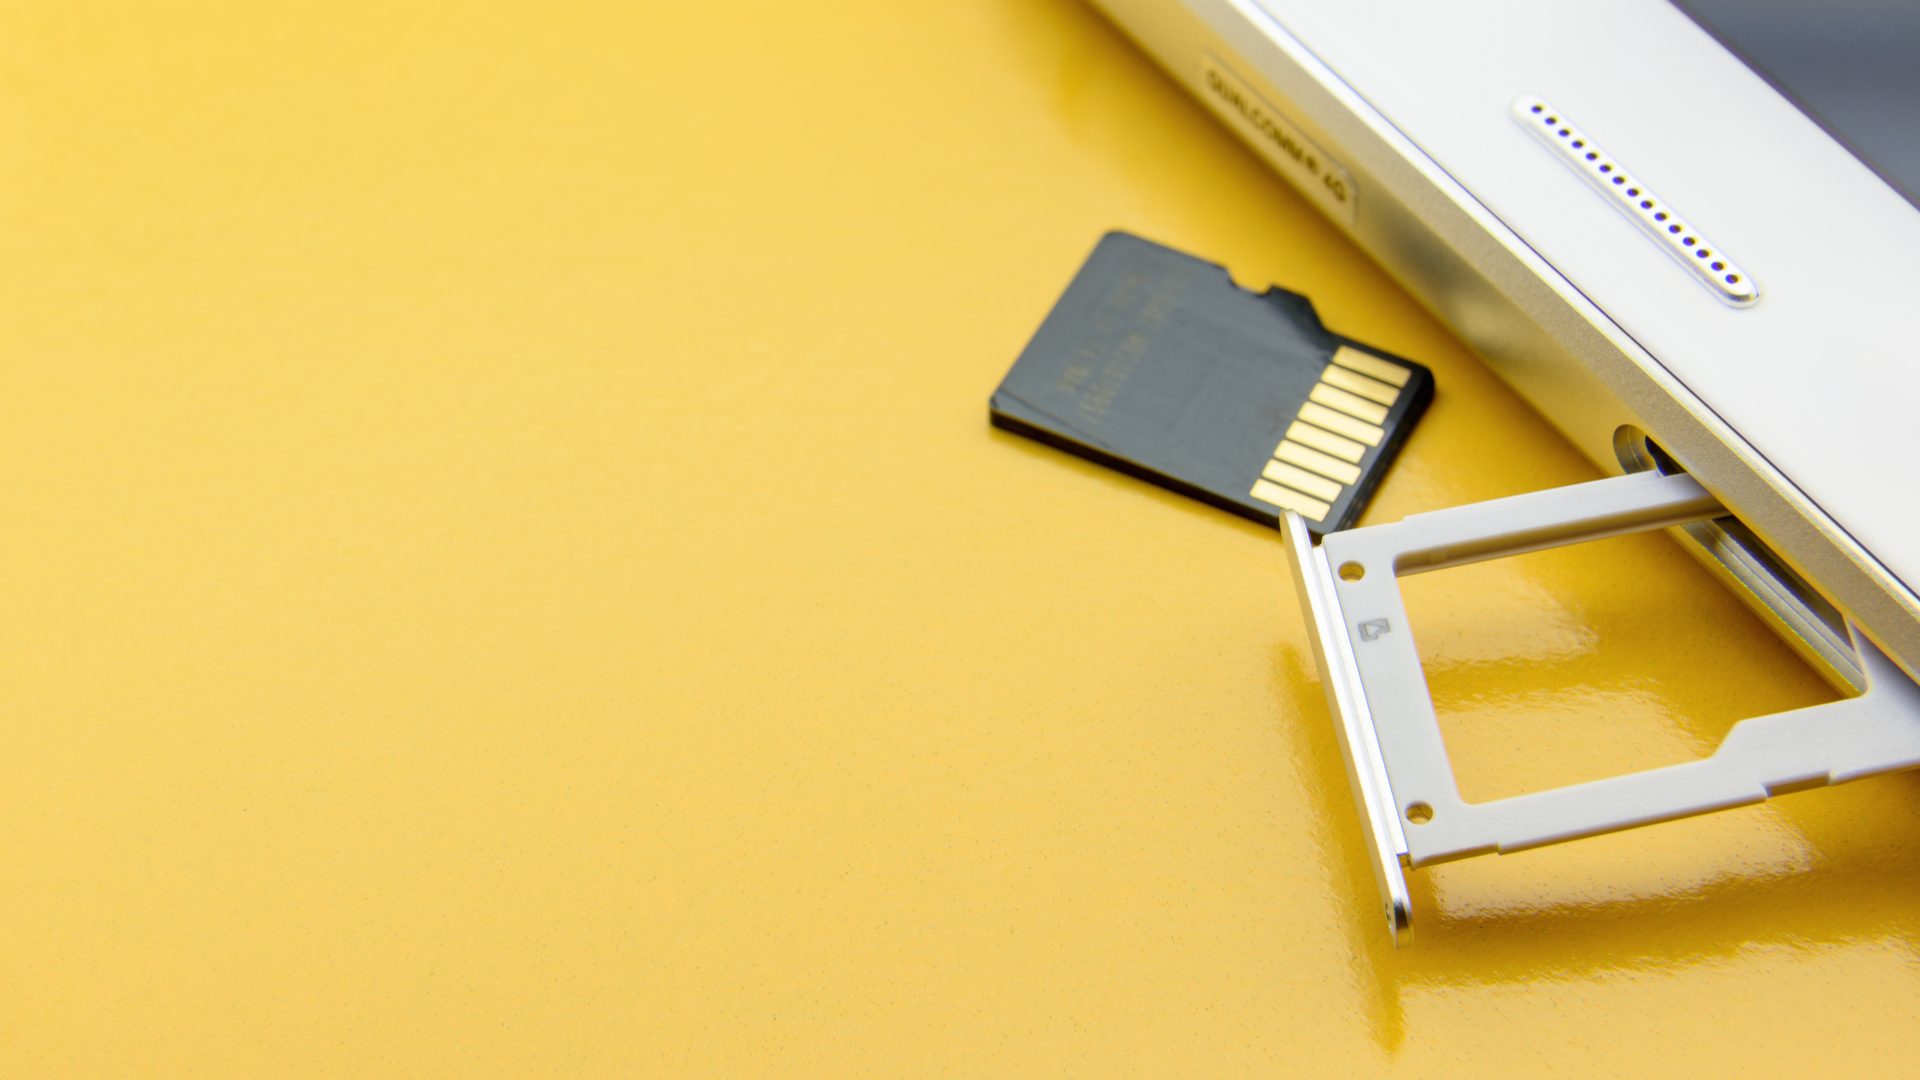
- Locate the SD card slot: Depending on your device model, the SD card slot can be found either on the side of the device or under the back cover. Refer to the device manual or manufacturer’s guidelines to identify the exact location.
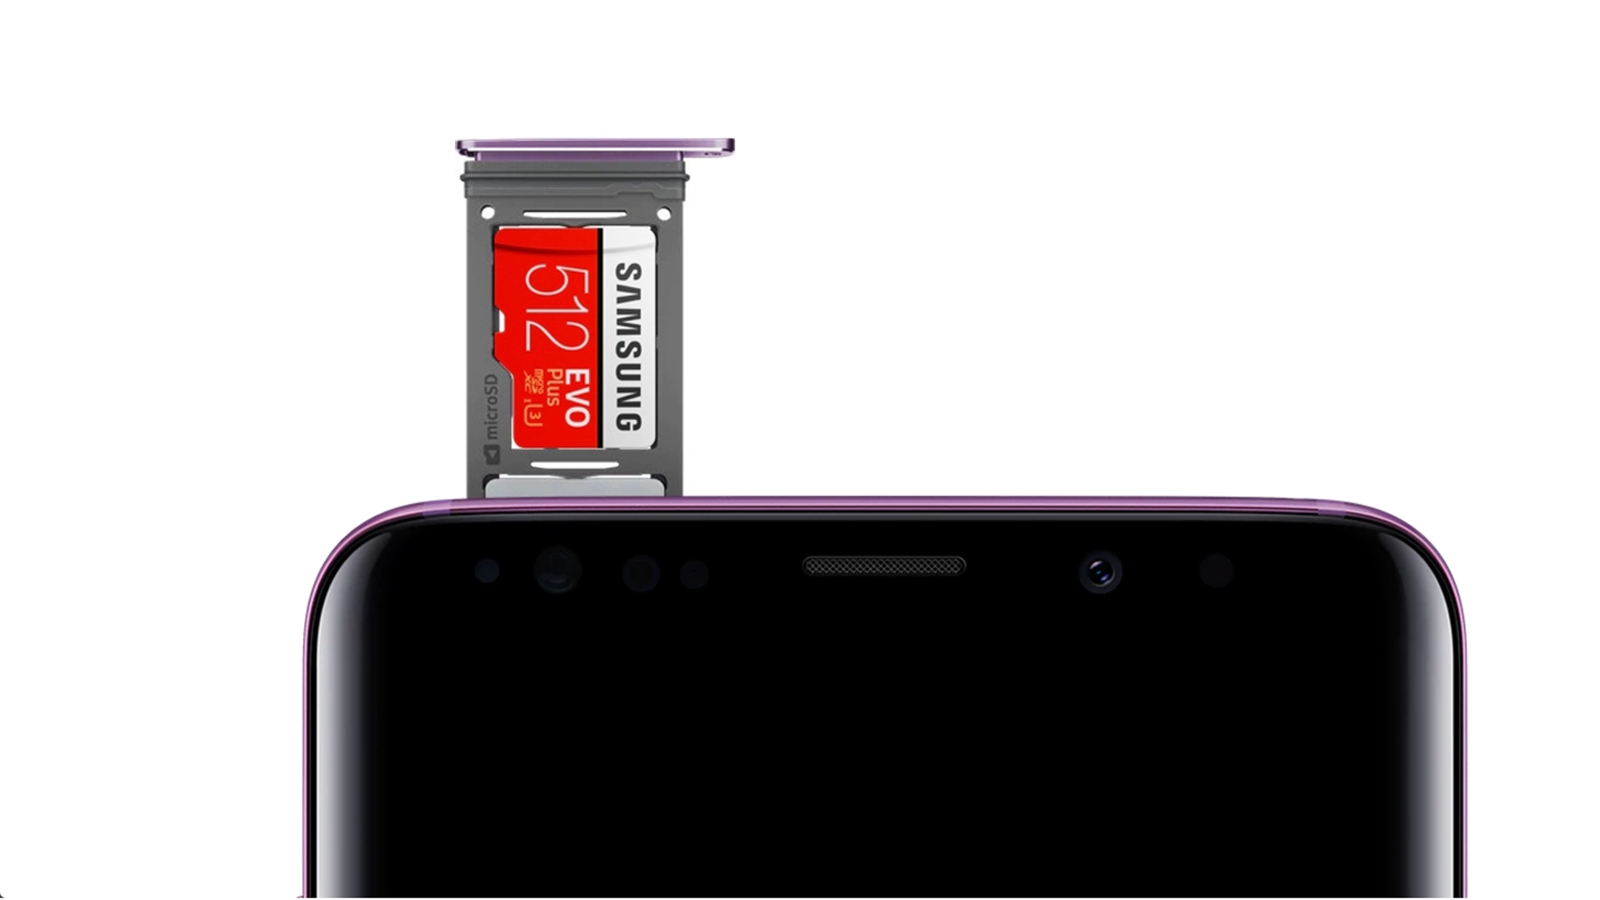
- Inserting the SD card: Gently push the SD card into the designated slot until it clicks into place. Make sure you insert it in the correct orientation, usually with the metal contacts facing downwards or towards the device.
- Secure the SD card: Once the card is properly inserted, ensure that it is securely in place. If your device has a lever or latch mechanism, use it to lock the SD card in position. With devices featuring a back cover, reattach it to ensure the card remains firmly in place.
- Power on your device: After securely inserting the SD card, power on your Android device. It will automatically detect the new storage and prompt you to format it for use. Follow the on-screen instructions to complete the formatting process.
- Removing the SD card: If you need to remove the SD card, first power off your device. Locate the SD card slot and carefully eject the card by pushing it in slightly until you hear a click, then release it. It will pop out slightly, allowing you to grasp and gently remove the card from the slot.
Remember to follow these steps carefully to avoid any damage to your SD card or your Android device. By correctly inserting and removing an SD card, you can easily expand your device’s storage capacity and enjoy greater flexibility in managing your files and media.
Formatting an SD Card for Use with Android
Formatting an SD card is essential to prepare it for use with your Android device. Formatting ensures compatibility, optimizes performance, and erases any existing data on the card. Here’s how you can format an SD card for use with Android:
- Backup your data: Before formatting the SD card, make sure to back up any important data or files stored on it. Formatting will erase all data on the card, so it’s crucial to have a copy of your files stored elsewhere to avoid permanent loss.
- Insert the SD card: Insert the SD card into your Android device following the instructions provided in the previous section. Ensure that it is securely inserted into the designated slot.
- Open Settings: Open the Settings app on your Android device. You can usually find it in your app drawer or by swiping down on the notification panel and tapping the gear icon.
- Navigate to Storage: In the Settings menu, find and tap on the “Storage” or “Storage and USB” option. This will take you to the storage settings of your device.
- Select the SD card: Within the storage settings, you should see the option to manage your SD card. Tap on the SD card option to access its specific settings.
- Format the SD card: Look for the “Format” or “Format SD card” option and tap on it. You will be presented with a warning message indicating that all data on the card will be erased. Confirm the formatting process by tapping “Format” or “OK.”
- Wait for the formatting to complete: The formatting process may take a few moments to complete. Once finished, you will receive a confirmation message informing you that the SD card has been successfully formatted and is now ready for use.
- Use the formatted SD card: With the SD card formatted, you can now start using it with your Android device. You can store files, photos, videos, and apps on the SD card to free up space on your device’s internal storage. Some Android devices also give you the option to move apps to the SD card to further optimize storage.
Remember, formatting an SD card will erase all data on it, so make sure to back up any important files before proceeding. By properly formatting your SD card, you ensure compatibility with your Android device and optimize its performance for storing and accessing files and media.
Managing Storage and File Transfer with an SD Card
An SD card is a valuable tool for managing storage and file transfer on your Android device. With its expanded capacity, you can store more files, media, and apps without worrying about running out of space. Here are some tips for efficiently managing storage and transferring files with an SD card:
- Move apps to the SD card: If your device supports it, you can move certain apps to the SD card to free up space on your device’s internal storage. To do this, go to Settings > Apps, select an app, and choose the “Move to SD card” option if available. Note that not all apps can be moved, as some system apps or apps with widgets may require them to remain on the internal storage.
- Transfer media files: You can easily transfer photos, videos, music, and other media files to your SD card to free up internal storage. Connect your Android device to a computer using a USB cable, then navigate to the device’s storage. Simply drag and drop the desired files from your device’s internal storage to the SD card folder on your computer. Alternatively, you can use file manager apps available on the Play Store to transfer files directly within your Android device.
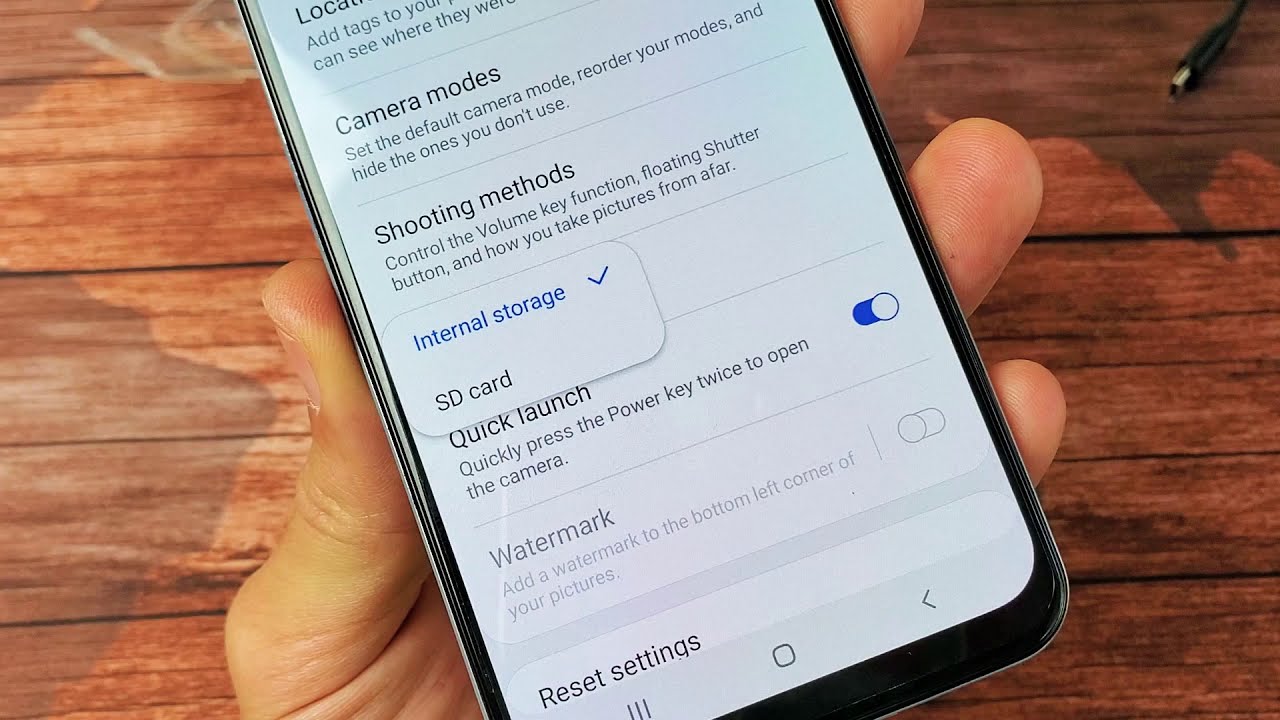
- Set default storage location: Some Android devices allow you to specify the default storage location for various types of files. To do this, go to Settings > Storage, and look for the option to change the default storage location. Choose the SD card as the default storage for photos, videos, downloads, or other applicable file types. This ensures that any new files of that type will automatically be saved to the SD card instead of the internal storage.
- Clean up unnecessary files: Regularly review and delete unnecessary files stored on your Android device to conserve space. Use file manager apps or Android’s built-in storage management tools to identify large files, unused apps, and cached data that can be safely deleted. Be cautious when deleting files and ensure you are only removing files you no longer need.
- Regularly back up your SD card: Similar to your device’s internal storage, it’s essential to back up the data on your SD card regularly. You can copy the contents of the SD card to your computer or cloud storage solutions, ensuring that you have a backup in case of any data loss or damage to the SD card.
By effectively managing storage with your SD card, you can optimize your Android device’s performance, avoid storage limitations, and ensure a seamless experience when transferring files and media.
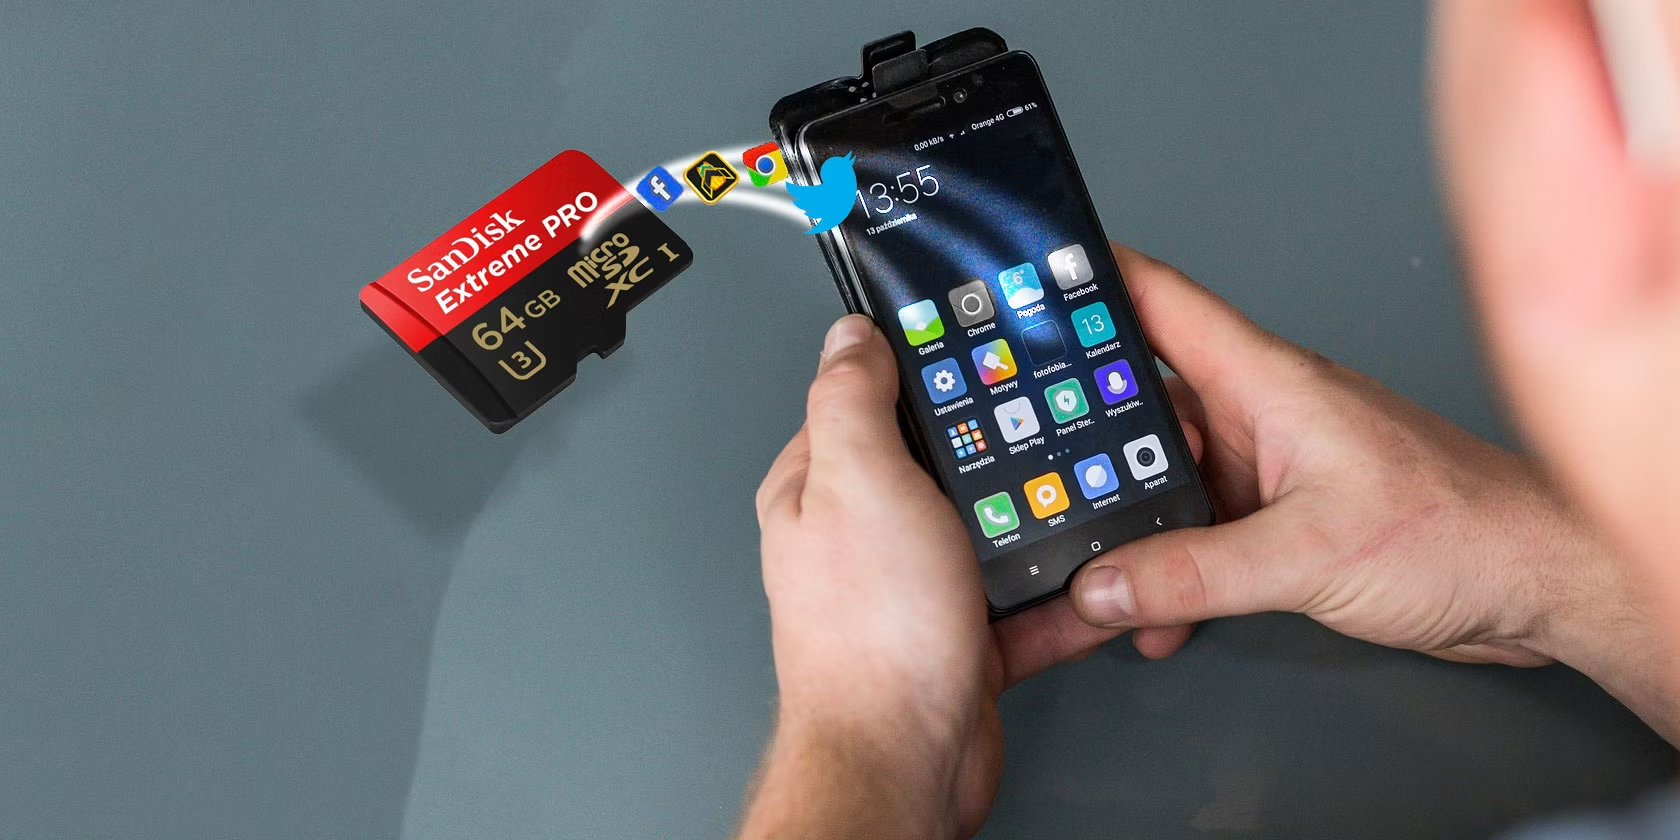
Moving Apps and Data to an SD Card
One of the advantages of using an SD card with your Android device is the ability to move certain apps and data to the card. This can free up valuable internal storage space and ensure smoother app installations and updates. Here’s how you can move apps and data to an SD card:
- Check for app compatibility: Not all apps can be moved to an SD card. Some system apps or apps with widgets may require them to remain on the internal storage. To check if an app can be moved, go to Settings > Apps, select the desired app, and look for the “Move to SD card” option. If it’s available, you can proceed with the following steps.
- Open the app settings: Go to Settings > Apps and select the app you want to move to the SD card.
- Tap on “Storage”: Once you’re in the app settings, look for the “Storage” option. Tap on it to access the storage settings for that specific app.
- Select “Change” or “Move to SD card”: In the storage settings, you may see an option to change the storage location or move the app to the SD card. Tap on it to initiate the app transfer process.
- Follow the prompts: Depending on your device and Android version, you may need to follow additional prompts to complete the process. The system will create a new app folder on the SD card and move the necessary files and data to the card.
- Verify app transfer: After the transfer process is complete, go back to the app settings to verify that the app is now located on the SD card. You should see that the app’s storage location has changed, indicating that it has been successfully moved.
It’s important to note that not all data associated with the app can be moved to the SD card. Some app data, such as cached data or specific user preferences, may still reside in the internal storage. However, moving the app itself can significantly free up space on your device.
Additionally, when moving apps to an SD card, be aware that removing the SD card from your device will make those apps unavailable until the SD card is reinserted. Also, keep in mind that the performance of apps installed on an SD card may be slightly slower compared to those installed on internal storage.
By moving compatible apps and their associated data to an SD card, you can maximize your Android device’s storage capacity and ensure a smoother user experience when it comes to installing and updating apps.
Safely Ejecting an SD Card from Your Android Device
When you’re done using an SD card with your Android device or need to switch it out for another one, it’s important to safely eject the card to avoid any potential data corruption or damage. Here’s how you can safely eject an SD card from your Android device:
- Close all apps and files: Before ejecting the SD card, make sure that all apps and files related to the card are closed or saved. This helps ensure that there are no active processes or data transfers that could be interrupted during the ejection process.
- Open the Storage settings: Go to Settings > Storage on your Android device. This is where you can access the specific settings related to your device’s storage, including the SD card.
- Unmount the SD card: Within the Storage settings, you should see an option to unmount or eject the SD card. Tap on this option to begin the ejection process.
- Confirm the ejection: A confirmation dialog will appear, informing you that once the SD card is ejected, it won’t be accessible until reinserted. Verify that you have backed up any important data from the SD card, then tap on “Eject” or “Unmount” to proceed.
- Wait for the unmount process: The Android system will now safely unmount the SD card, ensuring that all read and write operations are completed. This process may take a few seconds.
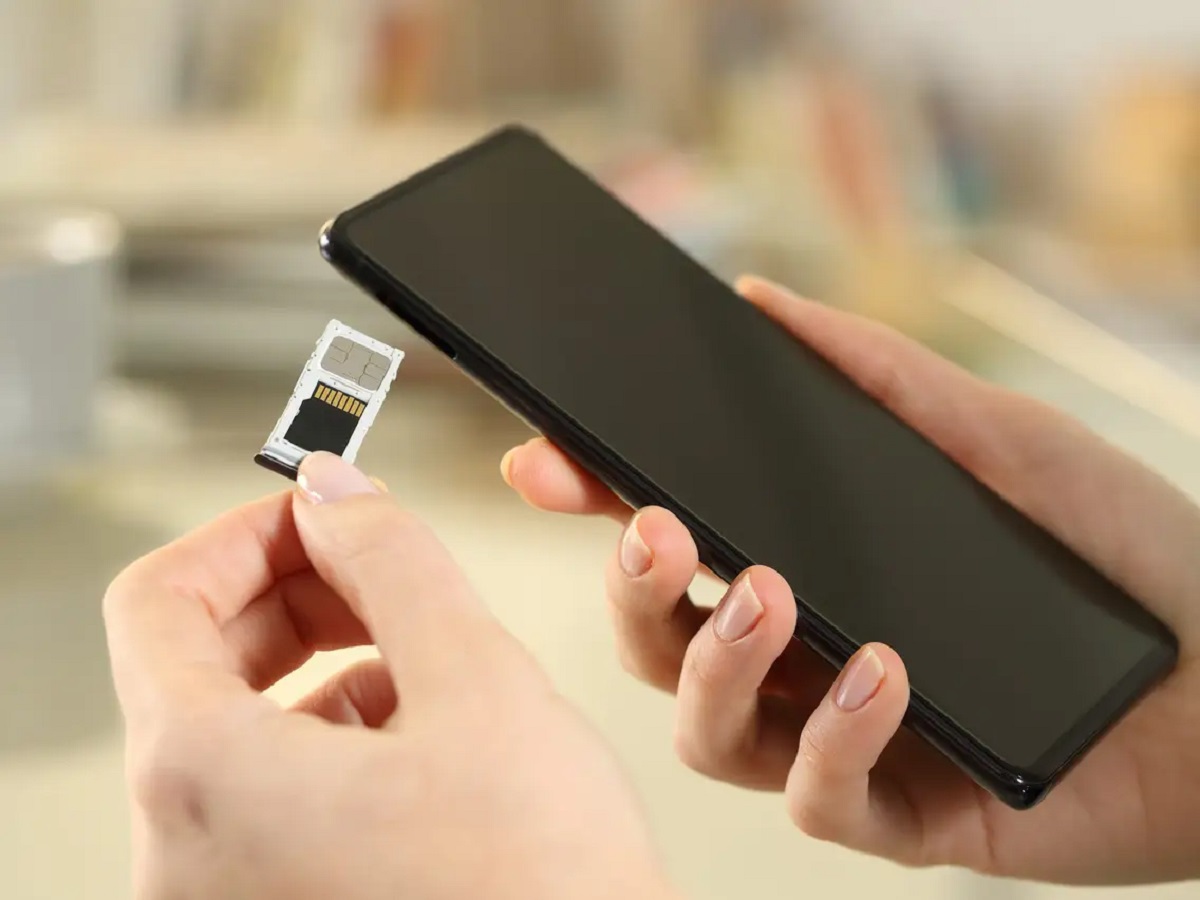
- Physically eject the SD card: Once the unmount process is complete, the Android system will notify you that it is safe to physically eject the SD card. If your device has a lever or latch mechanism, use it to release the SD card. If not, carefully push the card in slightly until you hear a click, then release it. The SD card will pop out slightly, allowing you to grasp and gently remove it from the slot.
It’s crucial to follow these steps and safely eject the SD card from your Android device to prevent any potential damage to the card or your device’s file system. Abruptly removing the SD card without unmounting it can lead to data corruption or loss.
Remember to handle the SD card with care, keeping it in a safe place when not in use. If you plan to insert another SD card, repeat the process of inserting and formatting the new card before using it with your Android device.
By safely ejecting an SD card from your Android device, you can ensure the integrity of your data and prolong the lifespan of the card, allowing for smooth and trouble-free usage in the future.
Troubleshooting Common Issues with SD Cards
While SD cards are generally reliable storage solutions, you may encounter some common issues along the way. Here are some troubleshooting tips to help you resolve common problems with SD cards on your Android device:
- Card not recognized: If your Android device fails to recognize the SD card, ensure that it is properly inserted into the card slot. Remove and reinsert the card, making sure it clicks into place. If the problem persists, try inserting the SD card into another device or using a different card in your Android device to determine if the issue lies with the card or the device.
- Corrupted or damaged data: If you notice that files on your SD card are corrupted or unreadable, try accessing the card through a computer or another Android device. If the files are still inaccessible, use data recovery software to attempt to recover the data. If successful, consider reformatting the card to avoid future data corruption issues.
- Slow performance: If your Android device becomes slow or unresponsive when accessing data on the SD card, check for any compatibility issues. Ensure that both the card and the device support the same file systems and speed classes. If possible, try using a higher-speed card or formatting the card to a different file system that is supported by your device.
- Unexpected card removal: If your Android device frequently prompts you with an “SD card unexpectedly removed” error message, first ensure that the card is securely inserted. If the issue continues, the card may be physically damaged or the card slot may be faulty. Test the card in another device or try using a different card in your Android device to identify the source of the problem.
- Error formatting the card: If you encounter errors when formatting the SD card, try using a computer to format it instead. Connect the card to the computer using a card reader, then use the computer’s formatting tools to format the card to FAT32 or exFAT (depending on the card’s size and your device’s compatibility). After formatting, eject the card safely and insert it back into your Android device to check if the formatting issue is resolved.
If you continue to experience issues with your SD card despite these troubleshooting steps, it may be necessary to replace the card or consult with the card manufacturer or your device’s technical support for further assistance.
Remember to handle your SD card with care, avoiding exposure to extreme temperatures, humidity, or physical damage. Regularly backing up your data from the card will also help mitigate potential loss in case of any unforeseen issues.
By following these troubleshooting tips, you can address common issues with SD cards and ensure optimal performance and reliability when using them with your Android device.