Introduction
Installing an SD card on your Android phone is a great way to expand its storage capacity and increase its performance. With an additional SD card, you can store more photos, videos, and apps without worrying about running out of space. It also allows you to keep your device running smoothly by offloading resource-intensive files to the external storage.
In this article, we will guide you through the step-by-step process of installing an SD card on your Android phone. From checking the compatibility to formatting the card, we will cover everything you need to know to successfully add extra storage to your device.
Before you begin the installation process, it’s important to note that not all Android phones have an SD card slot. Some newer models, such as Google Pixel and some Samsung Galaxy devices, do not have this feature. Therefore, the first step is to check if your Android phone is compatible with an SD card.
Once you confirm the compatibility, you can proceed with purchasing the right SD card for your phone. There are different types and capacities available in the market, so make sure to choose one that meets your device’s specifications and your storage needs.
Now that you have the SD card, it’s time to power off your Android phone. This step is important to ensure that the device is safely turned off before inserting or removing any external storage.
To locate the SD card slot, refer to your phone’s user manual. The placement and design of the slot vary among different phone models. It is commonly found along the side or at the back of the device, covered by a small flap or panel.
Once you find the slot, gently insert the SD card into it, making sure it is properly aligned with the pins and contacts. Avoid using excessive force, as it may damage the card or the slot.
After inserting the SD card, power on your Android phone and it should automatically recognize the newly added storage. However, in some cases, you may need to format the SD card using your phone’s settings.
Please note that formatting the SD card will erase all existing data, so make sure to backup important files before proceeding. The formatting process can be done through the phone’s storage settings, where you will find the option to format the SD card.
If you want to use the SD card as internal storage, you will need to set it up accordingly. This feature is available on certain Android versions and allows you to seamlessly merge the internal and external storage, giving you more space to install apps and store data.
Finally, if you choose to set up the SD card as internal storage, you can move apps and data to the card to free up space on your phone’s internal storage. This can be done through the app settings or storage settings of your Android device.
Remember, when you no longer need the SD card or want to switch it to another device, make sure to safely remove it to avoid data corruption. This can be done by going to the storage settings, selecting the SD card, and then choosing the option to safely remove it.
With these steps, you can easily install an SD card on your Android phone, expanding its storage capacity and enjoying more flexibility in managing your files and apps. Keep in mind that the specific steps may vary depending on your phone model and software version, so always refer to your device’s user manual or online resources for accurate instructions.
Step 1: Check the compatibility of your Android phone
Before you start the process of installing an SD card on your Android phone, it’s crucial to confirm if your device has an SD card slot. While most Android phones do come with this feature, it’s essential to double-check to avoid any disappointment or frustration.
To check the compatibility, you can refer to your phone’s user manual or perform a quick online search for your phone model. The user manual will provide detailed information about the specifications and features of your device, including whether it supports external storage via an SD card.
If you don’t have the user manual, you can search for your phone model and “SD card compatibility” to find relevant information. There are also websites and forums dedicated to Android phones that can help you verify if your device is compatible with an SD card.
Additionally, you can inspect your phone physically to locate the SD card slot. It is usually found on the side or at the back of the device, covered by a flap or panel. The slot may be labeled with an “SD” logo or the words “SD card”.
In some cases, instead of an SD card slot, your device may offer a different storage expansion option, such as a hybrid SIM tray or a microSD slot. These options allow you to use a SIM card and an SD card simultaneously or interchangeably. Again, consulting the user manual or conducting an online search will provide you with the necessary information.
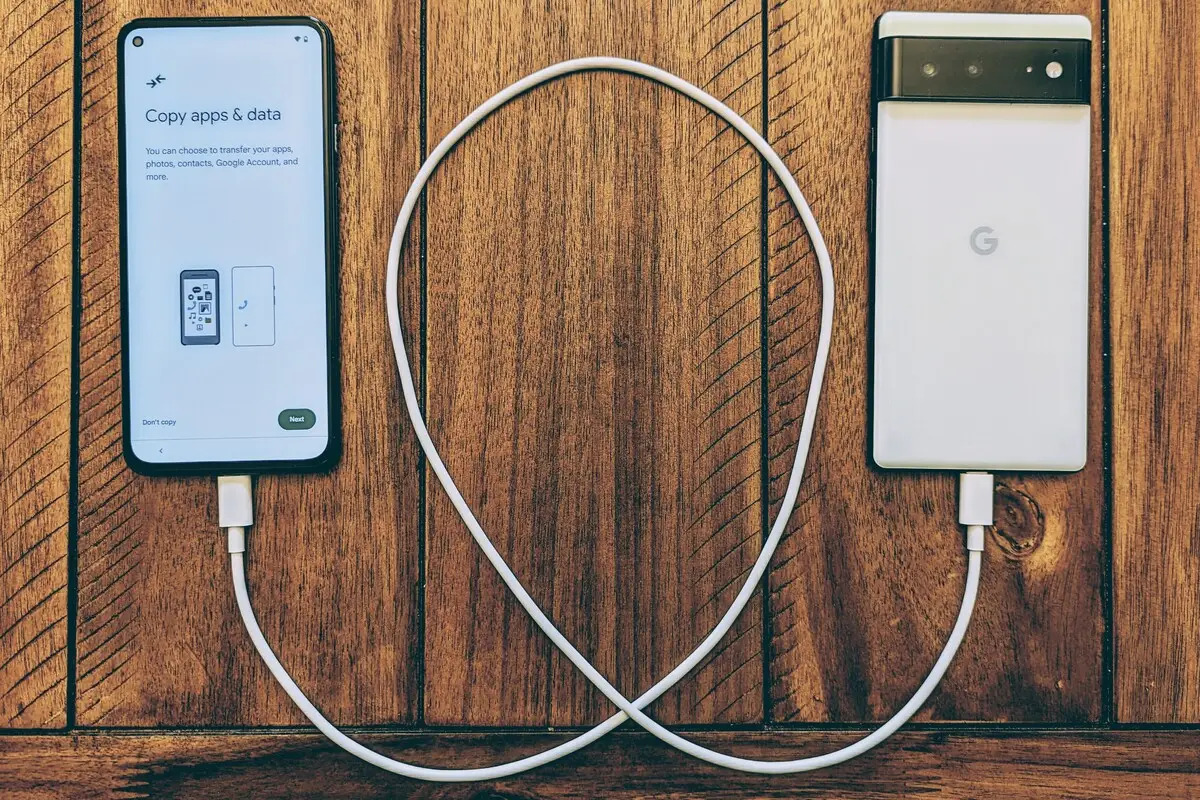
If your phone does not have an SD card slot or any other storage expansion option, it means that you cannot install an SD card on your device. In this case, you may need to explore alternative methods to free up space on your phone, such as deleting unnecessary files, moving data to the cloud, or using external storage devices that connect via USB or wireless technology.
Confirming the compatibility of your Android phone is vital to ensure that you can successfully install an SD card and enjoy the benefits of expanded storage. By taking the time to check this crucial aspect, you can save yourself from the disappointment of purchasing an SD card only to find out it’s not compatible with your device.
Step 2: Purchase the right SD card for your phone
Once you have confirmed that your Android phone is compatible with an SD card, the next step is to purchase the right one for your device. Choosing the appropriate SD card is crucial to ensure compatibility, optimal performance, and sufficient storage capacity for your needs.
When selecting an SD card, there are a few key factors to consider:
- Storage Capacity: Determine how much additional storage you require. SD cards come in various capacities, ranging from a few gigabytes (GB) to several terabytes (TB). Assess your storage needs based on the types of files you plan to store, such as photos, videos, documents, and apps.
- Speed Class: SD cards have different speed classes, denoted by a number within a circle. The speed class indicates the minimum write speed of the card in megabytes per second (MB/s). If you intend to use the SD card for recording high-definition videos or running resource-intensive apps, opt for a higher speed class to ensure smooth performance.
- Type of SD Card: There are different types of SD cards available, including the standard SD card, microSD card, and miniSD card. MicroSD cards are most commonly used in Android phones, so ensure you select the appropriate type that fits your device’s slot.
When purchasing an SD card, it’s advisable to buy from reputable manufacturers or trusted retailers to ensure quality, reliability, and warranty support. Avoid counterfeit or low-quality cards, as they may result in poor performance, data corruption, or even damage to your device.
Before making a final purchase, it’s also a good idea to read customer reviews and check compatibility information specific to your phone model. This will help you make an informed decision and avoid any compatibility issues or disappointments once the SD card arrives.
Once you have bought the SD card, keep its packaging and any relevant documentation, including the warranty details. In case of any issues or concerns, having this information readily available will simplify the process of seeking support or exchanging the card if necessary.
By purchasing the right SD card for your Android phone, you can ensure optimal performance, ample storage capacity, and a seamless experience when installing and using the card on your device.
Step 3: Power off your Android phone
Before proceeding with the installation of an SD card on your Android phone, it is crucial to power off your device. Turning off the phone ensures that the device is in a safe state for inserting or removing any external storage, such as an SD card.
Powering off your Android phone is a simple process:
- Press and hold the power button, typically found on the side or top of your phone.
- A power menu will appear on the screen.
- Select the “Power Off” or “Shut Down” option from the menu.
- Wait for a few seconds until the device completely powers off.
It is important to ensure that your device is fully powered off before proceeding to the next steps. This helps prevent any potential damage to the SD card or phone’s storage system.
In some cases, you may find it beneficial to remove the phone’s battery if it is removable. This action completely cuts off power to the device, providing an additional level of safety when handling external storage. However, many newer models have non-removable batteries, so powering off the device through the software is sufficient.
Remember to wait for a few moments to ensure that your phone is fully powered off before proceeding to the next step. Rushing this process may result in unexpected issues or complications during the installation of the SD card.
By following this simple step of powering off your Android phone, you can prepare your device for the safe and successful installation of an SD card. Take the time to ensure that your device is completely powered off, and then proceed to the next step of the installation process with confidence.
Step 4: Locate the SD card slot
Once you have powered off your Android phone, the next step is to locate the SD card slot. The SD card slot is where you will insert the SD card to expand the storage capacity of your device.
The exact location of the SD card slot may vary depending on the make and model of your Android phone. Here are some common places where you can find the SD card slot:
- Side of the phone: Some devices have the SD card slot located on the side of the phone. This can usually be found along with other ports, such as the charging port and headphone jack.
- Back of the phone: On certain models, the SD card slot is situated on the back of the phone, underneath a removable cover or panel. In this case, you’ll need to remove the cover to access the SD card slot.
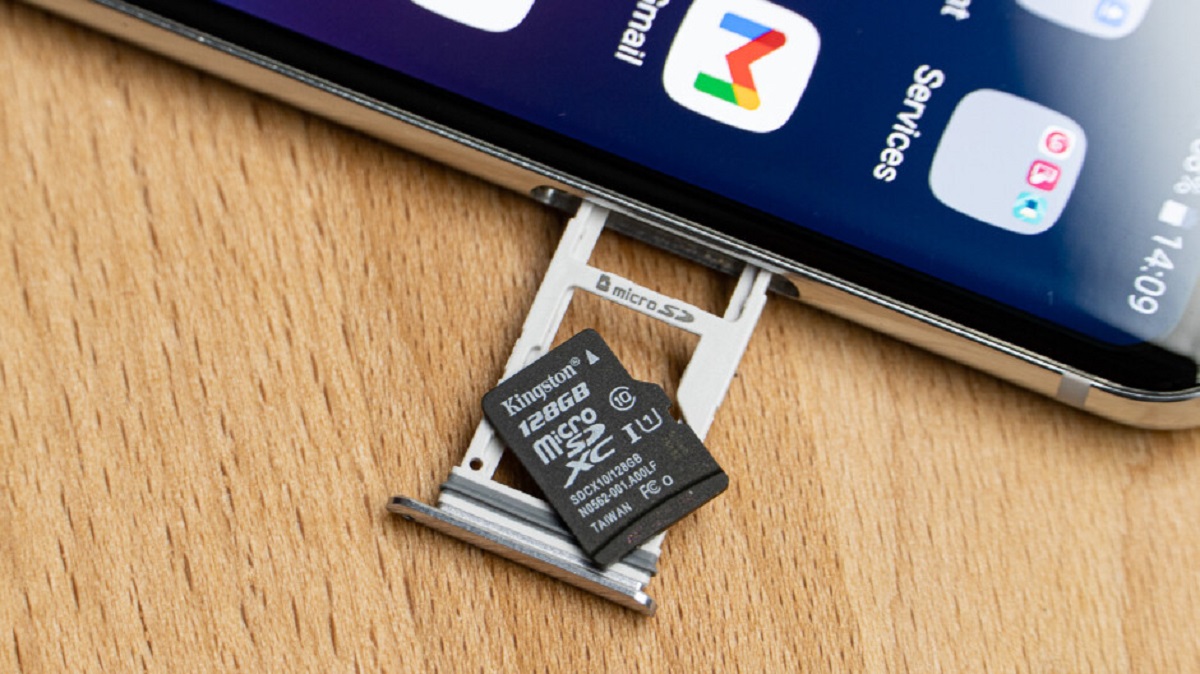
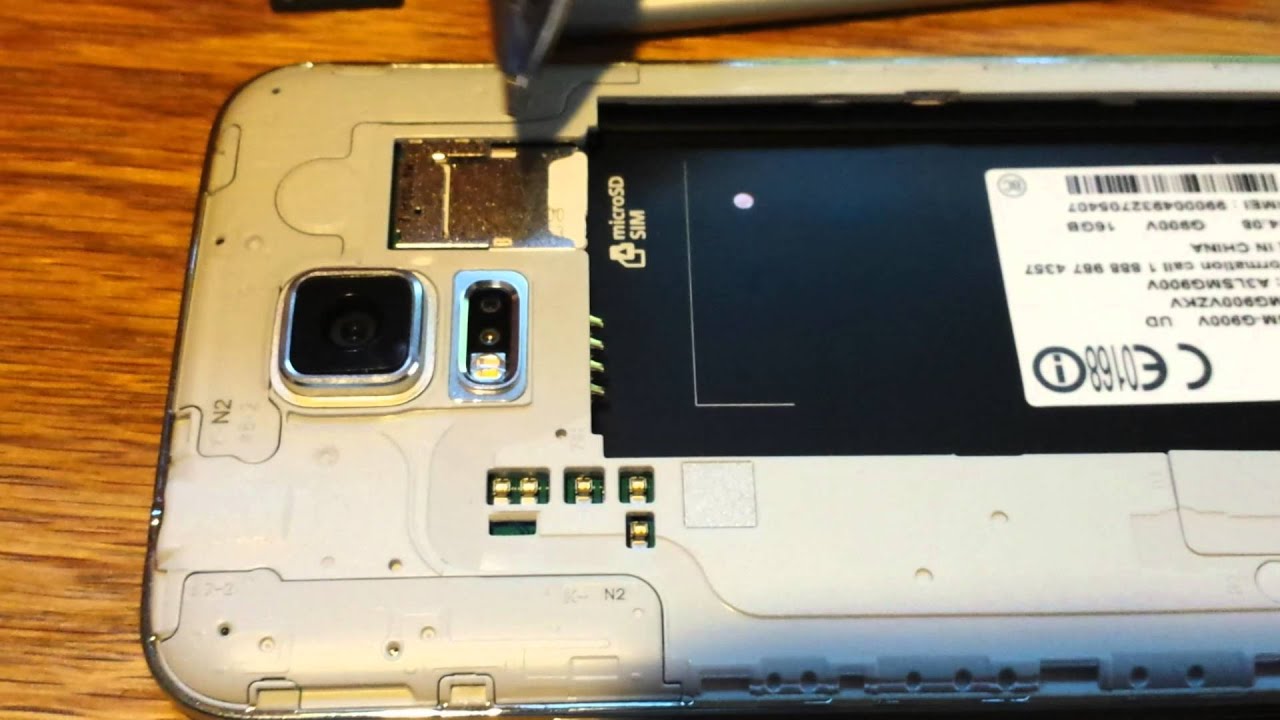
- Tray or drawer: Other phones have a dedicated tray or drawer for both the SIM card(s) and the SD card. This tray is usually located on the side of the phone and can be accessed by using a SIM ejection tool or a small paperclip to release the tray.
If you’re uncertain about the location of the SD card slot on your specific phone model, it’s always helpful to consult the user manual. The manual will provide detailed instructions on where to find the slot and how to access it.
It’s important to note that not all Android phones have an SD card slot. Some newer models, such as Google Pixel and select Samsung Galaxy devices, do not offer expansion via an SD card. In this case, you may need to explore alternative storage options or consider upgrading to a phone with sufficient internal storage.
Once you have located the SD card slot, take a moment to familiarize yourself with its design and any accompanying instructions. This will ensure that you insert the SD card correctly and avoid any potential damage to the card or the phone’s internal components.
By successfully identifying the SD card slot on your Android phone, you are now ready to proceed to the next step of the installation process and insert the SD card into the slot.
Step 5: Insert the SD card into the slot
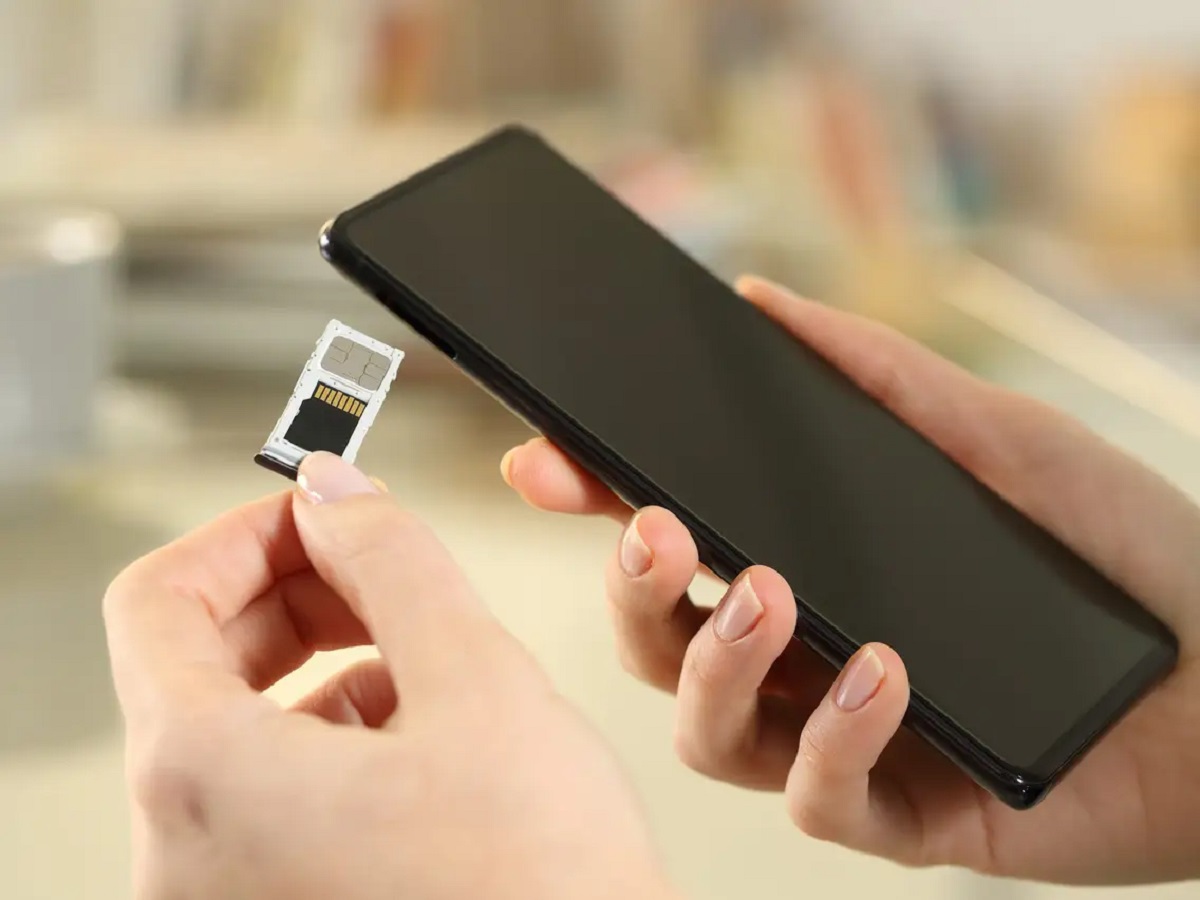
Now that you have located the SD card slot on your Android phone, it’s time to insert the SD card into the slot. This process is straightforward, but it requires careful handling to ensure a secure and proper connection.
Follow these steps to insert the SD card:
- Gently remove any covers or panels that may be concealing the SD card slot. If there is a removable cover or panel, carefully lift it using your fingernail or a small tool, making sure not to apply excessive force.
- Hold the SD card with your fingers, ensuring that you are touching the sides and avoiding contact with the gold contacts or circuitry on the card.
- Align the SD card with the slot, making sure the gold contacts on the card face down or towards the back of the phone.
- Apply gentle pressure to insert the SD card into the slot, pushing it all the way in until it is fully seated.
- If you are using a tray or drawer system, carefully slide the tray or drawer back into the phone, ensuring that it is flush with the side of the device.
- If there was a removable cover or panel, reattach it securely, ensuring that it is properly aligned and snaps into place.
It’s important to handle the SD card with care and avoid touching the gold contacts or circuitry. Touching these components can potentially damage the card and impede its performance.
If you encounter any resistance or difficulty while inserting the SD card, do not force it. Recheck the alignment and try again, applying gentle and even pressure until the card is properly inserted.
Once the SD card is securely inserted into the slot and any covers or panels are reattached, you can move on to the next step of the installation process.
By following these steps and inserting the SD card correctly, you are now ready to power on your Android phone and start enjoying the expanded storage capacity.
Step 6: Power on your Android phone
With the SD card inserted into the slot of your Android phone, you can now power on your device. This step will allow your phone to recognize and initialize the newly added storage, enabling you to start using the SD card for additional storage capacity.
To power on your Android phone, follow these simple steps:
- Press and hold the power button located on the side or top of your phone.
- Wait for a few seconds until the phone vibrates or the manufacturer logo appears on the screen.
- Release the power button.
- Your phone will then boot up, and you will see the lock screen or home screen, indicating that the device is powered on and ready for use.
During the booting process, your phone will detect the presence of the SD card and configure it to work in harmony with the device’s operating system. This initialization process should occur automatically, without any additional input from you.
If you experience any issues or your phone does not recognize the SD card after powering on, try the following troubleshooting steps:
- Power off your phone and then power it on again, ensuring that the SD card is securely inserted.
- If the problem persists, remove the SD card, clean the contacts with a soft cloth, and reinsert it into the slot.
- Verify that the SD card is compatible with your phone model and meets the required specifications, such as capacity and speed class.
- If none of these steps solve the issue, consult your phone’s user manual or contact the manufacturer’s customer support for further assistance.
Once your Android phone is powered on and the SD card is successfully recognized, you can start using the expanded storage capacity. You can now save files, install apps, and store data on the SD card, helping you conserve space on your phone’s internal storage.
By following these simple steps, you have successfully powered on your Android phone with the newly installed SD card, ready to benefit from the additional storage capacity it provides.
Step 7: Format the SD card (if required)
After inserting the SD card into your Android phone, it may be necessary to format the card before you can start using it. Formatting prepares the SD card for use with your device’s operating system and file system, ensuring compatibility and optimal performance.
Formatting an SD card erases all existing data on the card, so it is essential to back up any important files or data before proceeding with the formatting process. Once the formatting is complete, the SD card will be ready to use with your phone.
To format the SD card on your Android phone, follow these steps:
- Open the Settings app on your Android phone. You can usually find the Settings app in the app drawer or by swiping down from the top of the screen and tapping the gear icon.
- Scroll down and tap on “Storage” or “Storage & USB” (the exact label may vary depending on your phone’s manufacturer and software version).
- Under the “Portable storage” or “SD card” section, you should see the name or label of your SD card. Tap on it to access the SD card settings.
- In the SD card settings, you will find an option to format the card. Tap on “Format” or “Format SD card” to initiate the formatting process.
- A warning message will appear, informing you that all data on the SD card will be erased. Confirm your decision to format the card.
- Wait for the formatting process to complete. The time required for formatting depends on the size and speed of the SD card.
- Once the formatting is finished, you will be notified that the SD card is ready to use.
It’s important to note that formatting the SD card will permanently erase all data on it. Therefore, it is crucial to back up any important files before initiating the formatting process.
If your Android phone does not have built-in formatting options or if you encounter any issues with the formatting process, you can use a computer to format the SD card. Insert the SD card into an SD card reader connected to your computer, and then use the appropriate formatting tool or utility based on your computer’s operating system.
By formatting the SD card, you ensure that it is compatible with your Android phone’s file system and ready for use. Remember to proceed with caution and double-check that you have backed up any important data before initiating the formatting process.
Step 8: Set up the SD card as internal storage (optional)
Setting up the SD card as internal storage is an optional step that allows you to merge the SD card with your phone’s internal storage. This feature is available on certain Android versions and enables you to use the SD card as a seamless extension of your device’s internal storage.
By setting up the SD card as internal storage, you can install apps directly onto the SD card and have them run as if they were installed on the internal storage. It also allows you to move existing apps and data from the internal storage to the SD card, freeing up valuable space on the device.
Please note that not all Android phones support this feature, and the steps to set up the SD card as internal storage may vary based on your device and software version. Here is a general guide for setting up the SD card as internal storage:
- Open the Settings app on your Android phone.
- Scroll down and tap on “Storage” or “Storage & USB” (the exact label may vary).
- Under the “Internal shared storage” or “Internal storage” section, tap on “Migrate data” or “Change” (depending on your phone’s software version).
- Select the SD card as the destination for migrating data.
- Choose whether to move photos, videos, and other media files to the SD card. This step will free up space on your phone’s internal storage.
- Review the summary of what will be moved to the SD card and tap on “Move” or “Next” to start the migration process.
- Wait for the migration to complete. The time required depends on the amount of data being moved.
- Once the migration is finished, your SD card will be set up as internal storage.
It is important to note that once you set up the SD card as internal storage, it becomes encrypted and tied to your specific device. This means that you may face compatibility issues if you attempt to use the SD card on a different device or if you remove it from your phone.
Also, keep in mind that using the SD card as internal storage may slightly affect the performance of certain apps that are moved to the SD card. It is recommended to keep critical apps or apps that require fast access speeds on the phone’s internal storage for optimal performance.
If you decide to set up the SD card as internal storage and later change your mind, it is possible to revert the process, but it will involve formatting the SD card and losing all data stored on it.
By setting up the SD card as internal storage, you can take full advantage of the additional space and flexibility it provides for installing apps and storing data. However, carefully consider the pros and cons and ensure that your device supports this feature before proceeding.
Step 9: Move apps and data to the SD card (optional)
Once you have set up the SD card as internal storage, you have the option to move apps and data from your phone’s internal storage to the SD card. This step can help free up space on your device and ensure efficient use of both the internal storage and SD card.
Please note that not all apps can be moved to the SD card. Some apps, especially system apps and certain third-party apps, are designed to remain on the internal storage for optimal performance. However, many user-installed apps can be moved to the SD card, along with associated data and files.
To move apps and data to the SD card, follow these steps:
- Open the Settings app on your Android phone.
- Scroll down and tap on “Apps & notifications” or “Applications,” depending on your device.
- Select the app you want to move to the SD card from the list of installed apps.
- Tap on “Storage” or “Storage & cache.”
- Choose the option to “Change” or “Move to SD card.”
- Wait for the app and its associated data to be moved to the SD card. The time required for the process depends on the size of the app and the speed of your SD card.
- Repeat these steps for any other apps you wish to move to the SD card.
It is important to note that some apps may require a portion of their data or specific files to be stored on the internal storage to function properly. In such cases, moving the app to the SD card may result in reduced performance or certain features not working as intended.
Additionally, keep in mind that removing the SD card from your phone will make any apps or data stored on the card inaccessible. If you plan to switch or remove the SD card, it is advisable to move the apps and data back to the internal storage to ensure seamless functionality.
If you encounter any issues or experience unexpected behavior after moving apps to the SD card, you can try moving them back to the internal storage or clearing the app’s cache and data to resolve any conflicts.
By moving apps and data to the SD card, you can optimize the storage capacity on your phone. This step provides you with more flexibility in managing your apps and data while maximizing the available space on both the internal storage and the SD card.
Step 10: Safely remove the SD card from your Android phone
When you no longer require the SD card or want to switch it to another device, it’s crucial to safely remove it from your Android phone. Safely removing the SD card ensures that no data corruption or damage occurs during the process, preserving the integrity of your files and the SD card itself.
Follow these steps to safely remove the SD card from your Android phone:
- Open the Settings app on your Android phone.
- Scroll down and tap on “Storage” or “Storage & USB” (the exact label may vary).
- Under the “Portable storage” or “SD card” section, you should see the name or label of your SD card. Tap on it to access the SD card settings.
- Look for the option to “Eject” or “Unmount” the SD card. This action prepares the SD card for safe removal.
- Once you’ve selected the “Eject” or “Unmount” option, a confirmation message will appear. Tap on “OK” or “Confirm” to proceed.
- Wait for a few seconds until you see a notification indicating that it is safe to remove the SD card.
- Gently push the SD card inwards to release it from the slot.
- Carefully pull out the SD card from the slot, ensuring that you don’t bend or damage the card during the removal process.
It’s important to note that removing the SD card while your phone is still powered on or while it is actively accessing the card can result in data corruption or damage to the SD card. Therefore, always make sure to follow the proper steps to safely remove the SD card.
If you plan to use the SD card with another device, such as a computer or a different Android phone, ensure that the target device supports the same type of SD card and file system. Some devices may require formatting the SD card before use, so it’s crucial to back up any important data before formatting.
Remember to handle the SD card with care, avoiding contact with the gold contacts or circuitry. Store the SD card in a protective case or sleeve when not in use to prevent any physical damage.
By safely removing the SD card from your Android phone, you ensure the integrity and longevity of the card while preserving the safety of your stored data. Take the extra time to follow these steps and safeguard your SD card and files.
Conclusion
Installing an SD card on your Android phone can significantly enhance your device’s storage capacity and performance. By following the step-by-step instructions outlined in this guide, you can successfully install an SD card and enjoy the benefits of expanded storage.
We started by checking the compatibility of your Android phone to ensure that it supports an SD card. Then, we guided you through the process of purchasing the right SD card for your device, considering factors such as storage capacity and speed class.
Next, we covered the importance of powering off your Android phone before inserting the SD card and helped you locate the SD card slot on your device. We then guided you through the process of inserting the SD card correctly to ensure a secure connection.
If required, we discussed the process of formatting the SD card to prepare it for use with your Android phone. We also explored the option of setting up the SD card as internal storage, which allows you to merge it with the device’s internal storage and optimize your storage usage.
For the final steps, we explained how to move apps and data to the SD card if desired, freeing up space on your phone’s internal storage. Lastly, we emphasized the significance of safely removing the SD card from your Android phone to prevent data corruption or damage to the SD card.
Remember, each Android phone may have slight variations in its interface and settings, so it’s essential to adapt these instructions to match your specific device and software version. Consult your phone’s user manual or online resources for accurate and device-specific instructions if needed.
By successfully installing an SD card and leveraging its expanded storage capacity, you can enjoy a smoother and more efficient Android phone experience. Whether you’re a photography enthusiast, a heavy app user, or simply need extra space for files and documents, an SD card provides a convenient solution.
With proper care and maintenance, your SD card can serve you well for a long time. Remember to back up important data, handle the card with care, and follow the proper procedures for insertion, formatting, and removal.
Now that you have the knowledge and guidance on installing an SD card on your Android phone, take the necessary steps to expand your storage capacity and optimize your device’s performance. Enjoy the convenience and flexibility that extra storage brings to your Android experience!