Introduction
Are you eager to view the pictures stored on your SD card directly from your Android phone? Look no further! With the advancements in technology, it has become easier than ever to access and view pictures from your SD card on your Android phone. Whether it’s a collection of beautiful landscapes or precious memories captured with loved ones, you can relive those moments with just a few simple steps.
Having an SD card allows you to expand the storage capacity of your Android phone, providing ample space to store a vast collection of photos. However, it’s essential to know how to access and view these pictures effectively. In this article, we will guide you through the process of viewing pictures from your SD card on your Android phone.
By following the steps outlined in this guide, you will effortlessly access and browse through your SD card’s photo collection from the comfort of your Android phone’s screen. So, let’s dive in and discover how you can unlock the treasure trove of memories stored on your SD card.
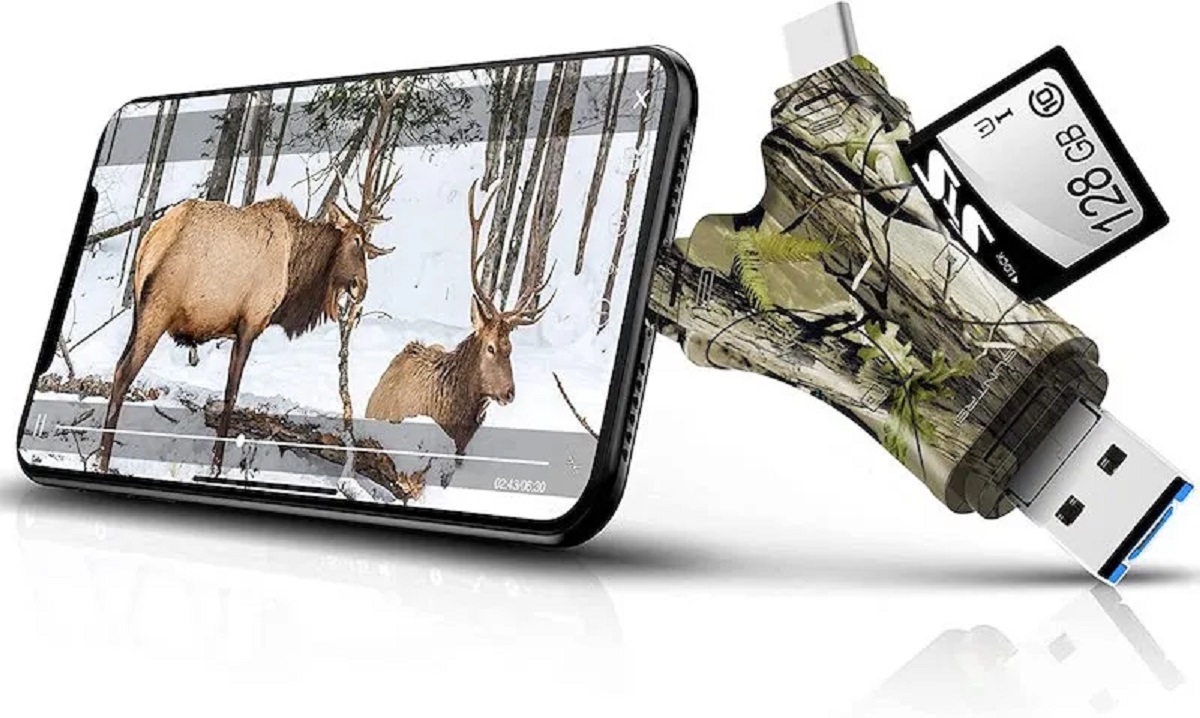
Step 1: Insert the SD card into your Android phone
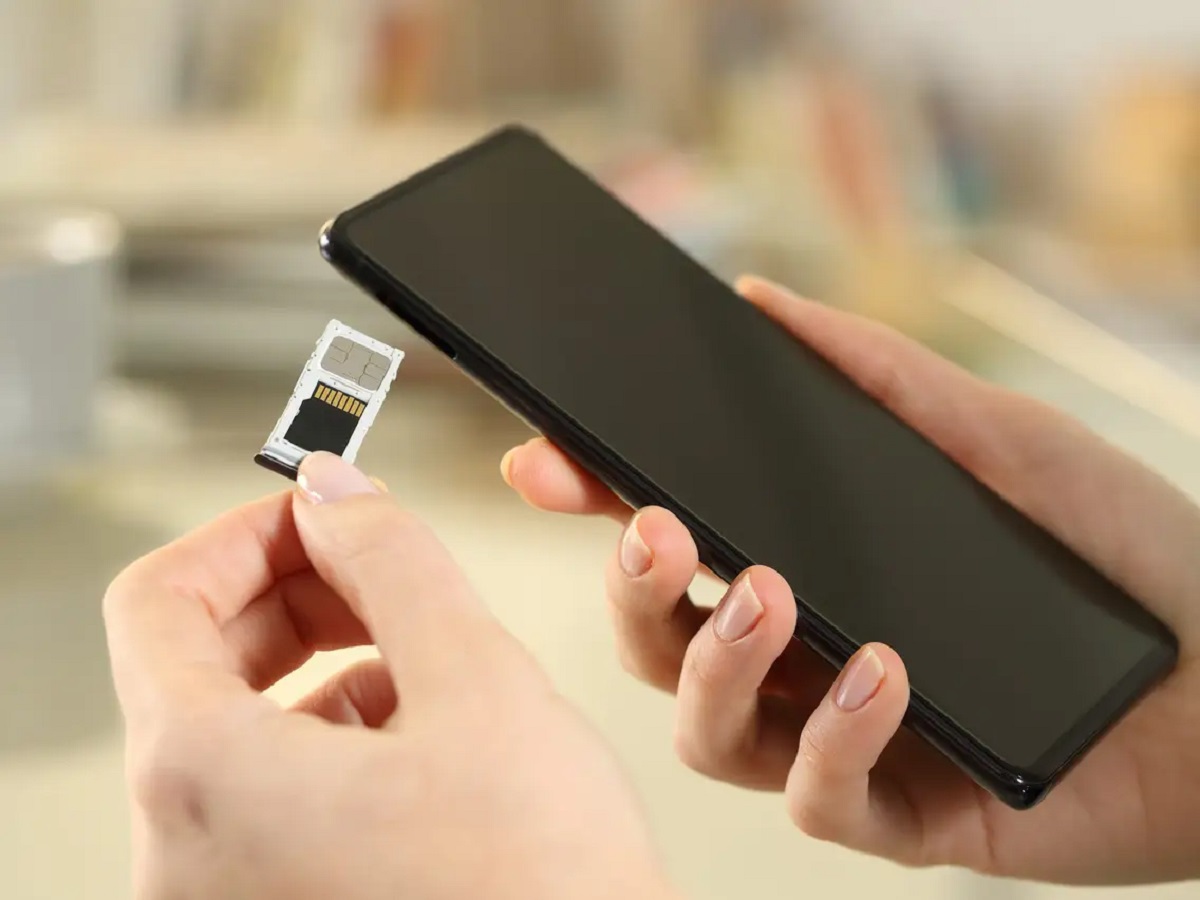
The first step to view pictures from your SD card on your Android phone is to ensure that the SD card is properly inserted into your device. Most Android phones have a designated slot for inserting an SD card, typically located on the side or under a removable back cover.
Start by turning off your Android phone to prevent any damage to the SD card or phone during the insertion process. Locate the SD card slot on your phone and gently insert the SD card. Make sure to align the card according to the direction indicated by the slot and apply gentle pressure until the card clicks into place.
Once you have successfully inserted the SD card, power on your Android phone. The device will automatically detect the SD card and initiate the necessary setup process. This may include formatting the SD card to ensure compatibility with your phone’s file system.
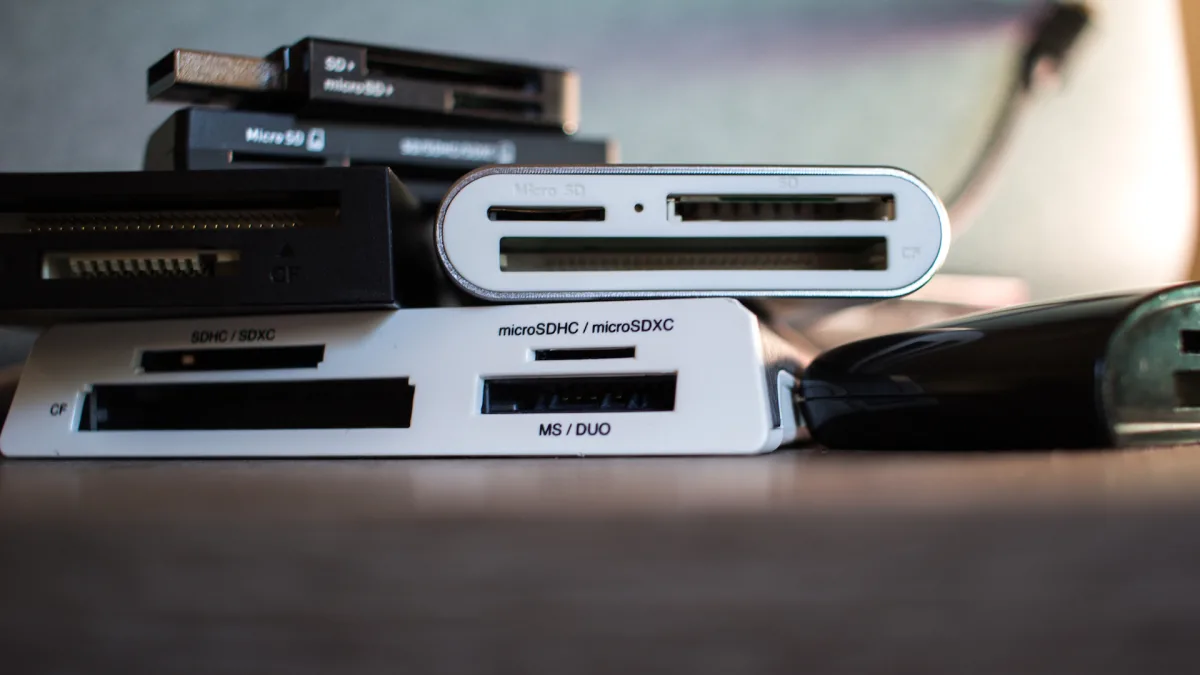
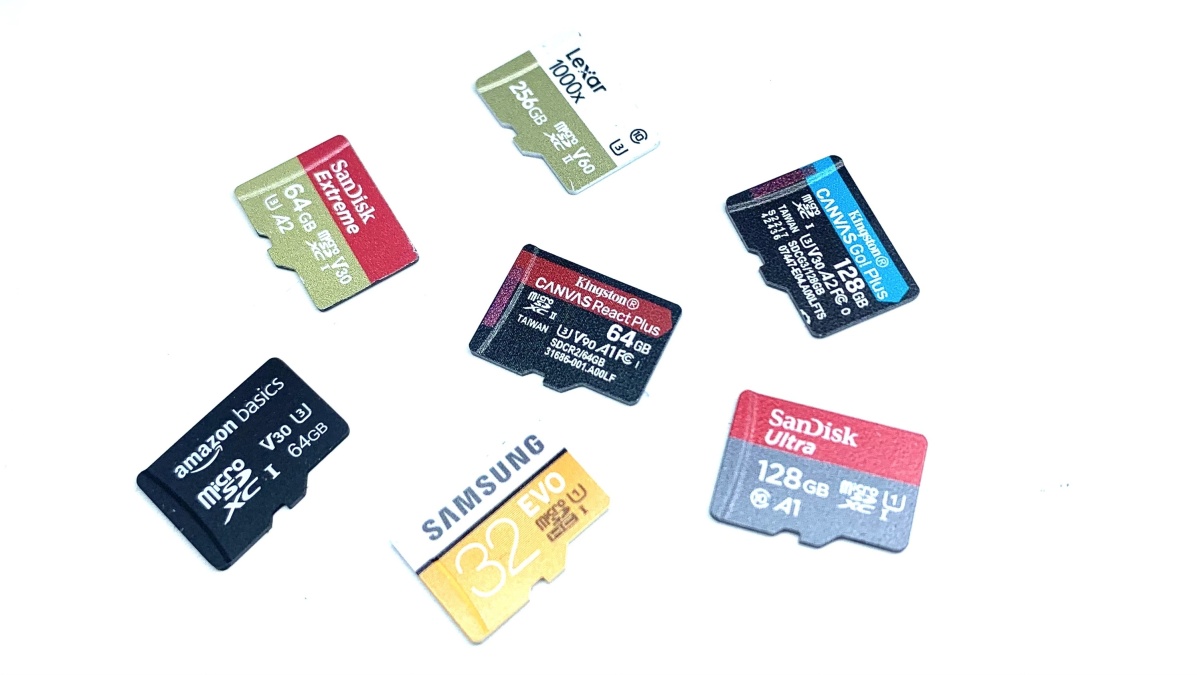
Note: It’s important to ensure that you are using a compatible SD card that is supported by your Android phone. Some phones have specific requirements and may only support certain types or capacities of SD cards. Refer to your phone’s user manual or manufacturer’s website for more information on compatible SD cards.
After the initial setup process is complete, your Android phone will recognize the SD card as part of its storage system. Now you’re ready to move on to the next step and access the pictures stored on your SD card.
Step 2: Access the “Gallery” or “Photos” app
Once you have inserted the SD card into your Android phone, it’s time to access the “Gallery” or “Photos” app. These pre-installed apps serve as the default media viewers on most Android devices and provide a convenient way to manage and view your photos.
To get started, locate the “Gallery” or “Photos” app on your Android phone. You can usually find it on your home screen or in the app drawer. The app icon typically resembles a stack of photos or a colorful pinwheel.
Tap on the app icon to open it. This will launch the “Gallery” or “Photos” app, depending on the specific app installed on your Android device.
Once the app is open, you will be presented with a collection of albums or folders that contain your photos. These albums may include default folders such as “Camera,” “Screenshots,” and “Downloads,” among others.
To access the pictures stored on your SD card, navigate through the album or folder hierarchy until you locate the SD card as a separate source. Depending on your Android device, the SD card may be labeled as “SD Card,” “External Storage,” or with the specific brand or model of the SD card.
Tap on the SD card option to view its contents. This will display all the pictures and videos stored on the SD card, allowing you to browse through your collection effortlessly.
If you are unable to locate the SD card option in the “Gallery” or “Photos” app, it’s possible that your Android device has a different default media viewer or the SD card is not properly recognized. In such cases, you may need to explore alternative file management apps or troubleshoot the SD card’s compatibility with your phone.
Now that you have accessed the “Gallery” or “Photos” app and located the pictures from your SD card, let’s move on to the next step and learn how to view these pictures in more detail.
Step 3: Select the SD card as the source
Now that you have accessed the “Gallery” or “Photos” app on your Android phone, it’s time to select the SD card as the source to view the pictures stored on it.
Within the “Gallery” or “Photos” app, navigate to the screen or section where you can choose the source of your photos. This screen may be accessed by tapping on an icon or selecting a specific option, such as “Source” or “Albums.”
Once you are on the source selection screen, you should see a list of available sources or albums. Look for the option that corresponds to your SD card. Depending on your Android device and app, it may be labeled as “SD Card,” “External Storage,” or with the specific brand or model of the SD card.
To select the SD card as the source, simply tap on its name or icon. This action will direct the “Gallery” or “Photos” app to display the pictures and videos stored on your SD card.
After selecting the SD card as the source, you will be taken to the main screen of the app, where you can view the pictures from your SD card in a thumbnail or grid view. At this point, you can start exploring your photo collection and selecting individual pictures for a closer view.
If your Android phone offers a search or filter option within the “Gallery” or “Photos” app, you can use it to quickly find specific pictures or narrow down your search based on tags, dates, or other criteria.
By selecting the SD card as the source, you have successfully enabled the “Gallery” or “Photos” app to display the pictures stored on your SD card. Now let’s proceed to the next step to learn how to browse and view the pictures from the SD card.
Step 4: Browse and view the pictures from the SD card
With the SD card selected as the source in the “Gallery” or “Photos” app on your Android phone, you can now start browsing and viewing the pictures stored on the SD card.
In the main screen of the app, you will typically see the pictures from your SD card displayed in a thumbnail or grid view. Scroll through the images to browse your collection. The more pictures you have, the more you may need to scroll to view them all.
When you come across a picture you want to view, simply tap on it. This will open the image in full-screen mode, allowing you to see it in greater detail. Swipe left or right to view the next or previous picture in your collection.
Within the full-screen mode, you may have access to additional viewing options. These options can vary depending on your Android phone and the “Gallery” or “Photos” app you are using. Some common viewing options include zooming in or out on the image, rotating the picture, and sharing the image with others.
To exit the full-screen mode and return to the thumbnail or grid view, either tap the back button on your Android phone or perform a swipe-down gesture on the screen. This will minimize the currently displayed image and take you back to the main screen of the app, where you can continue browsing through your photo collection.
Browsing and viewing pictures from your SD card is a seamless process using the “Gallery” or “Photos” app on your Android phone. Make the most of this feature to relive your favorite memories and enjoy your photo collection on the go.
Now that you know how to browse and view the pictures from the SD card, let’s move on to the next step to explore additional options for managing and editing your photos.
Step 5: Additional options for managing and editing the pictures
Aside from browsing and viewing the pictures from your SD card, the “Gallery” or “Photos” app on your Android phone offers various options for managing and editing your photos. These additional features allow you to organize your collection, enhance the images, and customize them to your liking.
Here are some of the key options available for managing and editing your pictures:
- Organize and categorize: Use the app’s built-in features to create albums or folders, rename or move pictures, and sort them based on criteria such as date, location, or tags. This helps you keep your photo collection organized and easily accessible.
- Edit and enhance: Many “Gallery” or “Photos” apps provide basic editing tools to enhance your pictures. These tools typically include options to adjust brightness, contrast, saturation, and apply filters to give your photos a unique look.
- Crop and rotate: Sometimes, you may want to remove unnecessary parts or straighten a photo. The app allows you to crop and rotate images, providing you with more control over the composition.
- Share and back up: Share your favorite photos directly from the app to social media platforms, messaging apps, or via email. Additionally, you can back up your pictures to cloud storage services to ensure their safety and accessibility.
- Create collages and slideshows: Some “Gallery” or “Photos” apps offer features to create collages or slideshows with your pictures. These can be fun ways to showcase multiple photos or create visual stories.
Explore the settings and menus within the “Gallery” or “Photos” app to discover all the available options for managing and editing your pictures. Each app may have its unique set of features, so don’t hesitate to experiment and find the tools that best suit your preferences and needs.
By taking advantage of these additional options, you can make the most of your photo collection and unleash your creativity. Whether you want to retouch a photo, organize albums, or share your memories with others, the “Gallery” or “Photos” app has got you covered.
Now that you are familiar with the additional options for managing and editing your pictures, you can fully utilize the capabilities of the “Gallery” or “Photos” app on your Android phone.
Conclusion
Viewing pictures from your SD card on your Android phone is a simple and convenient process that allows you to access your photo collection anytime and anywhere. By following the steps outlined in this guide, you can effortlessly browse through your pictures and relive your favorite memories with just a few taps on your device.
From inserting the SD card into your Android phone to accessing the “Gallery” or “Photos” app, selecting the SD card as the source, and finally browsing and viewing your pictures, each step builds upon the previous one to ensure a seamless experience.
Additionally, once you have accessed the pictures from your SD card, the “Gallery” or “Photos” app provides you with various options for managing and editing your photos. Organizing your collection, enhancing the images, and sharing them with others are just a few of the additional features available to customize your photo viewing experience.
Remember to always use a compatible SD card for your Android phone and follow any specific guidelines provided by your device or manufacturer. This will ensure that your SD card functions optimally and that you can access your pictures without any issues.
So, next time you want to relive cherished memories or simply enjoy the stunning visuals captured on your SD card, follow these steps and immerse yourself in the world of your photos.
Now that you have the knowledge and skills to view pictures from your SD card on your Android phone, go ahead and unlock the potential of your photo collection. Enjoy the convenience, functionality, and creative possibilities that the “Gallery” or “Photos” app offers, and cherish your photos in a whole new way.