Introduction
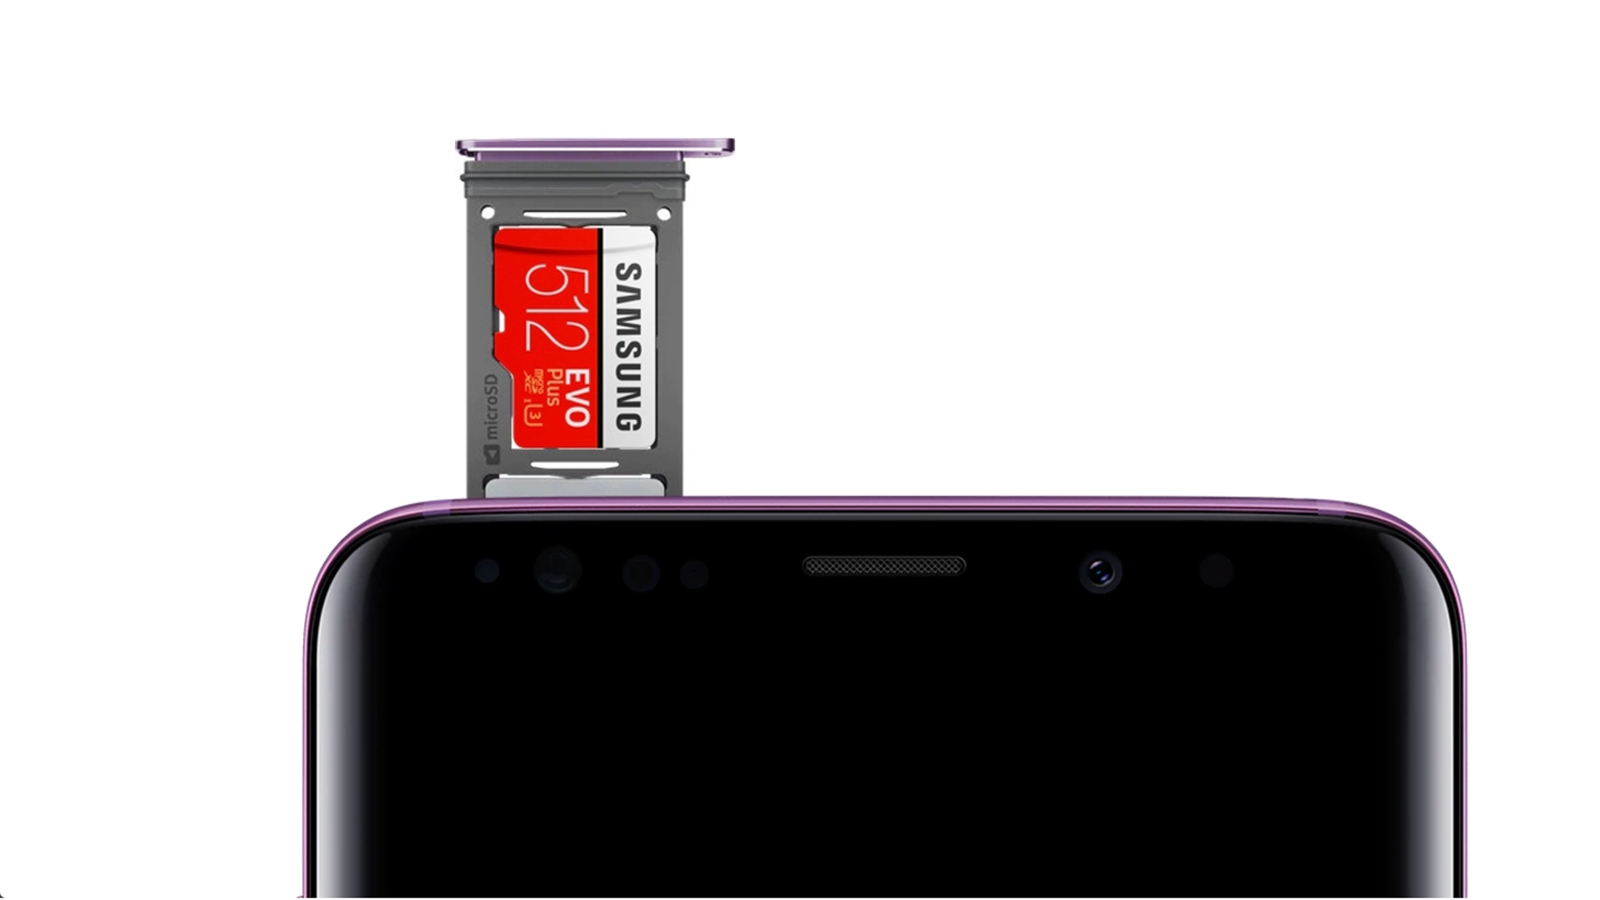
An SD card is a portable storage device commonly used in smartphones, tablets, cameras, and other electronic devices. It allows you to expand your device’s storage capacity and conveniently transfer files between devices. Over time, however, an SD card may become cluttered with unnecessary files, corrupted data, or incompatible formats, leading to decreased performance.
When faced with these issues, formatting the SD card can help restore its functionality and ensure optimal performance. Formatting an SD card erases all data stored on it, so it’s essential to back up any important files before proceeding. In this article, we will explore the various methods to format an SD card on an Android device.
Before we go into the methods, it’s important to note that formatting an SD card will permanently delete all data stored on it. Therefore, it is crucial to create a backup of any files you want to keep. You can transfer important files to your computer, another storage device, or cloud storage services like Google Drive or Dropbox.
Additionally, formatting an SD card will also remove any software-related issues or errors that might be affecting its performance. If you are experiencing problems with your SD card, such as frequent crashes or file corruption, formatting can often resolve these issues.
Formatting an SD card is a simple process, but it may differ slightly depending on the device or Android version you are using. In the next sections, we will explore different methods to format an SD card on Android devices.
Why Format an SD Card?
There are several reasons why you might need to format an SD card on your Android device. Here are a few common scenarios:
- Remove Unwanted Files: Over time, your SD card may accumulate unnecessary files, such as temporary files, cached data, or residual files from uninstalled apps. Formatting the SD card will erase all these files, freeing up valuable storage space.
- Fix File System Errors: Sometimes, the file system on an SD card can become corrupted, leading to errors and performance issues. Formatting the card can help fix these errors and restore the file system to a clean and functional state.
- Clear Incompatible File Formats: If you have files on your SD card that are in unsupported or incompatible formats, they may cause issues with your Android device. By formatting the SD card, you can remove these incompatible files and ensure smooth operation.
- Resolve Performance Issues: If your SD card is experiencing slow read/write speeds or frequent crashes, formatting can often improve its performance. Formatting the card helps optimize its storage structure and can resolve any software-related issues that may be causing the problems.
It’s important to note that formatting an SD card will delete all the data stored on it. Therefore, it’s crucial to back up any important files before proceeding. Once you’ve formatted the SD card, you won’t be able to recover the data unless you have a backup.
Formatting an SD card on an Android device is a straightforward process that can be done through the device’s settings or using third-party file explorer apps. In the next sections, we will explore different methods to format an SD card on Android.
Precautions Before Formatting an SD Card
Formatting an SD card is a powerful action that erases all data stored on it. To ensure a seamless and safe formatting process, it’s important to take a few precautions:
- Backup important data: Before formatting your SD card, make sure to back up any important files stored on it. You can transfer the files to your computer, another storage device, or a cloud storage service. This way, you can easily restore them after formatting.
- Check for compatibility: Ensure that your Android device is compatible with the SD card you intend to format. Some older devices might have limitations on the capacity or type of SD card they support. Check the manufacturer’s specifications or consult the device manual for information.
- Remove SD card from active use: It is recommended to remove the SD card from your Android device before formatting. This ensures that no important data is being written to or read from the card during the formatting process, reducing the risk of data loss or corruption.
- Protect against accidental formatting: To avoid accidentally formatting your SD card, double-check the selected storage device before proceeding with the formatting process. Make sure you’ve selected the correct SD card and not the internal storage of your device.
- Ensure sufficient battery level: Formatting an SD card may take some time, so it’s important to have a sufficient battery level on your Android device or connect it to a power source. This prevents any unexpected interruptions during the formatting process.
- Update device software: It’s a good practice to ensure that your Android device has the latest software updates installed before formatting an SD card. Software updates often include bug fixes and improvements that can enhance the formatting process and compatibility.
By following these precautions, you can minimize the risk of data loss and ensure a smooth formatting experience. Now that we’ve covered the necessary precautions, let’s explore the methods for formatting an SD card on Android devices.
How to Format SD Card on Android
Formatting an SD card on your Android device can be done through the device’s settings or using third-party file explorer apps. Here are three methods to format an SD card on Android:
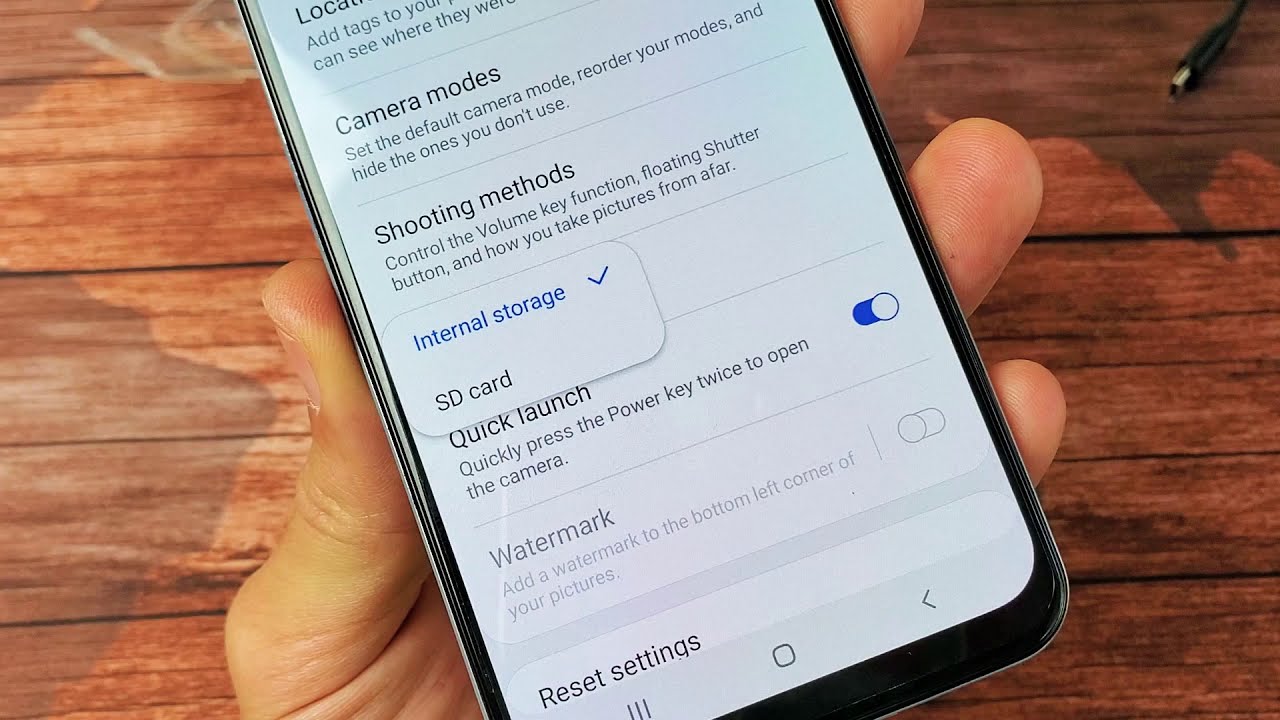
- Method 1: From Settings
- Go to the “Settings” app on your Android device.
- Scroll down and tap on “Storage” or “Storage & USB.”
- Locate the SD card and tap on it.
- Select “Format” or “Format SD card.
- Review the warning message and tap on “Format” to confirm.
- Method 2: Using a File Explorer App
- Download and install a file explorer app from the Google Play Store (e.g., ES File Explorer, Solid Explorer).
- Open the file explorer app and navigate to the SD card.
- Long-press on the SD card and select “Format” or “Storage options.”
- Choose the format type (FAT32 or exFAT) and tap on “Format” to initiate the formatting process.
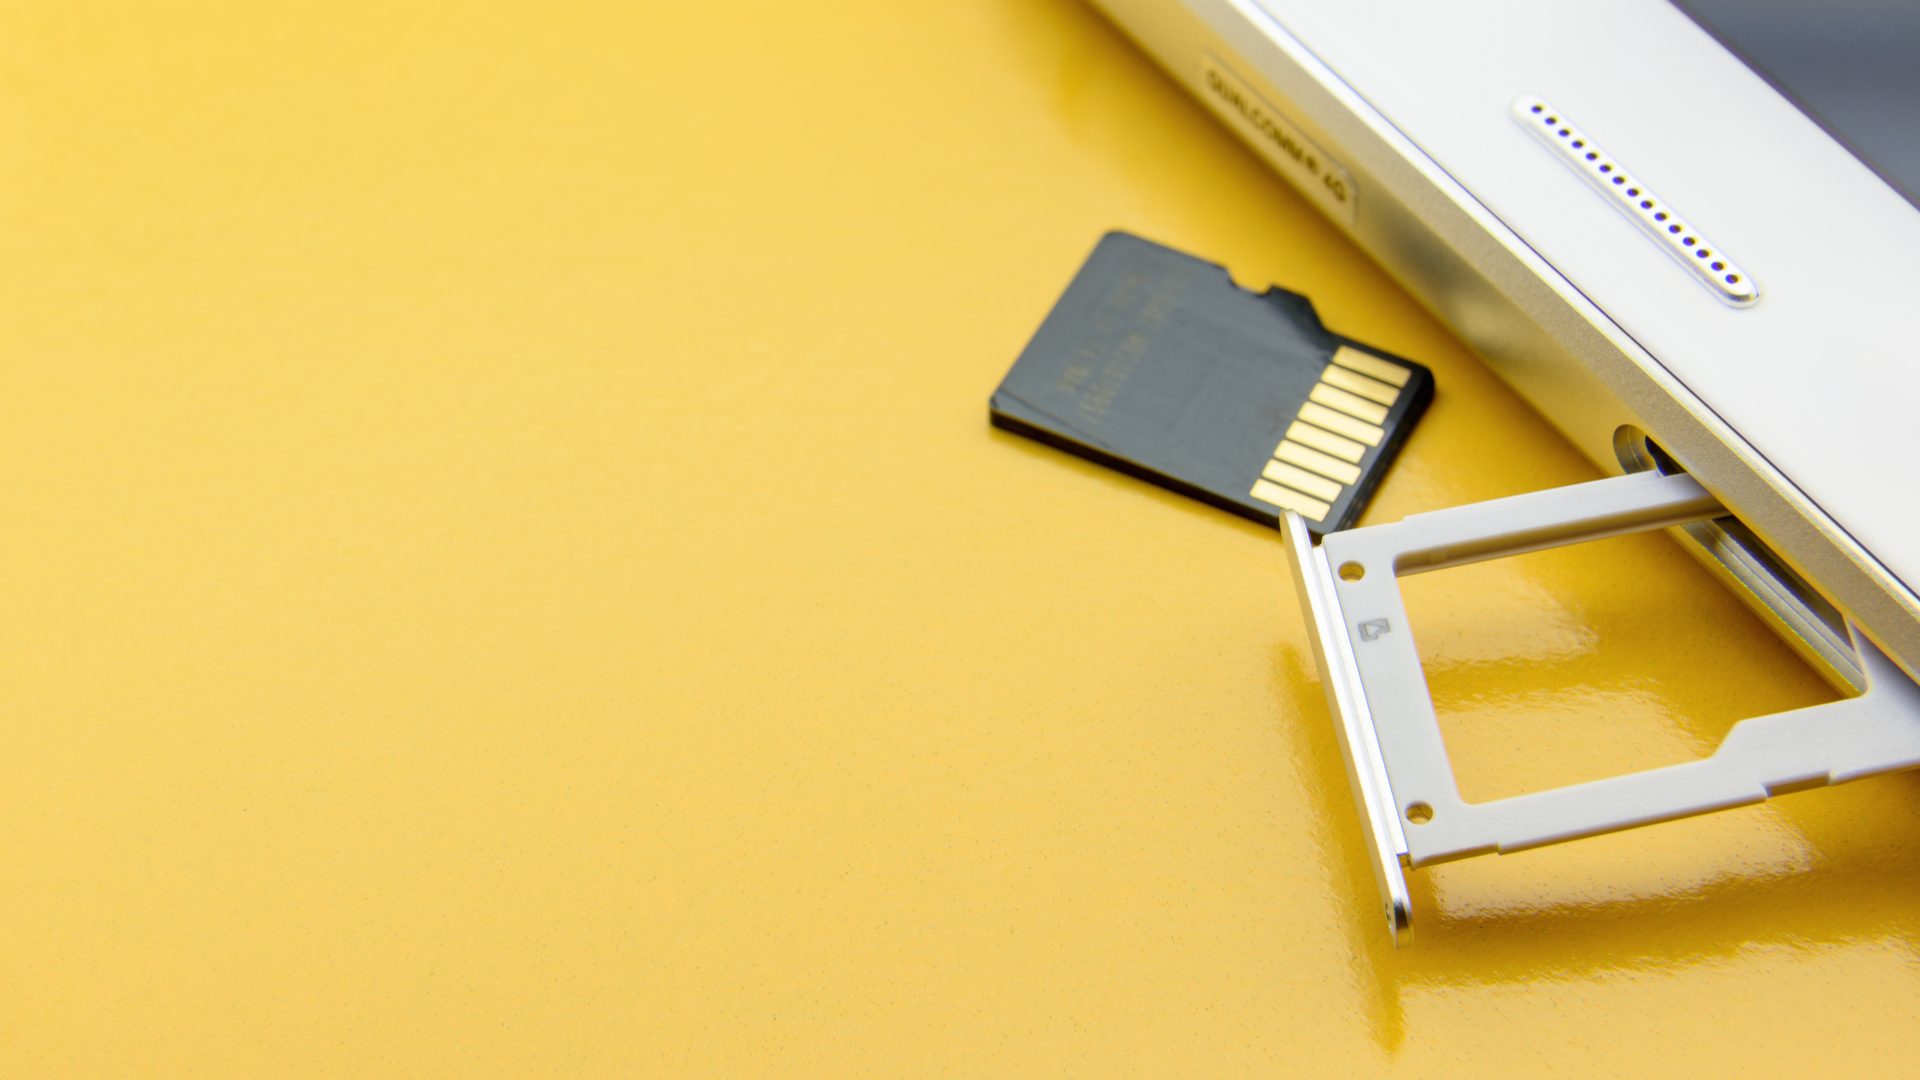
- Method 3: Using a Computer
- Remove the SD card from your Android device and insert it into your computer’s SD card reader or use an SD card adapter.
- Open “File Explorer” or “My Computer” on your computer.
- Locate the SD card and right-click on it.
- Choose “Format” from the context menu.
- Select the desired file system (FAT32 or exFAT), allocation unit size, and volume label.
- Click on “Start” to begin the formatting process.
You can format an SD card on Android directly from the device settings. Follow these steps:
If your Android device doesn’t have a built-in option to format SD cards, you can use a third-party file explorer app. Here’s how:
If you prefer, you can also format an SD card using a computer. Here are the steps:
Remember that formatting an SD card will erase all data stored on it. Ensure that you have backed up any important files before proceeding. Once the formatting process is complete, you can start using the SD card on your Android device again.
Method 1: From Settings
You can easily format an SD card on your Android device by following these steps:
- First, go to the “Settings” app on your Android device. You can usually find this app in the app drawer or by swiping down from the top of the screen and tapping on the gear icon.
- Scroll down the settings menu and look for the “Storage” or “Storage & USB” option. The exact name might vary based on your device and Android version.
- Tap on the “Storage” option to proceed.
- Next, you will see a list of storage options available on your device. Locate the SD card from the list and tap on it.
- Now, you will see various options related to the SD card. Look for the “Format” or “Format SD card” option.
- Tap on “Format” to initiate the formatting process.
- Before proceeding, a warning message will appear notifying you that formatting the SD card will erase all data stored on it. Take a moment to ensure that you have backed up any important files.
- If you are ready to proceed, tap on “Format” to confirm and start the formatting process.
- Depending on the size and speed of your SD card, the formatting process may take a few moments. Once it’s complete, you will receive a confirmation message.
Now, your SD card has been successfully formatted, and it is ready to be used on your Android device. You can start transferring files to it or using it as additional storage.
Note that formatting an SD card will permanently delete all data stored on it. Therefore, it’s crucial to back up any important files before formatting. Additionally, remember to handle your SD card with care and follow the precautions mentioned earlier to prevent any accidental data loss.
Method 2: Using a File Explorer App
If your Android device does not have a built-in option to format SD cards in the settings, you can use a third-party file explorer app to accomplish the task. Follow these steps:
- First, you will need to download a file explorer app from the Google Play Store. Some popular options include ES File Explorer, Solid Explorer, or Total Commander. Install the app of your choice on your Android device.
- Once the file explorer app is installed, launch it from your app drawer.
- In the file explorer app, navigate to the location where the SD card is mounted. It is usually found under the “Storage” or “SD Card” section.
- Long-press on the SD card icon or name to select it. This action will open a context menu with different options.
- Look for the “Format” or “Storage options” option within the context menu and tap on it.
- A prompt will appear asking you to choose the format type for your SD card, such as FAT32 or exFAT. Select the desired format type based on your requirements.
- After selecting the format type, tap on the “Format” button to initiate the formatting process.
- The file explorer app will start formatting the SD card. Depending on the size and speed of the SD card, this process may take a few moments.
- Once the formatting process is complete, you will receive a notification or confirmation message indicating that the SD card has been successfully formatted.
Now, your SD card has been formatted using a file explorer app, and it is ready to be used on your Android device. You can start transferring files to it or using it as additional storage.
Remember to back up any important files on the SD card before proceeding with the formatting process. Formatting will erase all data on the SD card, and it cannot be recovered. Additionally, ensure that you have sufficient battery life or connect your device to a power source while formatting to prevent any unexpected interruptions.
Method 3: Using a Computer
If you prefer to format your SD card using a computer, you can easily do so by following these steps:
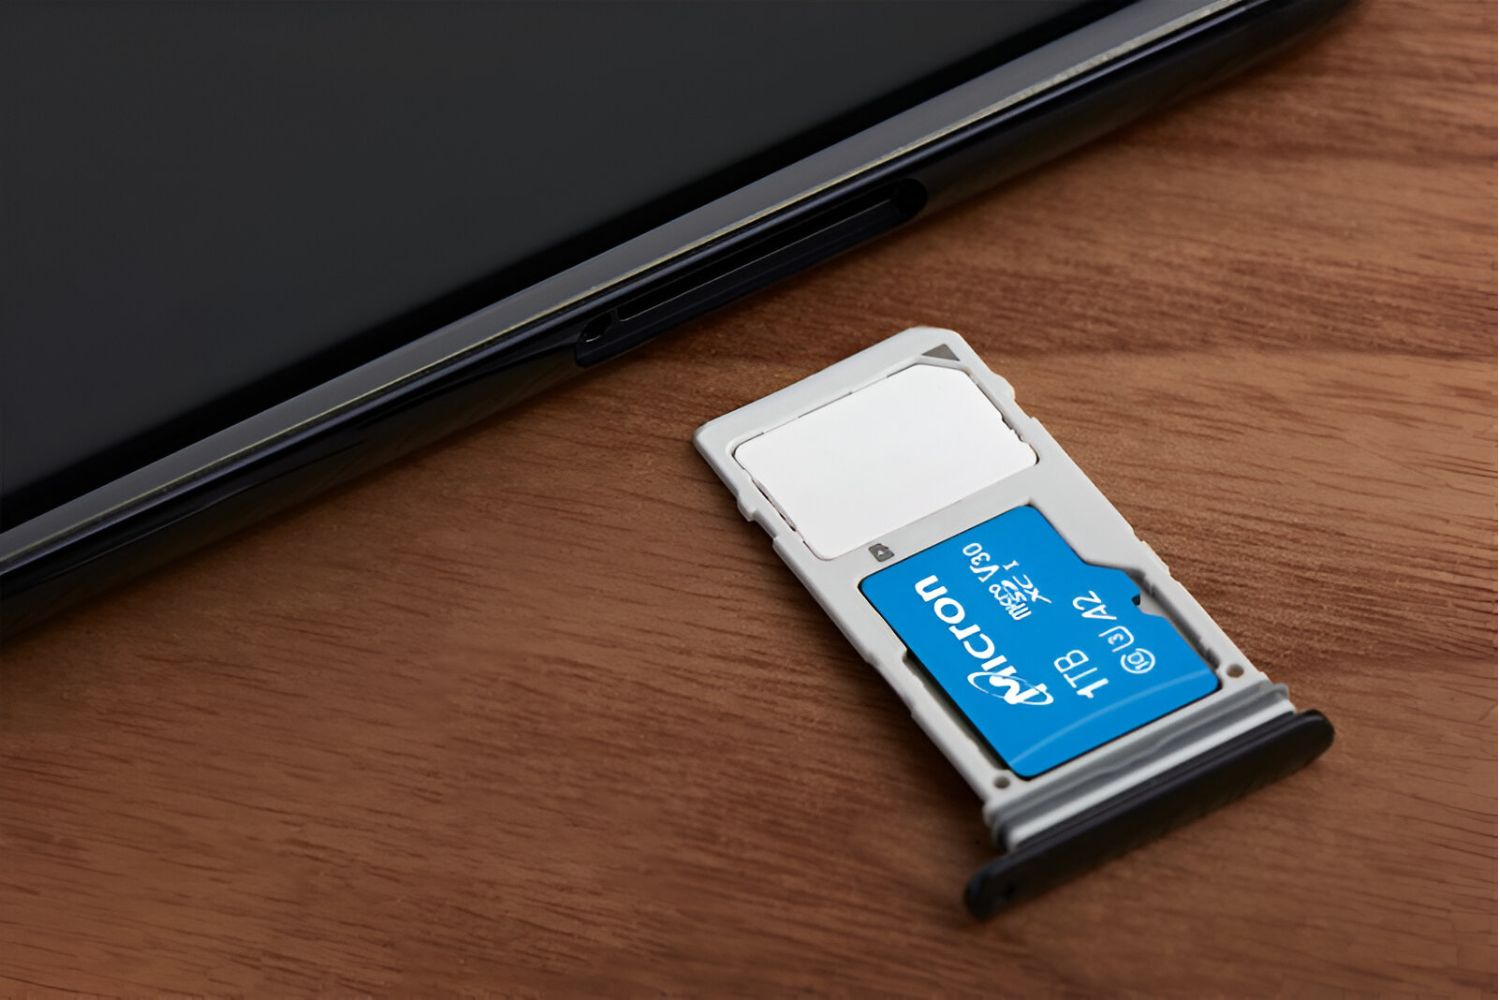
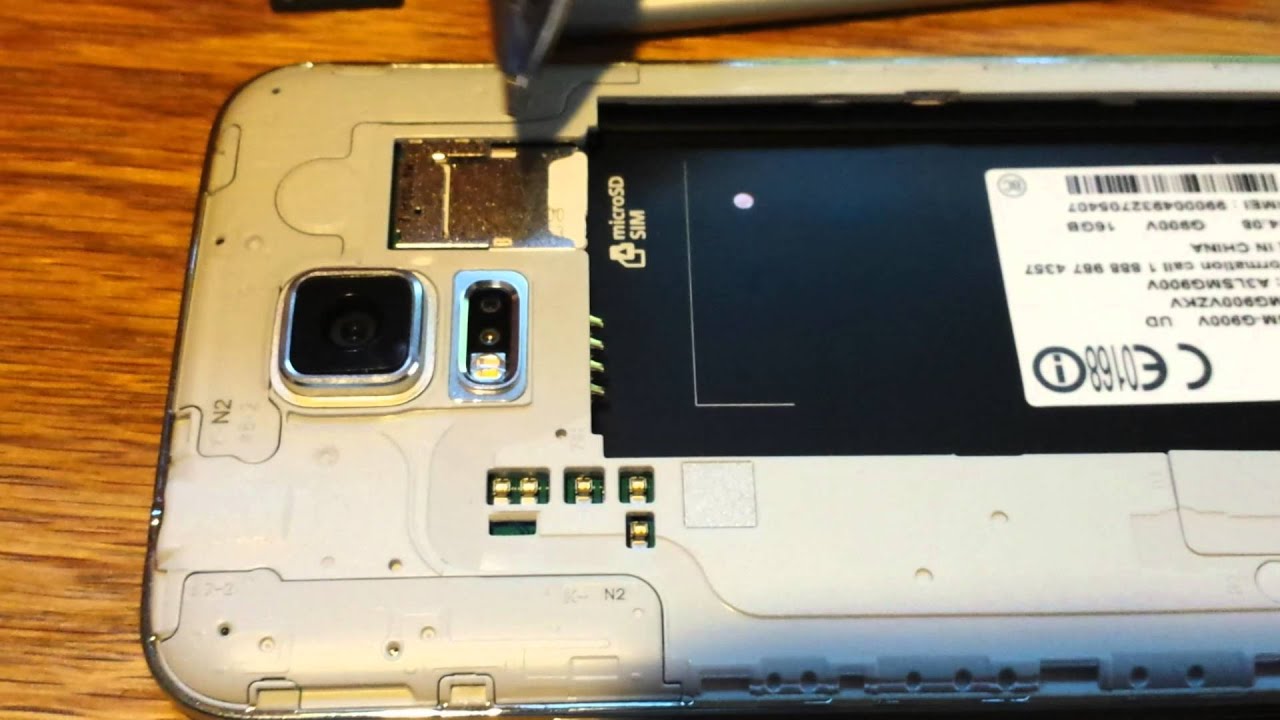
- First, remove the SD card from your Android device. If your computer has an SD card slot, insert the SD card directly into the slot. Otherwise, you can use an SD card adapter to connect the card to your computer’s USB port.
- Once the SD card is connected to your computer, open “File Explorer” or “My Computer,” depending on your operating system.
- In the file explorer, navigate to the section that displays your connected drives or devices. Look for the SD card, usually labeled with its assigned drive letter.
- Right-click on the SD card drive and select the “Format” option from the context menu.
- A format settings window will appear, allowing you to customize the format options for the SD card.
- Choose the desired file system for the SD card. The most commonly used options are FAT32 or exFAT. Ensure that the allocation unit size is set to the default or recommended value.
- Optionally, you can enter a volume label for the SD card to easily identify it in the future.
- Double-check that you have selected the correct SD card drive and that you have backed up any important files from the card.
- Click on the “Start” button to initiate the formatting process.
- A warning message will appear, stating that formatting will erase all data on the SD card. Confirm that you have backed up the necessary files and click on “OK” to proceed.
- The computer will start formatting the SD card. The duration of the process will depend on the size and speed of the card.
- Once the formatting is complete, you will receive a notification or an on-screen message indicating that the SD card has been successfully formatted.
Now, your SD card has been formatted using the computer, and it is ready to be used. Insert the SD card back into your Android device or use it with other compatible devices.
Remember to back up any important files before formatting the SD card, as the process will permanently erase all data. Additionally, handle the SD card with care, avoiding any physical damage or accidental removal during the formatting process.
Troubleshooting Common Issues
While formatting an SD card on Android is usually a straightforward process, you may encounter some common issues along the way. Here are a few troubleshooting tips to help you address these problems:
- SD card not detected: If your SD card is not being detected by your Android device or computer, try the following:
- Ensure that the SD card is properly inserted into the device or card reader.
- Clean the metal contacts on the SD card with a soft, dry cloth to remove any dust or debris.
- Restart your Android device or computer and try again.
- If the SD card is still not detected, it’s possible that the card is damaged or incompatible with your device.
- Formatting error: If you encounter an error message during the formatting process, try the following:
- Ensure that you have backed up any important files from the SD card before formatting.
- Restart your Android device or computer and try formatting again.
- If the error persists, try formatting the SD card using a different method or a different device.
- If none of the above solutions work, it’s possible that the SD card has physical damage or is corrupted beyond repair.
- Slow formatting: Formatting a large SD card or a card with a slow write speed may take longer than usual. Here’s what you can do:
- Ensure that your Android device or computer is connected to a stable power source to prevent any unexpected interruptions during the formatting process.
- Leave the formatting process running without interrupting it, even if it seems to be taking longer than expected.
- If possible, try formatting the SD card using a faster card reader or a computer with higher read/write speeds.
- Data recovery: If you accidentally formatted the SD card without backing up important files, data recovery may be possible using specialized software. However, it’s important to note that success rates may vary, and it’s best to consult a professional data recovery service.
If you continue to experience issues with formatting an SD card on Android, it might indicate a hardware or compatibility problem. In such cases, it’s advisable to contact the manufacturer’s support or seek assistance from a professional technician.
Conclusion
Formatting an SD card on your Android device is a simple and effective way to address storage issues, improve performance, and resolve compatibility problems. Whether you choose to format the SD card from the device settings, through a file explorer app, or using a computer, it’s important to remember a few key points.
Firstly, always back up any important files before formatting the SD card. Once the formatting process is initiated, all data on the SD card will be permanently deleted and cannot be recovered.
Secondly, take precautions to ensure a smooth formatting process. Remove the SD card from active use, protect against accidental formatting, and ensure sufficient battery level or connected power source.
Lastly, troubleshoot any common issues you may encounter during the formatting process, such as SD card detection problems, formatting errors, or slow formatting speeds. By following the troubleshooting tips mentioned earlier, you can address these issues and successfully format your SD card.
Remember to handle your SD card with care, avoiding physical damage or accidental removal during the formatting process. Regularly formatting your SD card can help maintain its performance and ensure optimal storage capacity for your Android device.
By formatting your SD card on Android, you can enjoy a clean and efficient storage solution, making room for new files and improving the overall functionality of your device. So, follow the methods provided in this article, take the necessary precautions, and enjoy the benefits of a freshly formatted SD card on your Android device.