Introduction
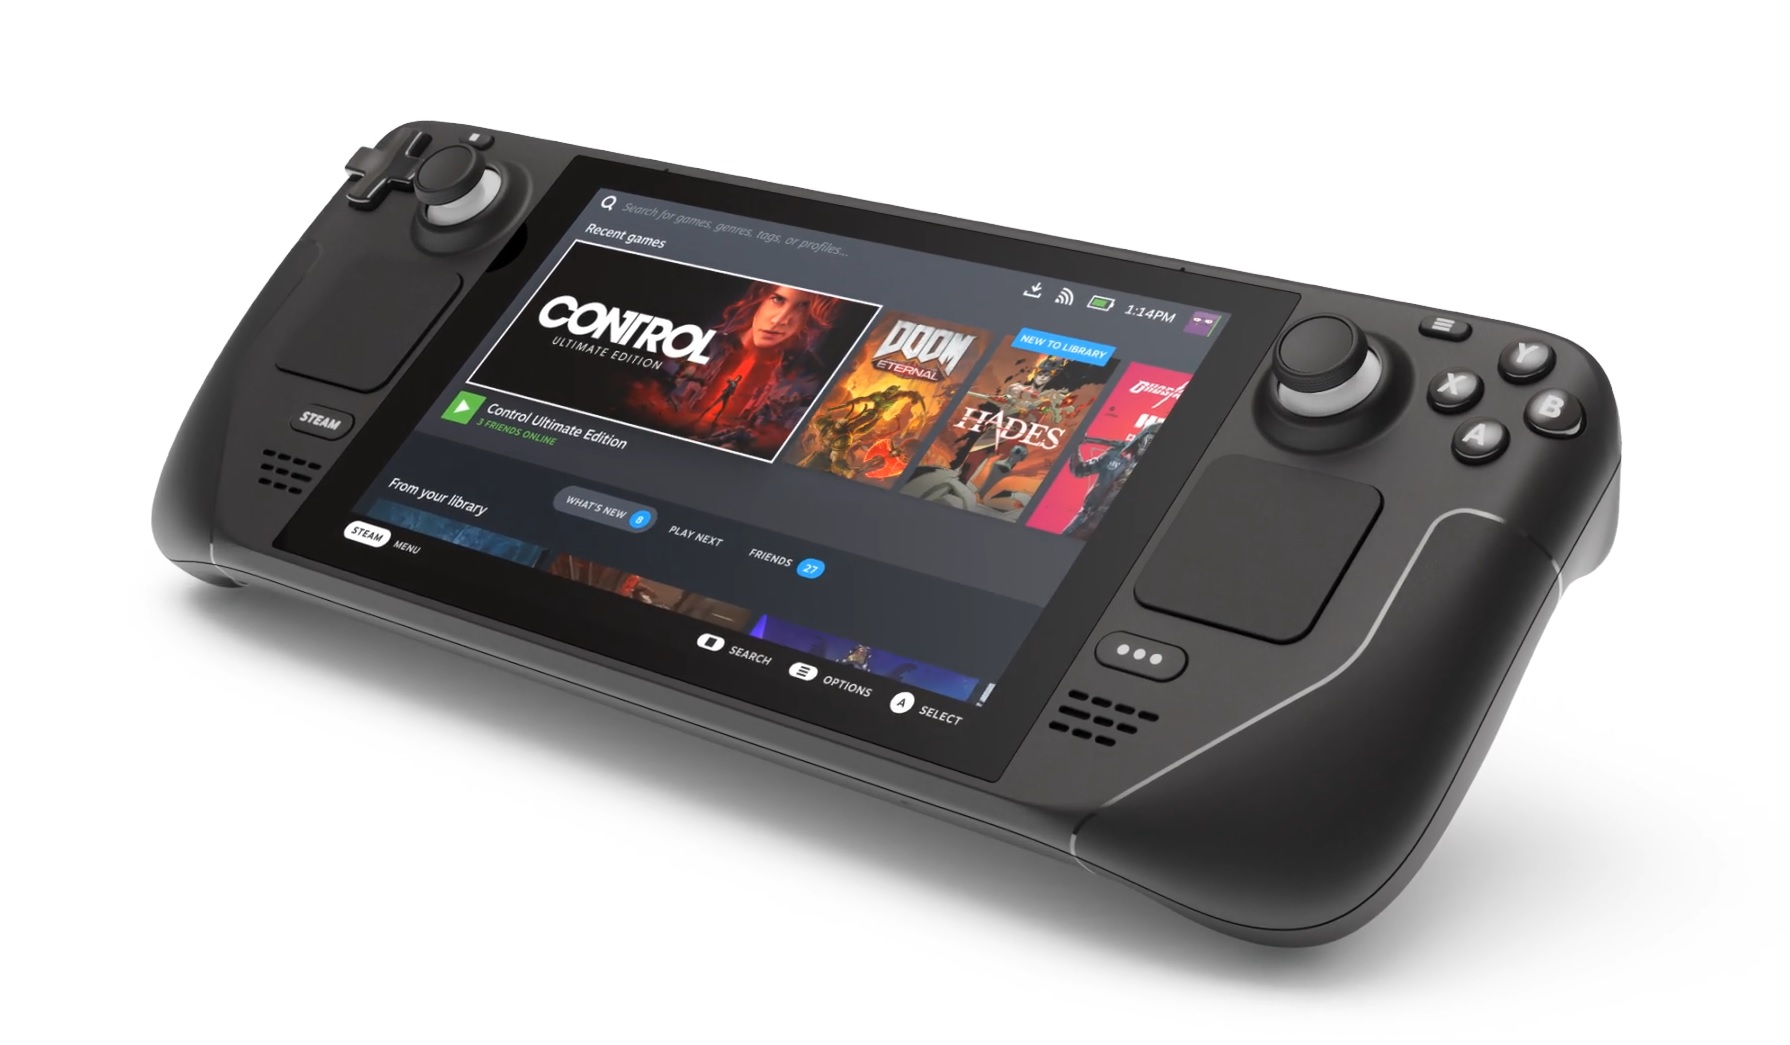
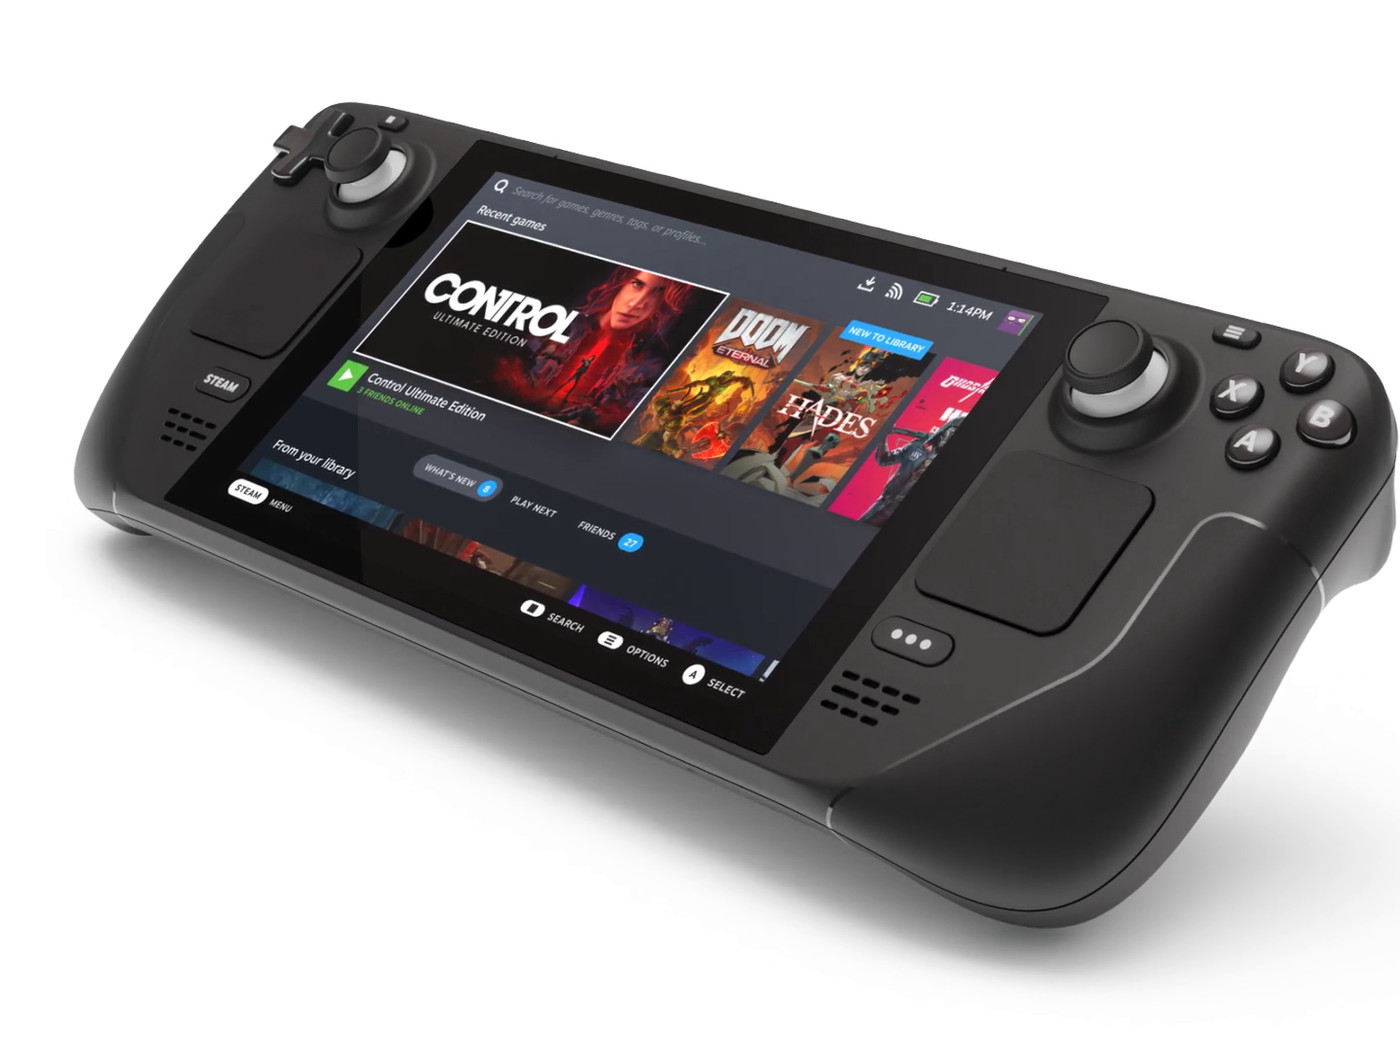
Welcome to the world of gaming where portable consoles have become increasingly popular. The Steam Deck, created by Valve Corporation, is the latest evolution in portable gaming devices. With its powerful hardware and wide range of available games, the Steam Deck has quickly gained the attention and excitement of gamers worldwide.
One important aspect of the Steam Deck experience is the ability to expand storage using an SD card. This allows gamers to have more games, videos, and other media readily accessible. However, before you can start using an SD card on your Steam Deck, it is crucial to understand how to format it properly.
In this guide, we will walk you through the process of formatting an SD card on your Steam Deck, ensuring that it is compatible and ready to use. We will also discuss the importance of backing up your data and provide step-by-step instructions to help you through the formatting process. Additionally, we will cover the proper way to eject an SD card to prevent data loss and share troubleshooting tips for common issues that may arise.
Whether you are a seasoned gamer or new to the world of portable consoles, this guide will equip you with the knowledge and skills needed to format an SD card on your Steam Deck, maximizing your storage capacity and enhancing your gaming experience.
Checking Compatibility
Before you proceed with formatting an SD card for your Steam Deck, it is crucial to ensure compatibility between the SD card and the device. The Steam Deck supports microSD, microSDHC, and microSDXC cards, providing you with a wide range of options to choose from. However, there are a few factors to consider to ensure optimal performance and compatibility.
Firstly, it is essential to check the maximum capacity supported by your Steam Deck. The device can handle SD cards with capacities up to 2TB. While 2TB cards are not widely available in the market yet, it’s vital to be aware of this limitation and choose an appropriate capacity based on your storage needs.
Secondly, take note of the speed class of the SD card. The speed class determines the minimum sustained write speeds of the card. For gaming purposes, it is advisable to choose SD cards with a minimum UHS speed class of UHS-I or higher. This ensures smooth gameplay and reduces loading times.
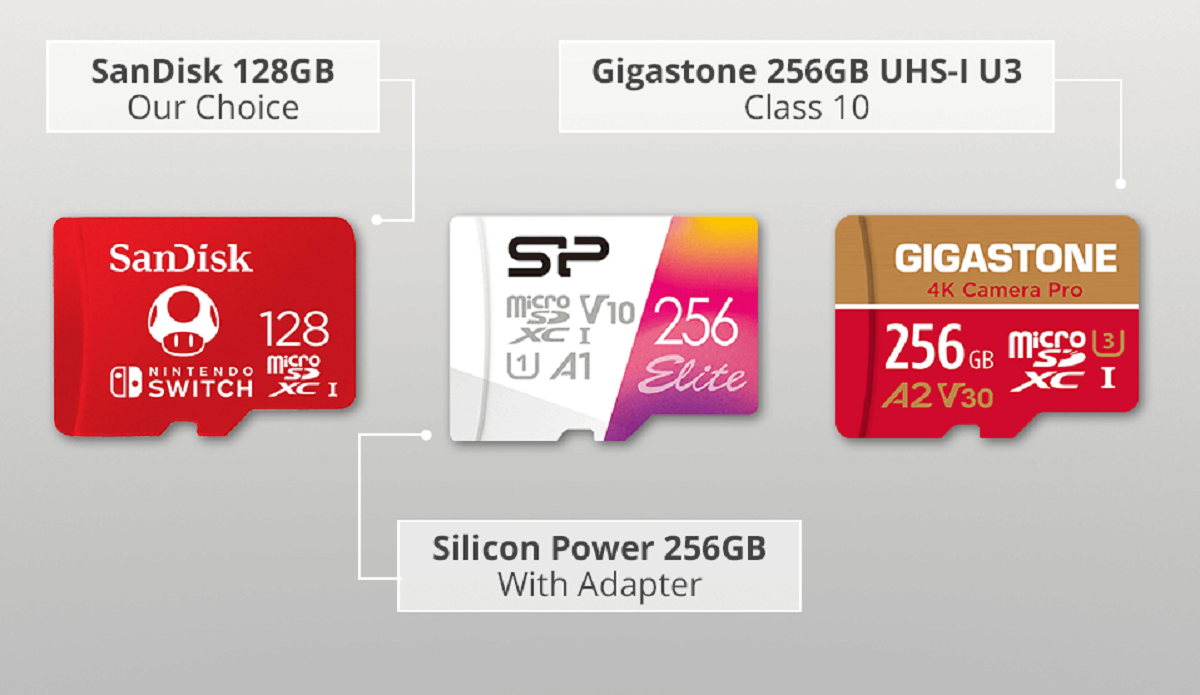
Lastly, consider the brand and quality of the SD card. It is generally recommended to purchase SD cards from reputable manufacturers to ensure reliability and longevity. Cheaper, lesser-known brands may offer tempting deals, but they can be prone to compatibility issues and may not provide optimal performance.
By taking these compatibility factors into account, you can ensure a seamless experience when using an SD card with your Steam Deck. Now that you have checked the compatibility, it’s time to move on to the next step: backing up your data before formatting the SD card.
Backing Up Data
Before you format an SD card for your Steam Deck, it is essential to back up any existing data on the card. Formatting will erase all data stored on the SD card, including games, photos, videos, and other files. By backing up your data, you can ensure that nothing important is lost in the process.
There are a few methods you can use to back up your SD card data. One common option is to connect the SD card to your computer using a card reader. Once connected, you can simply copy and paste the files from the SD card to a folder on your computer’s hard drive or an external storage device. This method is straightforward and accessible to most users.
If you prefer a more automated approach, you can utilize backup software or applications designed specifically for SD card backup. These programs can streamline the process by allowing you to select the specific files or folders you wish to back up and initiating the backup with a few clicks.
Cloud storage services are another convenient option for backing up your SD card data. By uploading your files to a cloud storage provider such as Google Drive, Dropbox, or OneDrive, you can ensure that your data is securely stored and accessible from multiple devices. This method is especially useful if you have limited storage space on your computer or prefer the convenience of accessing your files on the go.
Regardless of the method you choose, it is crucial to verify that your data has been successfully backed up before proceeding with the SD card formatting. Once you have confirmed that your files are safely stored, you can confidently move on to the next step: formatting the SD card on your Steam Deck.
Formatting SD Card on Steam Deck
Formatting an SD card on your Steam Deck is a straightforward process that can be completed in a few simple steps. Follow the instructions below to format your SD card:
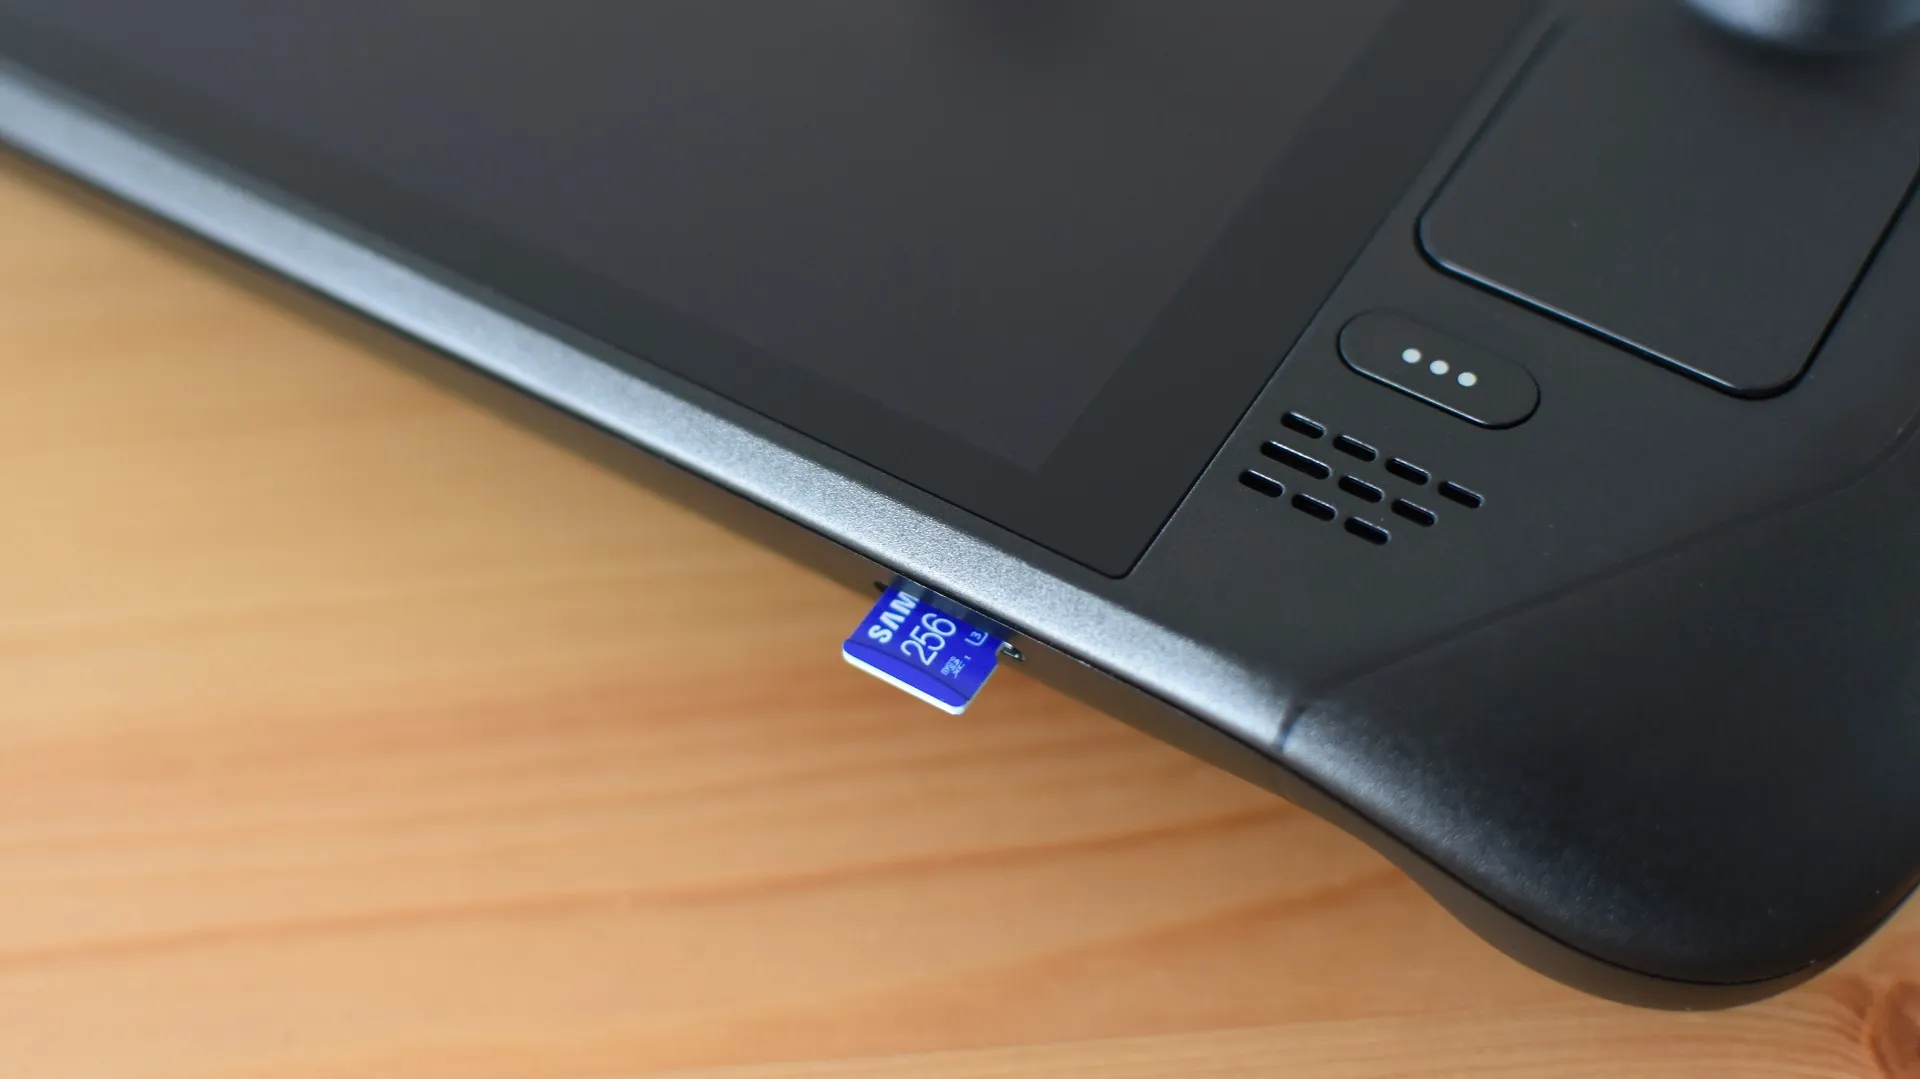
- Insert the SD card into the designated slot on your Steam Deck. Ensure that the card is properly inserted and seated securely.
- Power on your Steam Deck and navigate to the Home menu.
- Scroll through the menu options and select “Settings.”
- In the Settings menu, choose “Storage.”
- Select the option that corresponds to the inserted SD card. You may see the card listed as “Removable Storage” or a similar description.
- In the SD card options menu, you will find the formatting option. Choose the formatting option to initiate the process.
- A confirmation prompt will appear, ensuring that you understand that formatting the SD card will erase all data. Confirm your decision to proceed.
- The formatting process will begin, and it may take a few moments to complete. Do not remove the SD card or turn off your Steam Deck during this process.
- Once the formatting is finished, you will receive a notification indicating that your SD card is ready for use.
After formatting, your SD card is now ready to be used with your Steam Deck. You can begin transferring games, files, and media to the card to expand your device’s storage capacity. Ensure that you safely eject the SD card when you no longer need it or want to switch to another card.
By following these steps, you can easily format an SD card on your Steam Deck and maximize your gaming experience by utilizing additional storage space. Now that you know how to format the SD card, let’s move on to the next section: ejecting the SD card properly.
Ejecting SD Card Properly
Properly ejecting an SD card from your Steam Deck is essential to avoid any potential data loss or damage to the card. When you’re ready to remove the SD card, follow the steps below to ensure it is safely ejected:
- Exit any applications or games that may be using the SD card.
- Navigate to the Home menu on your Steam Deck.
- Scroll through the menu options and select “Settings”.
- In the Settings menu, choose “Storage”.
- Select the option that corresponds to the inserted SD card (e.g., “Removable Storage”).
- In the SD card options menu, look for the “Eject” or “Unmount” option and select it.
- A notification will appear, indicating that it is safe to remove the SD card. Remove the SD card by gently pushing it in until it pops out of the slot.
- Once the SD card is removed, store it in a safe place to prevent any physical damage.
Properly ejecting the SD card allows the Steam Deck to save any data and ensure that it is safely stored. Removing the card without ejecting it properly can lead to data corruption or even render the card unusable.
Remember that you can insert a different SD card after ejecting one. This allows you to switch between multiple SD cards with different games or media files easily.
By following these steps, you can safely and properly eject the SD card from your Steam Deck, ensuring the integrity of your data and the longevity of the SD card. In case you encounter any issues during the formatting or ejecting process, let’s move on to the next section, where we provide troubleshooting tips for common issues.
Troubleshooting Common Issues
While formatting and using an SD card on your Steam Deck is generally a smooth process, there may be instances where you encounter some common issues. Here are a few troubleshooting tips to help you resolve these issues:
1. SD Card Not Recognized: If your SD card is not being recognized by your Steam Deck, try the following:
- Ensure that the SD card is properly inserted into the slot and seated securely.
- Check if the SD card is compatible with your Steam Deck by referring to the device’s specifications.
- Try inserting the SD card into a different device or card reader to determine if the issue is with the card or the Steam Deck.
- Update your Steam Deck’s firmware to the latest version, as newer updates may address compatibility issues.
2. Formatting Error: If you encounter an error message during the formatting process, here’s what you can do:
- Ensure that the SD card is not write-protected. Some SD cards have a physical switch that can prevent formatting or file modification.
- Restart your Steam Deck and attempt the formatting process again.
- If the issue persists, try using a different SD card to determine if the problem lies with the card or the device.
- If none of the above steps work, contact Steam Deck support for further assistance.
3. Slow Performance: If you notice that the SD card is not performing optimally, try these troubleshooting steps:
- Ensure that you are using a high-quality SD card with a sufficient speed class rating for gaming purposes.
- Check for any background applications or games that may be using the SD card, as this can impact performance.
- Close unnecessary applications or games to free up system resources and improve overall performance.
- If the performance issues persist, try using a different SD card with better specifications.
Remember to handle your SD card with care and avoid exposing it to extreme temperatures, moisture, or physical damage to prevent any potential issues.
If you encounter persistent issues or have specific questions related to SD card usage on your Steam Deck, it is recommended to consult the official Steam Deck documentation or reach out to their customer support for further assistance.
Now that we’ve covered some troubleshooting tips, let’s proceed to the final section of this guide to wrap up everything we’ve discussed.
Conclusion
In this guide, we have explored the process of formatting an SD card on your Steam Deck. We began by discussing the importance of checking compatibility between the SD card and the device, ensuring that you choose the right capacity, speed class, and brand for optimal performance. We then emphasized the necessity of backing up your data before proceeding with the formatting process.
Next, we provided step-by-step instructions on how to format the SD card on your Steam Deck, ensuring that you follow the correct sequence of menu options. We also highlighted the significance of ejecting the SD card properly to avoid data loss or damage.
To further assist you, we offered troubleshooting tips for common issues that you may encounter while formatting and using an SD card on your Steam Deck. These tips can help resolve issues such as SD card recognition problems, formatting errors, and slow performance.
By following the guidelines outlined in this guide and taking the necessary precautions, you can confidently format and utilize an SD card on your Steam Deck to expand your storage capacity and enhance your gaming experience.
If you have any further questions or encounter any difficulties during the process, we encourage you to refer to the official documentation provided by Steam Deck or reach out to their customer support for additional support.
Now that you have the knowledge and understanding to format an SD card on your Steam Deck, enjoy the seamless storage expansion and maximized gaming potential that comes with it. Happy gaming!