Introduction
Welcome to the world of Steam, the leading platform for purchasing, downloading, and playing video games on your computer. With an extensive library of games to choose from, Steam offers a convenient way to access and enjoy your favorite titles. However, if you have limited storage space on your computer’s hard drive, you may find yourself needing extra space to download and install games.
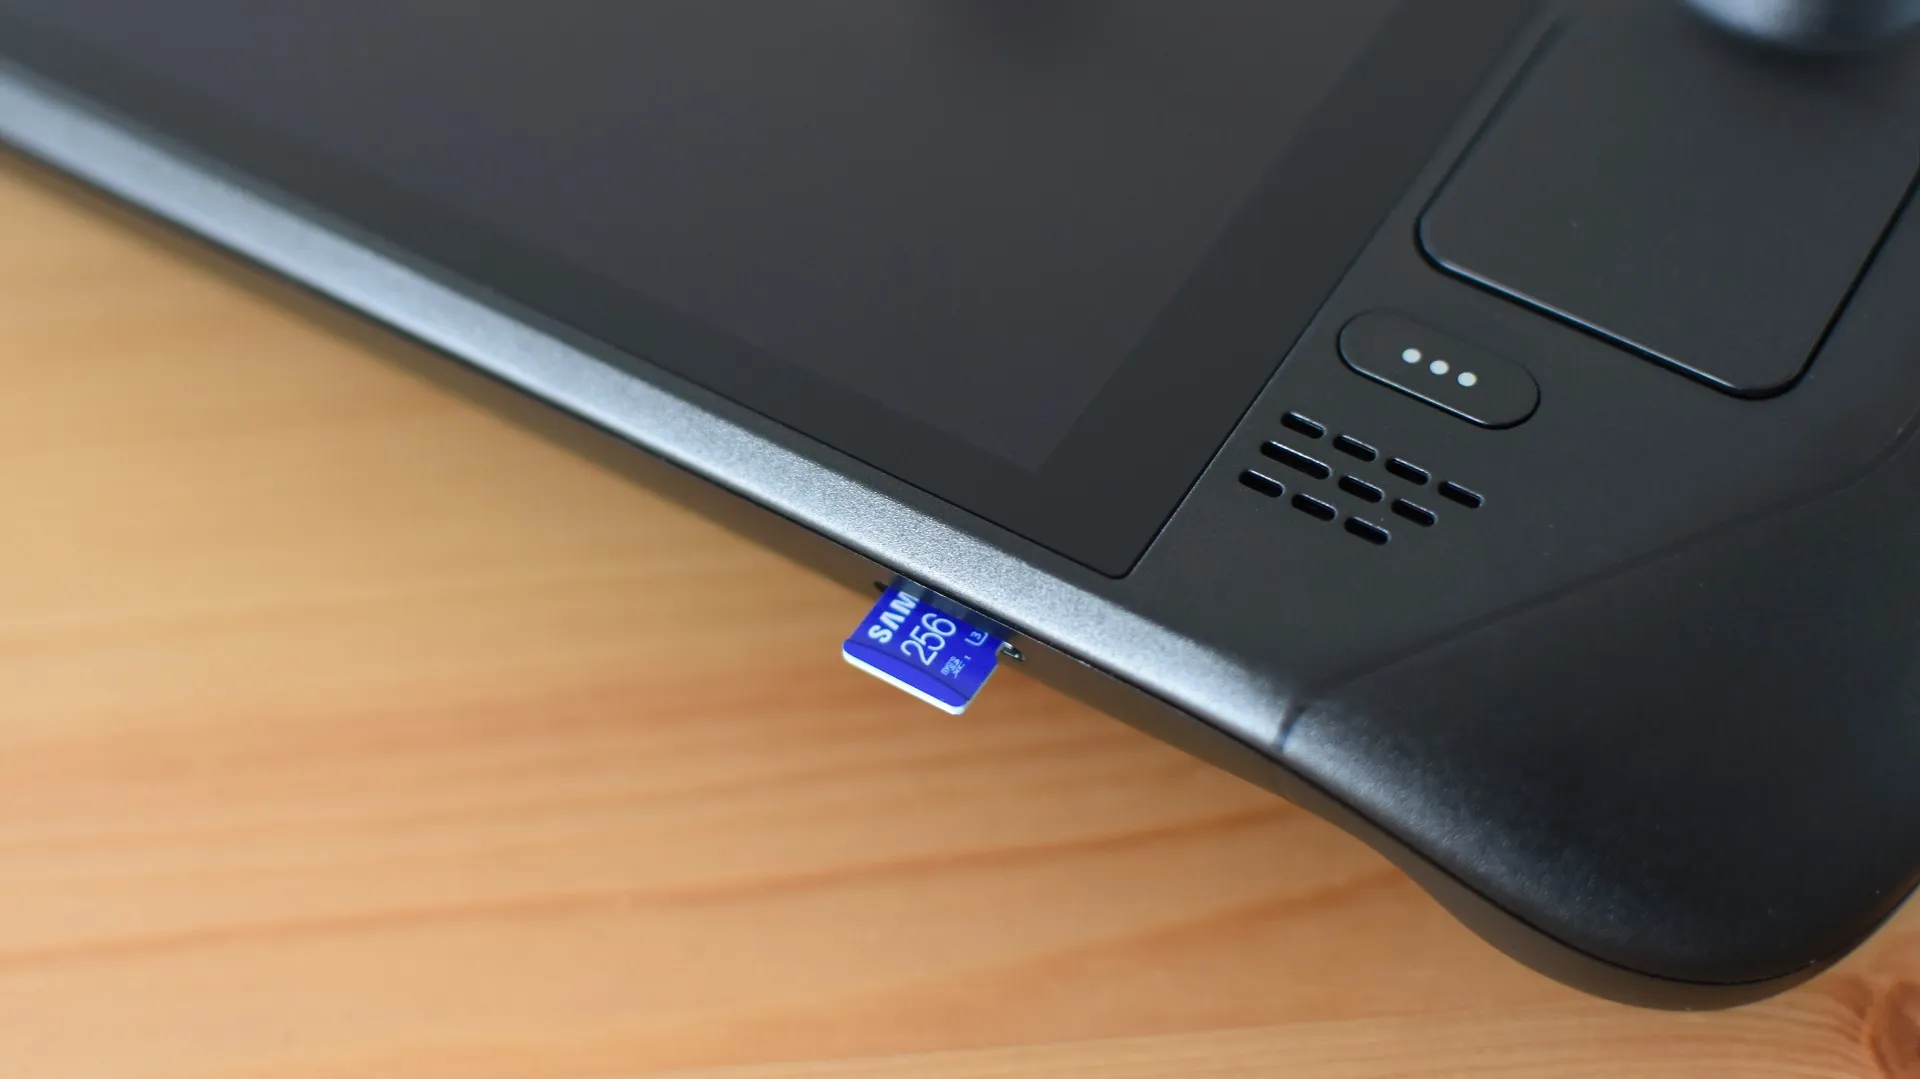
Fortunately, with the help of an SD card, you can easily expand your storage capacity and download Steam games directly onto the card. An SD card, short for Secure Digital card, is a small portable storage device that you can insert into your computer’s SD card slot or use with an SD card adapter.
In this guide, we will walk you through the process of downloading and installing Steam games on an SD card. By following the step-by-step instructions provided, you’ll be able to free up precious space on your computer’s hard drive while still enjoying your favorite games. Whether you have a gaming laptop with limited storage or simply want to keep your game library easily transportable, downloading Steam games on an SD card is a game-changer.
Before we dive into the steps, it’s essential to ensure that your SD card meets the minimum requirements and is compatible with your computer’s operating system. Additionally, it’s crucial to note that downloading games on an SD card may result in slightly slower loading times compared to installing them on your computer’s internal storage.
Now that we’ve set the stage, let’s move on to the first step: checking your SD card to ensure it’s ready for action.
Step 1: Check Your SD Card
Before diving into the process of downloading Steam games onto your SD card, it’s important to ensure that your SD card is compatible and in good condition. Here are a few essential steps to follow:
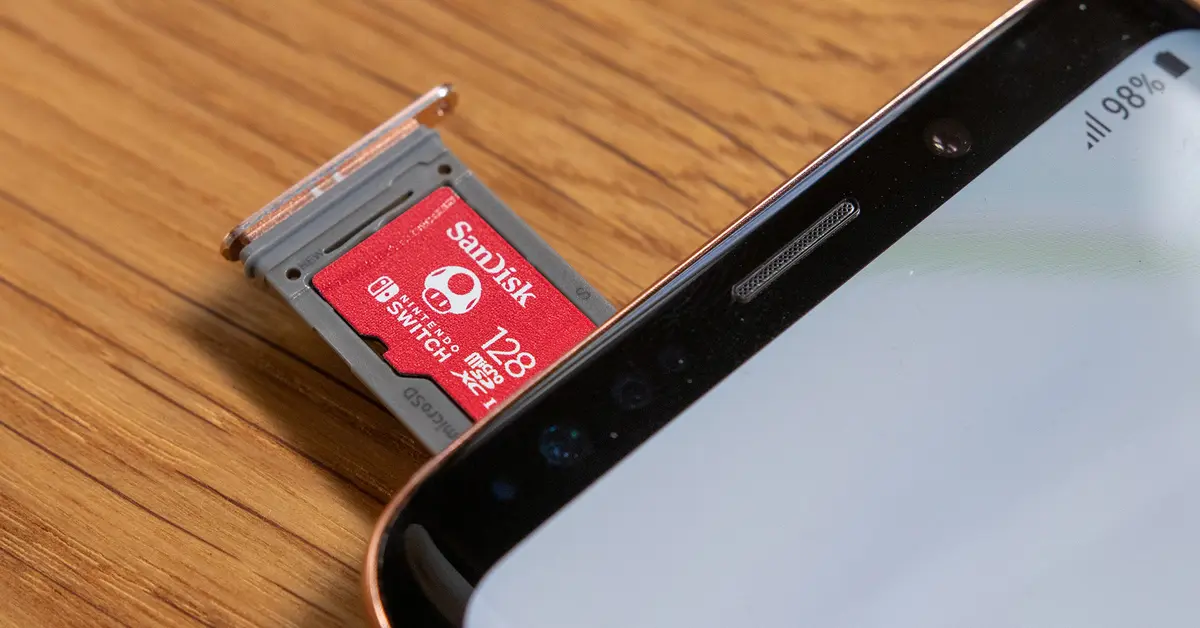
1. Check compatibility: Make sure that your computer has an SD card slot or an SD card adapter that you can use to connect the card. Additionally, ensure that your SD card is of the appropriate type and size for your computer’s operating system.
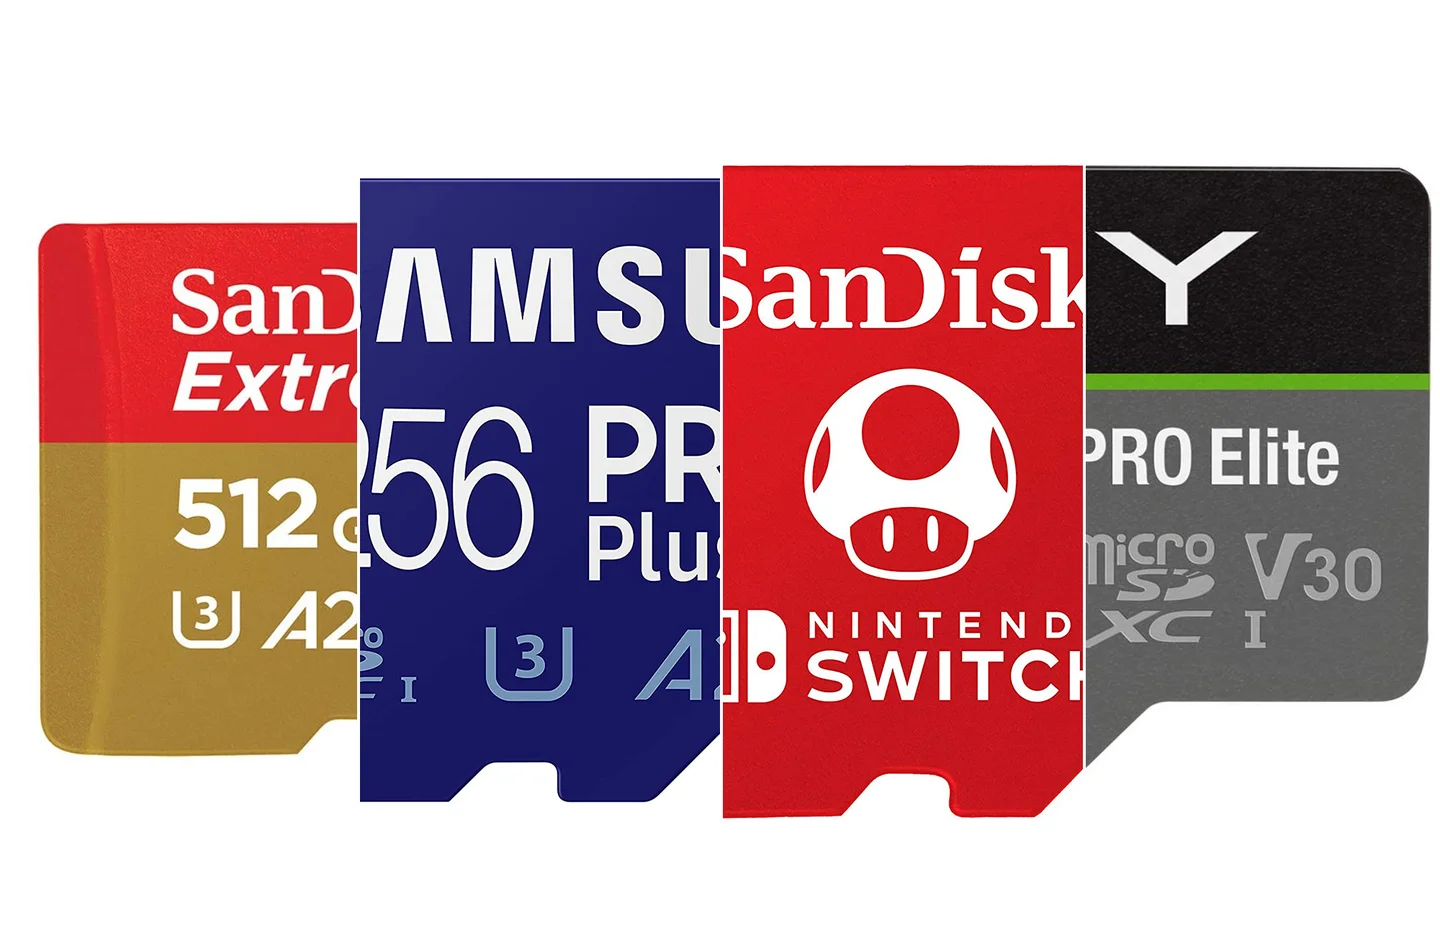
2. Inspect the capacity: Take a look at the storage capacity of your SD card. Steam games can be quite large, so it’s crucial to have enough available space on the card to accommodate your desired games.
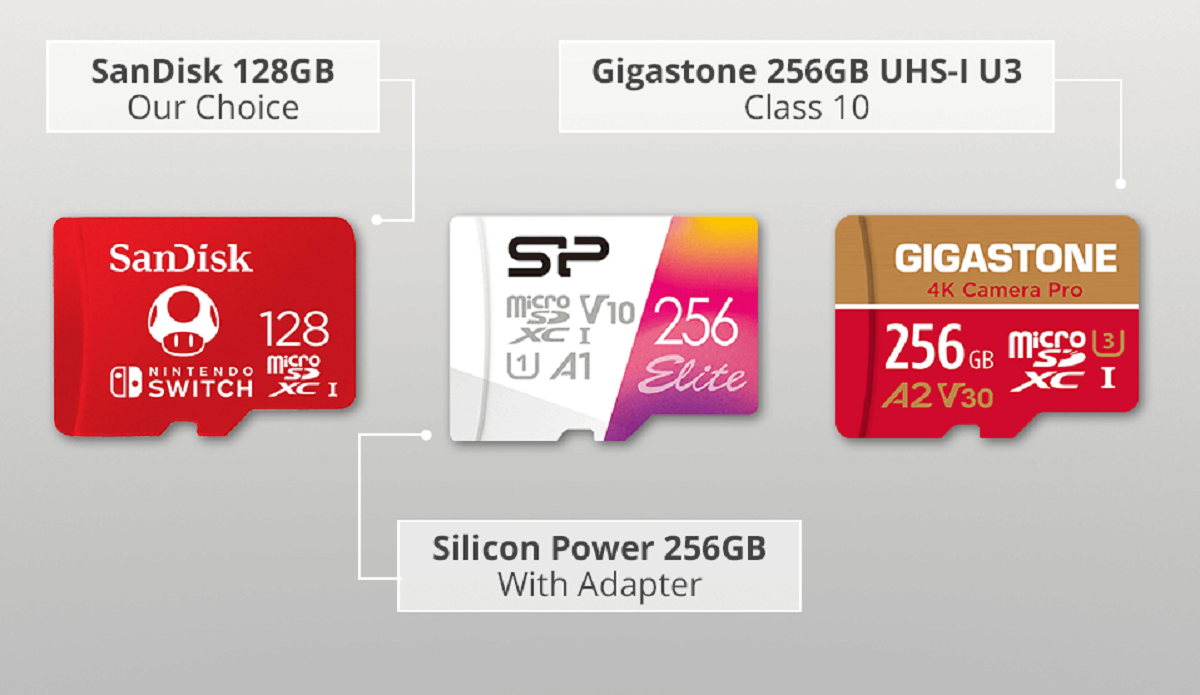
3. Check the reading and writing speed: The reading and writing speed of your SD card can significantly impact the loading times of your games. Ensure that your card has a fast enough speed to provide a smooth gaming experience. Look for SD cards labeled with Class 10 or above for optimal performance.
4. Format the SD card: It is recommended to format the SD card using your computer’s built-in formatting tools. Formatting will erase all data on the card, so make sure to back up any important files before proceeding. This step ensures that the card is ready for use and eliminates any potential compatibility issues.
By following these steps, you can ensure that your SD card is in good working condition and compatible with your computer. Once you’ve confirmed that your SD card meets the requirements, you can move on to the next step: formatting the card in preparation for downloading and installing Steam games.
Step 2: Format Your SD Card
Formatting your SD card is an essential step to prepare it for downloading and installing Steam games. By formatting the card, you will erase any existing data and ensure a clean slate for the games to be stored efficiently. Follow these steps to format your SD card:
1. Connect the SD card: Insert your SD card into the appropriate slot on your computer or use an SD card adapter if necessary.
2. Open File Explorer: On a Windows computer, open File Explorer by pressing the Windows key + E. On a Mac, open Finder by clicking on the Finder icon in the dock.
3. Select your SD card: In File Explorer or Finder, locate and select your SD card from the list of connected devices. It is usually labeled with the name of the card or its storage capacity.
4. Right-click and choose “Format”: Right-click on the selected SD card and choose the “Format” option from the context menu. If you’re using a Mac, click on the “Erase” option instead.
5. Select the file system and format options: A formatting window will appear, allowing you to choose the file system and format options for your SD card. For Windows, the recommended file system is “exFAT” for compatibility with both Windows and Mac. On a Mac, choose “MS-DOS (FAT)”.
6. Start the formatting process: Click on the “Start” or “Erase” button to begin the formatting process. A warning message may appear, indicating that all data on the card will be erased. Make sure you have backed up any important files before proceeding.
7. Wait for the formatting to complete: The formatting process may take a few moments. Once it is complete, you will see a confirmation message.
After successfully formatting your SD card, it will be ready to use for storing and installing Steam games. Now that your SD card is prepared, let’s move on to the next step: changing the Steam installation location.
Step 3: Change Steam Installation Location
In this step, you will learn how to change the installation location of your Steam games to your newly formatted SD card. By default, Steam installs games on your computer’s internal storage, but with a few adjustments in the Steam settings, you can direct the installation to your SD card. Follow these steps:
1. Launch Steam: Open the Steam application on your computer by double-clicking the Steam icon on your desktop or finding it in your program files.
2. Access Steam settings: Once Steam is open, click on the “Steam” menu located at the top left corner of the screen. From the drop-down menu, select “Settings.”
3. Go to “Downloads” tab: In the left sidebar of the Settings window, click on the “Downloads” tab to access the download settings.
4. Click on “Steam Library Folders”: Within the “Downloads” tab, you will see a section labeled “Steam Library Folders.” Click on this button to open the configuration for your library folders.
5. Add a new library folder: In the Library Folders window, click on the “Add Library Folder” button. Select the location where you want to create the new library folder on your SD card. Choose the SD card from the list of available options or browse to the SD card location manually.
6. Set the new library folder as default: After adding the library folder on your SD card, select it from the list and click on the “Set as Default” button. This will make the SD card the primary location for installing your Steam games.
7. Confirm the changes: Once you have set the new library folder on your SD card as the default location, click on the “OK” button to save the changes and close the Settings window.
By following these steps, you have successfully changed the installation location for your Steam games to your SD card. Now, let’s move on to the next step: moving existing Steam games to the SD card.
Step 4: Move Existing Steam Games to SD Card
Now that you have set the installation location for Steam games to your SD card, you can proceed to move your existing games from your computer’s internal storage to the SD card. The process involves using the Steam client to transfer the game files. Follow these steps to move your Steam games:
1. Launch Steam: Open the Steam application on your computer by double-clicking the Steam icon on your desktop or finding it in your program files.
2. Access the “Library” section: Once the Steam client is open, click on the “Library” tab located at the top of the screen. This will display a list of all the games you currently have installed on your computer.
3. Select a game to move: Choose the game you want to move to the SD card. Right-click on the game’s name and select “Properties” from the context menu.
4. Go to the “Local Files” tab: In the game’s properties window, click on the “Local Files” tab located at the top of the window.
5. Click on “Move Install Folder”: Within the Local Files tab, click on the “Move Install Folder” button. This will prompt you to choose the new location for the game files.
6. Choose the SD card library folder: In the “Choose location” window, select the library folder you created on your SD card. This is the location where you want to move the game files. Click on the “Move Folder” button to start the transfer process.
7. Wait for the transfer to complete: Depending on the size of the game, the transfer process may take some time. Be patient and allow Steam to complete the move.
8. Repeat for other games: Repeat steps 3 to 7 for each game you want to move to the SD card. Select the game, access its properties, click on “Move Install Folder,” choose the SD card library folder, and wait for the transfer to complete.
By following these steps, you can easily move your existing Steam games from your computer’s internal storage to your SD card. This will free up space on your computer while allowing you to continue playing your favorite games.
Now that you have successfully moved your existing games, let’s move on to the final step: downloading new Steam games directly to your SD card.
Step 5: Download New Steam Games to SD Card
With your SD card set as the default installation location and your existing games successfully moved, you’re ready to download new Steam games directly onto your SD card. Follow these steps to ensure that any new games you download are stored on your SD card:
1. Launch Steam: Open the Steam application on your computer by double-clicking the Steam icon on your desktop or finding it in your program files.
2. Find a game to download: Browse the extensive Steam library, find a game you want to download, and click on its store page.
3. Click on “Add to Cart” or “Buy”: On the game’s store page, click on the “Add to Cart” or “Buy” button to initiate the purchasing process. Follow the prompts to complete the purchase.
4. Choose the SD card library folder: After purchasing the game, you will be prompted to choose the location for the game files. Select the library folder you created on your SD card. This will ensure that the game is downloaded directly to your SD card.
5. Start the download: Click on the “Download” button to start downloading the game to your SD card. The download progress will be displayed in the Steam client.
6. Monitor the download: Keep an eye on the download progress and ensure that the game files are being saved to the SD card library folder. Steam will automatically install the game once the download is complete.
7. Repeat for other games: Follow the same process for any other games you want to download in the future. Choose the SD card library folder during the purchasing process to ensure that the games are saved directly to your SD card.
By following these steps, you can download new Steam games directly to your SD card, allowing you to expand your game library without taking up precious space on your computer’s internal storage.
With this final step completed, you have successfully learned how to download and install Steam games on your SD card. Enjoy the freedom of having a portable game library and the convenience of additional storage space.
Now you’re ready to dive into the world of gaming and experience the joy of playing your favorite games directly from your SD card. Happy gaming!
Conclusion
In this guide, we have explored the process of downloading and installing Steam games on an SD card, providing you with additional storage space and the flexibility to enjoy your favorite games on the go. By following the step-by-step instructions outlined in this article, you have learned how to check your SD card, format it for optimal performance, change the Steam installation location, move existing games to the SD card, and download new games directly onto it.
With the ability to download and store games on your SD card, you can free up valuable space on your computer’s hard drive, which is especially useful if you have limited storage capacity. The convenience and portability offered by an SD card enable you to take your games with you wherever you go, allowing for seamless gaming experiences on different devices.
Remember to ensure that your SD card is compatible with your computer’s operating system and has sufficient storage capacity for your game library. It’s also important to note that while using an SD card can provide a convenient storage solution, it may result in slightly slower loading times compared to internal storage.
By following the steps provided in this guide, you can optimize your gaming setup and enjoy a hassle-free experience with your Steam games. Whether you have a gaming laptop with limited storage or simply prefer the convenience of an SD card, downloading and installing games on an SD card opens up a world of possibilities for your gaming adventures.
Now that you have the knowledge and skills to download Steam games on an SD card, you can expand your game library without worrying about running out of storage space. Embrace the freedom and flexibility this method offers, and immerse yourself in the immersive worlds of your favorite games.
Get ready to embark on new gaming adventures with the power of your SD card. Happy gaming!