Introduction
Welcome to the exciting world of virtual reality gaming! With the Oculus app, you can take your gaming experience to a whole new level on your PC. Whether you’re a seasoned gamer or new to the VR scene, Oculus offers a wide range of immersive and thrilling virtual reality experiences.
In this guide, we’ll walk you through the steps to download the Oculus app on your PC. We’ll also provide you with helpful tips and tricks to ensure a smooth installation and setup process. So, let’s get started!
Before we dive into the steps, it’s important to note that the Oculus app is compatible with certain system requirements. Your PC must meet the necessary specifications to ensure optimal performance. We’ll discuss the system requirements in detail in the next section, so make sure to check if your PC meets the criteria.
Once you’ve confirmed that your PC can handle the Oculus app, you’ll need to create an Oculus account. This account will grant you access to the Oculus Store, where you can browse and download a wide range of virtual reality games, apps, and experiences.
Downloading the Oculus app is a straightforward process, and we’ll guide you through it step by step. Once the app is downloaded, you’ll need to install it on your PC. This installation process is quick and easy, and we’ll provide you with detailed instructions to ensure a seamless installation.
After installing the Oculus app, you’ll be ready to set it up and start exploring the world of virtual reality. We’ll guide you through the initial setup process, including connecting your VR headset, adjusting the settings, and creating your VR profile.
So, if you’re ready to embark on an incredible virtual reality adventure, let’s begin by checking the system requirements for the Oculus app in the next step!
Step 1: Check the System Requirements
Before you begin the process of downloading the Oculus app on your PC, it’s important to ensure that your system meets the necessary requirements. This will ensure that the app performs smoothly and provides you with the best virtual reality experience possible.
The system requirements for the Oculus app are as follows:
- A compatible Windows operating system (Windows 10 recommended)
- A compatible graphics card, such as an NVIDIA GTX 970 / AMD 290 equivalent or higher
- A minimum of 8GB RAM
- A display with a resolution of 1920 x 1080 or higher
- A USB 3.0 port
- At least 6GB of available storage space
It’s important to note that these are minimum requirements, and for the best experience, it’s recommended to meet or exceed these specifications. If your PC falls short in any of these areas, you may still be able to use the Oculus app, but you may experience performance issues or limitations in certain games or experiences.
It’s also worth mentioning that the Oculus app is designed for PC gaming. While there is a separate Oculus app available for some mobile devices, this guide specifically focuses on the PC version.
If you’re unsure about your PC’s specifications or need assistance in determining whether your system meets the requirements, you can visit the Oculus website or refer to the documentation provided with your PC or graphics card.
Once you’ve confirmed that your PC meets the necessary requirements, you’re ready to move on to the next step: creating an Oculus account. This account is essential for downloading and accessing the Oculus Store.
Now that you have a clear understanding of the system requirements, let’s proceed with creating your Oculus account in the next step!
Step 2: Create an Oculus Account
Before you can download and enjoy the Oculus app on your PC, you’ll need to create an Oculus account. This account will grant you access to the Oculus Store, where you can browse and download a wide range of virtual reality games, apps, and experiences.
To create an Oculus account, follow these simple steps:
- Visit the Oculus website: Open your preferred web browser and navigate to the official Oculus website (www.oculus.com).
- Click on “Sign Up”: Look for the “Sign Up” or “Create Account” button on the homepage and click on it. This will take you to the account creation page.
- Fill in your details: Provide the required information, including your first name, last name, email address, and password. Make sure to choose a strong, secure password to protect your account.
- Agree to terms and conditions: Read and review the Oculus terms of service and privacy policy. If you agree with the terms, tick the checkbox to indicate your acceptance.
- Complete the verification process: Depending on your chosen email address, you may need to verify your account. Check your email inbox for a verification email from Oculus and follow the instructions provided to complete the verification process.
- Set a profile picture (optional): Once your account is verified, you have the option to add a profile picture. This step is not mandatory, but it can help personalize your Oculus experience.
After completing these steps, you will have successfully created your Oculus account. You can now proceed to the next step, which involves downloading the Oculus app on your PC.
Having an Oculus account is essential for accessing the Oculus Store and downloading virtual reality content. It also allows you to connect with other Oculus users, join communities, and participate in virtual reality experiences together.
Now that you have created your Oculus account, let’s move on to the next step: downloading the Oculus app.
Step 3: Download the Oculus App
Now that you have created your Oculus account, it’s time to download the Oculus app on your PC. The Oculus app is the gateway to a world of virtual reality experiences, allowing you to explore and enjoy a wide range of games, apps, and immersive content.
Follow these steps to download the Oculus app:
- Visit the Oculus website: Open your web browser and go to the official Oculus website (www.oculus.com).
- Click on “Download App”: On the Oculus website’s homepage, you will find a “Download App” button. Click on it to start the download process.
- Choose your operating system: After clicking “Download App,” you will be prompted to select your operating system. Make sure to choose the correct option, whether you are using Windows or another compatible operating system.
- Start the download: Once you have selected your operating system, the download will begin automatically. Wait for the download to complete before proceeding to the next step.
Depending on your internet connection speed, the download may take some time. Be patient and avoid interrupting the download process to ensure a successful installation.
Once the Oculus app is downloaded, you’re one step closer to immersing yourself in virtual reality experiences. But before you can start using the app, you need to install it on your PC, which we will cover in the next step.
Downloading the Oculus app is a straightforward process. By following these steps, you will have the app ready to be installed on your PC in no time.
Now that you have downloaded the Oculus app, let’s proceed to the next step: installing the Oculus app on your PC.
Step 4: Installing the Oculus App
With the Oculus app downloaded, it’s time to install it on your PC. The installation process is simple and straightforward, allowing you to quickly set up the app and start exploring the world of virtual reality.
Follow these steps to install the Oculus app:
- Locate the downloaded file: Open the folder where the Oculus app installer was downloaded. The file should have a name similar to “OculusSetup.exe”.
- Run the installer: Double-click on the installer file to launch the installation wizard. You may be prompted to grant administrative privileges for the installation to proceed.
- Review the license agreement: Read through the license agreement and terms of service. If you agree to the terms, accept the agreement and proceed to the next step.
- Choose the installation location: The installation wizard will prompt you to choose a destination folder for the Oculus app. You can either accept the default location or choose a different folder on your PC.
- Customize installation options: The installation wizard may provide additional options for you to customize the installation. You can choose whether to create desktop shortcuts or start menu entries, as well as whether to allow automatic updates for the app.
- Start the installation: Once you have reviewed and customized the installation options, click on the “Install” or “Next” button to start the installation process.
- Wait for the installation to complete: The installation process may take a few minutes, depending on your system’s performance and the speed of your hard drive. Avoid interrupting the process to ensure a successful installation.
- Launch the Oculus app: Once the installation is complete, you can choose to launch the Oculus app immediately or close the installation wizard and open the app later.
After following these steps, the Oculus app will be successfully installed on your PC. Congratulations! You are now one step closer to experiencing virtual reality gaming and immersive content.
In the next step, we’ll guide you through the process of setting up the Oculus app on your PC so that you can start enjoying virtual reality experiences.
Step 5: Setting up the Oculus App
Now that you have successfully installed the Oculus app on your PC, it’s time to set it up and get ready for an incredible virtual reality experience. Setting up the Oculus app involves a few easy steps to ensure that everything is configured properly for optimal performance and enjoyment.
Follow these steps to set up the Oculus app:
- Open the Oculus app: Locate the Oculus app icon on your desktop or in your Start menu and double-click on it to launch the app.
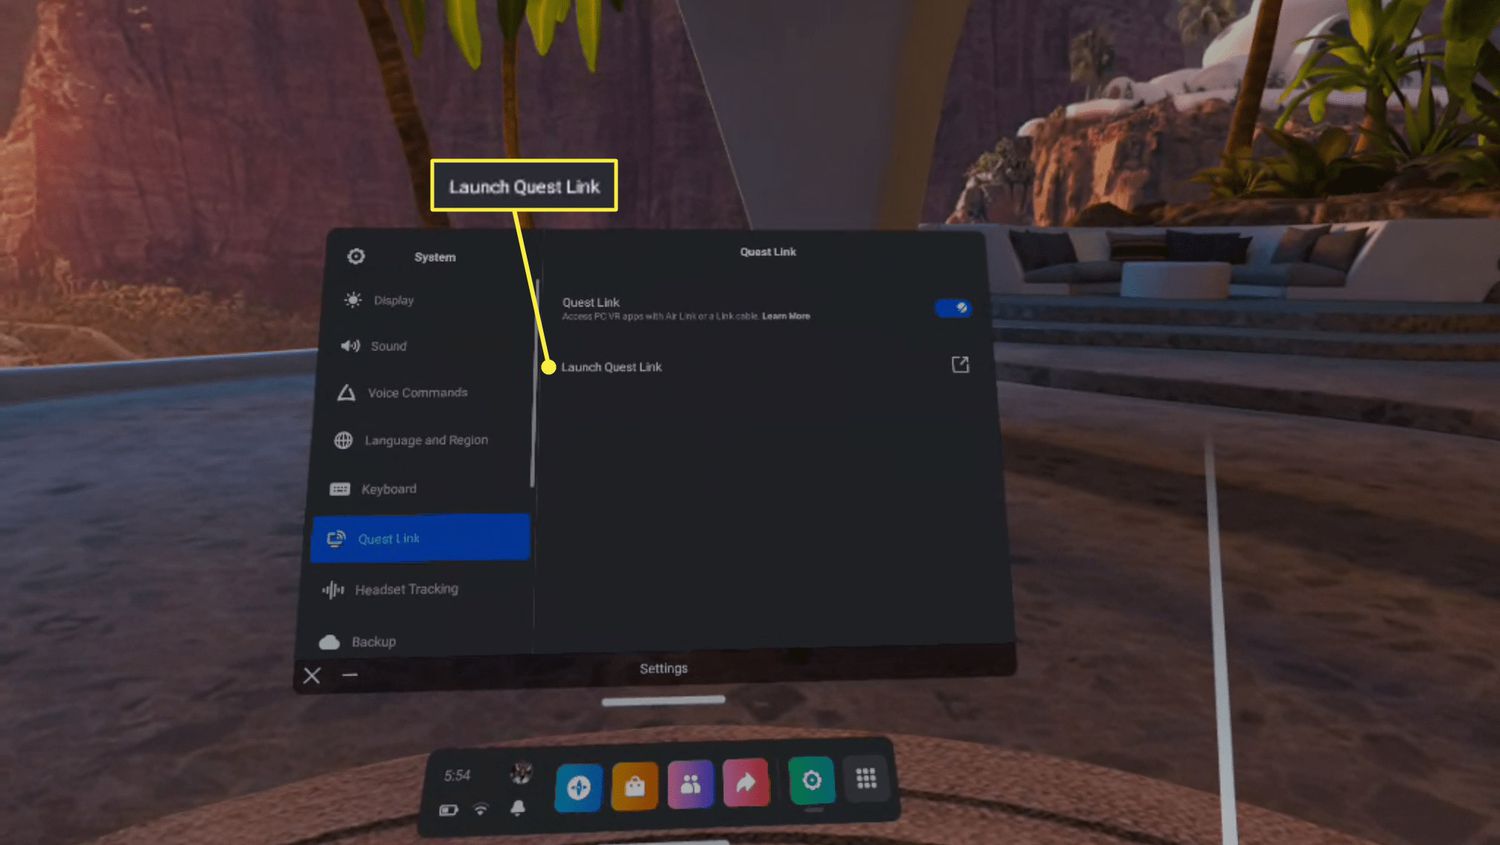
- Connect your VR headset: If you haven’t already done so, connect your VR headset to your PC using the provided cables and make sure it is securely connected. The Oculus app will detect the headset and guide you through the setup process.
- Adjust the headset settings: The Oculus app will prompt you to adjust your headset settings to ensure a comfortable and immersive experience. This may include adjusting the IPD (interpupillary distance) and setting up any included sensors or trackers.
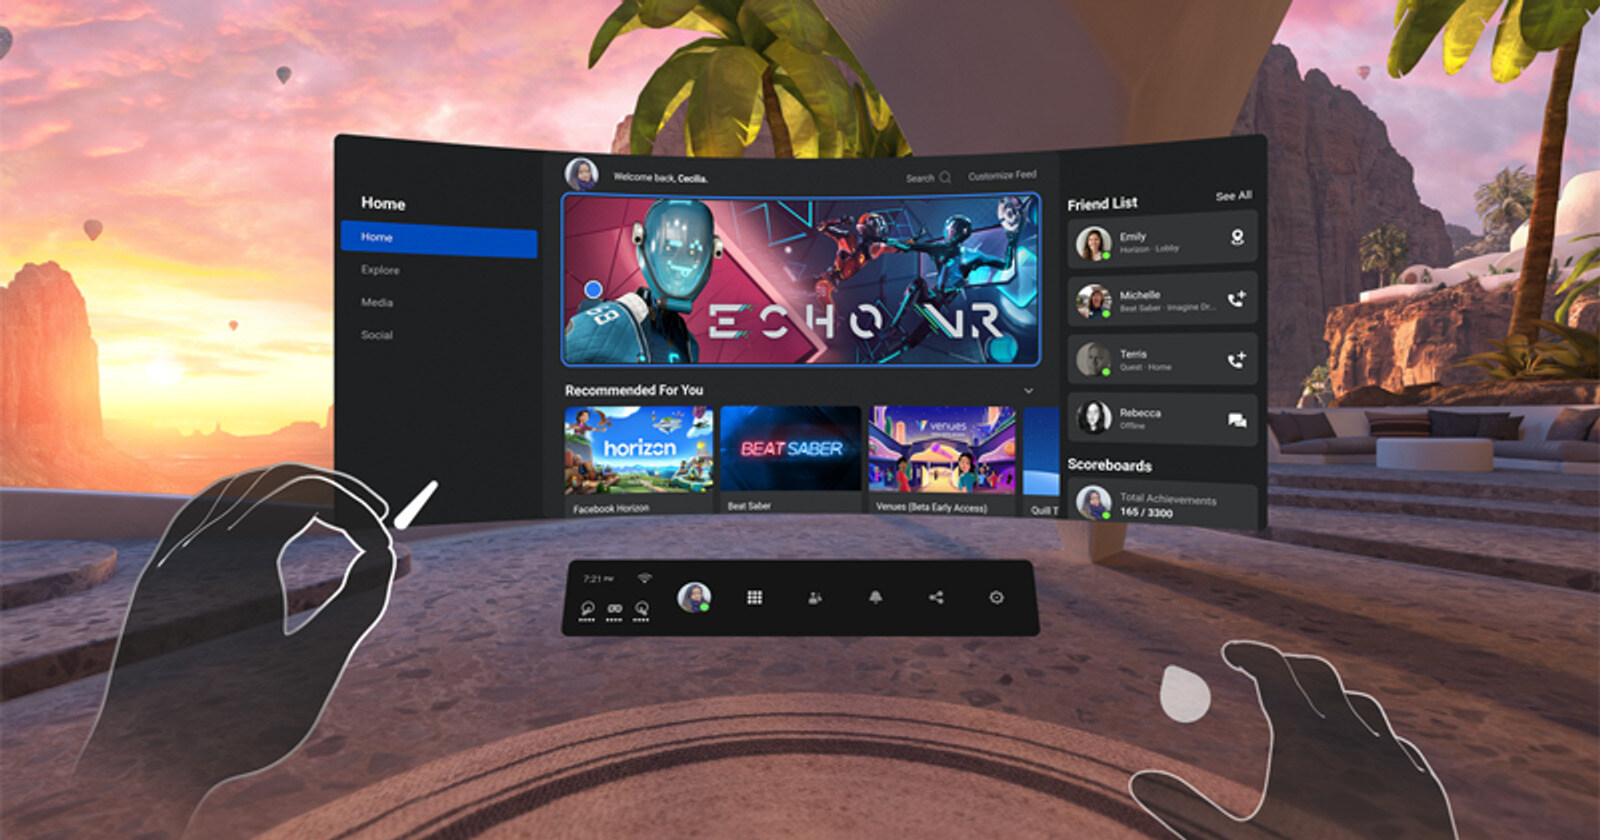
- Create your VR profile: The Oculus app will prompt you to create a VR profile, which includes setting up a username, avatar, and personalizing your virtual reality experience.
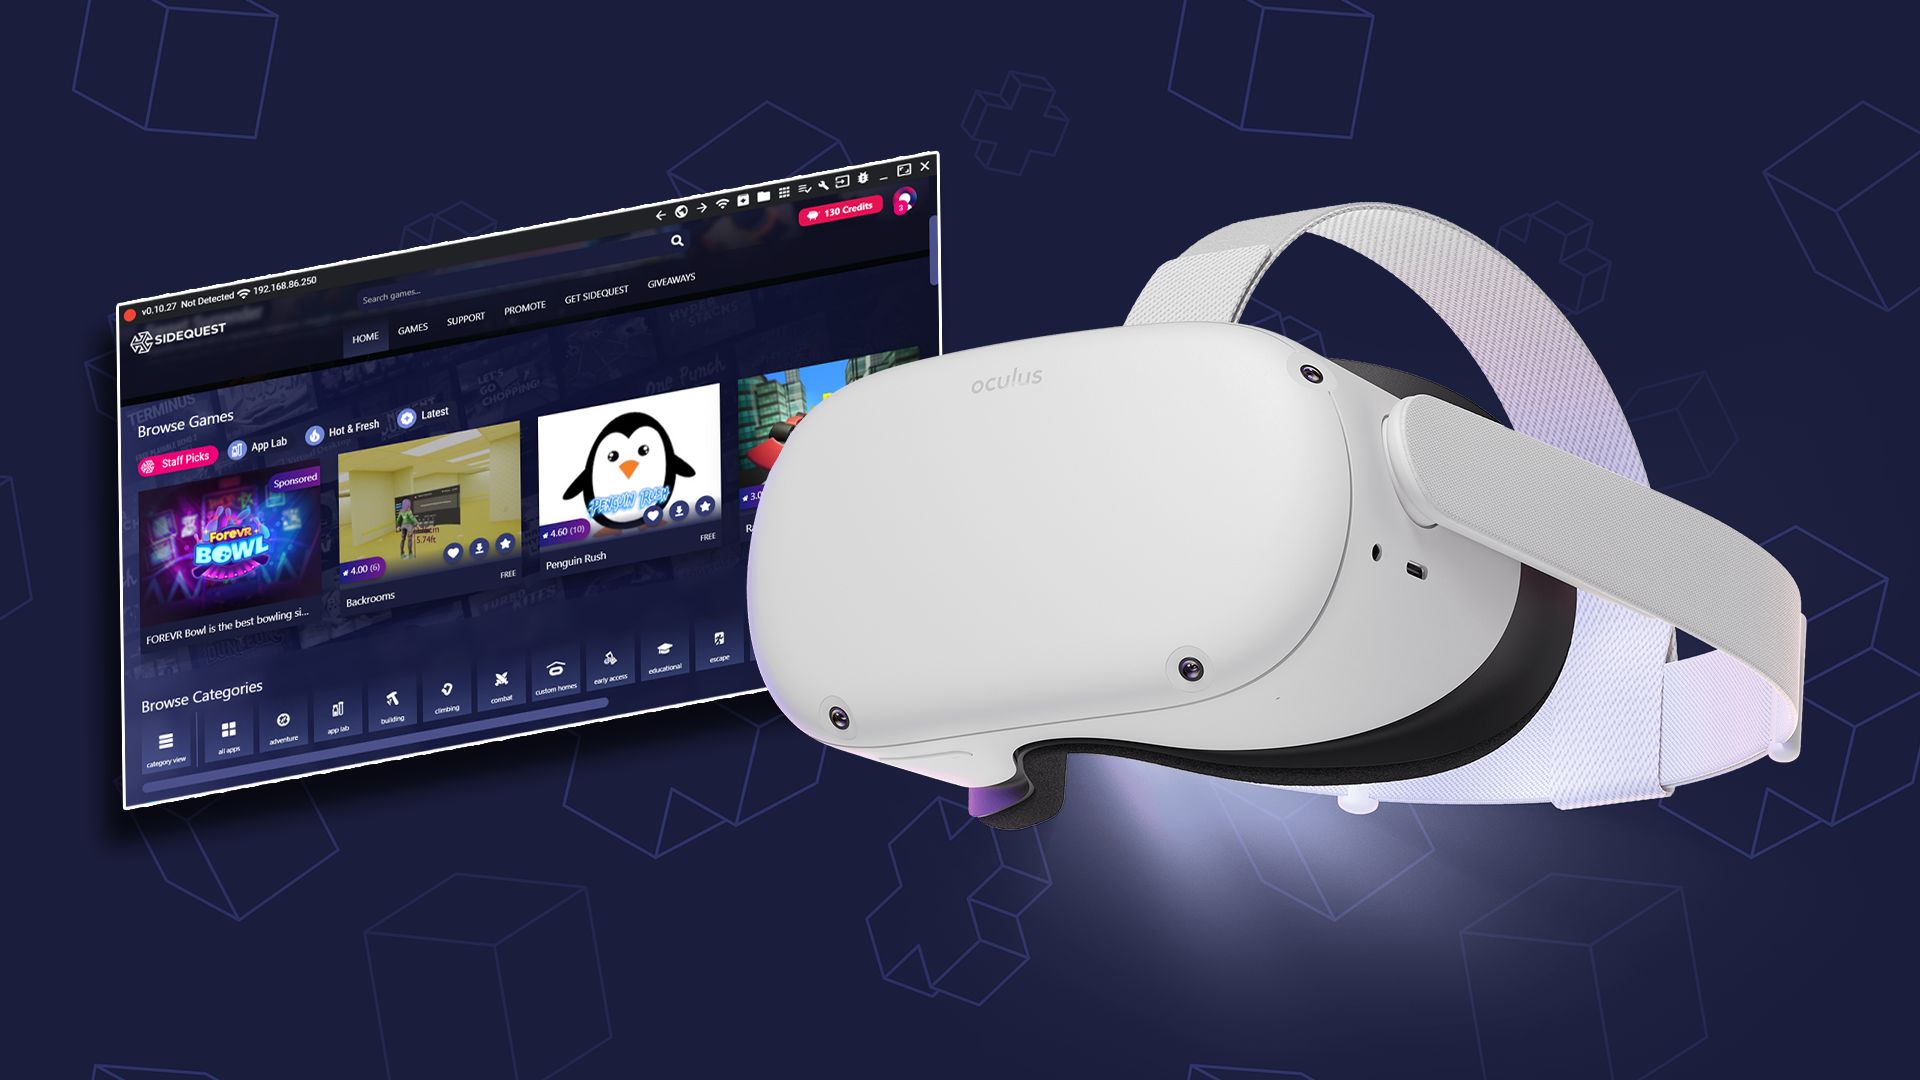
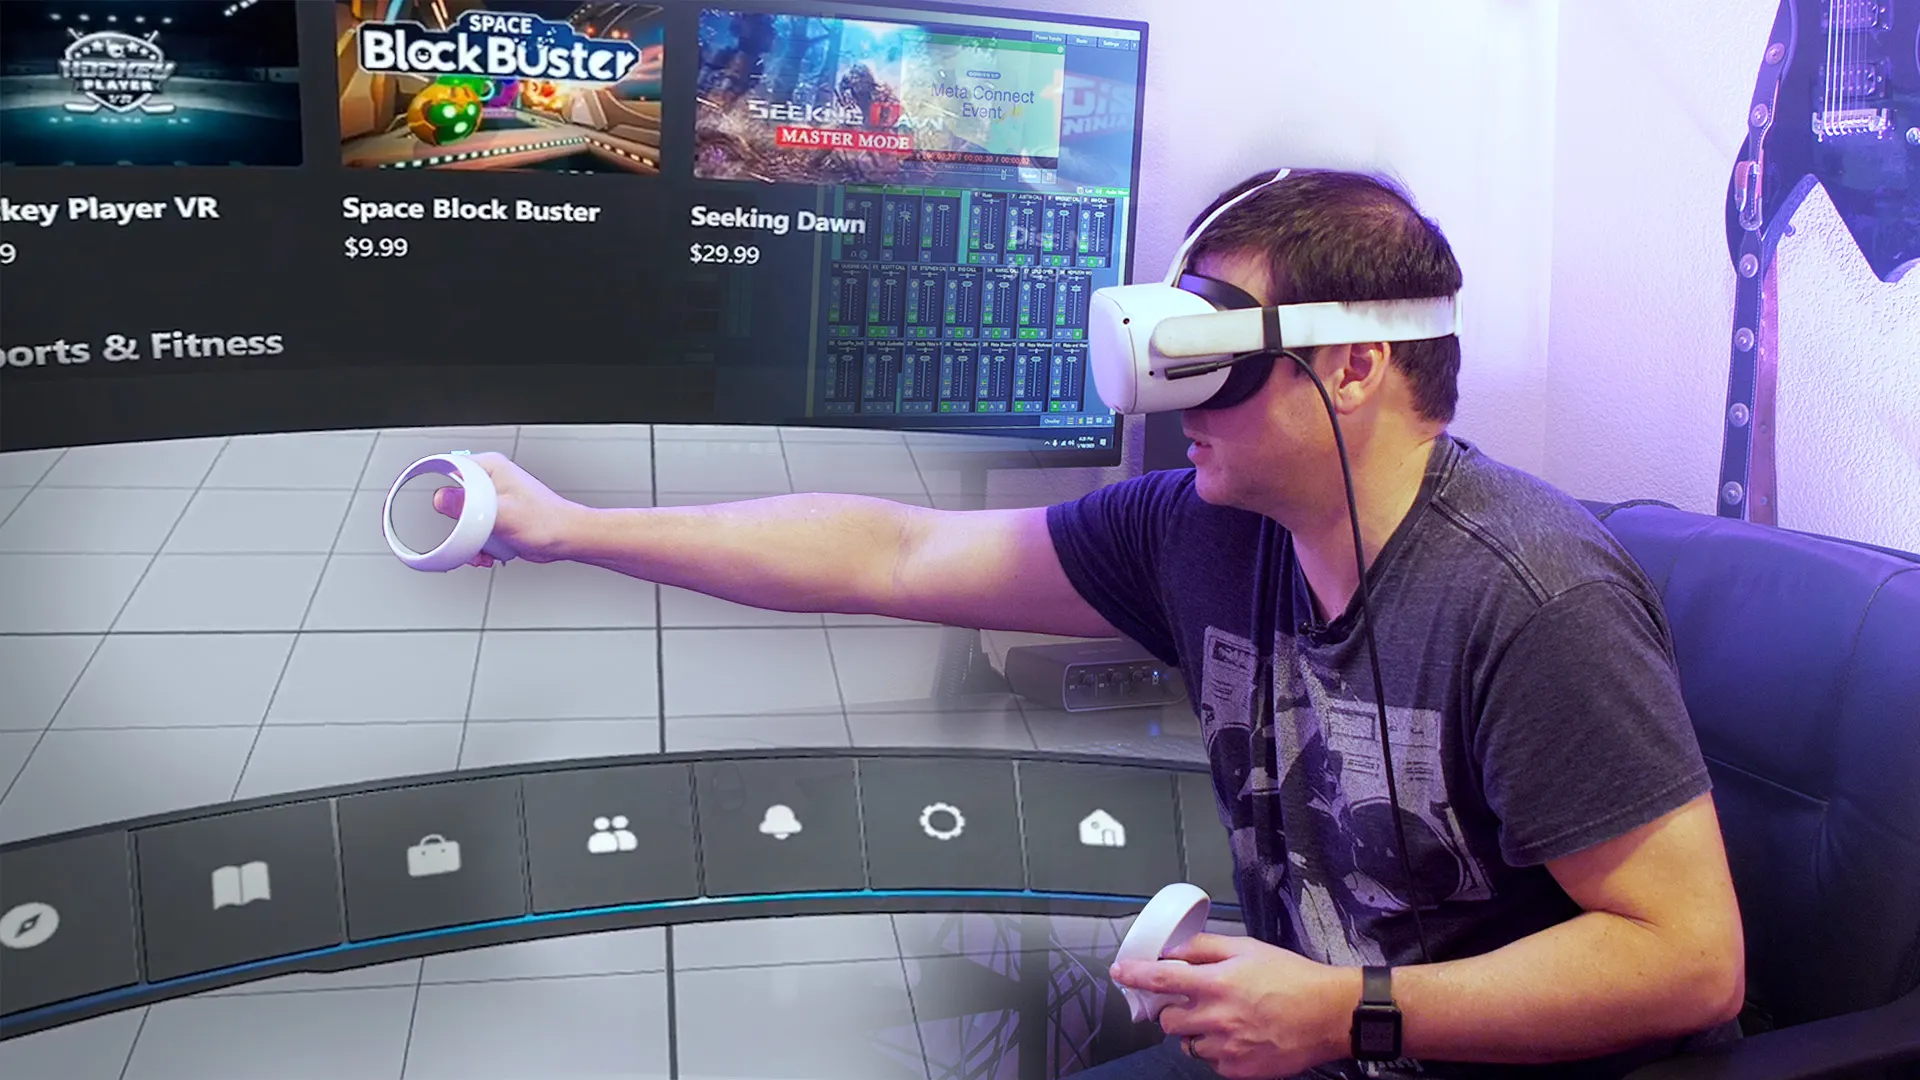
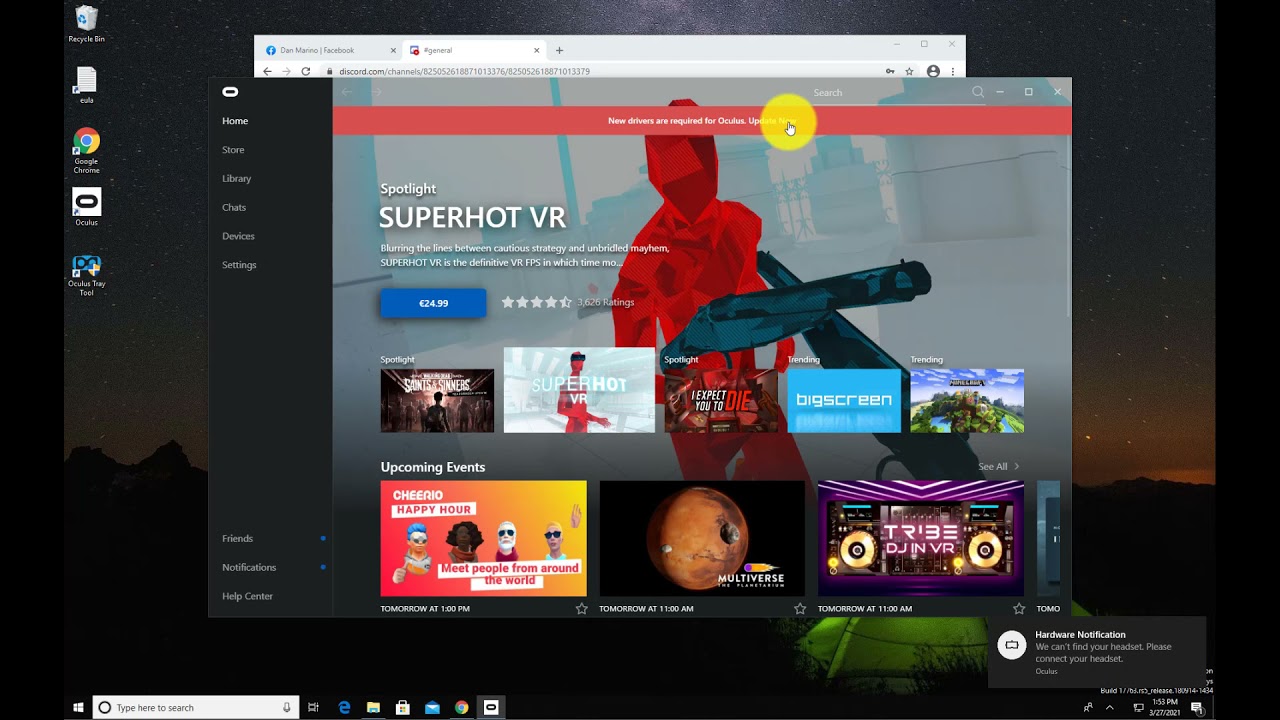
- Explore the Oculus Store: Once your VR headset and profile are set up, you can start exploring the Oculus Store. Browse through the available games, apps, and experiences, and start downloading the ones that catch your interest.
- Configure additional settings: Depending on your preferences and hardware, you may want to configure additional settings within the Oculus app. This can include adjusting the graphics settings, audio settings, and input devices.
- Start playing and exploring: With everything set up, you are now ready to start playing games, experiencing virtual reality environments, and exploring the vast library of content available through the Oculus Store.
Following these steps will ensure that your Oculus app is properly set up and ready for you to dive into the exciting world of virtual reality gaming and experiences.
Remember to consult the documentation provided with your specific VR headset for any additional setup steps or troubleshooting tips that may be specific to your device.
Now that you have set up your Oculus app, it’s time to start your virtual reality adventure and immerse yourself in amazing and captivating experiences. Enjoy!
Conclusion
Congratulations! You have successfully learned how to download, install, and set up the Oculus app on your PC. You are now ready to embark on an incredible journey into the world of virtual reality gaming and immersive experiences.
Throughout this guide, we covered the essential steps to ensure a smooth installation and setup process. We started by checking the system requirements to ensure that your PC meets the necessary specifications for running the Oculus app.
Next, we walked you through the process of creating an Oculus account, which grants you access to the Oculus Store and allows you to download a wide range of virtual reality games, apps, and experiences.
We then covered the steps to download and install the Oculus app on your PC, ensuring that you have the necessary software to enjoy the immersive world of virtual reality.
Finally, we guided you through setting up the Oculus app, including connecting your VR headset, adjusting settings, and creating a VR profile, so you can personalize your virtual reality experience to your liking.
Now that you have completed the setup process, it’s time to delve into the Oculus Store, explore the vast collection of virtual reality content, and start playing games and experiencing captivating environments.
Remember to familiarize yourself with the documentation provided with your specific VR headset for any additional features, settings, or troubleshooting tips that may be specific to your device.
Thank you for following this guide, and we hope you have an amazing time exploring the limitless possibilities of virtual reality with the Oculus app on your PC!