Introduction
Are you a gaming enthusiast looking to explore a vast library of games on your laptop? Look no further than Steam! Steam is a popular digital distribution platform that offers a wide range of games across various genres, allowing players to easily discover, purchase, and download their favorite titles. Whether you’re into action-packed adventures, strategic simulations, or multiplayer mayhem, Steam has something for everyone.
Downloading Steam on your laptop is a simple and straightforward process. In this article, we’ll guide you through the step-by-step instructions to install Steam and get started on your gaming journey. But before we dive into the specifics, let’s take a quick look at the system requirements to ensure your laptop is ready to run Steam smoothly.
System Requirements:
- A laptop running Windows XP, Vista, 7, 8, or 10
- At least 1 GHz processor
- 1 GB RAM
- DirectX 9 graphics card (capable of running Shader Model 2.0)
- At least 6 GB of free disk space
- Stable internet connection
System Requirements
Before downloading and installing Steam on your laptop, it’s important to make sure your system meets the necessary requirements. This will ensure a smooth and enjoyable gaming experience without any technical issues. Here are the system requirements for running Steam:
Operating System: Steam is compatible with Windows XP, Vista, 7, 8, and 10. Ensure that your laptop is running one of these operating systems to proceed with the installation.
Processor: Your laptop should have a minimum of 1 GHz processor or higher. This ensures that your system can handle the demands of running Steam and the games within it.
RAM: Steam recommends having at least 1 GB of RAM on your laptop. Having sufficient RAM ensures smooth gameplay and prevents lag or freezing during gaming sessions.
Graphics Card: A DirectX 9 graphics card is required to run Steam. Make sure your laptop’s graphics card is capable of running Shader Model 2.0 or higher. This helps render the graphics and visual effects in games accurately and efficiently.
Free Disk Space: Steam recommends having at least 6 GB of free disk space to download and store games. This allows you to install multiple games without worrying about running out of storage space.
Internet Connection: A stable internet connection is necessary to download games, access online features, and connect with other players on Steam. Make sure your laptop is connected to the internet before proceeding with the installation.
By ensuring that your laptop meets these system requirements, you can proceed to download and install Steam without any compatibility issues. Now that you are familiar with the system requirements, let’s move on to the step-by-step process of downloading Steam on your laptop.
Step 1: Visit the official Steam website
To download Steam on your laptop, the first step is to visit the official Steam website. Open your preferred web browser and type “store.steampowered.com” in the address bar. Press Enter or click on the search button to access the Steam homepage.
Once you land on the Steam homepage, you’ll have access to a vast library of games, community forums, and other features. Take a moment to explore the site and familiarize yourself with the various sections and options available.
If you’re new to Steam, you can create a free account by clicking on the “Join Steam” button located at the top-right corner of the page. Fill in the required details, including your email address, desired username, and password, and follow the instructions to set up your account.
If you already have a Steam account, simply click on the “Sign In” button and enter your login credentials to proceed. This will allow you to access your existing library of games and take advantage of the platform’s features.
Visiting the official Steam website is essential as it ensures that you are downloading the software from a trusted source. Avoid downloading Steam from unfamiliar or unauthorized websites, as this may lead to malware or security risks.
Now that you’ve visited the Steam website and set up your account (if necessary), you’re ready to move on to the next step: downloading the Steam installer. This will allow you to install the Steam software on your laptop and begin exploring the vast collection of games available.
Step 2: Download the Steam installer
After visiting the official Steam website and setting up your account, it’s time to download the Steam installer. The Steam installer is a small executable file that will initiate the installation process for the Steam software on your laptop. Here’s how to download the Steam installer:
- On the Steam homepage, locate the green “Install Steam” button. It is usually located at the top-right corner of the page.
- Click on the “Install Steam” button to proceed. This will take you to the download page.
- On the download page, you will see a green “Install Steam Now” button. Click on it to start the download.
- Depending on your web browser, you may be prompted to save the file or it might start downloading automatically. Choose the appropriate option based on your browser settings.
- Wait for the download to complete. The time it takes may vary depending on your internet connection speed.
It is important to note that the Steam installer is relatively small in size and should not take too long to download, even with a slower internet connection. Once the download is complete, you are ready to move on to the next step: running the installer.
Before proceeding, ensure that you have enough disk space on your laptop to accommodate the Steam installation. As mentioned earlier, Steam recommends having at least 6 GB of free disk space. If your laptop is running low on storage, consider freeing up some space before continuing with the installation.
Now that you have successfully downloaded the Steam installer, it’s time to run it and begin the installation process. In the next step, we will guide you through the process of running the installer and installing Steam on your laptop.
Step 3: Run the installer
With the Steam installer downloaded onto your laptop, it’s time to run the installer and kickstart the installation process. Follow these steps to run the installer successfully:
- Locate the downloaded Steam installer file on your laptop. It is usually located in the default download folder or the location you specified when saving the file.
- Double-click on the installer file to launch it. This will initiate the installation process.
- Depending on your system’s security settings, you may see a warning message asking for confirmation to run the installer. Click “Yes” or “Run” to proceed.
After confirming, the Steam installer will start running, and a new window will appear on your screen. This window is the beginning of the Steam installation process, and it will guide you through a series of steps to complete the installation successfully.
It’s important to note that during the installation process, you may be prompted to accept the Steam Subscriber Agreement. Take the time to read and understand the agreement before accepting it. If you agree to the terms, check the box indicating your acceptance and click “Next” or “Install” to continue.
You may also be asked to choose a destination folder where Steam will be installed. By default, the installer will recommend a folder for installation. If you prefer a different location, you can browse and select the desired folder on your laptop. Once you’ve made your selection, click “Next” or “Install” to proceed.
The installation process may take a few minutes to complete, depending on the speed of your laptop. Be patient and avoid interrupting the process to ensure a smooth installation.
Once the installation is finished, you will see a notification indicating that Steam has been successfully installed on your laptop. Congratulations! You are ready to move on to the next step: launching Steam for the first time.
In the next section, we will guide you through the process of launching Steam and setting up your account to start downloading and playing games.
Step 4: Install Steam
After running the Steam installer on your laptop, you’re now ready to install the application itself. The installation process is quick and straightforward, and it will set up Steam on your laptop so you can start enjoying your favorite games. Follow the steps below to install Steam:
- Once the Steam installer has finished running, the Steam setup wizard will launch automatically. This wizard will guide you through the installation process.
- Click “Next” on the first screen to proceed.
- On the next screen, you will be prompted to review the license agreement. Read through the agreement and click the checkbox to signify that you accept the terms.
- Click “Next” to continue.
- Next, you’ll be asked to choose the installation location for Steam. The default location is typically recommended, but if you prefer a different location, you can select it by clicking on “Browse”.
- Once you’ve chosen the installation location, click “Next” to proceed.
- On the following screen, you’ll be given the option to create shortcuts for Steam on your desktop and Start menu. Check the respective boxes if you want these shortcuts, or leave them unchecked if you prefer not to have them.
- Click “Install” to begin the installation process.
- Wait for the installation to complete. This may take a few minutes.
- Once the installation is finished, you’ll see a screen indicating that Steam has been successfully installed. Click “Finish” to exit the setup wizard.
Congratulations! You’ve now successfully installed Steam on your laptop. The Steam application is now ready to be launched so you can start exploring and downloading games from its vast library. In the next step, we’ll guide you through the process of launching the Steam application and setting up your account.
Step 5: Launch Steam
Now that you have installed Steam on your laptop, it’s time to launch the application and get started on your gaming journey. The following steps will guide you on how to successfully launch Steam:
- Locate the Steam icon on your desktop or in the Start menu. It is usually easily recognizable, featuring the Steam logo.
- Double-click on the Steam icon to launch the application.
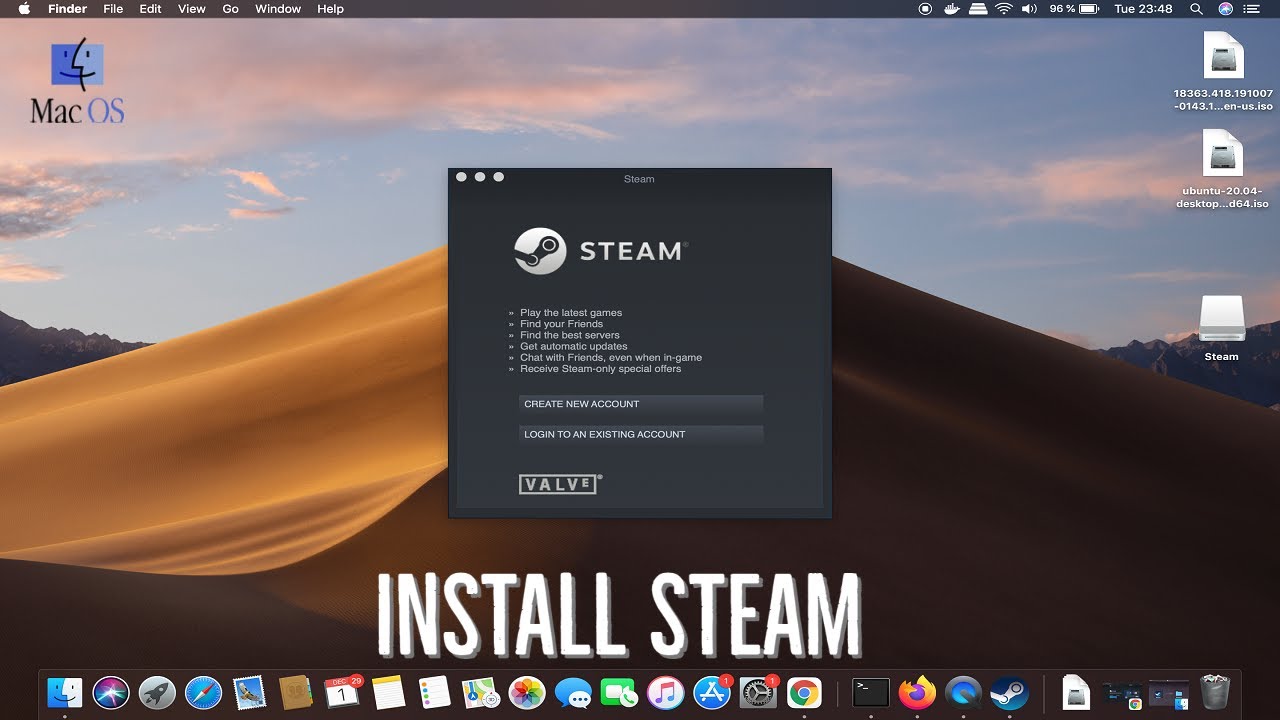
- Once Steam is launched, you will be prompted to sign in or create a new account. If you haven’t created an account yet, click on “Create a new account” and follow the on-screen instructions to set up your account.
- If you already have a Steam account, simply enter your login credentials and click on the “Sign in” button.
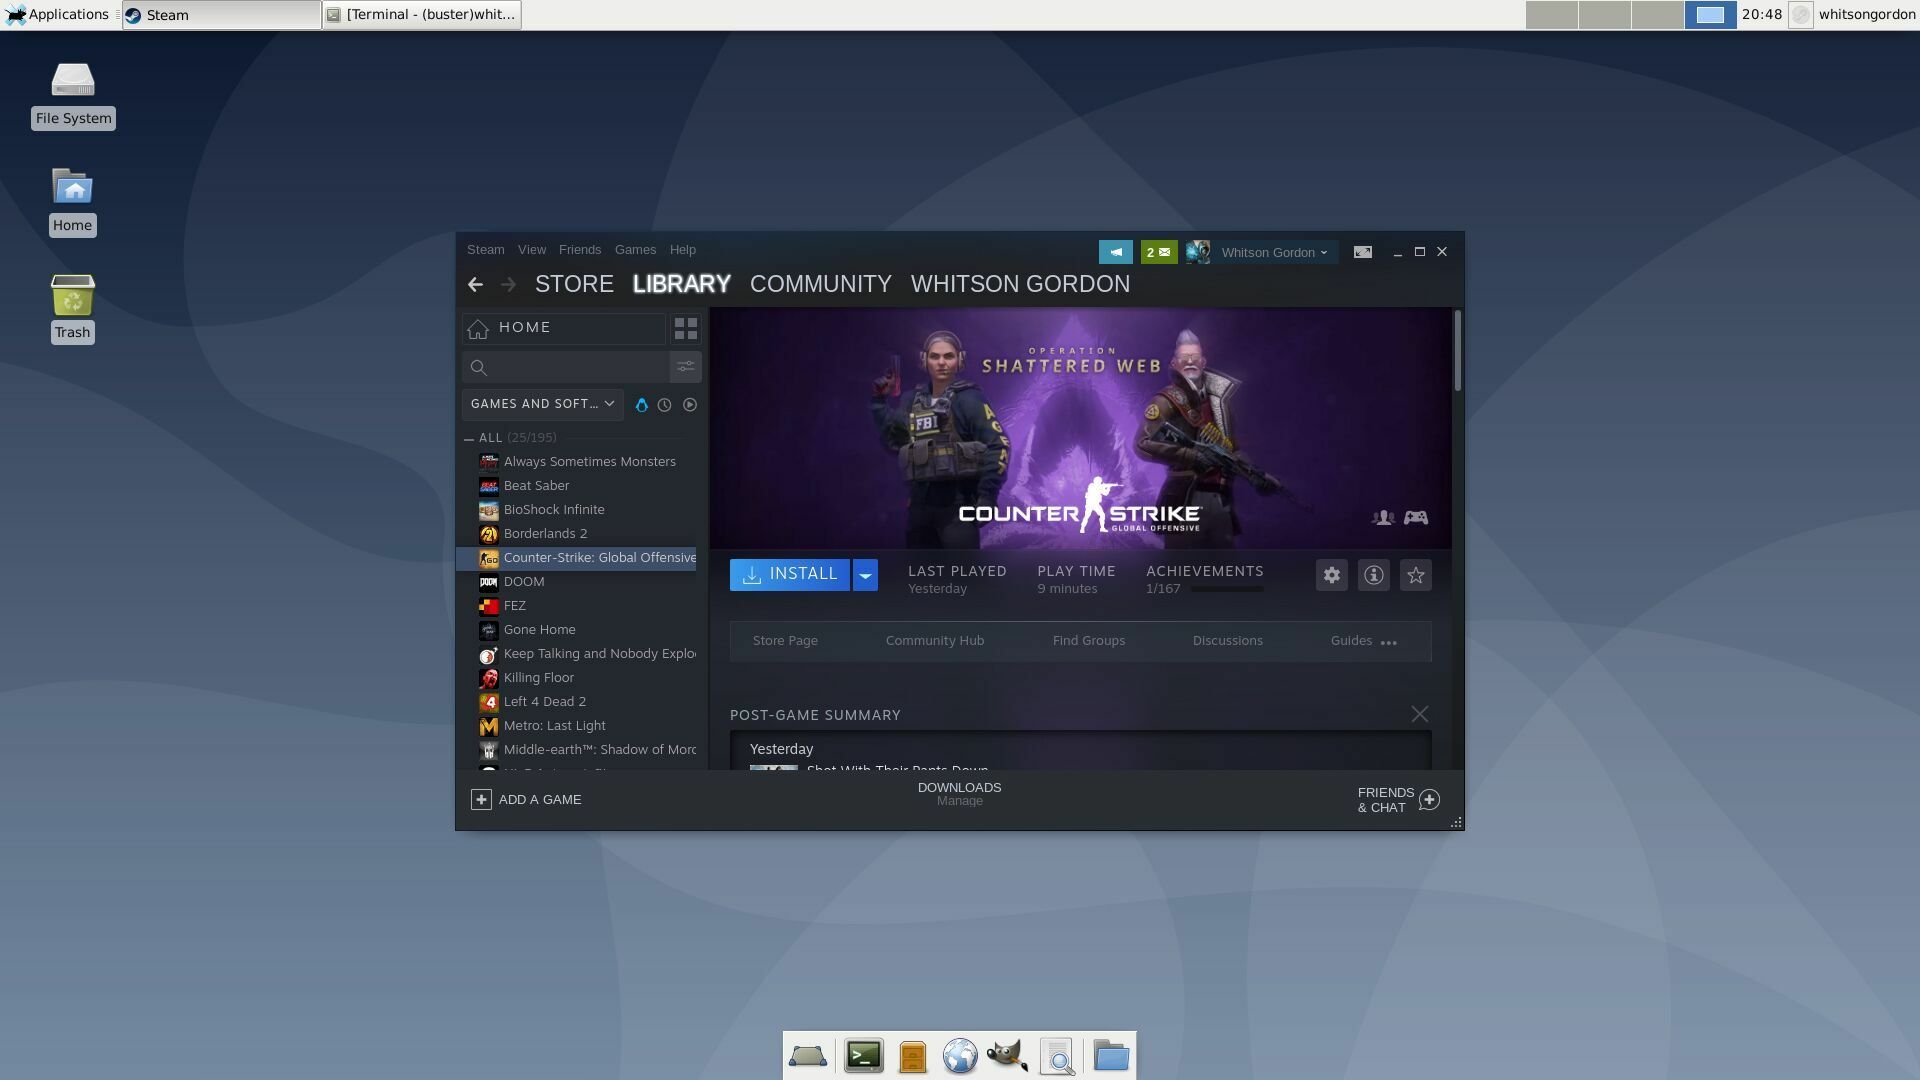
- After signing in, you will be greeted by the Steam interface, which consists of various tabs and sections. Take a moment to familiarize yourself with the layout.
- Browse through the collection of games and explore the different categories and genres available. You can also search for specific games using the search bar located at the top of the Steam interface.
- When you find a game you’re interested in, click on its title to access its page. Here, you can read more about the game, watch videos, view screenshots, and read user reviews.
- If you decide to purchase a game, click on the “Add to Cart” or “Purchase” button. Follow the on-screen instructions to complete the transaction and add the game to your library.
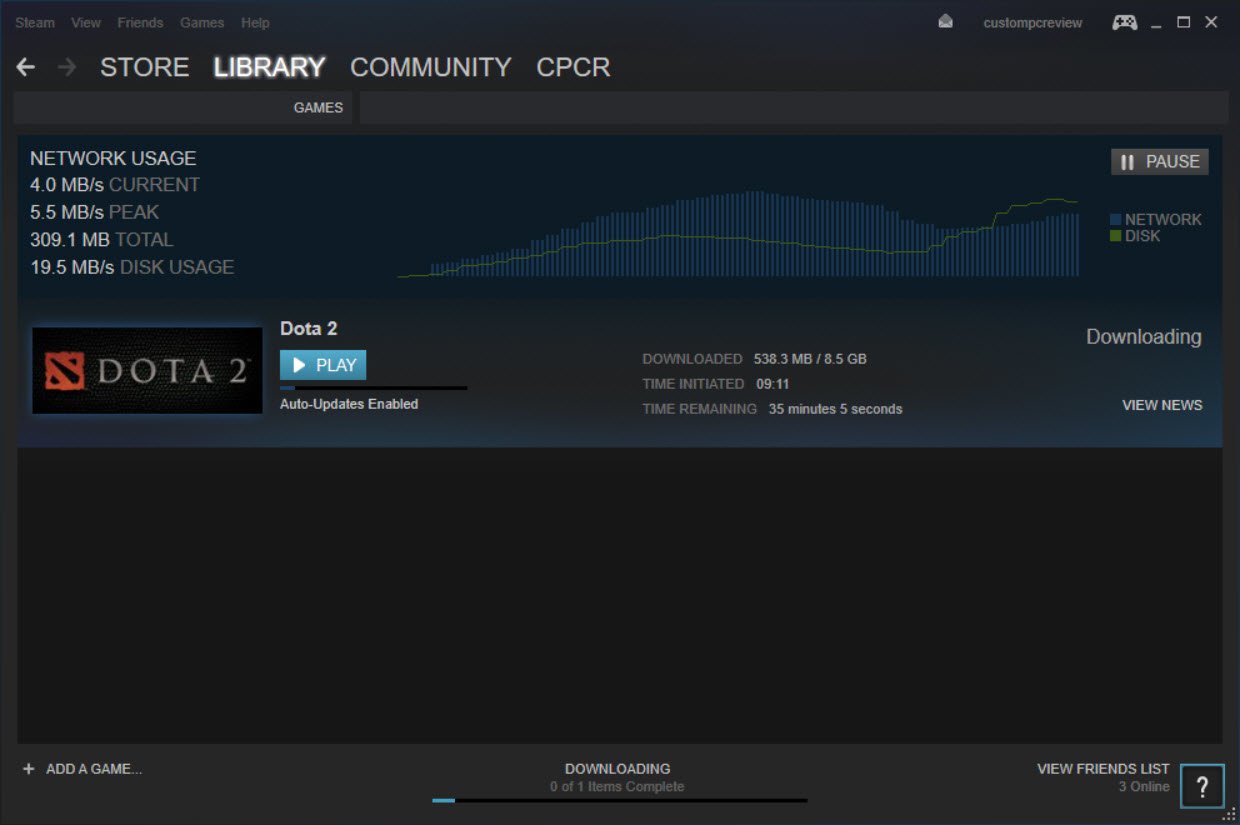
- Once you’ve purchased a game, it will appear in your Steam library. To download and install the game, simply click on it and follow the prompts.
- Once the installation is complete, you can click on “Play” to start the game and begin your gaming experience.
Launching Steam is a simple process that allows you to access a vast range of games and features. Take your time to browse through the extensive library, discover new games, and connect with the vibrant Steam community. Enjoy your gaming adventures!
Conclusion
Congratulations! You have successfully downloaded and installed Steam on your laptop. By following the step-by-step instructions provided in this guide, you are now ready to explore a world of exciting games and connect with fellow gamers through this popular digital distribution platform.
Throughout the installation process, we covered important aspects such as visiting the official Steam website, checking system requirements, downloading the Steam installer, running the installer, and finally installing and launching Steam on your laptop. By adhering to these steps, you have ensured a smooth and hassle-free installation experience.
Now that you have Steam installed, you can personalize your gaming library, discover new games, and connect with friends. Steam offers a multitude of features and functionalities, including game recommendations, community forums, achievements, and multiplayer options. Take the time to explore these features and make the most out of your gaming experience.
Remember to keep your Steam client updated to access the latest features and security enhancements. Steam regularly releases updates to improve performance, fix bugs, and introduce new functionalities. Keep an eye out for these updates and ensure that your Steam client remains up to date.
If you encounter any issues during the installation process or have questions about using Steam, the Steam Support page is a valuable resource for troubleshooting and finding answers to frequently asked questions. Additionally, the Steam community is vibrant and helpful, with a wealth of knowledge and discussions that can assist you in various aspects of your Steam experience.
Get ready to embark on exciting gaming adventures, explore new worlds, and connect with a global community of gamers. Enjoy the diverse collection of games available on Steam, and may your gaming sessions be filled with excitement, challenge, and enjoyment. Happy gaming!