Introduction
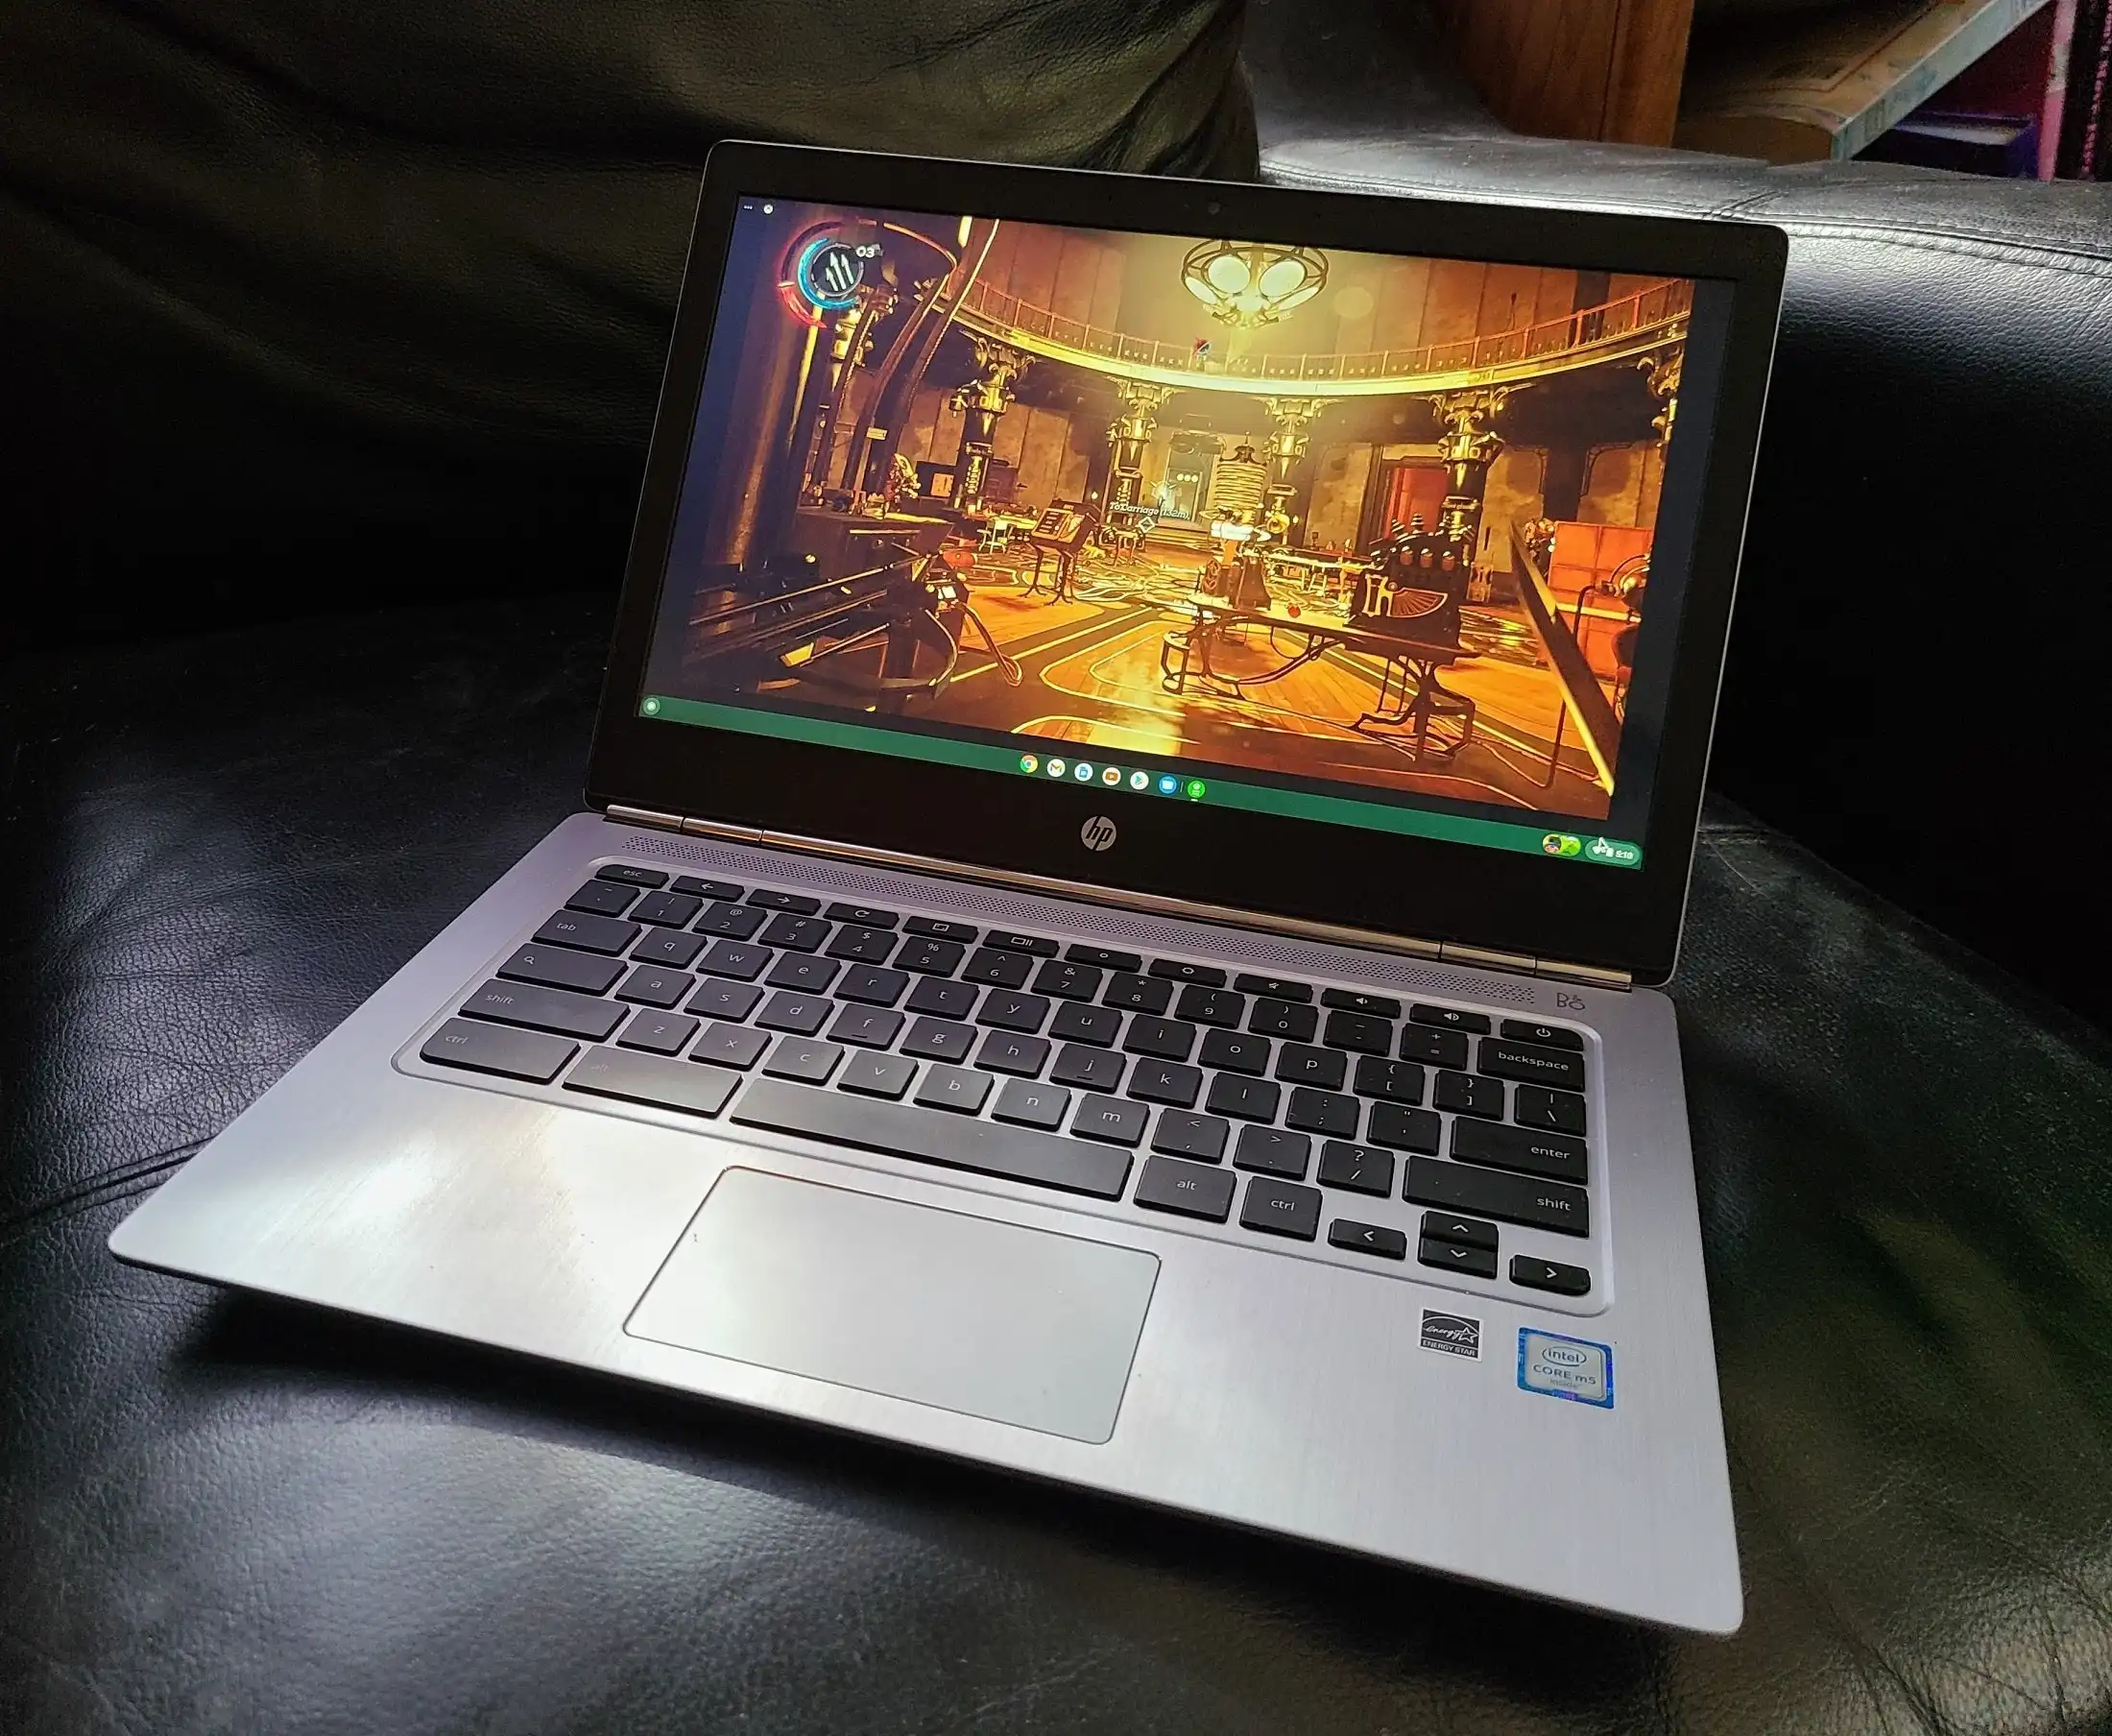
Are you a gaming enthusiast who owns a Chromebook? Want to up your gaming experience but think that your Chromebook is limited to web browsing and basic productivity tasks? Think again! With a few simple steps, you can transform your Chromebook into a gaming powerhouse that rivals traditional gaming laptops.
Chromebooks are known for their lightweight design, long battery life, and affordable price. While they may not have the same hardware specifications as dedicated gaming laptops, Chromebooks have evolved over the years to support more robust applications and games. This is all thanks to the inclusion of Linux support, which allows you to install and run popular gaming platforms such as Steam.
In this guide, we will walk you through the step-by-step process of turning your Chromebook into a gaming laptop. Whether you want to play casual indie games or dive into the latest AAA titles, we have you covered. So, grab your Chromebook and let’s get started on this exciting gaming adventure.
Requirements for Turning Your Chromebook into a Gaming Laptop
Before diving into the process, it’s essential to ensure that your Chromebook meets the necessary requirements for gaming. While Chromebooks vary in specifications, for a smooth gaming experience, it’s recommended to have:
- Processor: A quad-core processor, preferably an Intel Core i5 or above, will provide the necessary power for running games smoothly.
- RAM: Aim for at least 8GB of RAM to handle the demands of modern games.
- Storage: While Chromebooks typically have limited internal storage, it’s advisable to have at least 128GB of storage to accommodate games and their updates.
- Graphics: Look for a Chromebook with a dedicated GPU or Intel Iris graphics for enhanced gaming visuals.
- Operating System: Ensure your Chromebook is running Chrome OS version 69 or later to have access to Linux (Beta) and the required gaming software.
In addition to the hardware requirements, you’ll need a stable internet connection to download games and their updates. Ethernet connectivity is preferred for a more consistent experience, but Wi-Fi will work as well.
It’s worth mentioning that while certain high-performance games may push the limits of your Chromebook’s capabilities, you can still enjoy a wide range of indie and less graphics-intensive games that work flawlessly on Chrome OS.
Once you’ve confirmed your Chromebook meets these requirements, you’re ready to proceed with turning it into a gaming laptop. Let’s move on to the first step – enabling Linux (Beta) on your Chromebook.
Step 1: Enabling Linux (Beta) on your Chromebook
To unlock the full gaming potential of your Chromebook, you’ll need to enable Linux (Beta) within the Settings. Follow these steps:
- Open the Settings menu by clicking on the clock in the bottom-right corner of the screen, then click on the gear icon.
- Scroll down and click on “Advanced” to expand the menu.
- Under the “Developers” section, click on “Developers mode”. A warning message will appear, informing you of the risks associated with enabling developer mode. Proceed with caution, as enabling developer mode may void your warranty and erase all local data on your Chromebook.
- Once in developer mode, go back to the Settings menu and click on “Linux (Beta)” in the left-hand menu.
- Click on the “Turn on” button to enable Linux (Beta) on your Chromebook.
- Follow the on-screen prompts to finish installing Linux (Beta) on your device. This process may take a few minutes.
- Once Linux (Beta) is installed, click on the “Terminal” app to access the Linux command line interface.
Congratulations! You have successfully enabled Linux (Beta) on your Chromebook. In the next step, we will install Steam, the popular gaming platform that will allow you to access a vast library of games.
Step 2: Installing Steam
Now that Linux (Beta) is enabled on your Chromebook, it’s time to install Steam, the go-to gaming platform for PC gamers. Follow these steps:
- Open the Terminal app, which you can find in your app launcher or by pressing “Ctrl + Alt + T” simultaneously.
- Type the following command and press Enter:
- Enter your password when prompted to authenticate the installation process.
- The installation will begin, and you may be asked to confirm the storage space required for Steam. Proceed with the installation by pressing “Y” when prompted.
- Once the installation is complete, you can launch Steam by typing the following command in the Terminal and pressing Enter:
- Steam will open, and you’ll be prompted to log in to your Steam account or create a new one if you don’t have an existing account.
- After logging in, you’ll be able to access the vast library of games available on Steam. You can browse and purchase games directly from the Steam client.
sudo apt update && sudo apt install steam
steam
Congratulations! You have successfully installed Steam on your Chromebook. In the next step, we will explore how to run Windows games on your Chromebook using Steam Play.
Step 3: Running Windows Games on Chromebook using Steam Play
Thanks to Steam Play, a feature of Steam, you can now run select Windows games on your Chromebook. Follow these steps:
- In the Steam client, click on “Steam” in the top-left corner of the window and select “Settings” from the drop-down menu.
- In the Settings window, click on “Steam Play” from the menu on the left.
- Enable the option “Enable Steam Play for supported titles” and ensure that “Use this tool instead of game-specific selections from Steam” is also enabled.
- Click on “OK” to save the changes and exit the Settings window.
- Head to the Steam Store and search for your desired game. Look for the “Steam Play” icon, indicating that the game is compatible with Steam Play.
- Purchase or install the game, and it will be added to your Steam library.
- Click on the “Library” tab in the Steam client to access your games.
- Locate the game you want to play and click on the “Play” button to launch it.
- The game will launch in a separate window, and you can start enjoying your Windows game on your Chromebook.
Note that while Steam Play supports a wide range of games, not all Windows games may be compatible. You can check the official Steam Play compatibility list or community reports to see if your desired game is supported.
With Steam Play, you can now enjoy popular Windows games on your Chromebook. In the next step, we will explore how to optimize gaming performance on your Chromebook.
Step 4: Optimizing Gaming Performance on your Chromebook
To ensure the best gaming experience on your Chromebook, it’s important to optimize its performance. Follow these tips to enhance gaming performance:
- Close unnecessary applications and tabs: Before launching a game, close any unnecessary applications and tabs as they might consume system resources and impact gaming performance.
- Update Chrome OS and drivers: Keep your Chromebook’s operating system and graphics drivers up to date to ensure compatibility with the latest games and performance improvements.
- Adjust power settings: Go to the Chromebook settings and select “Power” to adjust power settings. You can set it to “Best performance” to prioritize gaming performance over battery life.
- Disable unnecessary extensions: Disable any browser extensions that you don’t need while gaming, as they can consume system resources. You can manage your extensions from the Chrome browser settings.
- Close background processes: Press “Shift + Esc” to open the Chrome OS task manager and close any unnecessary background processes that might be running in the background.
- Monitor system temperature: Keep an eye on your Chromebook’s temperature during gaming sessions, especially if you’re playing graphically-intensive games. Overheating can affect performance, so make sure your Chromebook is properly ventilated.
- Optimize in-game settings: Adjust the graphics and performance settings within each game to find a balance between visual quality and smooth gameplay. Lowering graphics settings can greatly improve performance.
- Consider game streaming: If your Chromebook has limited hardware capabilities, consider game streaming services like Google Stadia or NVIDIA GeForce Now. These services allow you to play games remotely on powerful servers and stream the gameplay to your Chromebook.
By following these optimization tips, you can maximize gaming performance on your Chromebook and enjoy a smooth and immersive gaming experience. In the next step, we will discuss setting up a gaming controller on your Chromebook.
Step 5: Setting up a Gaming Controller on your Chromebook
To elevate your gaming experience on your Chromebook, you can connect a gaming controller. Follow these steps to set up a gaming controller:
- Start by ensuring your gaming controller is compatible with Chrome OS. Most USB and Bluetooth controllers should work seamlessly with your Chromebook.
- If you’re using a USB controller, simply plug it into one of the available USB ports on your Chromebook.
- For Bluetooth controllers, turn on Bluetooth on your Chromebook by clicking on the clock in the bottom-right corner of the screen, then click on the Bluetooth icon and toggle it on.
- On your gaming controller, activate the pairing mode. Refer to the controller’s manual for specific instructions on how to do this.
- Back on your Chromebook, click on the clock in the bottom-right corner of the screen, then click on the Bluetooth icon.
- In the Bluetooth settings, click on “Add device” to search for available Bluetooth devices.
- Your gaming controller should appear in the list of available devices. Click on it to begin the pairing process.
- Follow any additional prompts or enter any required PIN provided by your gaming controller to complete the pairing process.
- Once paired, your gaming controller should be ready to use. You can test its functionality by opening a game and assigning the controls within the game’s settings.
- If you experience any issues with the controller’s functionality, try disconnecting it and reconnecting it or restarting your Chromebook.
Now with your gaming controller successfully connected, you can enjoy a more immersive gaming experience on your Chromebook. In the final step, we will discuss troubleshooting common issues you may encounter during this process.
Step 6: Troubleshooting Common Issues
While turning your Chromebook into a gaming laptop can be a smooth process, you may encounter some common issues along the way. Here are some troubleshooting tips for resolving those issues:
- Compatibility issues: If you encounter compatibility issues with certain games, check the official Steam Play compatibility list or community forums for possible solutions or workarounds.
- Game performance: If you experience lag or poor performance in games, try lowering the graphics settings within the game to reduce the strain on your Chromebook’s hardware.
- Controller connectivity: If your gaming controller isn’t connecting or behaving as expected, ensure it is fully charged or try reconnecting it via USB or Bluetooth. Restarting your Chromebook may also help resolve connectivity issues.
- Audio issues: If you’re experiencing audio problems, ensure the volume is turned up and not muted in both the game and Chromebook settings. You may also need to check and update your audio drivers.
- Overheating: If your Chromebook gets too hot while gaming, try playing in a cool, well-ventilated area or consider using a laptop cooling pad to prevent overheating and improve performance.
- Software updates: Regularly update your Chrome OS, Steam client, and game software to ensure you have the latest bug fixes, performance improvements, and compatibility updates.
- Internet connection: A stable and reliable internet connection is crucial for online gaming. If you’re experiencing lag or disconnections, check your Wi-Fi or Ethernet connection and try restarting your router.
- Driver issues: If you’re using a gaming controller or other peripherals, ensure you have the latest drivers installed. Check the manufacturer’s website for driver updates specific to your Chromebook model.
- Third-party software conflicts: Sometimes, third-party software or browser extensions can interfere with gaming performance. Try disabling or removing unnecessary extensions and running the game in a clean environment to troubleshoot these conflicts.
If you encounter persistent issues that you’re unable to resolve, consider reaching out to the Chromebook community, official support forums, or the game developer’s support team for further assistance and guidance.
By following these troubleshooting tips, you can overcome common issues and enjoy a seamless gaming experience on your Chromebook. Congratulations on successfully transforming your Chromebook into a gaming laptop!
Conclusion
Congratulations, you have successfully turned your Chromebook into a gaming laptop! By enabling Linux (Beta) on your Chromebook, installing Steam, running Windows games through Steam Play, optimizing performance, setting up a gaming controller, and troubleshooting common issues, you can now enjoy a wide range of games on your Chromebook.
While Chromebooks may not have the same specifications as dedicated gaming laptops, they offer a budget-friendly and versatile gaming experience. You have access to a vast library of games through Steam, and with the compatibility of Steam Play, you can run select Windows games effortlessly.
Remember to regularly update your Chrome OS and game software to take advantage of the latest features, bug fixes, and optimizations. Keep an eye on the compatibility list for Steam Play games and follow the community for suggestions, tips, and support.
As you immerse yourself in gaming on your Chromebook, don’t forget to optimize your settings, close unnecessary processes, monitor system temperature, and consider game streaming services if your Chromebook has limited hardware capabilities.
Now that your Chromebook is ready for gaming, gather your favorite games, invite your friends to join you online, and embark on exciting gaming adventures with your newfound gaming laptop.
Enjoy your gaming experience on your Chromebook and let the fun begin!