Introduction
Are you wondering how to use a Chromebook as a monitor with HDMI? You’re not alone. Chromebooks have gained popularity over the years for their compact design, affordability, and easy-to-use interface. While they may not have the same processing power as traditional laptops, Chromebooks can still be versatile devices that can be used for various tasks.
A Chromebook is a type of laptop that runs on Chrome OS, a lightweight operating system developed by Google. It is designed to primarily use web-based applications and store data on the cloud. Chromebooks are known for their long battery life, fast start-up times, and seamless integration with Google services.
But did you know that you can also use a Chromebook as a monitor for your other devices? This means that you can connect your gaming console, Blu-ray player, or even another laptop to your Chromebook and use it as a secondary display. This can be particularly useful if you have a smaller monitor or if you want to multitask and have multiple screens to work with.
In this article, we will guide you through the steps of using a Chromebook as a monitor with an HDMI connection. We will walk you through the setup process, provide troubleshooting tips, and ensure that you have a smooth experience in utilizing your Chromebook as a secondary display.
What is a Chromebook?
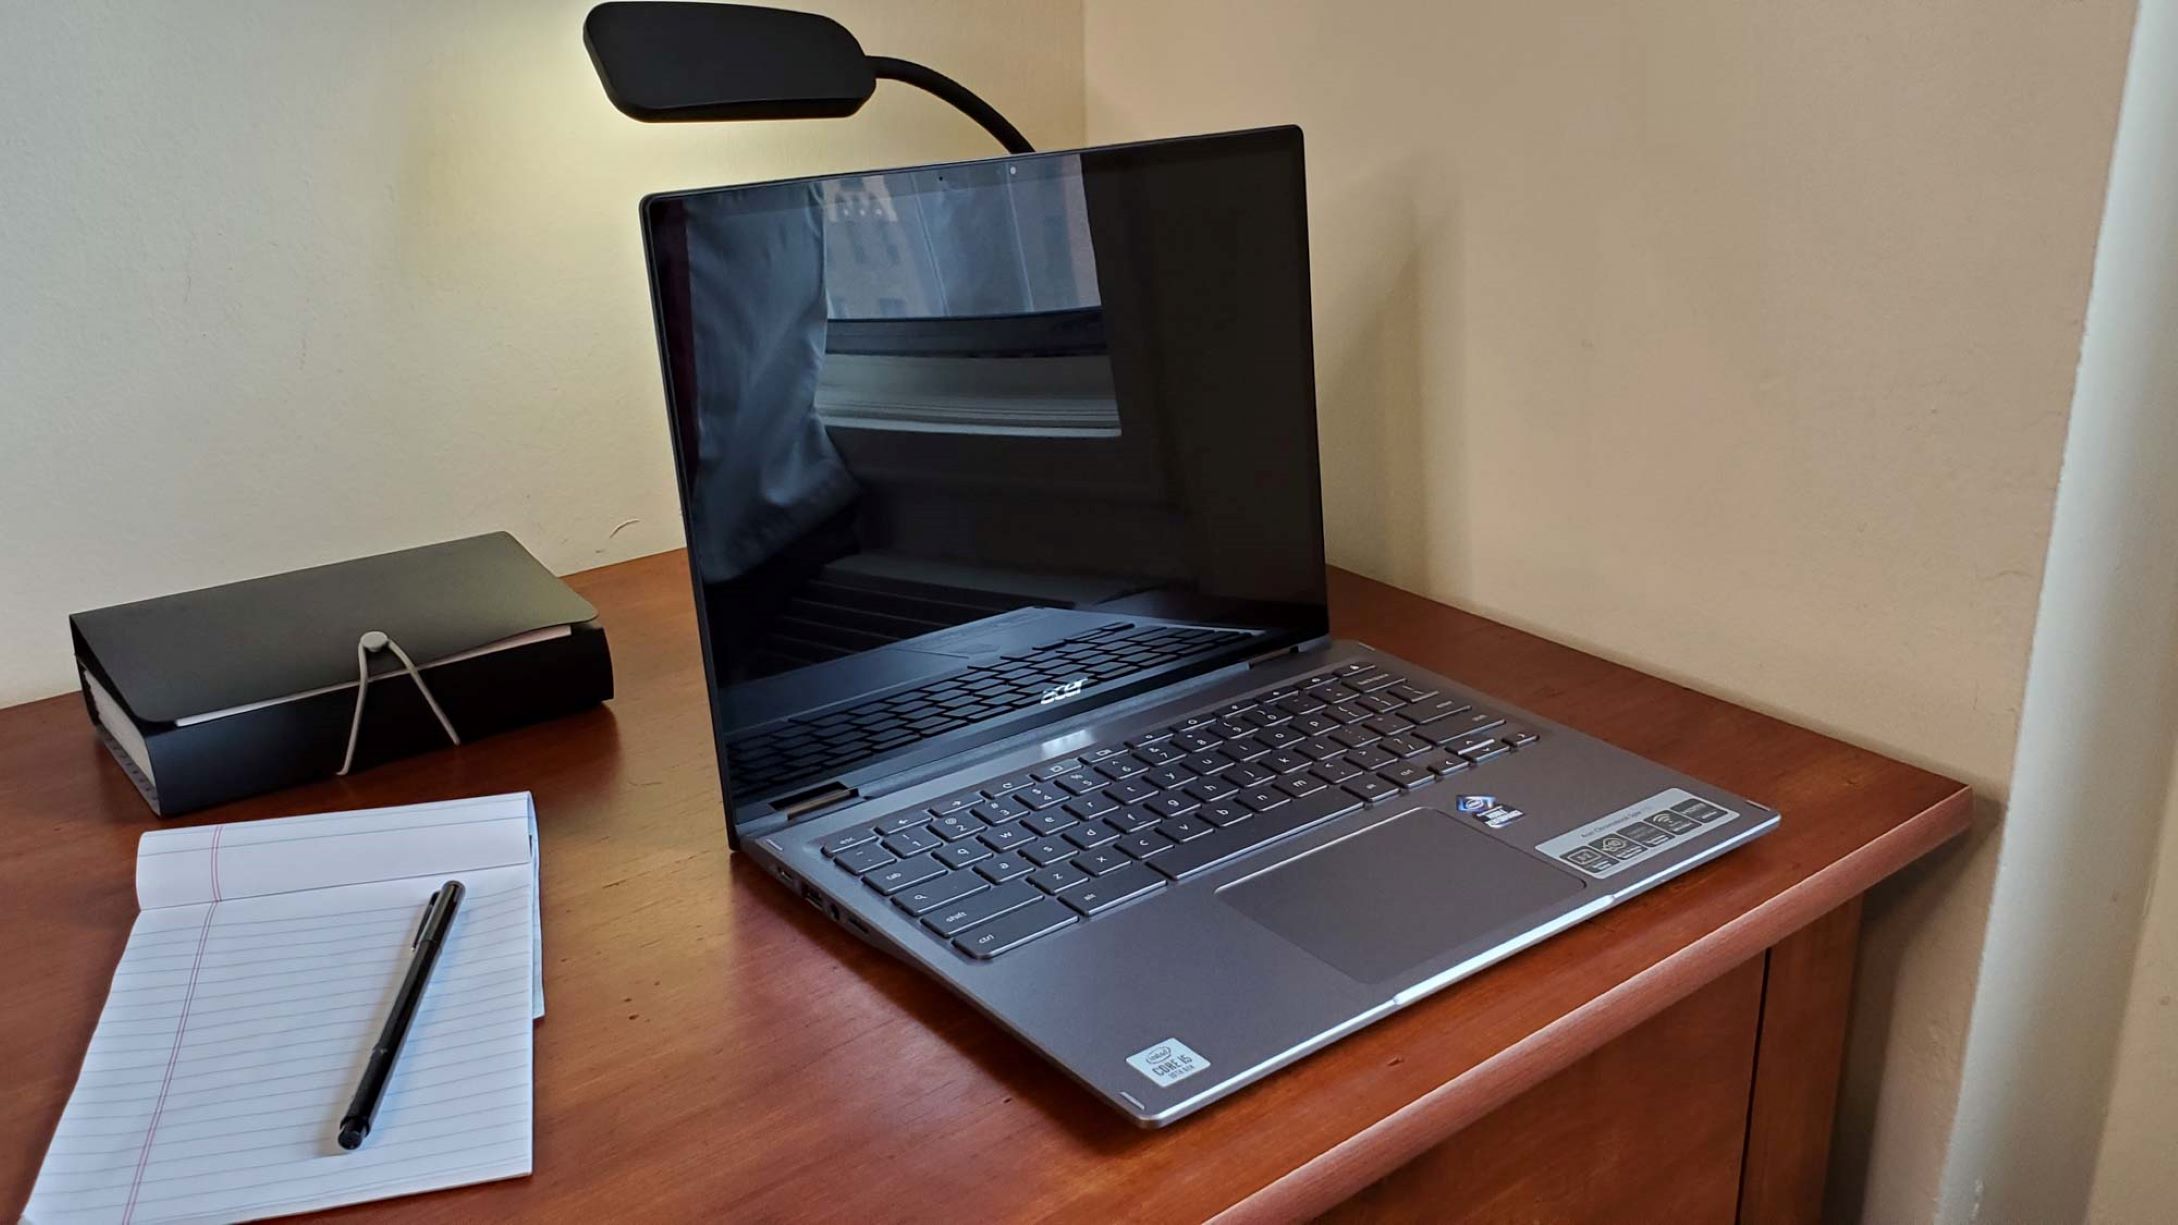
Before we delve into the details of using a Chromebook as a monitor, let’s first understand what a Chromebook is. A Chromebook is a type of laptop that runs on Google’s Chrome OS operating system. Unlike traditional laptops that operate on Windows or macOS, Chromebooks are designed to primarily utilize web-based applications and store data on the cloud.
The Chrome OS is a lightweight and secure operating system that focuses on simplicity and ease of use. It offers seamless integration with Google’s suite of applications, such as Gmail, Google Drive, and Google Docs. This makes Chromebooks ideal for individuals who prefer to work and live in the cloud, as most of their files and data are stored online rather than on the device itself.
One of the key features of a Chromebook is its fast startup time. Thanks to a streamlined operating system, Chromebooks can power on and be ready to use in just a matter of seconds. This quick boot time makes them ideal for tasks that require immediate access to the internet or web-based applications.
Another notable aspect of Chromebooks is their long-lasting battery life. With power-efficient hardware and optimization for the Chrome OS, Chromebooks can provide impressive battery life, often lasting for several hours on a single charge. This makes them perfect for on-the-go usage, such as during business trips or in educational settings.
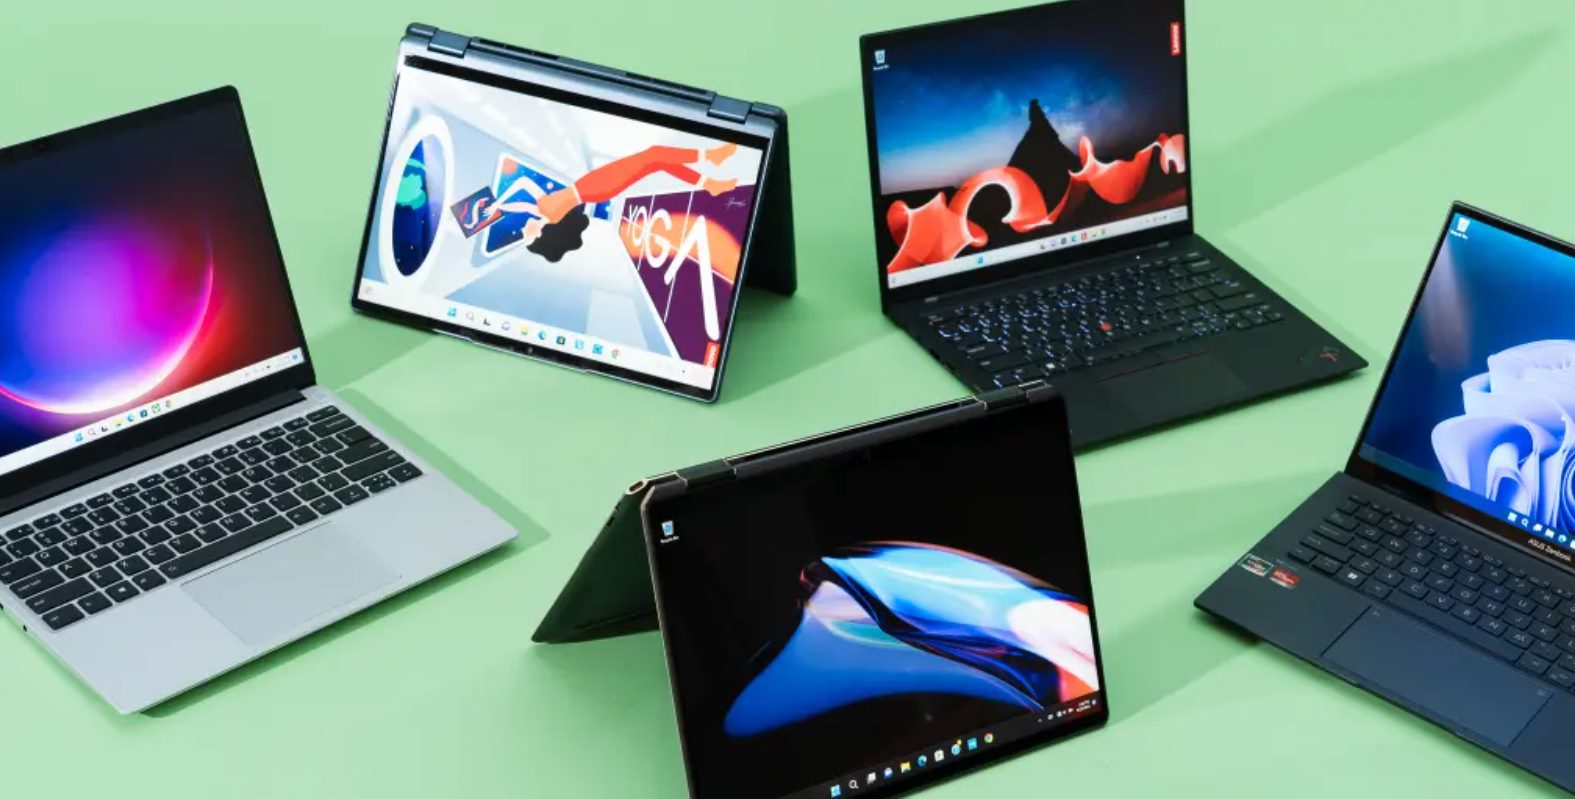
Chromebooks come in various shapes and sizes, from compact 11-inch models to larger 15-inch options. They often feature lightweight designs, making them portable and easy to carry around. With their affordability and accessibility, Chromebooks have gained popularity in educational institutions and as secondary devices for individuals who require a simple and affordable laptop for basic computing tasks.
Now that we have a better understanding of what a Chromebook is, let’s explore how we can utilize this versatile device as a monitor through an HDMI connection.
Using a Chromebook as a Monitor
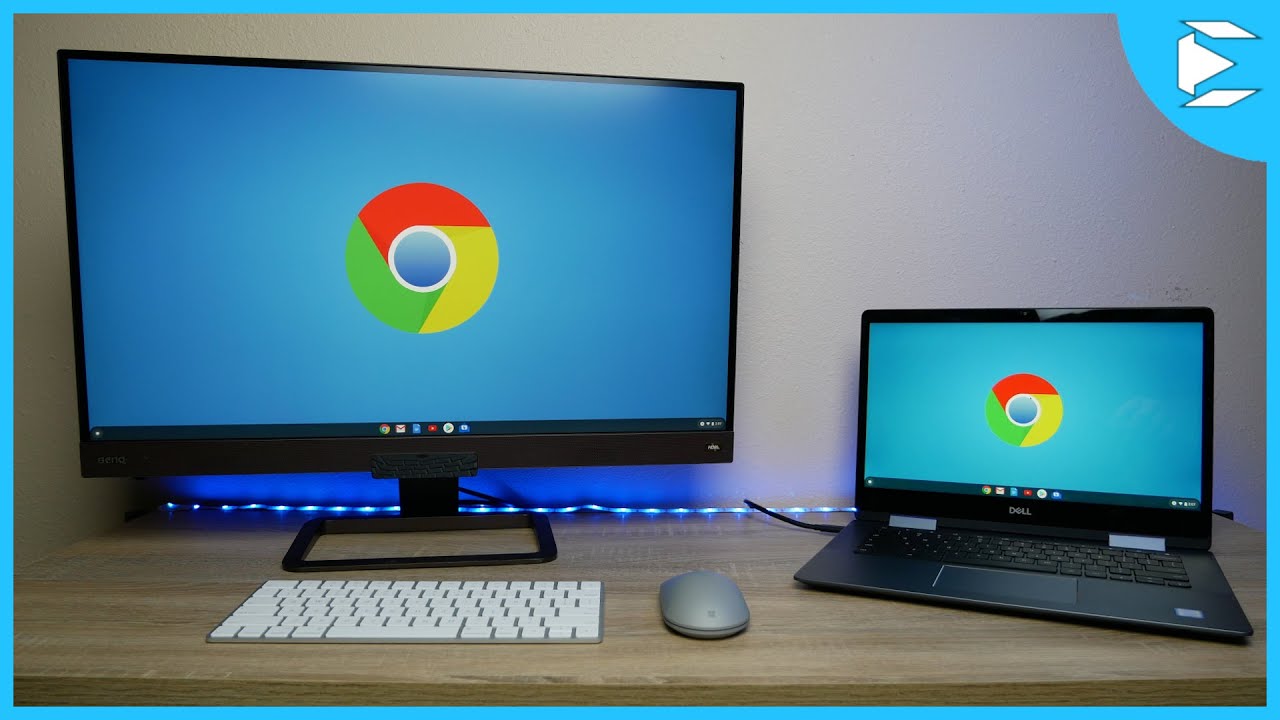
Are you looking for a way to extend your screen real estate and use your Chromebook as a monitor? With an HDMI connection, you can turn your Chromebook into a secondary display and connect it to other devices such as gaming consoles, laptops, or even a Raspberry Pi. This allows you to multitask and have multiple screens without the need for an additional monitor.
To begin the process of using your Chromebook as a monitor, there are a few steps you need to follow. Let’s dive into each step in detail:
Step 1: Check your Chromebook’s compatibility
Before connecting your Chromebook to an external device, ensure that your Chromebook supports the necessary display capabilities. Most modern Chromebooks have an HDMI port, which is the standard connection for secondary displays. However, some Chromebook models may have different ports such as USB-C or micro HDMI. Make sure you have the correct adapter or cable to connect your devices.
Step 2: Connect the Chromebook to an external monitor
Once you have confirmed your Chromebook’s compatibility, connect one end of the HDMI cable to your Chromebook’s HDMI port and the other end to the HDMI port of the device you want to use as the primary source. This could be a gaming console, another laptop, or any other compatible device that supports HDMI output.
Step 3: Adjust settings on the Chromebook
After connecting the HDMI cable, on your Chromebook go to the system tray located in the bottom-right corner of the screen and click on the clock. From there, select the gear icon to open the Settings menu. Scroll down and click on “Displays” to access the display settings.
Step 4: Configure display settings
In the Display settings, you will see the option to “Mirror” or “Extend” your display. Select “Extend” to use your Chromebook as a second monitor. If you choose “Mirror,” your Chromebook will duplicate the primary display, showing the same content on both screens. Adjust the resolution and orientation as desired to optimize the viewing experience.
Step 5: Troubleshooting common issues
If you encounter any issues during the process, there are a few troubleshooting steps you can take. First, ensure that both the Chromebook and the external device are powered on and properly connected. Try restarting both devices if necessary. Additionally, check if the HDMI cable is securely plugged in, as loose connections can cause display problems. If the issue persists, try using a different HDMI cable or port to eliminate the possibility of a faulty connection.
By following these steps, you can easily use your Chromebook as a monitor and enjoy the benefits of an extended screen setup. Whether you’re a gamer, student, or professional, utilizing your Chromebook as a secondary display can enhance productivity, increase gaming immersion, or simply provide a more immersive viewing experience.
Step 1: Check your Chromebook’s compatibility
Before you can use your Chromebook as a monitor, it’s important to ensure that your device has the necessary compatibility for this functionality. Most modern Chromebooks come equipped with an HDMI port, which is the standard connection for secondary displays. However, it’s worth noting that some Chromebook models may have different ports, such as USB-C or micro HDMI.
To check your Chromebook’s compatibility, start by locating the ports on your device. Look for the HDMI port, which is typically located on the side or back of your Chromebook. It resembles a small trapezoid-shaped slot. If you find the HDMI port, you can proceed with connecting your Chromebook to an external device.
However, if your Chromebook does not have an HDMI port, you will need to determine what type of port it has and ensure that you have the correct adapter or cable to connect it to an external display. For example, if your Chromebook has a USB-C port, you will need a USB-C to HDMI adapter or cable. If it has a micro HDMI port, you will need a micro HDMI to HDMI cable.
It’s essential to make sure you have the right adapter or cable to connect your Chromebook to the external device you wish to use as the primary source. Check the specifications of both your Chromebook and the external device to determine the appropriate connection method.
In addition to the physical compatibility, you should also consider the software compatibility of your Chromebook. Make sure your Chromebook is running on the latest version of Chrome OS, as software updates often include improvements and bug fixes that can enhance external display functionality. Updating your Chromebook’s software ensures that you have the best possible experience when using it as a monitor.
Once you have confirmed the compatibility of your Chromebook’s hardware and software requirements, you are ready to proceed with connecting it to an external monitor. In the next section, we will walk you through the steps to connect your Chromebook and configure the display settings to use it as a monitor.
Step 2: Connect the Chromebook to an external monitor
Once you have confirmed the compatibility of your Chromebook, it’s time to connect it to an external monitor. This will allow you to use your Chromebook as a secondary display and extend your screen real estate. Here’s how you can connect your Chromebook to an external monitor:
1. Identify the ports:
Locate the HDMI port on your Chromebook. It is usually located on the side or back of the device. The HDMI port looks like a small trapezoid-shaped slot. Take note of its location as you will need to connect the HDMI cable to this port.
2. Prepare the HDMI cable:
Get an HDMI cable that is long enough to connect your Chromebook to the external monitor. Make sure the ends of the cable are in good condition and not damaged. If you have a new HDMI cable, it is recommended to use that to ensure a reliable connection.
3. Connect the HDMI cable:
Take one end of the HDMI cable and insert it into the HDMI port on your Chromebook. Make sure it is securely plugged in to avoid any loose connections. Then, take the other end of the HDMI cable and insert it into the HDMI port on the external monitor. Ensure that the cable is firmly connected to both the Chromebook and the monitor for a stable connection.
4. Power on the devices:
Once the HDMI cable is properly connected, power on both your Chromebook and the external monitor. Make sure they are both turned on and functioning.
Congratulations! You have successfully connected your Chromebook to an external monitor. Your Chromebook will now act as a secondary display, allowing you to extend your screen and utilize the benefits of a dual-screen setup. Now, you can move on to the next step to configure the display settings on your Chromebook.
Step 3: Adjust settings on the Chromebook
After successfully connecting your Chromebook to the external monitor, you need to adjust the settings on your Chromebook to enable the use of the monitor as a secondary display. Here’s how you can do it:
1. Access the settings:
Click on the clock in the system tray located in the bottom-right corner of the screen on your Chromebook. A pop-up window will appear displaying a variety of options. Select the gear icon to access the Settings menu.
2. Open the display settings:
Within the Settings menu, scroll down until you find the “Displays” option. Click on it to open the display settings.
3. Configure the display settings:
In the display settings, you will see various options and configurations related to your Chromebook’s display. Look for the option to extend the display or mirror the display. Select the “Extend” option to use your Chromebook as a second monitor. This will allow you to have an extended workspace and move windows and applications freely between the Chromebook and the external monitor. If you prefer to duplicate the display on both screens, choose the “Mirror” option.
4. Adjust resolution and orientation:
Depending on your preferences and the capabilities of the external monitor, you may want to adjust the resolution and orientation of the display. To change the resolution, find the appropriate settings within the display settings and select the desired resolution from the available options. You may also have the option to rotate the display if needed.
5. Test the setup:
Once you have made the necessary adjustments, test the setup by dragging windows and applications between the Chromebook and the external monitor. Ensure that the mouse cursor seamlessly moves between the two screens. This indicates that the extended display functionality is working correctly.
By adjusting the settings on your Chromebook, you can optimize the display setup and customize it based on your preferences and workflow. Take some time to explore these settings and find the configuration that suits your needs best. In the next step, we will address some troubleshooting tips to help you overcome common issues you may encounter while using your Chromebook as a monitor.
Step 4: Configure display settings
Once you have connected your Chromebook to an external monitor and adjusted the basic settings, it’s time to fine-tune the display settings to ensure the best viewing experience. Here are some key configuration options to consider:
Adjust resolution:
Depending on the capabilities of your external monitor and personal preference, you may want to adjust the resolution. Higher resolutions provide more screen real estate, but they may also make text and icons smaller. To adjust the resolution, go to the display settings on your Chromebook, and select the resolution that best suits your needs.
Orientation:
You can also choose the orientation of your external monitor. By default, it is set to landscape mode, but you can change it to portrait mode if desired. This may be particularly useful for tasks such as reading documents or coding. Check the display settings to make the necessary orientation adjustments.
Arrangement:
If you have multiple monitors connected to your Chromebook, you can arrange their positions to match the physical setup. For example, if you want the external monitor to be on the left side of your Chromebook, you can drag and drop its representation in the display settings to the left. This will ensure that windows and applications move seamlessly between the screens based on their physical layout.
Scaling:
Chrome OS also provides scaling options to adjust the size of the content on the external monitor. This can be useful if you find that text or icons appear too small or too large. Experiment with the available scaling options in the display settings to find the optimal size for your viewing comfort.
Advanced settings:
For advanced users, Chrome OS also offers additional display settings such as color calibration, refresh rate adjustment, and color profiles. These settings can be accessed through the advanced display settings, allowing you to fine-tune the visual experience to your liking.
Remember to experiment with these display settings to find the configuration that works best for you. It may take some trial and error to achieve the optimal setup, but once you have configured the display settings to your preference, you can fully enjoy the benefits of using your Chromebook as a secondary monitor.
In the next and final step, we will provide some troubleshooting tips to help you overcome common issues that you may encounter while using your Chromebook as a monitor.
Step 5: Troubleshooting common issues
While using your Chromebook as a monitor can be a convenient and versatile setup, you might encounter some common issues along the way. Here are a few troubleshooting tips to help you overcome these issues effectively:
No display on the external monitor:
If you’re not getting any display on the external monitor, first double-check the connections between your Chromebook and the monitor. Ensure that the HDMI cable is securely plugged in at both ends. If the issue persists, try using a different HDMI cable or port to eliminate the possibility of a faulty connection. Additionally, make sure that both your Chromebook and the external device are powered on.
Display not extending:
If your Chromebook’s display is not extending to the external monitor, go to the display settings and ensure that the “Extend” option is selected. Sometimes, selecting the wrong option or accidentally choosing “Mirror” can result in duplicated displays instead of an extended workspace. Double-check the display settings to ensure that the extended display configuration is enabled.
Incompatible or low-resolution display:
If the external monitor is displaying a low resolution or the visual quality is not satisfactory, it may be due to an incompatible monitor or incorrect display settings. Check if the external monitor is compatible with your Chromebook’s resolution capabilities. Additionally, explore the display settings to select the appropriate resolution for the monitor.
No sound on the external monitor:
If you’re using the external monitor for multimedia purposes and notice that there is no sound coming from the monitor’s speakers, check the audio settings on your Chromebook. In the audio settings, ensure that the correct output device is selected. You may need to choose the external monitor as the audio output source to route the sound through the monitor’s speakers.
Update Chrome OS:
If you’re experiencing persistent issues with using your Chromebook as a monitor, it’s worth checking if your Chrome OS is up to date. Software updates often include bug fixes and improvements that can enhance external display functionality. Go to the system settings and check for software updates. If updates are available, install them and see if the issues resolve.
Remember that troubleshooting is a process of trial and error. If the above steps do not resolve your issues, consider consulting the support resources provided by the manufacturer of your Chromebook or the external monitor. They may have specific troubleshooting steps or solutions tailored for your devices.
By following these troubleshooting tips, you can overcome common issues and ensure a smooth experience when using your Chromebook as a monitor. With a functional and properly configured secondary display, you can enjoy the benefits of an extended workspace and enhance your productivity.
Conclusion
Using a Chromebook as a monitor with HDMI can significantly enhance your productivity and provide you with a versatile computing experience. By following the steps outlined in this guide, you can easily connect your Chromebook to an external monitor and enjoy the benefits of an extended display setup.
We began by understanding what a Chromebook is – a lightweight laptop running on Google’s Chrome OS. Then, we explored the process of using a Chromebook as a monitor, starting with checking the compatibility of your device and connecting it to an external monitor using an HDMI cable. Adjusting the display settings on your Chromebook ensures that the secondary monitor functions seamlessly as an extended screen.
Throughout the setup process, we also provided troubleshooting tips to help you overcome common issues such as display problems, resolution discrepancies, and audio-related concerns. Remember to double-check connections, update your Chrome OS, and explore the various display settings available to optimize your experience.
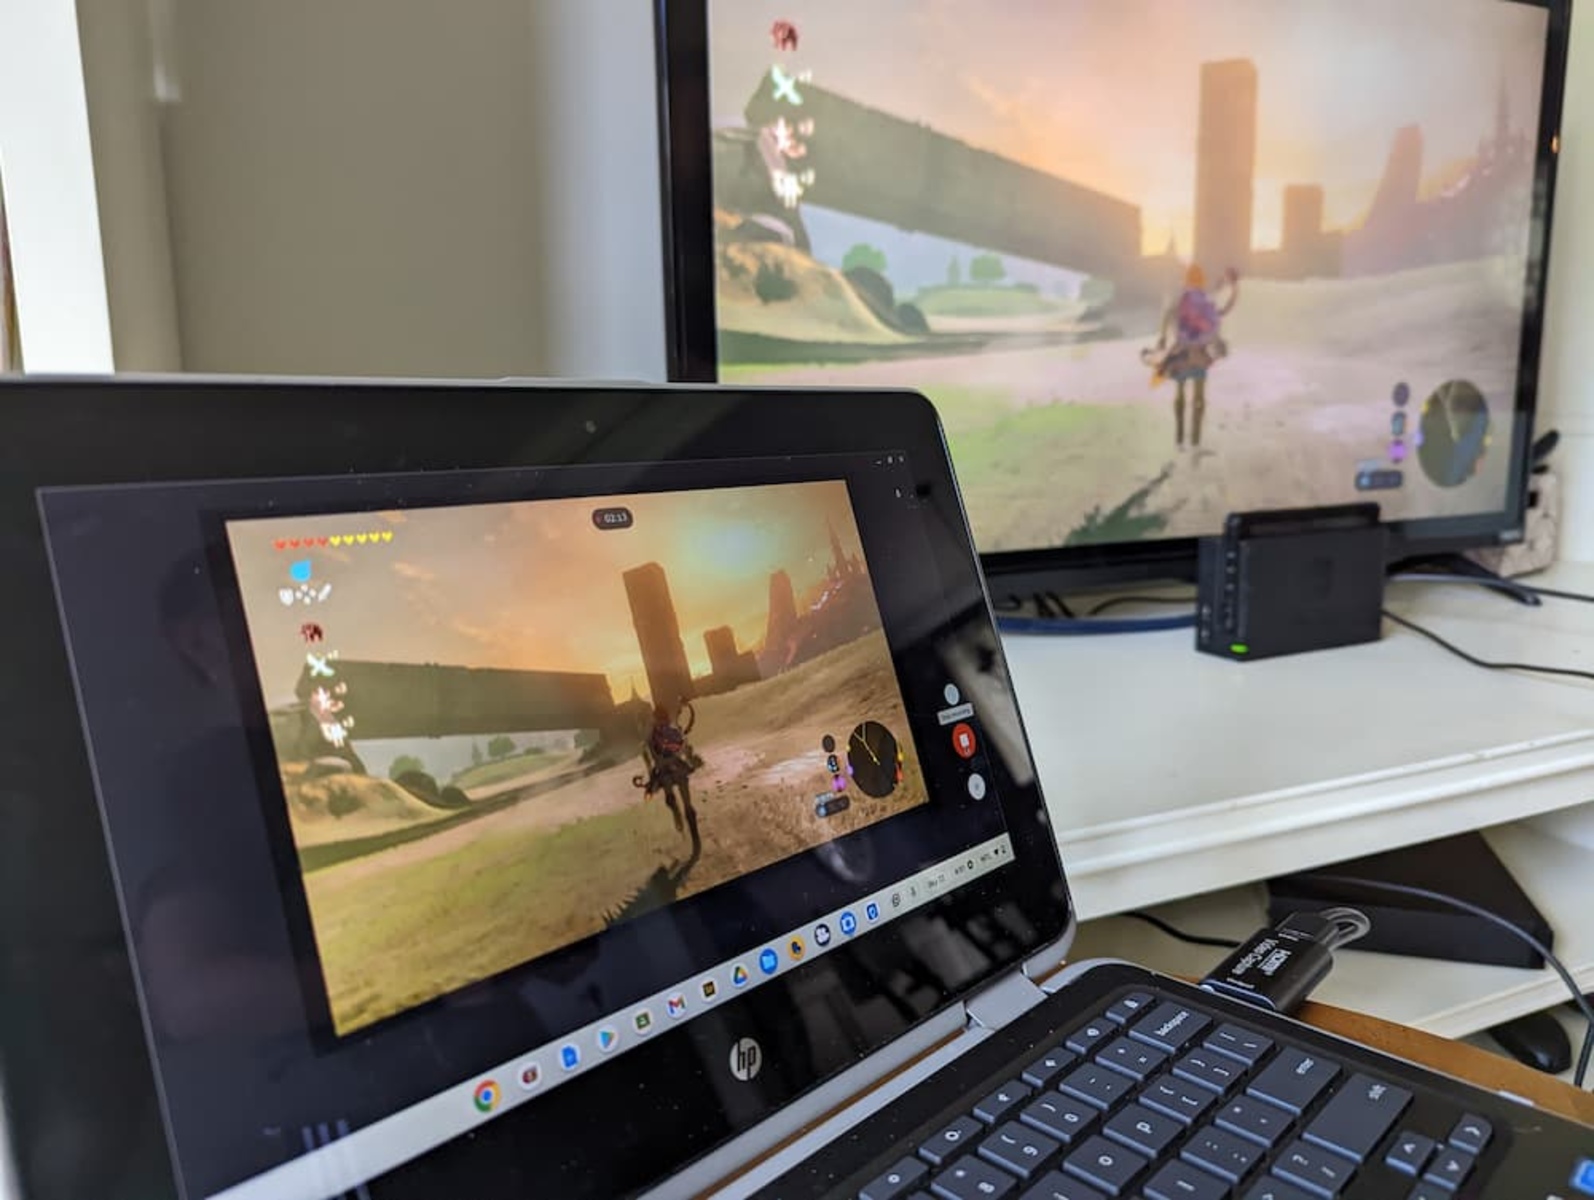
Using your Chromebook as an additional monitor opens up a world of possibilities, allowing you to multitask, extend your workspace, and enhance your productivity. Whether you’re a student, a professional, or someone who enjoys gaming or multimedia applications, the flexibility and convenience of a dual-screen setup can transform your computing experience.
As technology continues to evolve, Chromebooks offer a cost-effective and efficient solution for users who prioritize web-based applications and cloud storage. By harnessing the power of your Chromebook as a monitor, you can unlock the full potential of your device and take your productivity to the next level.
So, don’t hesitate to explore the possibilities and make the most out of your Chromebook by utilizing it as a monitor with HDMI. With a little setup and configuration, you can enjoy the benefits of a dual-screen setup and enhance your workflow, entertainment, and overall computing experience.