Introduction
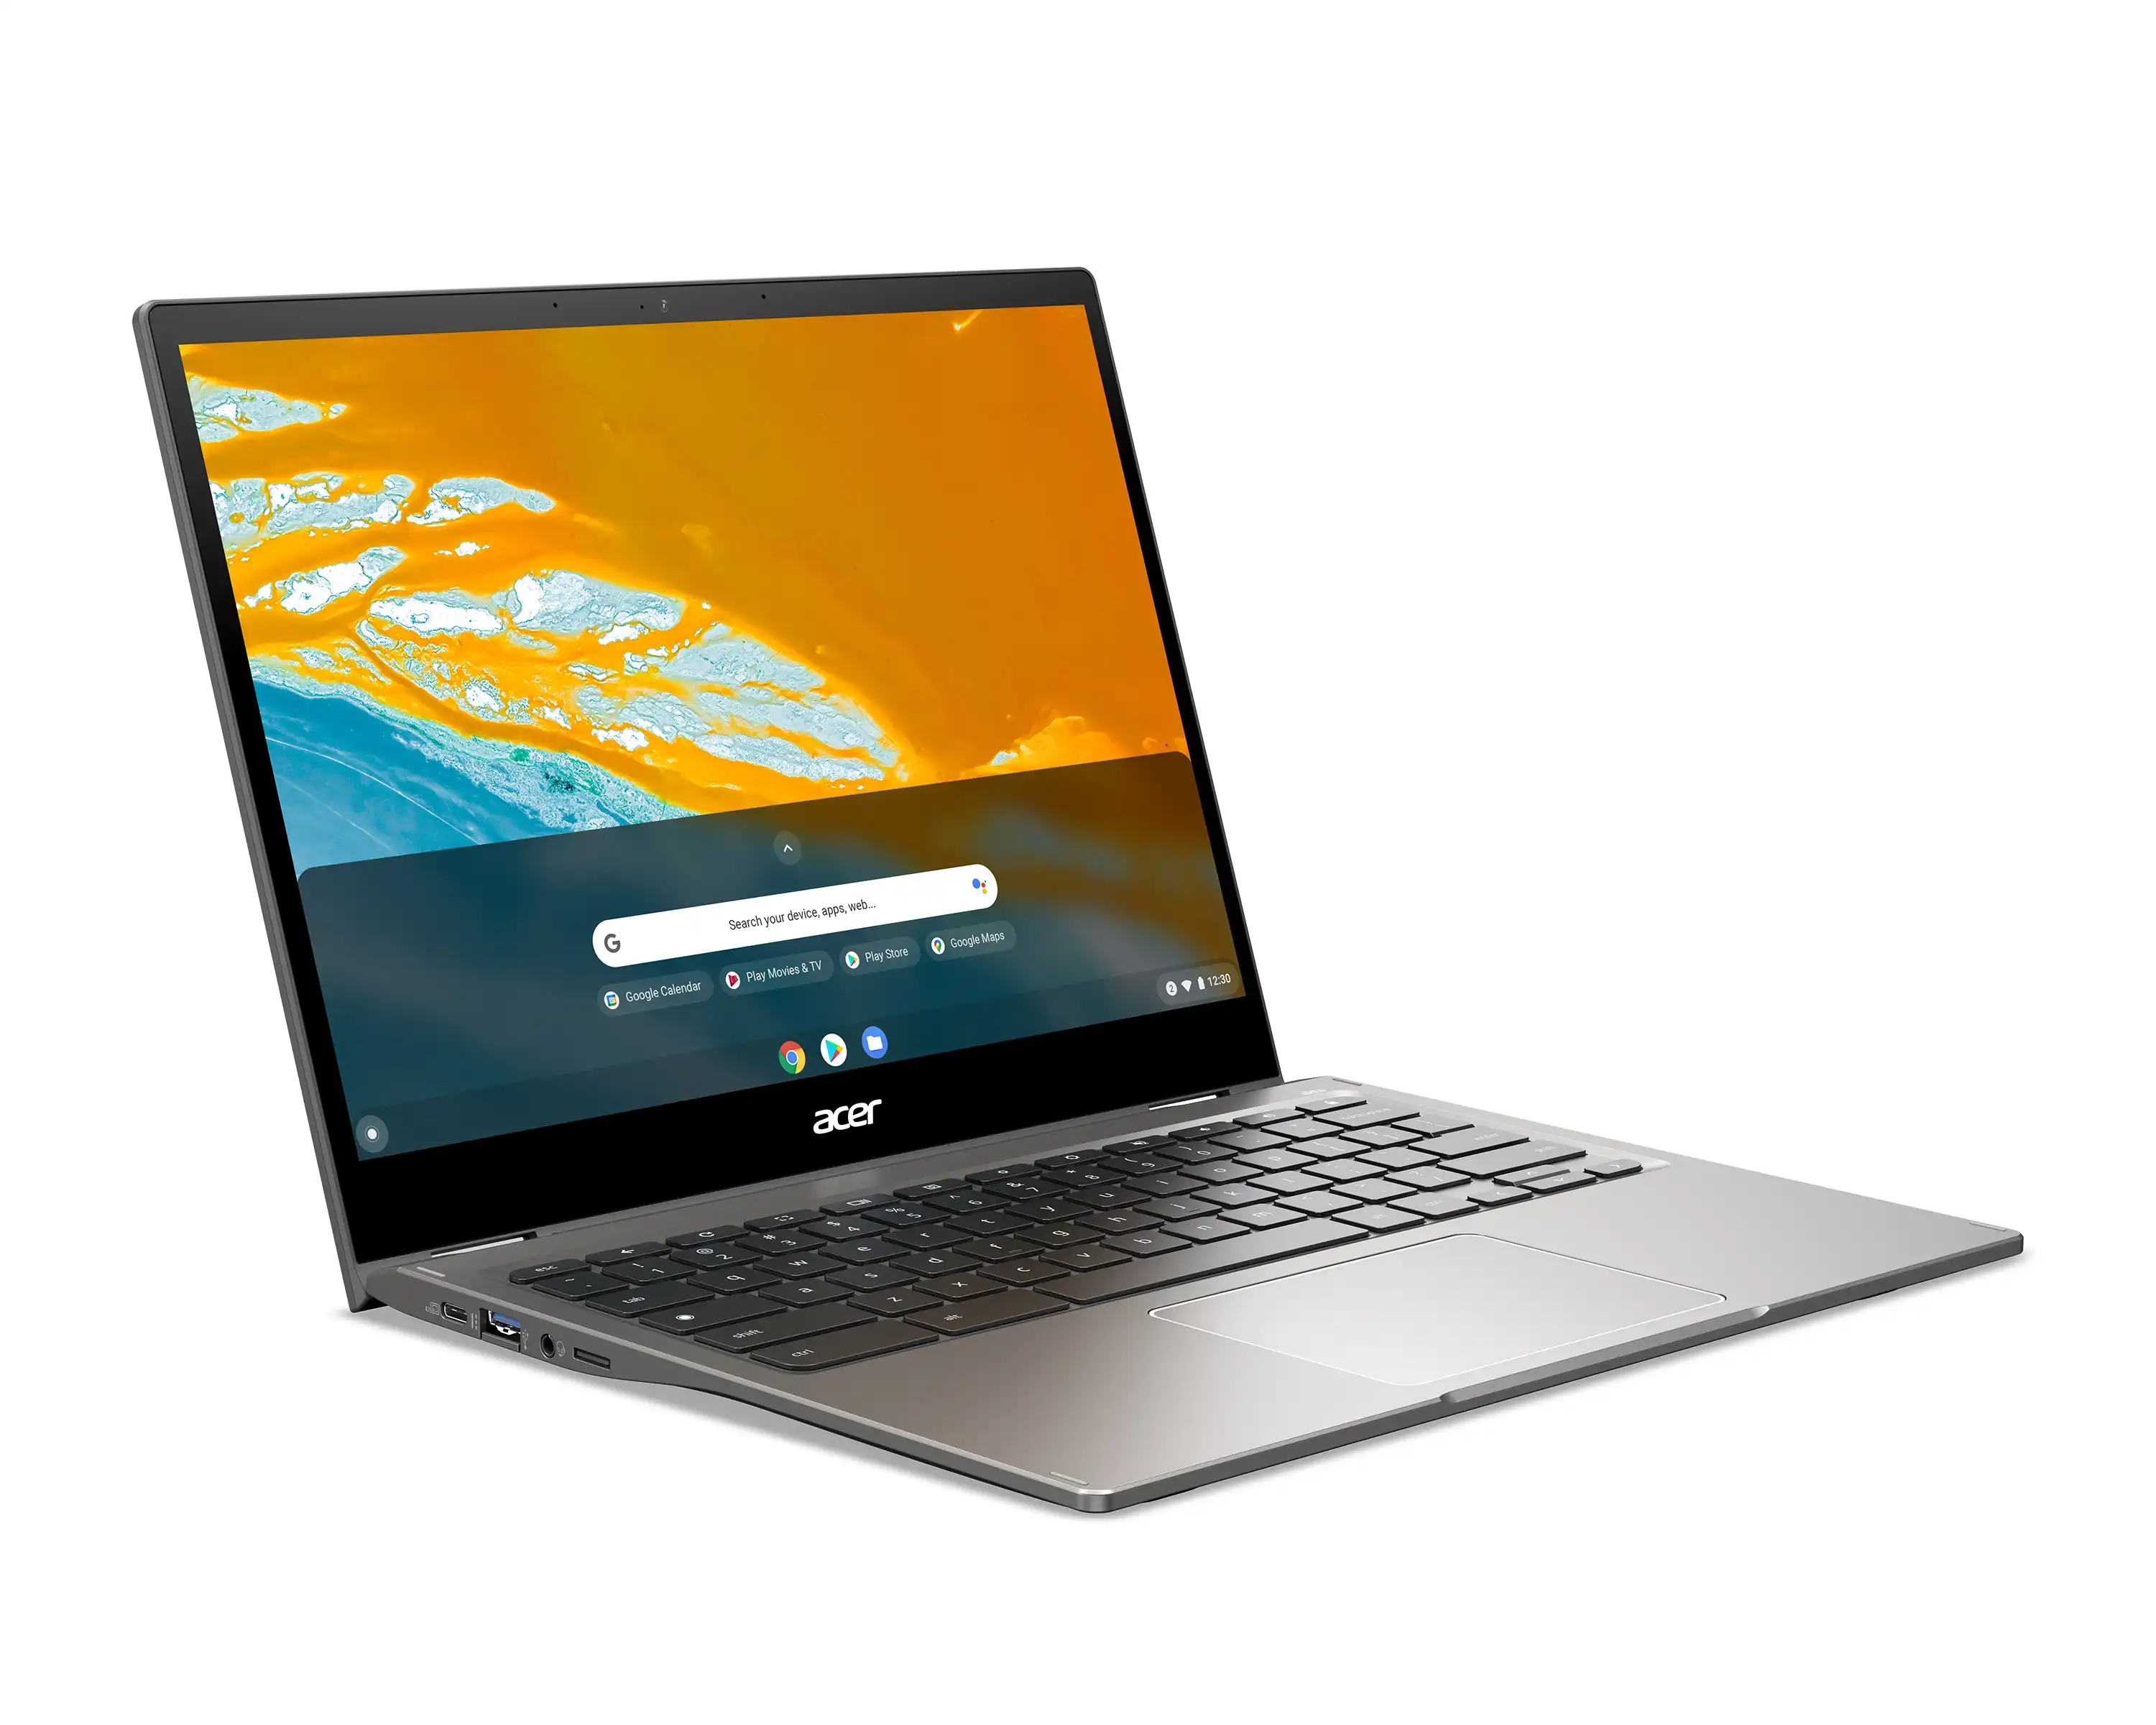
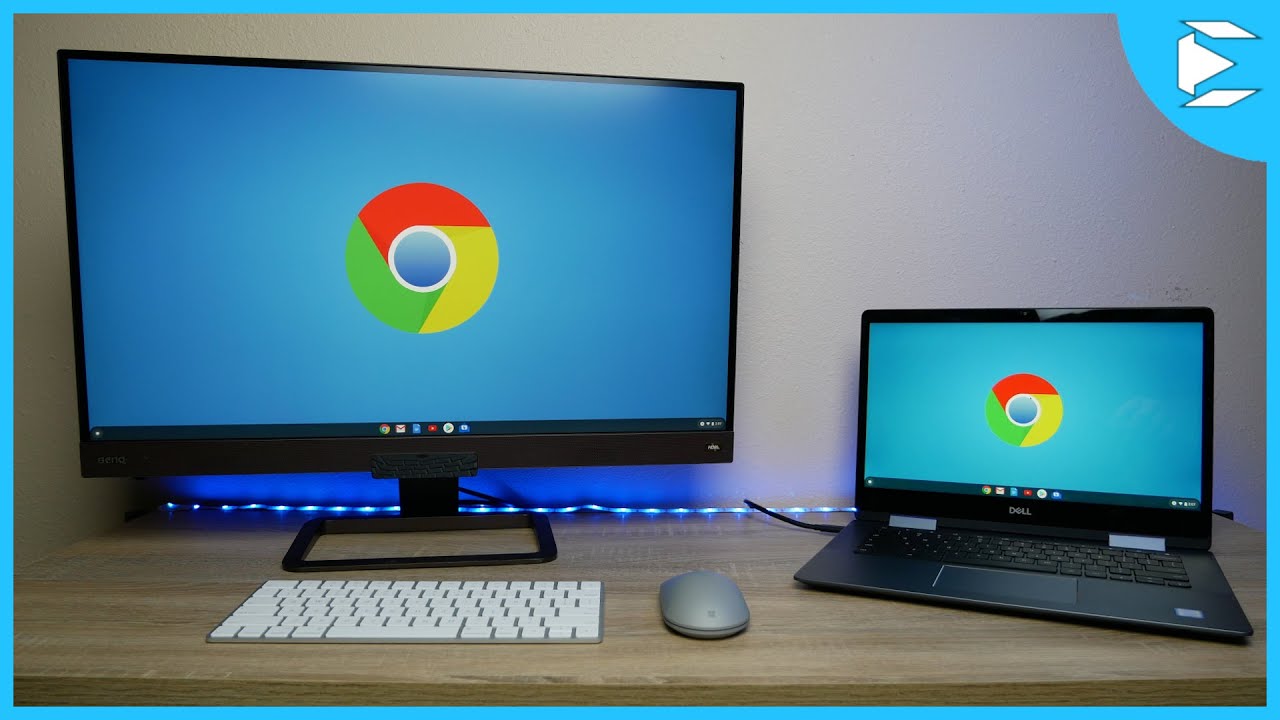
Welcome to this comprehensive guide on how to use a Chromebook as a monitor. Chromebooks are becoming increasingly popular due to their affordability, portability, and user-friendly interface. While they are primarily designed for web browsing and productivity tasks, did you know that you can also transform your Chromebook into a secondary display for your other devices?
By utilizing the external display capabilities of your Chromebook, you can extend your screen real estate, mirror your device’s display, or even use it as a second monitor for gaming or multimedia purposes. This can be particularly useful for those who work with multiple applications simultaneously or for individuals who want a larger viewing experience.
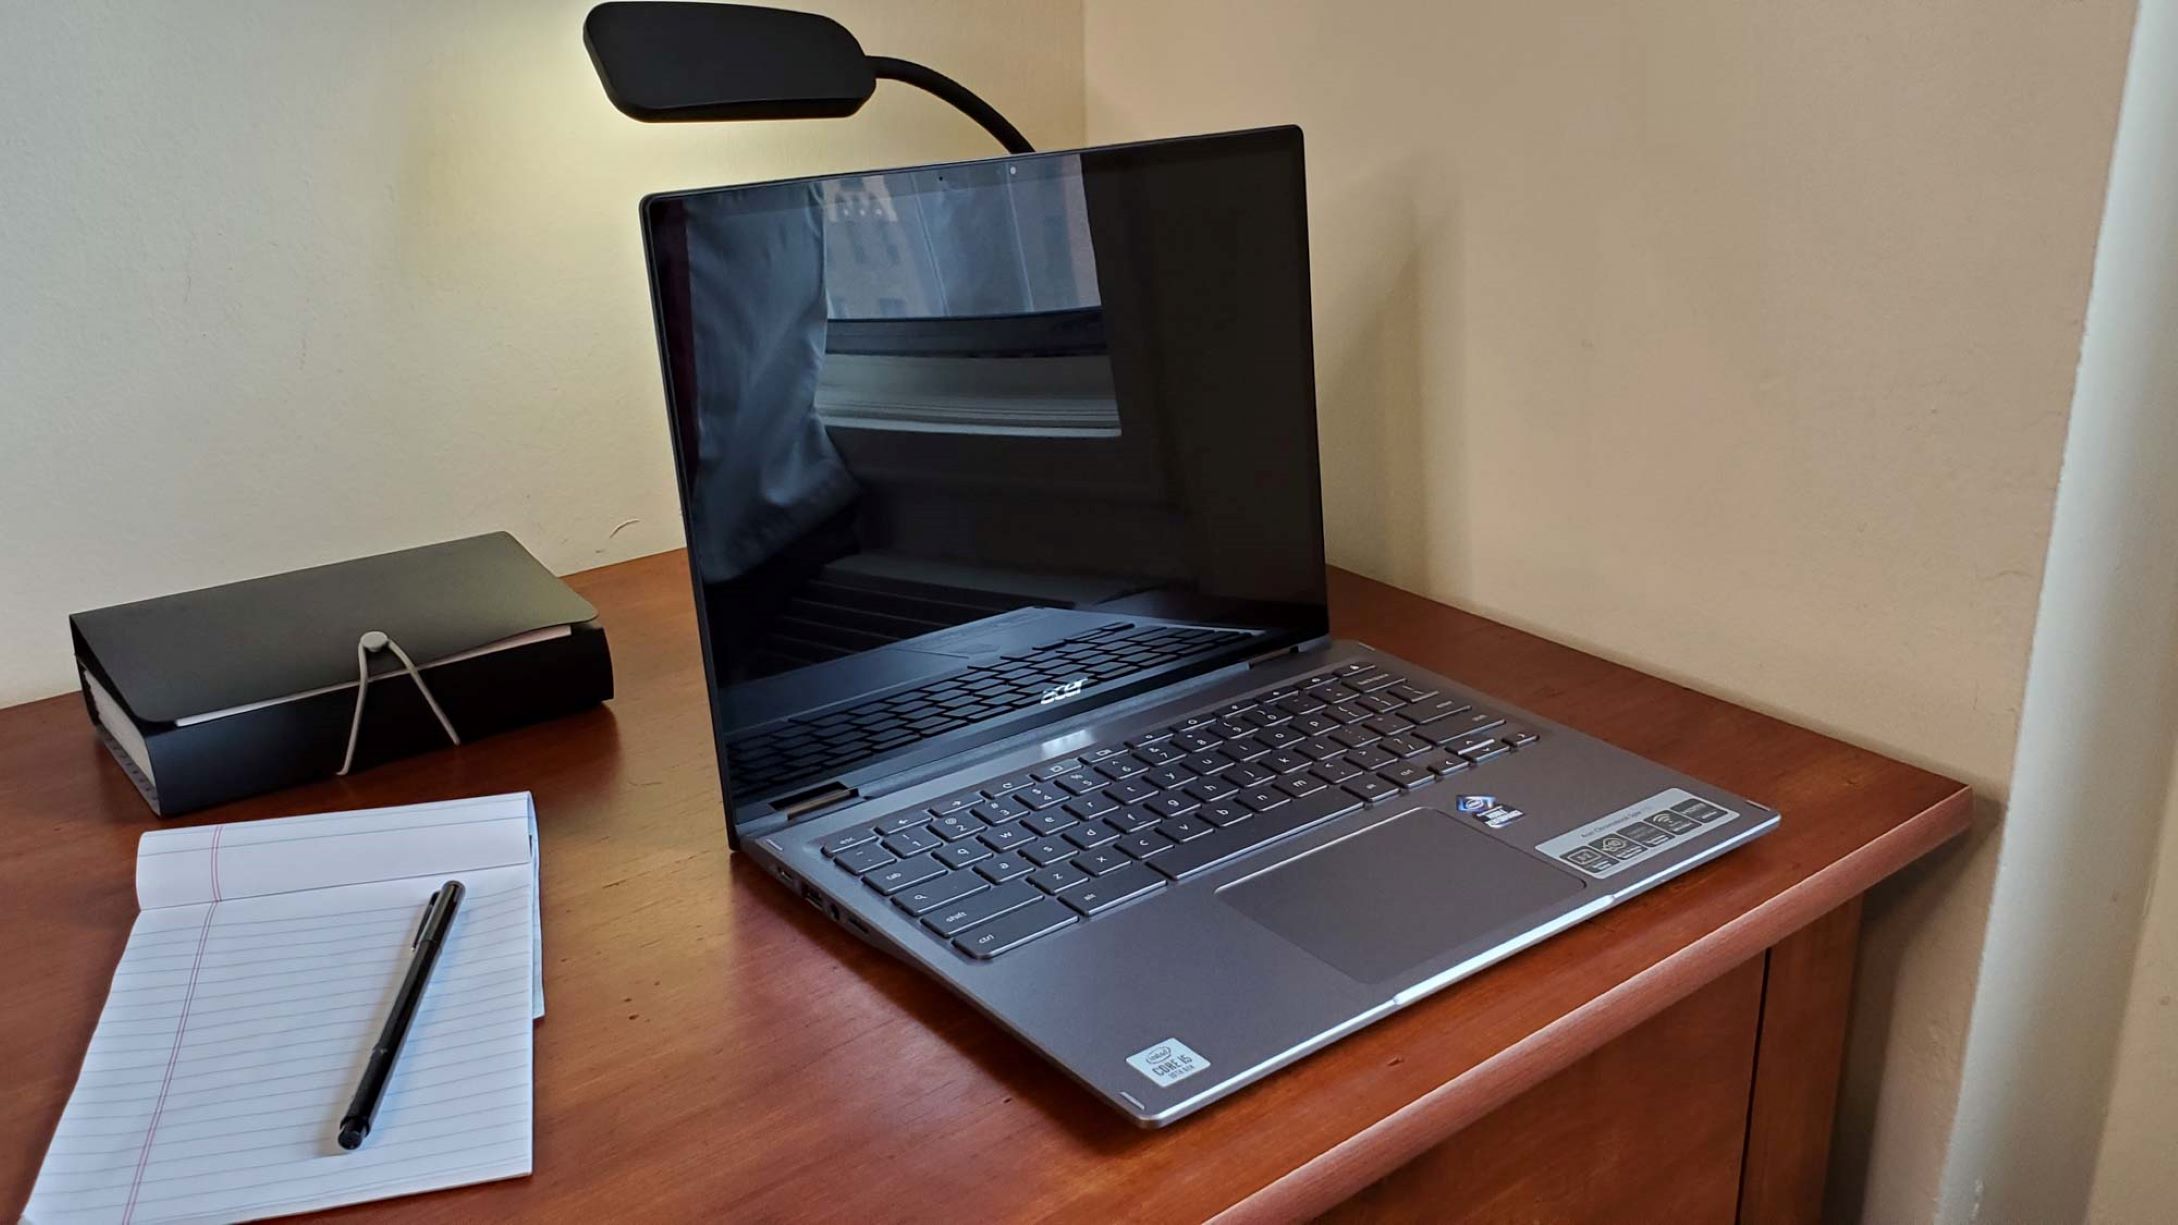
Before we dive into the step-by-step process, it’s important to note that not all Chromebooks have the necessary hardware capabilities to act as a monitor. Therefore, the first step is to check the compatibility of your Chromebook.
Disclaimer: The steps outlined in this guide are specific to Chrome OS version 95, and the compatibility and availability of certain features might vary depending on the specific Chromebook model and OS version. It’s always recommended to update your Chromebook to the latest version to ensure optimal performance.
Step 1: Check Compatibility
Before proceeding, it’s crucial to determine whether your Chromebook supports external display functionality. Not all Chromebook models have this capability, so it’s essential to confirm if your device is compatible. Here’s how to check:
- Start by opening the menu on your Chromebook. You can do this by clicking on the clock in the bottom-right corner of the screen.
- Select the settings icon, which is represented by a gear-shaped icon.
- In the settings menu, locate the “Displays” option. If you don’t see this option, it means that your Chromebook does not support external displays.
- If the “Displays” option is available, click on it to access the display settings.
- Look for the “External Display” or “Monitor” section. This section will provide information about the external display options supported by your Chromebook.
- Check if your Chromebook supports screen extension, mirroring, or both. It’s also worth noting the maximum supported resolution for external displays, as this will determine the visual quality you can achieve.
If your Chromebook does not support external displays, unfortunately, you won’t be able to use it as a monitor. However, if your device is compatible, continue reading to learn how to connect your Chromebook to an external display.
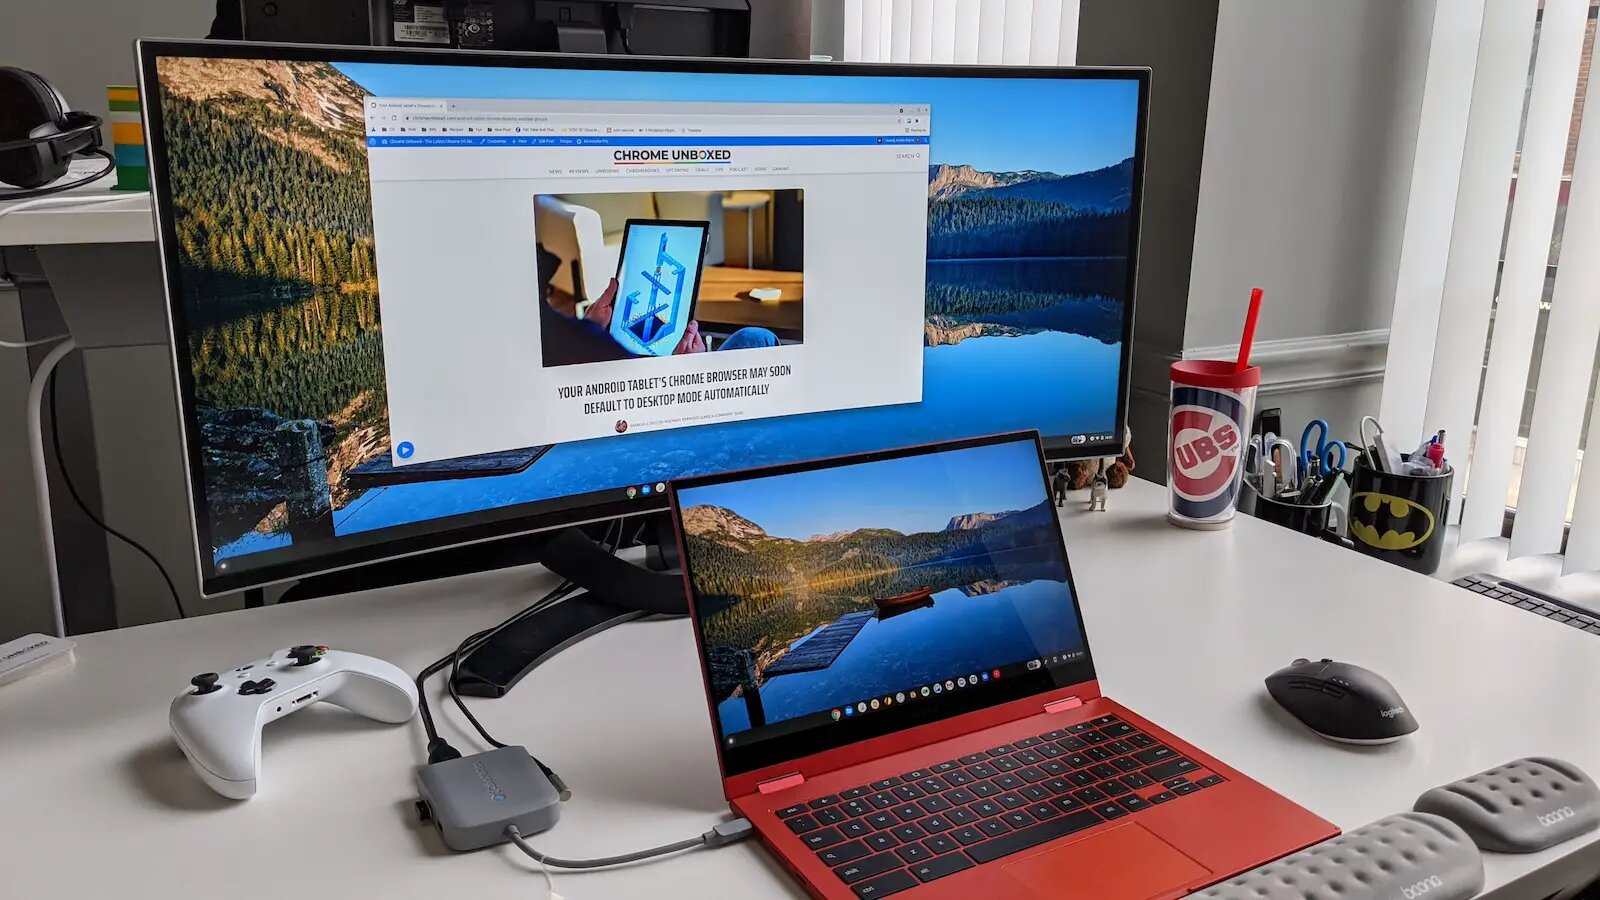
Step 2: Connect Chromebook to External Display
Now that you’ve confirmed the compatibility of your Chromebook, it’s time to connect it to an external display. Follow these steps:
- Start by turning on your Chromebook and the external display device, such as a monitor or TV.
- Locate the video output port on your Chromebook. The most common port is the HDMI port, but some Chromebooks may also have USB-C or DisplayPort options.
- Connect one end of the appropriate cable (HDMI, USB-C, or DisplayPort) to the video output port of your Chromebook.
- Connect the other end of the cable to the corresponding input port on the external display device.
- Make sure the cable is securely plugged into both the Chromebook and the external display.
- Once the physical connection is established, your Chromebook should automatically detect the external display. If it doesn’t, press the “Refresh” or “Detect” button in the display settings menu.
If everything is properly connected, you should now see your Chromebook’s display mirrored on the external monitor. However, if you want to extend your screen or configure other display settings, proceed to the next step.
Step 3: Adjust Display Settings
Once your Chromebook is connected to an external display, you may need to adjust the display settings to optimize your viewing experience. Here’s how:
- On your Chromebook, click on the clock in the bottom-right corner of the screen to open the menu.
- Select the settings icon, represented by a gear-shaped icon.
- In the settings menu, scroll down and click on the “Displays” option.
- Within the display settings, you’ll find various options to customize your external display setup.
- If you want to extend your display, ensure that the “Mirror” option is turned off. This will allow you to have separate screens on your Chromebook and the external display.
- Adjust the screen resolution to match the capabilities of your external display. Higher resolutions may offer better image quality, but keep in mind that it also requires more processing power.
- Furthermore, you can rearrange the position of the displays by dragging and dropping them in the display settings window.
- Take some time to explore other available settings, such as orientation, scale, and color profiles, to customize the display according to your preferences.
By adjusting the display settings, you can ensure that the content on your Chromebook is optimized for the external display, providing a seamless and enjoyable viewing experience.
Step 4: Extend or Mirror Display
Now that your external display is connected and the display settings are adjusted, you have the option to choose between extending or mirroring your display. Here’s what each option entails:
Extend Display: Extending your display allows you to use the external display as an additional monitor, effectively enlarging your screen real estate. This is ideal for multitasking or working on multiple applications simultaneously. To extend your display:
- Open the display settings menu on your Chromebook.
- Ensure that the “Mirror” option is turned off.
- Drag and drop the external display icon to the desired position relative to your Chromebook’s display.
- Your Chromebook’s desktop will now extend onto the external display, giving you more workspace to arrange your windows and applications.
Mirror Display: Mirroring your display duplicates the content from your Chromebook’s screen onto the external display. This is useful when you want to share your screen with others or when using the external display to replicate what’s on your Chromebook. To mirror your display:
- Open the display settings menu on your Chromebook.
- Enable the “Mirror” option.
- Your Chromebook’s display will now be replicated on the external display, showing the same content on both screens.
Choose the option that best suits your needs and workflow. You can always switch between extended and mirrored displays by adjusting the settings in the display menu.
Step 5: Adjust Audio Settings
When using your Chromebook as a monitor, it’s essential to configure the audio settings to ensure optimal sound output. Follow these steps to adjust the audio settings:
- Click on the clock in the bottom-right corner of the screen to open the menu on your Chromebook.
- Select the settings icon (gear-shaped) to access the settings menu.
- In the settings menu, scroll down and click on the “Sound” option.
- Within the sound settings, you will find options to control the volume, input, and output devices.
- Make sure to select the correct output device that corresponds to your external display or speakers. If you have connected external speakers to the display, choose that option.
- Adjust the volume level to your preference, ensuring that it’s not too low or too high.
- Test the audio by playing a video or audio file on your Chromebook to verify that the sound is coming through the external display or speakers.
By adjusting the audio settings, you can ensure that the sound is directed to the appropriate output device, providing an immersive audio experience while using your Chromebook as a monitor.
Step 6: Disconnect from External Display
When you’re done using your Chromebook as a monitor or need to disconnect from the external display for any reason, it’s important to follow the proper procedure to avoid any potential issues. Here are the steps to disconnect your Chromebook from the external display:
- On your Chromebook, click on the clock in the bottom-right corner of the screen to open the menu.
- Select the settings icon (gear-shaped) to access the settings menu.
- In the settings menu, click on the “Displays” option.
- Within the display settings, you’ll find the option to manage your external display setup.
- Turn off the “Mirror” or “Extend” option, depending on your current setup.
- Disconnect the cable that connects your Chromebook to the external display. Remove it gently and ensure that both ends are safely disconnected.
- Your Chromebook’s display should automatically revert to its original settings, using the built-in display as the primary screen.
It’s important to follow this procedure to avoid any potential issues with the display settings and ensure a seamless transition when disconnecting from an external display.
Conclusion
Using a Chromebook as a monitor can significantly expand your screen real estate and enhance your productivity. Whether you’re extending your display for multitasking or mirroring your screen for collaboration or presentations, the process is straightforward and can be done with a few simple steps.
In this guide, we covered the essential steps to utilize your Chromebook as a monitor. We started by checking the compatibility of your Chromebook, ensuring that it supports external display functionality. Then, we explored how to connect your Chromebook to an external display using the appropriate cable. We also discussed how to adjust the display settings, enabling you to customize your viewing experience.
Additionally, we explored the options of extending or mirroring your display and adjusting the audio settings to optimize your multimedia experience. Lastly, we discussed the proper procedure for disconnecting your Chromebook from the external display.
Remember, the specific steps may vary slightly depending on your Chromebook model and operating system version. It’s always a good idea to keep your Chromebook updated to enjoy the latest features and functionalities.
Now that you understand the process, you can make the most out of your Chromebook by using it as a monitor whenever needed. Enjoy the expanded workspace, improved multitasking capabilities, and enhanced viewing experience that this setup offers!