Introduction
Gone are the days when Chromebooks were solely viewed as lightweight devices for web browsing and basic tasks. With advancements in technology, Chromebooks have become more powerful, capable of handling resource-intensive applications and multitasking. If you’re curious about the performance of your Chromebook’s CPU (Central Processing Unit), you’ve come to the right place.
Checking the CPU on your Chromebook can provide valuable insights into its processing power and how it handles various tasks. Whether you’re a tech enthusiast, a developer, or simply want to monitor your system’s performance, there are a few methods you can use to check the CPU on your Chromebook.
In this article, we’ll explore three different methods to check the CPU on your Chromebook so that you can gain a better understanding of its capabilities and monitor its performance. Whether you prefer accessing the CPU information through Chrome OS settings, using the built-in task manager, or leveraging the Developer Shell, we’ve got you covered. Let’s dive in!
Note: The steps outlined in this article are tailored for Chromebooks running Chrome OS. While the specific steps may vary slightly depending on your device’s manufacturer, the general process remains the same.
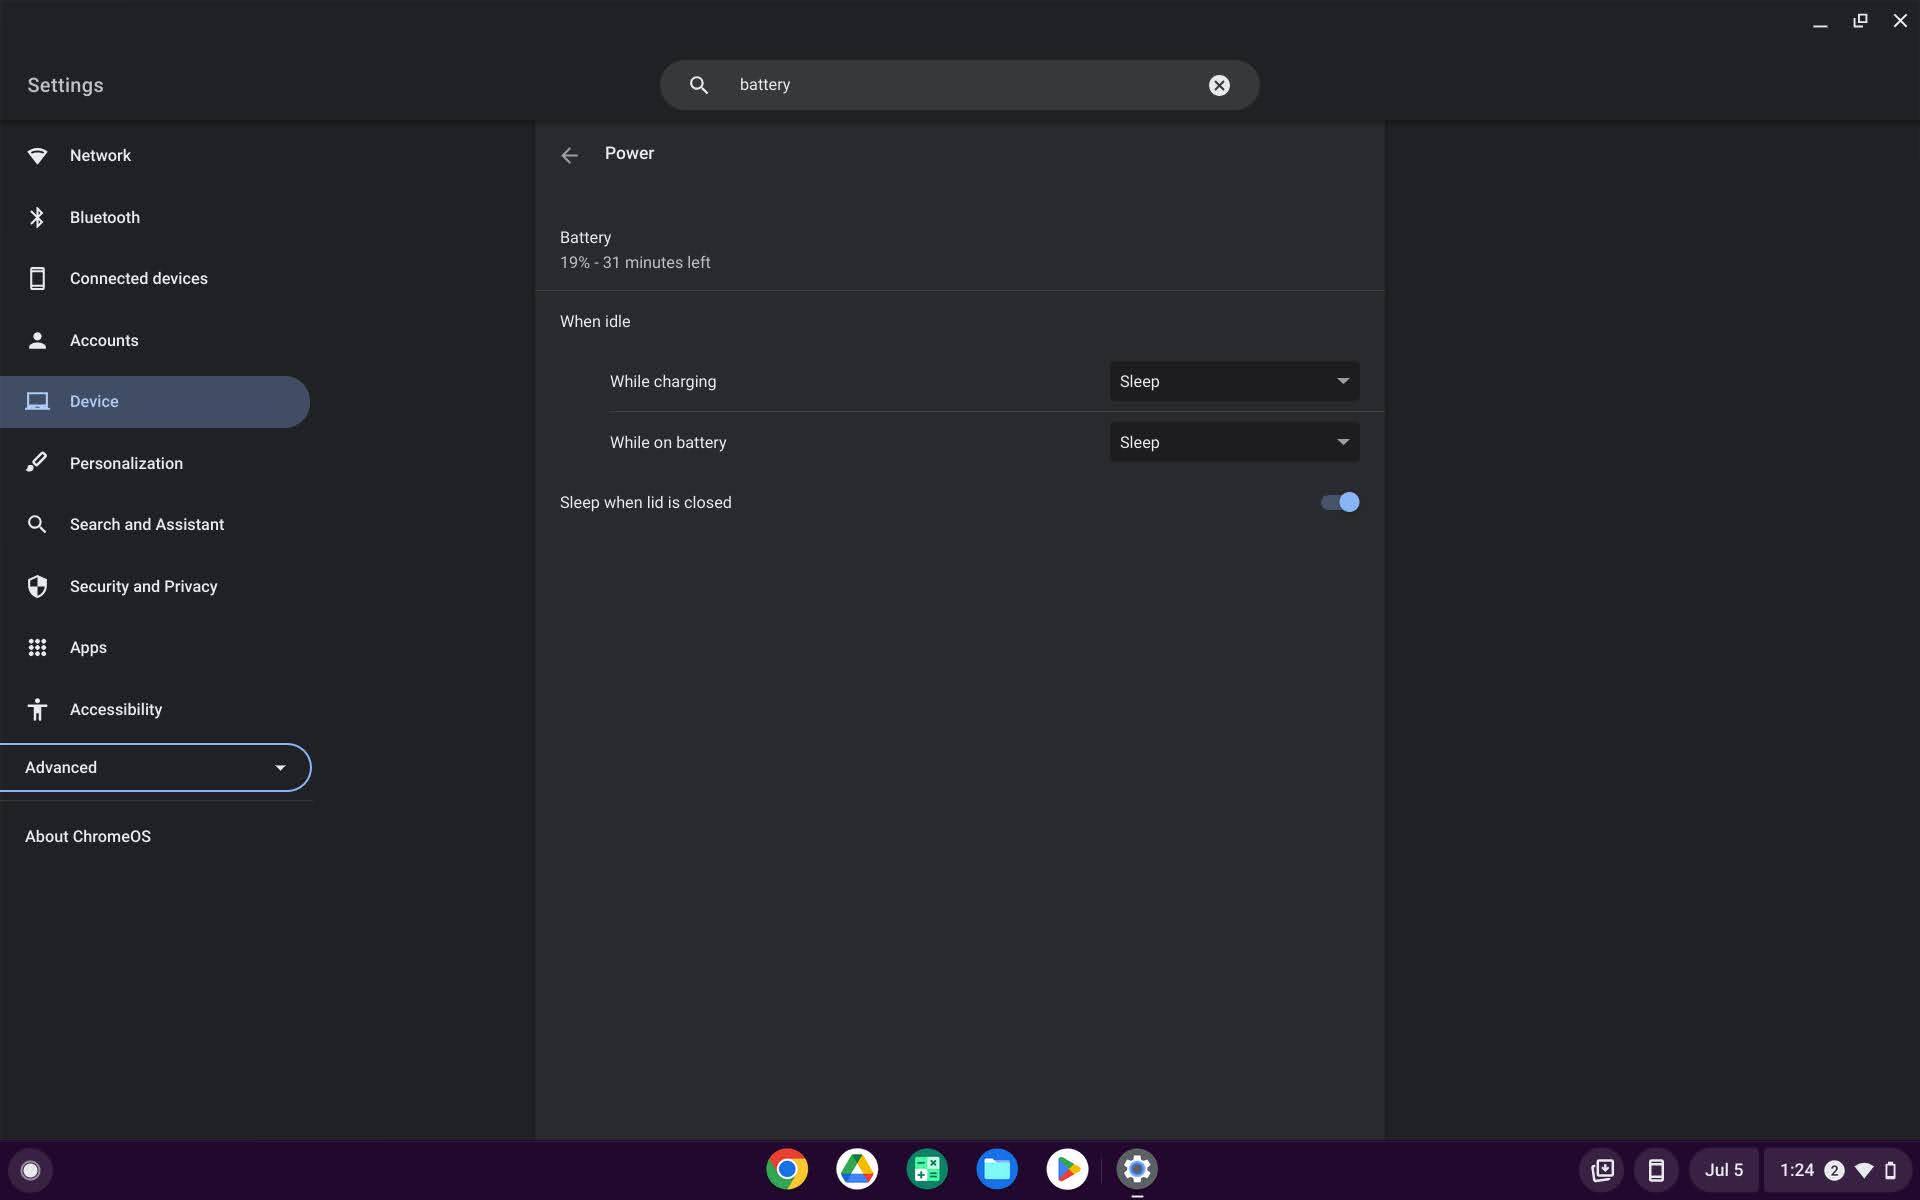
Method 1: Checking CPU through Chrome OS settings
One of the simplest ways to check the CPU on your Chromebook is by accessing the Chrome OS settings. This method allows you to view detailed information about your CPU without the need for any additional tools or applications. Follow the steps below to check your CPU through the Chrome OS settings:
- Click on the clock in the bottom-right corner of the screen to open the system tray.
- Select the gear icon to open the settings menu.
- In the settings menu, click on the ‘About Chrome OS’ option.
- Scroll down and click on the ‘Additional details’ option.
- Under the ‘Processor’ section, you will find information about your CPU, including the model, architecture, and clock speed.
By following these steps, you can quickly access detailed CPU information through the Chrome OS settings. This method provides a convenient way to monitor your CPU’s specifications without the need to install any additional software.
It’s worth noting that the information displayed in the Chrome OS settings may vary slightly depending on your device’s manufacturer. However, you should still be able to find the necessary CPU details easily by exploring the ‘About Chrome OS’ section.
Now that we’ve covered the first method of checking the CPU through the Chrome OS settings, let’s move on to the next method, which involves using the built-in task manager.
Method 2: Using the built-in task manager
If you prefer a more dynamic and real-time view of your Chromebook’s CPU usage, the built-in task manager is a great option. The task manager provides detailed insights into the CPU usage of individual processes, allowing you to identify any resource-intensive tasks that may be slowing down your device. Follow these steps to utilize the built-in task manager:
- Press the ‘Shift’ + ‘Esc’ keys simultaneously to open the task manager. Alternatively, you can right-click on an empty space on the taskbar and select ‘Task manager’ from the context menu.
- The task manager will open in a separate window, displaying various tabs such as ‘CPU’, ‘Memory’, and ‘Network’.
- Click on the ‘CPU’ tab to view detailed CPU usage information for each process running on your Chromebook.
- On the ‘CPU’ tab, you can see the ‘CPU usage’ column, which displays the percentage of CPU resources being utilized by each process.
- You can also sort the processes by clicking on the ‘CPU usage’ column header to identify any CPU-intensive tasks.
Using the built-in task manager not only allows you to monitor the overall CPU usage but also enables you to pinpoint any specific processes that might be causing high CPU utilization. By identifying and managing these resource-hungry processes, you can optimize your Chromebook’s performance.
Now that we’ve explored the second method of checking the CPU using the built-in task manager, let’s move on to the third method, which involves utilizing the Developer Shell.
Method 3: Utilizing Developer Shell
If you’re a power user or developer looking for more advanced CPU monitoring options on your Chromebook, utilizing the Developer Shell (also known as Crosh) provides a wealth of information and functionality. The Developer Shell is a command-line interface that allows you to access various system diagnostics and features. Follow these steps to check your CPU using the Developer Shell:
- Press the ‘Ctrl’ + ‘Alt’ + ‘T’ keys simultaneously to open the crosh shell.
- Type ‘
top‘ command and press ‘Enter’ to view the real-time CPU usage of running processes, sorted by their CPU consumption. - Alternatively, you can use the ‘
vmstat‘ command to get a snapshot of your Chromebook’s CPU usage, memory, and other system statistics. - You can press ‘Ctrl’ + ‘C’ to exit the command or ‘Ctrl’ + ‘D’ to close the crosh shell.
By utilizing the Developer Shell, you have access to more detailed and real-time CPU information, allowing you to monitor your Chromebook’s performance and troubleshoot any potential issues. The Developer Shell is particularly useful for developers who need to analyze CPU usage while running resource-intensive applications or conducting performance testing.
Now that we’ve explored the three methods of checking the CPU on your Chromebook, you have a variety of options to choose from depending on your needs and technical expertise. Whether you prefer the simplicity of the Chrome OS settings, the dynamic view of the built-in task manager, or the advanced control of the Developer Shell, you can effectively monitor your CPU and optimize your Chromebook’s performance accordingly.
Conclusion
Checking the CPU on your Chromebook is essential for understanding its performance capabilities and monitoring its resource utilization. In this article, we explored three methods to check the CPU on your Chromebook: through the Chrome OS settings, using the built-in task manager, and utilizing the Developer Shell.
The Chrome OS settings provide a straightforward way to access detailed CPU information, including the model, architecture, and clock speed. This method is suitable for users who prefer a simple and quick overview of their CPU specifications.
The built-in task manager offers a real-time view of CPU usage, allowing you to identify resource-intensive processes that may be affecting your Chromebook’s performance. This method is particularly useful for monitoring and optimizing your device’s CPU usage.
For advanced users and developers, the Developer Shell offers a command-line interface to access in-depth CPU monitoring capabilities. By using commands such as ‘top’ or ‘vmstat’, you can obtain detailed real-time CPU usage information to troubleshoot performance issues and optimize resource allocation.
Whether you’re a casual user or a tech enthusiast, understanding and monitoring your Chromebook’s CPU is essential for maximizing its performance. By utilizing one or more of these methods, you can gain valuable insights into your CPU’s capabilities and ensure your Chromebook runs smoothly for all your computing needs.
So, go ahead and explore the different methods outlined in this article to check the CPU on your Chromebook. Whether it’s through the Chrome OS settings, the built-in task manager, or the Developer Shell, you’ll have the tools to effectively monitor and optimize your device’s CPU performance.