Introduction
Knowing the graphics card you have is crucial for various reasons. Whether you are a casual gamer, a video editor, or simply curious about your computer’s hardware, identifying your graphics card can provide valuable insights.
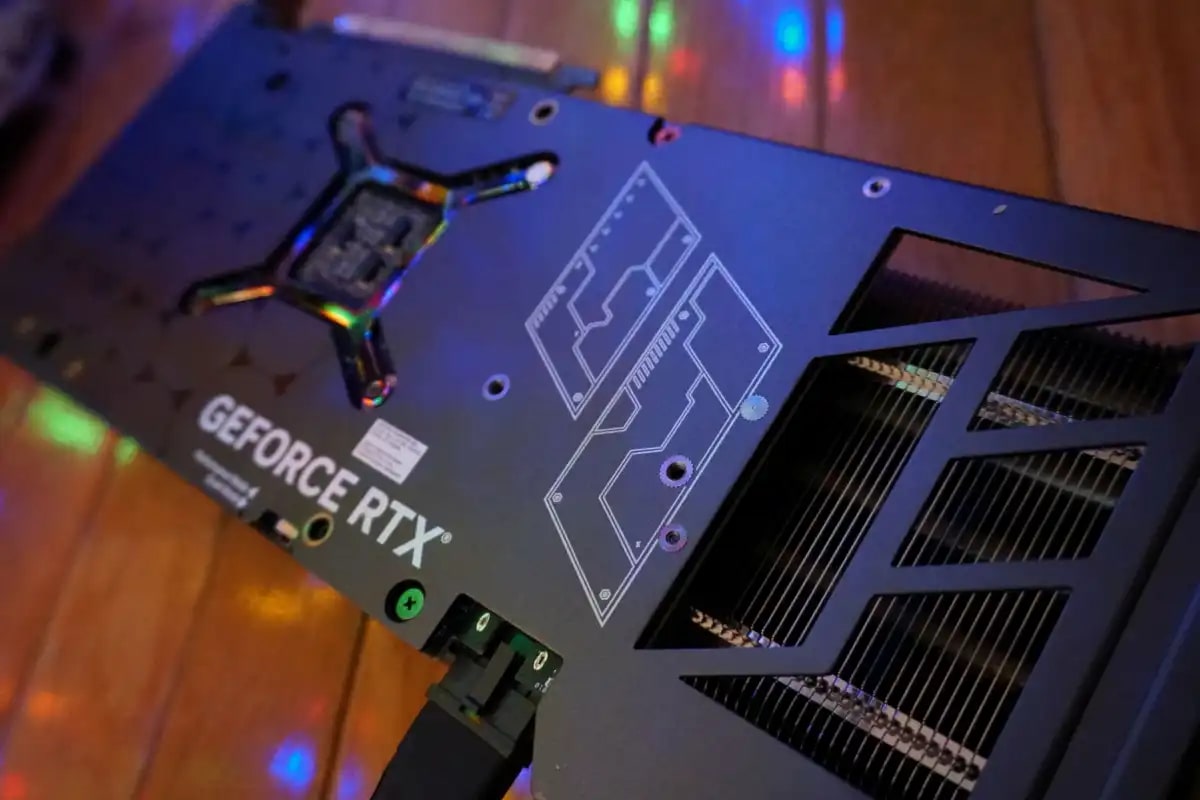
Your graphics card, also known as a GPU (Graphics Processing Unit), plays a vital role in rendering images, videos, and animations on your computer screen. It determines the quality of visual output, the performance of graphic-intensive tasks, and the overall capability of your system to handle demanding applications.
Identifying your graphics card is particularly important when troubleshooting graphics-related issues or when considering upgrades. Different games and software have specific requirements, and knowing your GPU information will help ensure compatibility and optimal performance.
In this article, we will explore various methods to help you easily determine the graphics card you have on different operating systems and devices. We will cover Windows, macOS, Linux, Chromebook, and even laptops where the graphics card may be integrated or discrete.
Whether you are a tech enthusiast or a novice, understanding your computer’s graphics card is a fundamental step towards exploring its capabilities and making informed decisions about its usage.
Why is it important to know the graphics card you have?
Understanding the graphics card you have is essential for several reasons:
- Performance: The graphics card significantly impacts the performance of graphic-intensive tasks such as gaming, video editing, 3D modeling, and rendering. By knowing your graphics card, you can optimize settings, ensure compatibility with demanding software, and make informed decisions regarding upgrades or system requirements.
- Compatibility: Different graphics cards have varying capabilities and compatibility with software applications and games. By identifying your graphics card, you can check compatibility requirements and determine whether your system meets the necessary specifications, avoiding potential compatibility issues and ensuring a smooth user experience.
- Troubleshooting: If you encounter graphics-related issues like screen flickering, poor performance, or graphical glitches, knowing your graphics card is crucial for troubleshooting purposes. It allows you to search for specific solutions, software updates, or driver fixes tailored to your particular GPU model.
- Upgrades: Whether you’re a gamer aiming for a more immersive experience or a professional looking to improve performance, knowing your current graphics card is vital when considering an upgrade. Understanding the capabilities and limitations of your current GPU helps you determine whether an upgrade is necessary and which models are compatible with your system.
- Support and warranty: When seeking technical support or warranty assistance, knowing the exact model of your graphics card can streamline the process. It allows support technicians to provide accurate guidance and troubleshoot issues more effectively.
By familiarizing yourself with your graphics card, you gain valuable insights into your computer’s capabilities, ensuring optimal performance, compatibility, and a seamless user experience for various applications.
Checking the graphics card on Windows
On Windows operating systems, there are several simple methods to check the graphics card you have:
- Device Manager: Press the Windows key + X, and from the menu, select Device Manager. In the Device Manager window, expand the “Display adapters” category to see your graphics card listed. It will display the manufacturer and model of your GPU.
- System Information: Press the Windows key + R to open the Run dialog box. Type “msinfo32” and hit Enter. In the System Information window, expand the “Components” category, then select “Display”. Here, you will find detailed information about your graphics card, including the manufacturer, model, driver version, and more.
- DirectX Diagnostic Tool: Open the Run dialog box by pressing the Windows key + R. Type “dxdiag” and hit Enter. The DirectX Diagnostic Tool will open, and on the “Display” tab, you will find the name, manufacturer, and driver details of your graphics card.
- Third-party software: There are various third-party software tools available that can provide detailed information about your graphics card. Popular options include GPU-Z, Speccy, and CPU-Z. Simply download and install the software, and it will display comprehensive details about your GPU.
Using any of these methods, you can easily identify the graphics card you have on your Windows computer. The information obtained will assist you in troubleshooting, upgrading, or ensuring compatibility with software and games.
Checking the graphics card on macOS
Mac users can easily check the graphics card they have on their macOS-based systems through the following methods:
- About This Mac: Click on the Apple menu in the top-left corner of the screen and select “About This Mac”. In the Overview tab, click on “System Report”. In the System Information window, navigate to the “Graphics/Displays” section. Here, you will find details about your graphics card, including the manufacturer, model, VRAM, and driver version.
- System Profiler: Alternatively, you can access the System Profiler directly. Press and hold the Option key on your keyboard, then click on the Apple menu and select “System Information”. In the System Information window, go to Hardware > Graphics/Displays to view information about your graphics card.
- Command Line: For those comfortable with the command line, you can open the Terminal application and type “
system_profiler SPDisplaysDataType“. This command will display detailed information about the graphics card, including the model, vendor, VRAM, and more.
These methods provide Mac users with quick and easy ways to determine the graphics card they have installed on their macOS systems. Armed with this information, you can ensure compatibility with software, troubleshoot graphics-related issues, or make informed decisions about upgrading your graphics capabilities.
Checking the graphics card on Linux
Linux users have several straightforward methods to check the graphics card they have on their systems:
- lspci command: Open the Terminal and enter the command “
lspci -v“. This will display detailed information about various hardware components, including your graphics card. Look for the “VGA compatible controller” section, which will provide details such as the manufacturer, model, and driver information of your GPU. - lshw command: Another command-line option is to use the “
lshw” command. Open the Terminal and enter “sudo lshw -C display“. This will show detailed information about your graphics card, including the model, vendor, driver details, and more. - System Settings: Some Linux distributions, such as Ubuntu, have graphical tools to check hardware information. Go to the system settings or control center, navigate to the “Details” or “About” section, and look for the “Graphics” or “Graphics Card” tab. Here, you will find information about your graphics card.
- GPU-Z alternative: GPU-Z, a popular graphics card information tool for Windows, is also available as a Linux alternative. Download GPU-Z for Linux and install it. Launch the application, and it will display comprehensive details about your graphics card.
With these methods, Linux users can easily identify the graphics card they have installed on their systems. This information is useful for troubleshooting, driver updates, compatibility checks, and ensuring optimal performance with software and applications.
Checking the graphics card on Chromebook
Checking the graphics card on a Chromebook can be a bit different from other operating systems, but you can still find this information using the following methods:
- Chrome OS Settings: Click on the system tray in the bottom-right corner of the screen, then click on the gear icon to open the Settings menu. Scroll down and click on “Advanced” to expand the options. Look for “System” and click on “About Chrome OS”. Under the “About Chrome OS” section, click on “Additional details” to access information about your system, including the graphics card.
- Crostini (Linux) terminal: If your Chromebook supports Linux apps via Crostini, you can open the Linux terminal and use commands like “
lspci” or “lshw” (similar to methods used in Linux systems) to get information about your graphics card. - Third-party apps: Some Android apps available on the Chrome Web Store can provide information about your hardware, including the graphics card. Look for apps like “Droid Info” or “Hardware Info” and install them on your Chromebook. Launch the app, and it will display details about your graphics card.
With these methods, Chromebook users can easily find information about their graphics card. This knowledge can come in handy when troubleshooting, checking compatibility, or seeking performance optimizations for apps and games on the Chrome OS platform.
Using third-party software to identify your graphics card
If you’re looking for a more detailed and comprehensive overview of your graphics card, using third-party software can be an excellent option. These tools provide in-depth information about your GPU and its performance. Some popular third-party software options include:
- GPU-Z: GPU-Z is a widely recognized tool for checking detailed information about your graphics card on Windows. It provides real-time monitoring of GPU clock speeds, memory usage, temperature, and fan speeds. Additionally, it displays essential details such as the GPU manufacturer, model, BIOS version, and driver information.
- Speccy: Speccy is a versatile system information tool developed by the same company that created CCleaner. It provides detailed hardware information, including your graphics card. Speccy displays the GPU name, temperature, driver version, and other useful details.
- CPU-Z: Although primarily designed for monitoring CPU information, CPU-Z also displays information about your graphics card. It shows the GPU model, GPU clock speed, memory size, and more. CPU-Z is available for Windows and some other operating systems.
- HWiNFO: HWiNFO is a powerful hardware information and monitoring tool that provides comprehensive details about your system, including the graphics card. It displays GPU model, clock speeds, memory usage, fan speeds, and other important information. HWiNFO supports Windows and other operating systems.
When using third-party software, it’s important to download these tools from reputable sources to ensure accuracy and avoid malware or unnecessary bloatware. These applications provide a wealth of information about your graphics card, enabling you to monitor its performance, troubleshoot issues, and make informed decisions when it comes to optimizing your system or considering upgrades.
Checking the graphics card on a laptop
Identifying the graphics card on a laptop may require a slightly different approach compared to desktop computers. Here are a few methods to check the graphics card on your laptop:
- System Information: On Windows laptops, you can access the System Information tool by pressing the Windows key + R, then typing “msinfo32” and hitting Enter. In the System Information window, expand the “Components” category and select “Display”. Here, you will find detailed information about your graphics card, including the manufacturer, model, driver version, and more.
- Device Manager: Another method for Windows laptops is to open the Device Manager. Press the Windows key + X, and from the menu, select Device Manager. Expand the “Display adapters” category to see your graphics card listed. It will display the manufacturer and model of your GPU.
- About This Mac/System Profiler: On macOS laptops, you can click on the Apple menu in the top-left corner of the screen and select “About This Mac”. In the Overview tab, click on “System Report” or “System Profiler” to access detailed hardware information. Navigate to the “Graphics/Displays” section to find details about your graphics card.
- Command Line: Alternatively, you can use the command line to check the graphics card on both Windows and macOS laptops. On Windows, open the Command Prompt and enter “wmic path win32_VideoController get name” to view your graphics card’s name. On macOS, open the Terminal and enter the command “system_profiler SPDisplaysDataType” to view detailed information about your graphics card.
It’s worth noting that some laptops may have integrated graphics (built into the CPU) rather than a dedicated graphics card. In such cases, the system may use the term “Integrated” or “Intel HD Graphics” instead of a specific model name.
By utilizing these methods, you can easily check the graphics card on your laptop. This information can be helpful for troubleshooting graphics-related issues, ensuring compatibility with software, and making decisions about upgrades or performance optimizations.
Conclusion
Knowing the graphics card you have is essential for various reasons, whether you’re a gamer, a content creator, or simply curious about your computer’s hardware. It allows you to optimize performance, ensure compatibility with software applications and games, troubleshoot graphics-related issues, and make informed decisions about upgrades.
The process of checking the graphics card varies depending on your operating system, but there are several methods available on Windows, macOS, Linux, Chromebook, and even laptops. On Windows, you can use Device Manager, System Information, or third-party software like GPU-Z. macOS users can utilize About This Mac, System Profiler, or command-line tools. Linux users have options like lspci and lshw commands, while Chromebook users can check via Chrome OS settings or third-party Android apps.
In addition to the built-in tools provided by the operating systems, third-party software can offer more detailed and comprehensive information about your graphics card. GPU-Z, Speccy, CPU-Z, and HWiNFO are popular choices for Windows-based systems.
Checking the graphics card on a laptop may involve using System Information, Device Manager, or command-line tools, depending on the operating system. It is important to note that some laptops may have integrated graphics rather than a dedicated graphics card.
By familiarizing yourself with your graphics card, you can optimize performance, troubleshoot issues, ensure compatibility, and make informed decisions about upgrades or software requirements. Understanding your computer’s capabilities and limitations allows you to elevate your overall computing experience, whether you’re gaming, editing videos, or simply enjoying multimedia content.
Knowing your graphics card is the first step towards harnessing its power and unlocking its full potential.