Introduction
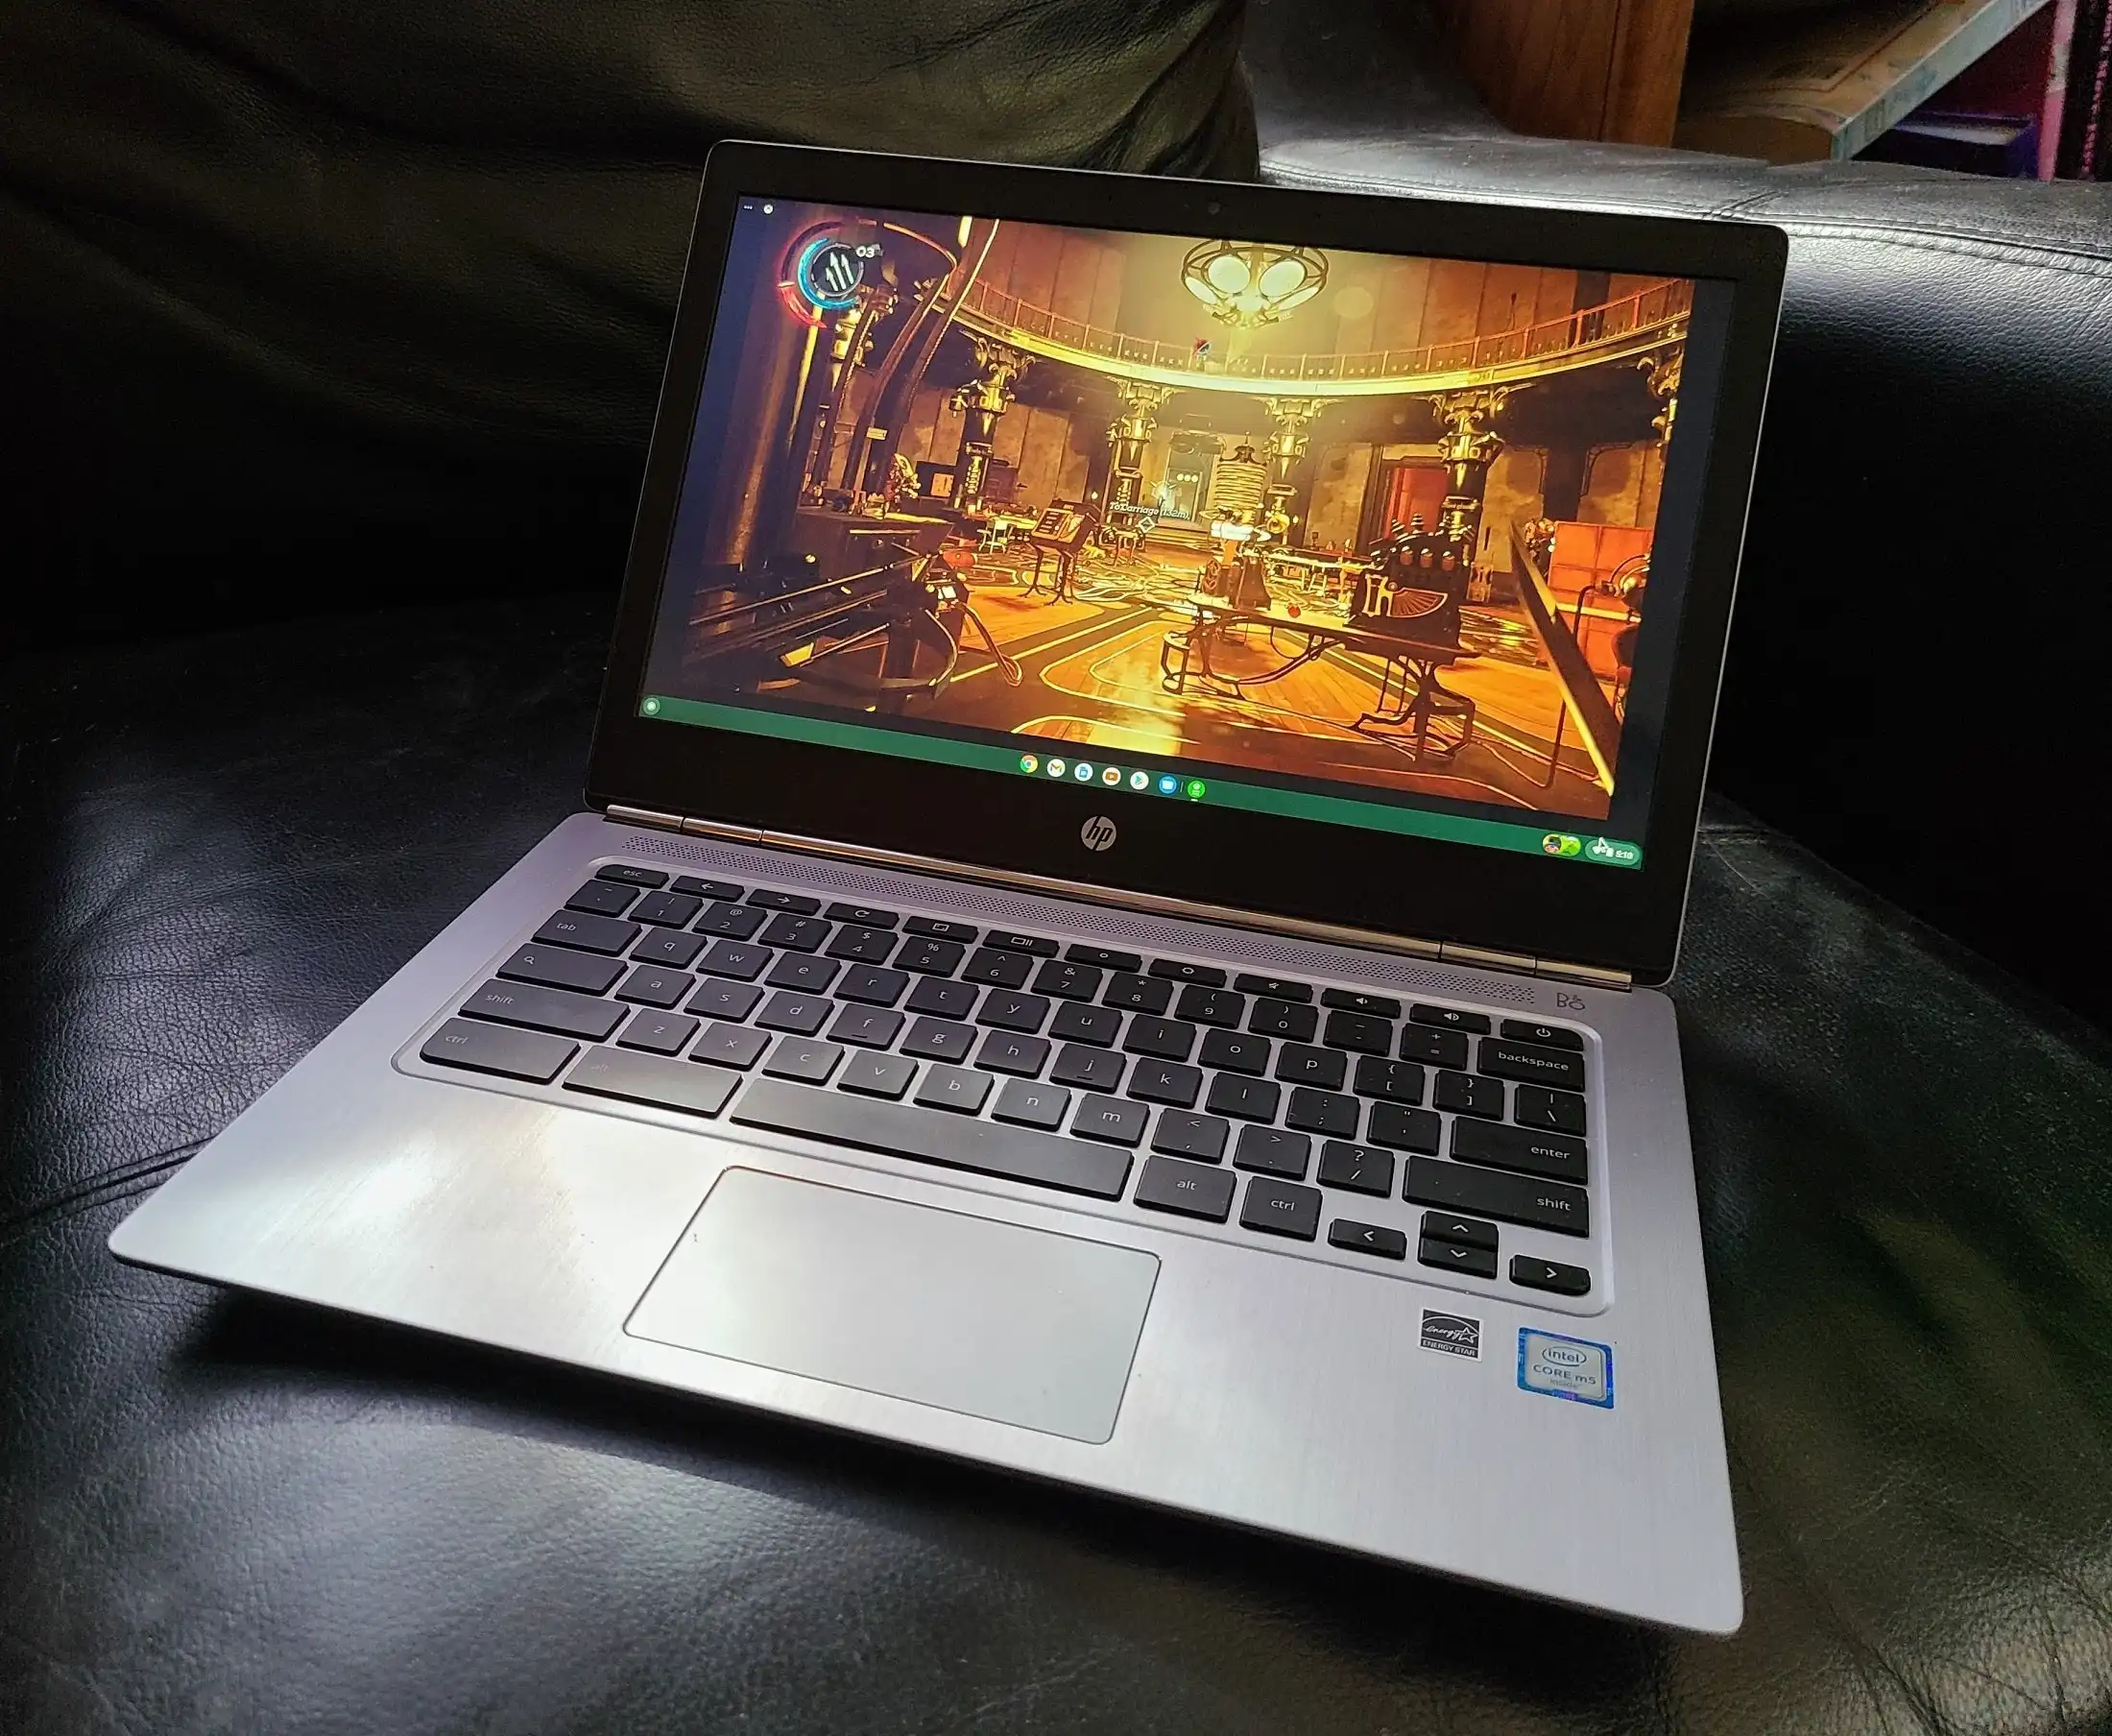
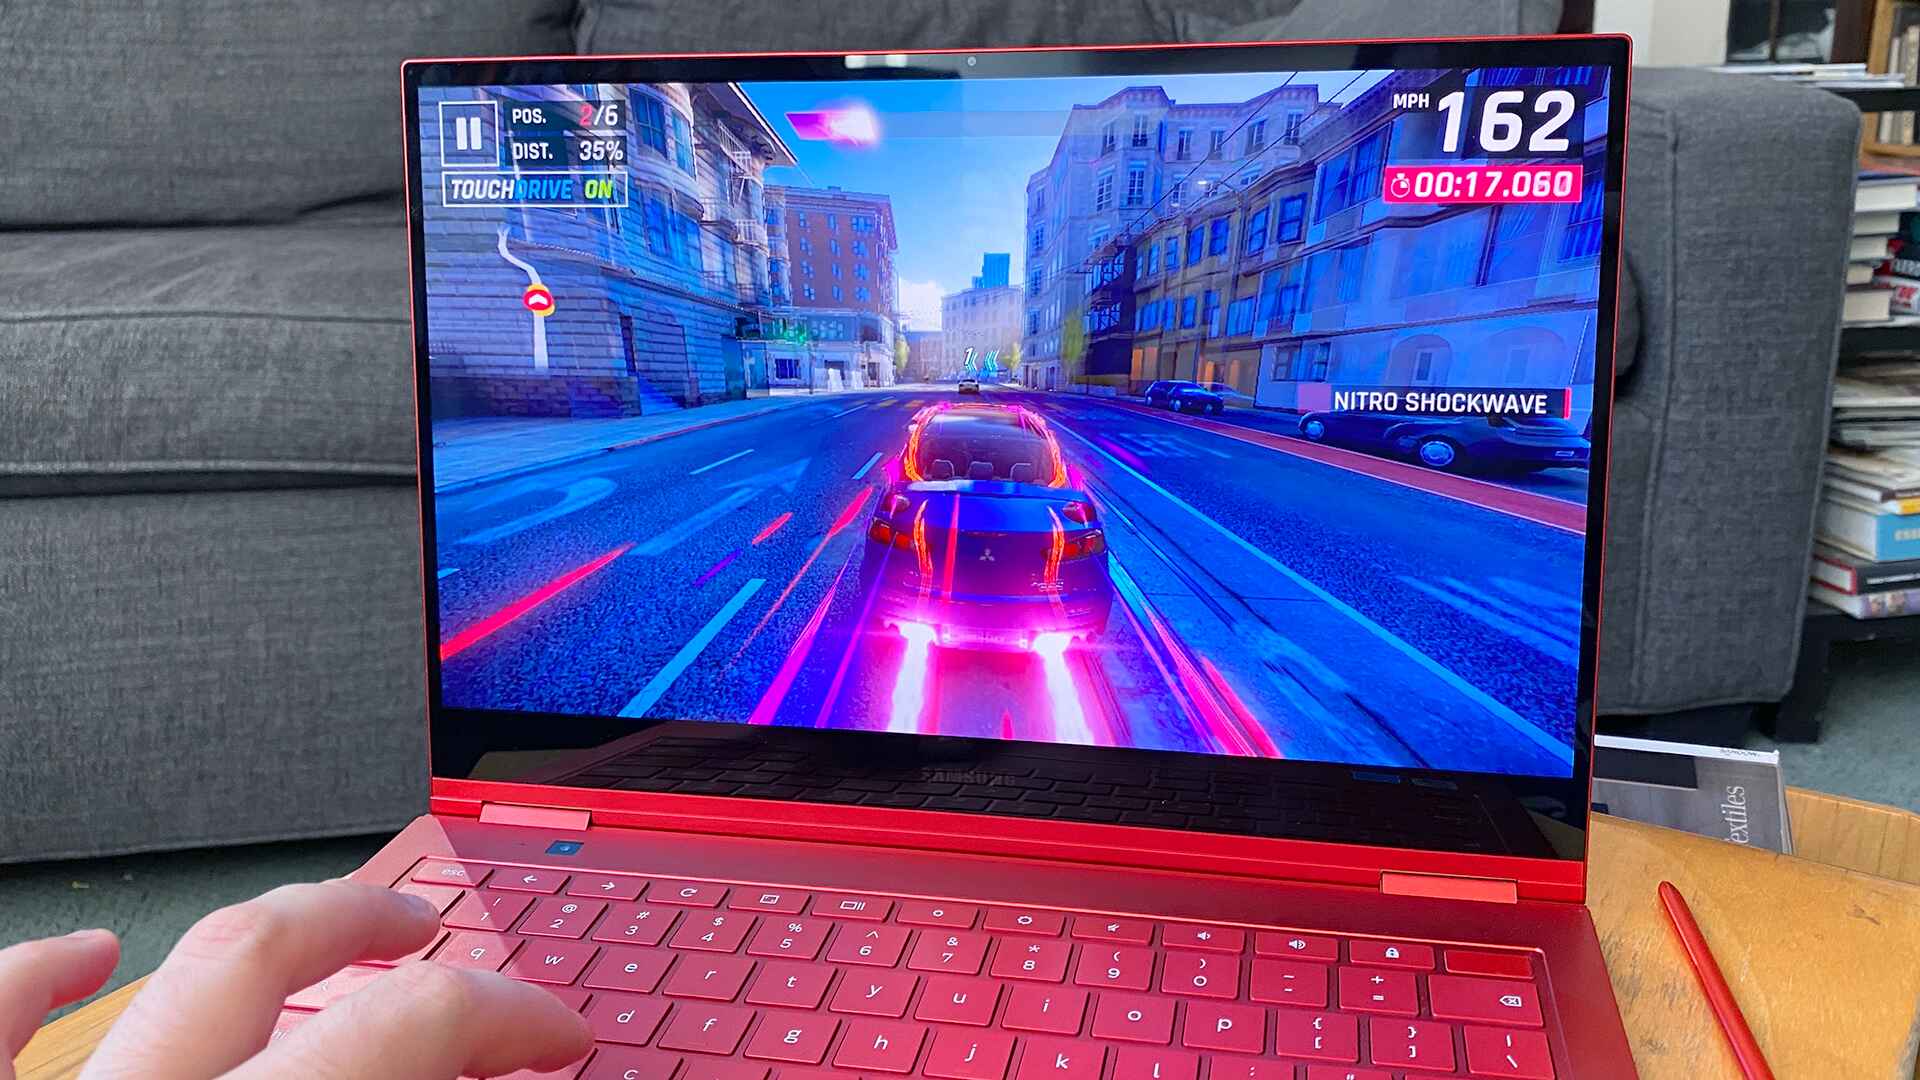
With the increasing popularity of gaming, many people are looking for ways to turn their devices into gaming machines. If you own a Chromebook and want to experience gaming on it, you’re in luck! In this article, we will guide you through the steps to transform your Chromebook into a gaming laptop.
Chromebooks have gained a reputation for being lightweight, affordable, and excellent for browsing the internet. However, they were not originally designed for gaming. Nevertheless, with the advancement of technology and the availability of Linux compatibility on Chrome OS, it is now possible to enjoy gaming on your Chromebook.
By following a series of steps, you can utilize the Linux (Beta) mode on your Chromebook and install popular gaming platform Steam. It will grant you access to a vast library of Linux-compatible games, effectively turning your Chromebook into a gaming powerhouse. Whether you’re a casual gamer or enjoy more intense gameplay, this guide will help you take full advantage of your Chromebook’s gaming capabilities.
Not only will this guide show you how to install the necessary components, but it will also cover customizing game settings, connecting external devices, and optimizing performance. By the end of this article, you’ll have all the tools you need to transform your Chromebook into a gaming laptop, opening up a world of entertainment possibilities.
Now, without further ado, let’s dive into the step-by-step process of turning your Chromebook into a gaming laptop.
Step 1: Check Compatibility
Before getting started with the process of transforming your Chromebook into a gaming laptop, it’s essential to check its compatibility. While Chromebooks have become more versatile over the years, not all models support Linux (Beta) or have the necessary hardware to handle gaming requirements.
To ensure your Chromebook is compatible, follow these steps:
- Check the model and specifications: Look up your Chromebook’s model and review its specifications. Check for compatibility with Linux (Beta) and ensure it meets the minimum requirements for gaming.
- Update Chrome OS: Make sure your Chromebook is running the latest version of Chrome OS. Go to Settings > About Chrome OS > Check for updates, and install any available updates.
- Check Linux (Beta) availability: Open the Chrome OS Settings, go to the “Linux (Beta)” section, and check if the feature is available. If it’s not available, your Chromebook may not support Linux (Beta) mode.
- Verify hardware requirements: Some Chromebooks may have limitations regarding storage, RAM, or processor capabilities. Ensure your Chromebook meets the minimum requirements to run Linux and games smoothly.
If your Chromebook meets the compatibility criteria, you’re ready to proceed with the next steps. If not, unfortunately, your Chromebook may not be suitable for gaming. Nevertheless, you can still enjoy browser-based games or explore alternative gaming options available on the Chrome Web Store.
Once you’re confident in your Chromebook’s compatibility, move on to the exciting part: enabling Linux (Beta) mode and installing Steam, as we’ll explore in the next steps.
Step 2: Enable Linux (Beta) mode
To turn your Chromebook into a gaming laptop, you need to enable Linux (Beta) mode. This feature allows you to run Linux applications and games on your Chromebook. Follow these steps to enable Linux (Beta) mode:
- Open Chrome OS Settings: Click on the time icon in the bottom-right corner of the screen, then select the gear-shaped settings icon to open the Chrome OS Settings.
- Select “Linux (Beta)”:[/] In the Settings menu, scroll down and click on the “Linux (Beta)” section.
- Enable Linux (Beta) mode:[/] Toggle the switch to enable Linux (Beta) mode. This will prompt a message explaining what Linux (Beta) entails.
- Click “Next”:[/] Click on the “Next” button to proceed with the Linux (Beta) setup process.
- Choose “Install”:[/] Select the “Install” button to initiate the installation process. This will download the necessary components for Linux support on your Chromebook.
- Wait for the installation to complete:[/] The installation process may take several minutes. Once it is finished, you’ll see the option to set up your Linux username and password.
- Create a Linux username and password:[/] Follow the on-screen instructions to create a username and password for your Linux environment. This will be separate from your Chromebook’s login credentials.
- Access the Linux terminal:[/] After setting up the username and password, you can access the Linux terminal by opening the app drawer and searching for “Terminal.”
Enabling Linux (Beta) mode on your Chromebook unlocks a whole new world of possibilities. With Linux compatibility, you gain access to a broader range of applications, including the gaming platform Steam. Once the installation is complete, you’re ready to move on to the next step of installing Steam and exploring a library of Linux-compatible games.
Now that Linux (Beta) mode is enabled and ready to go, let’s proceed to the next step: installing Steam on your Chromebook.
Step 3: Install Steam
Now that you’ve enabled Linux (Beta) mode on your Chromebook, it’s time to install Steam, the popular gaming platform, to access a vast library of games. Follow these steps to install Steam:
- Open the Linux Terminal: Open the app drawer on your Chromebook, search for “Terminal,” and click on the Terminal app to open it.
- Update the package list: In the Linux Terminal, type the following command and press Enter:
sudo apt-get update. This will update the package list for Linux. - Install Steam: Once the package list is updated, type the command
sudo apt-get install steamand press Enter. The installation process will begin, and you’ll be prompted to confirm the installation. - Confirm the installation: During the installation process, you’ll be asked if you want to continue. Type “Y” and press Enter to confirm and proceed with the installation.
- Wait for the installation to complete: The installation process may take a few minutes, depending on your internet speed. Once it’s finished, Steam will be installed on your Chromebook.
- Launch Steam: To launch Steam, open the app drawer again, search for “Steam,” and click on the Steam app to open it. This will launch the Steam client on your Chromebook.
- Sign in to your Steam account: If you already have a Steam account, sign in with your credentials. If you don’t have an account, click on “Create New Account” to create one.
- Explore the game library: Once you’re signed in, you can browse through the extensive library of games available on Steam. You can search by genre, top sellers, new releases, and more. Find the games you want to play and add them to your library.
Congratulations! You have successfully installed Steam on your Chromebook through Linux (Beta) mode. Now you can enjoy a wide selection of games and take your gaming experience to the next level.
In the next step, we’ll discuss how to install Linux-compatible games on your Chromebook using Steam.
Step 4: Install Linux-compatible games
Now that you have Steam installed on your Chromebook, it’s time to explore the world of Linux-compatible games. Follow these steps to install and play your favorite games:
- Open Steam: Launch the Steam app on your Chromebook by clicking on its icon in the app drawer.
- Sign in to your Steam account: If you haven’t already signed in, enter your login credentials to access your Steam library.
- Browse the game library: Explore the vast collection of Linux-compatible games available on Steam. You can use the search bar, browse through recommended games, or filter by genre, price, or user reviews.
- Select a game: Once you find a game you want to play, click on its store page to view more details and system requirements.
- Purchase or install a game: Depending on the game, you may have the option to purchase or install it for free. If it’s a paid game, follow the prompts to complete the purchase. If it’s a free game, click on the “Install” button to start the installation process.
- Wait for the installation to complete: The installation time will vary depending on the game’s size and your internet speed. Once it’s finished, the game will be added to your Steam library.
- Launch and play the game: To play a game, go to your Steam library, find the installed game, and click on the “Play” button. The game will launch, and you can start playing.
Remember to check the system requirements of each game before installing to ensure your Chromebook meets the necessary specifications. While Chromebooks are generally not as powerful as traditional gaming laptops, many Linux-compatible games have modest requirements that can be comfortably handled by Chromebook hardware.
Now that you have Steam and some Linux-compatible games installed, you’re ready to dive into the world of gaming on your Chromebook. In the next step, we’ll discuss how to configure game settings and controls for a more personalized gaming experience.
Step 5: Configure game settings and controls
After installing a Linux-compatible game on your Chromebook through Steam, it’s time to configure the game settings and controls for optimal gameplay. Follow these steps to personalize your gaming experience:
- Launch the game: Open Steam and navigate to your library. Find the game you want to configure and click on the “Play” button to launch it.
- Access the game settings: Once the game is launched, look for a settings menu within the game. This is usually located in the game’s main menu or accessible via a settings icon. Click on it to access the game settings.
- Adjust graphics settings: In the game settings, you can modify various graphics options such as resolution, texture quality, shadows, and anti-aliasing. Adjust these settings based on your Chromebook’s capabilities and your personal preference for a balance between performance and visual quality.
- Customize audio settings: Take a look at the audio settings to adjust volume levels, sound effects, and music. Tailor the audio settings to suit your preferences and create an immersive gaming experience.
- Configure controls: Depending on the game, you may have the option to customize the controls. This allows you to map keys or buttons to your liking, making it easier and more comfortable to play the game using your Chromebook’s keyboard or external gamepad.
- Experiment and test: Don’t be afraid to experiment with different settings and control configurations. Fine-tuning these settings can greatly enhance your gameplay experience and help you find the perfect balance between performance, visual quality, and comfort.
- Save your settings: Once you’re satisfied with your configurations, save your settings within the game. This ensures that your preferences are retained for future gaming sessions.
By customizing game settings and controls, you can optimize your gaming experience on your Chromebook. Remember that not all games have the same options available, so explore the settings provided by each game individually.
Now that you have configured the game settings and controls, you’re ready to connect external devices and further enhance your gaming setup. In the next step, we’ll discuss how to connect peripherals such as a mouse, keyboard, or gamepad to your Chromebook.
Step 6: Connect external devices
To enhance your gaming experience on your Chromebook, you can connect external devices such as a mouse, keyboard, or gamepad. Follow these steps to connect your preferred peripherals:
- Wired connection: If you have a wired peripheral, simply connect it to your Chromebook’s available USB ports. Most USB peripherals should be recognized automatically and ready for use.
- Wireless connection: For wireless devices, ensure they are compatible with Chrome OS. Follow the manufacturer’s instructions to pair and connect the device to your Chromebook via Bluetooth or USB wireless receivers, if applicable.
- Configure input settings: Once your peripheral is connected, open the Chrome OS Settings and go to the “Devices” section. From there, you can customize input settings, adjust sensitivity, remap buttons, and more to suit your gaming preferences.
- Test your peripheral: Launch a game and test your connected peripheral to ensure that it functions properly. Verify that the inputs are being recognized and respond accordingly within the game.
- Explore additional options: Depending on the type of peripheral you’re using, you may have additional options to enhance your gaming experience. For example, gaming mice may have adjustable DPI settings, while mechanical keyboards may offer customizable lighting effects.
Connecting external devices to your Chromebook allows for more precise control and a comfortable gaming experience. While the Chromebook’s built-in keyboard and trackpad can suffice, using dedicated gaming peripherals can significantly enhance your gameplay.
Once you have connected and configured your desired peripherals, you can enjoy a more immersive gaming session on your Chromebook. In the final step, we’ll discuss how to optimize performance to ensure smooth gameplay.
Step 7: Optimize performance
To ensure a smooth and enjoyable gaming experience on your Chromebook, it’s important to optimize its performance. By following these steps, you can enhance performance and minimize any potential issues:
- Close unnecessary applications: Before launching a game, close any unnecessary applications running in the background. This frees up system resources and ensures that your Chromebook can allocate maximum power to the game.
- Update Chrome OS and drivers: Keeping your Chromebook’s operating system and drivers up to date is crucial for optimum performance. Check for system updates regularly and install them to ensure you have the latest improvements and bug fixes.
- Manage storage space: Chromebooks often have limited storage capacity. Regularly delete unnecessary files, such as old downloads or temporary files, to free up space and prevent any performance degradation.
- Monitor CPU usage: Use the Chrome OS task manager to monitor CPU usage. If you notice any application using excessive resources, close it to avoid unnecessary strain on your Chromebook’s performance.
- Adjust power settings: Chromebooks usually have power-saving features that limit performance to conserve battery life. If you’re playing games while connected to a power source, adjust the power settings to prioritize performance over battery saving.
- Optimize game settings: Within the game settings themselves, experiment with different graphics and performance options. Lowering graphics settings, disabling unnecessary effects, and reducing the resolution can help improve performance on less powerful Chromebook models.
- Keep your Chromebook cool: Overheating can negatively impact performance. Ensure that your Chromebook has proper ventilation and consider using a cooling pad or external fan to keep temperatures down during intense gaming sessions.
- Restart your Chromebook: Restarting your Chromebook periodically can help clear system caches and refresh the performance. This can be especially beneficial after lengthy gaming sessions or when you notice a decline in performance.
Optimizing performance on your Chromebook ensures that you can enjoy your gaming experience without any major interruptions or performance issues. By following these steps, you’ll be able to make the most out of your Chromebook’s capabilities.
Congratulations! You have successfully transformed your Chromebook into a gaming laptop and optimized its performance for an improved gaming experience. Now you can dive into the world of gaming right from your Chromebook. Enjoy playing your favorite games!
Conclusion
Transforming your Chromebook into a gaming laptop is a fantastic way to enjoy gaming on a budget-friendly and portable device. By enabling Linux (Beta) mode, installing Steam, and configuring game settings and controls, you can unlock a wide range of Linux-compatible games and personalize your gaming experience. Connecting external devices and optimizing performance further enhances your gameplay, providing a smoother and more immersive experience.
While Chromebooks may not boast the same hardware capabilities as dedicated gaming laptops, they can still handle many Linux-compatible games with ease. With careful configuration and optimization, you can maximize your Chromebook’s capabilities and enjoy a satisfying gaming experience.
Remember to check your Chromebook’s compatibility and ensure it meets the necessary requirements before embarking on this gaming journey. Updating Chrome OS and drivers, managing storage space, and monitoring CPU usage are essential steps to maintain optimal performance. Additionally, adjusting power settings and prioritizing performance over battery saving when connected to a power source can help elevate gaming performance.
As technology continues to advance, Chromebooks are becoming more versatile and capable of catering to various user needs, including gaming. So, don’t be afraid to explore and experiment with different games, settings, and accessories.
Now that you have the knowledge and steps to turn your Chromebook into a gaming laptop, it’s time to start gaming and experience the world of entertainment from the comfort of your Chromebook. So grab your Chromebook, fire up Steam, and embark on countless gaming adventures!


