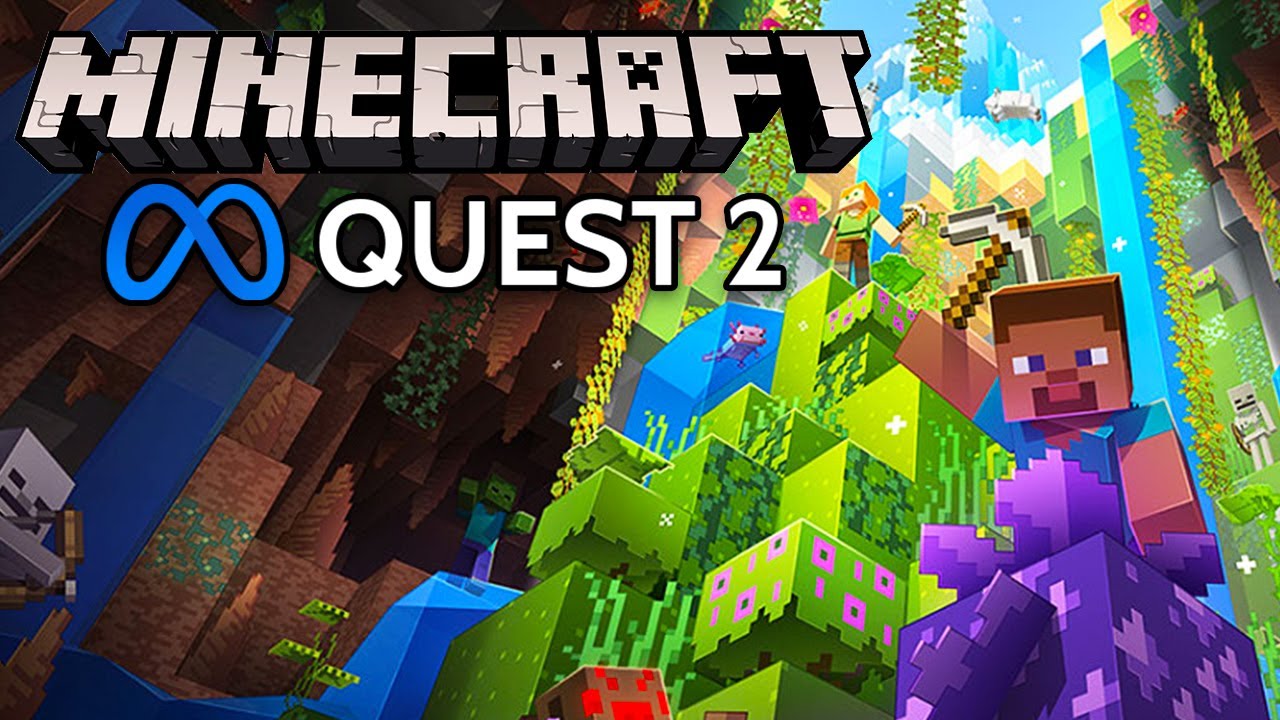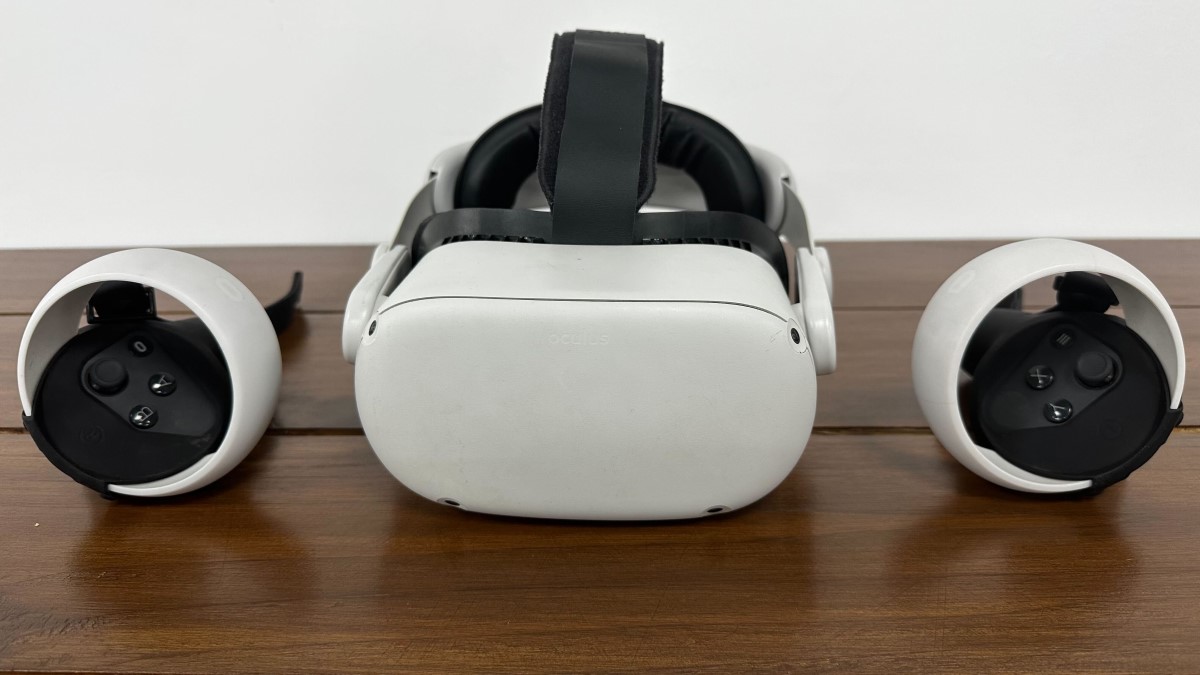
How To Get Minecraft On Oculus Quest 2 Without PC
If you’re an avid gamer and own an Oculus Quest 2, you may be wondering if it’s possible to play Minecraft on your VR headset without the need for a PC. Well, we have great news for you! In this blog post, we will guide you through the steps to get Minecraft on your Oculus Quest 2 without the need of a PC.
Key Takeaways:
- Playing Minecraft on Oculus Quest 2 is possible without a PC.
- You can sideload the Minecraft VR app using SideQuest.
Before we dive into the process, it’s important to mention that installing apps from third-party sources comes with certain risks. Be sure to follow the instructions carefully and only download software from trusted sources. Now, without further ado, let’s get started on how to get Minecraft on Oculus Quest 2 without a PC.
Step 1: Enable Developer Mode on Oculus Quest 2
To begin, you’ll need to enable Developer Mode on your Oculus Quest 2. This allows you to install software from sources other than the Oculus Store. Don’t worry; it’s a straightforward process:
- Open the Oculus app on your smartphone.
- Navigate to the “Settings” tab.
- Click on your Oculus Quest 2 device.
- Select “More Settings.”
- Toggle the “Developer Mode” switch to enable it.
Step 2: Install SideQuest on your PC
SideQuest is a platform that enables you to easily install and manage third-party applications on your Oculus Quest 2. Follow these steps to install SideQuest on your PC:
- Visit the SideQuest website at https://sidequestvr.com/.
- Download and install the SideQuest application for your operating system.
Step 3: Connect Oculus Quest 2 to your PC
Now, you’ll need to connect your Oculus Quest 2 to your PC using a USB-C cable:
- Put on your Oculus Quest 2 headset and open the “Settings” menu.
- Navigate to the “Device” tab and select “Developer” from the left-hand side.
- Toggle the “Developer Mode” switch to enable it.
- Connect your Oculus Quest 2 to your PC using a USB-C cable.
Step 4: Install Minecraft VR using SideQuest
With everything set up, it’s time to install Minecraft VR on your Oculus Quest 2:
- Launch the SideQuest application on your PC.
- Make sure your Oculus Quest 2 is connected to your PC.
- Search for “Minecraft VR” using the SideQuest search bar.
- Click on the “Install” button next to the Minecraft VR app.
- Wait for the installation process to complete.
Once the installation is finished, you can launch Minecraft VR directly from your Oculus Quest 2. Enjoy the immersive experience of Minecraft in virtual reality without needing a PC!
Remember, while this process doesn’t require a PC, it does involve sideloading third-party software. Be cautious and ensure you’re downloading apps from trusted sources to keep your Oculus Quest 2 secure. Now, go ahead, and embark on your Minecraft adventures in the world of virtual reality!