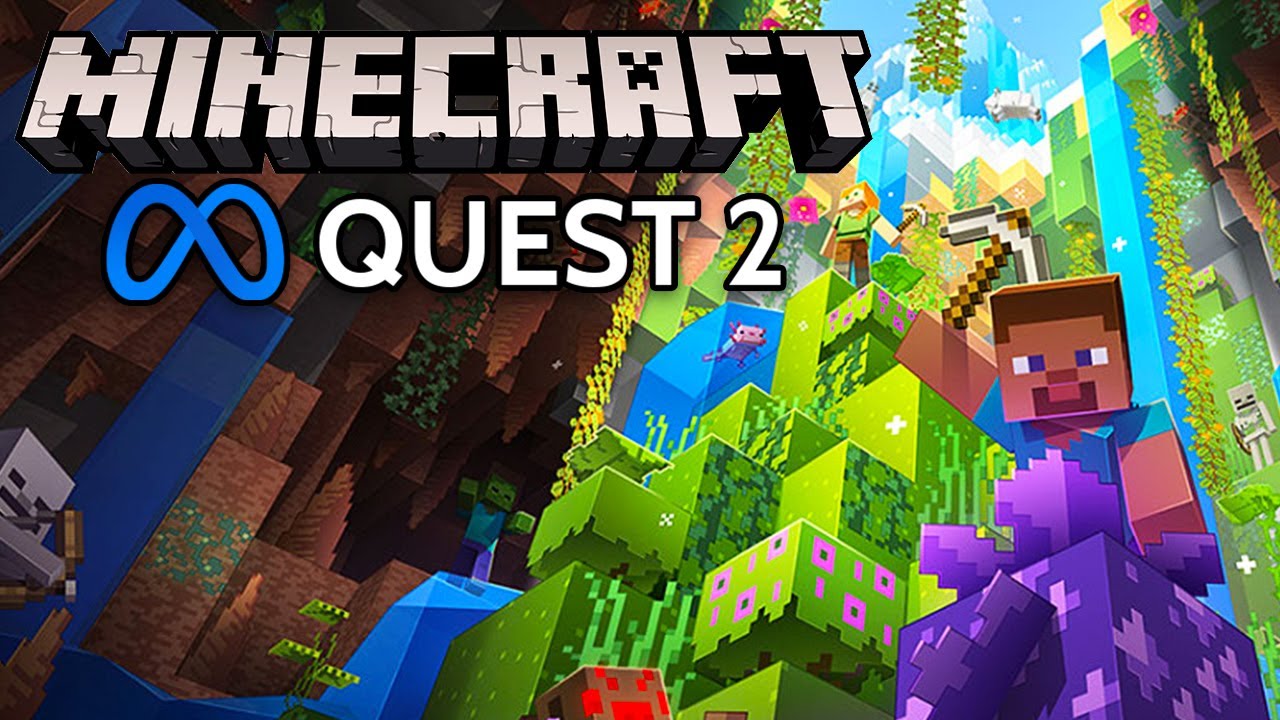
How to Play Minecraft VR on Oculus Quest 2: A Guide for Gamers
Are you a gaming enthusiast and an owner of the Oculus Quest 2? If so, then you’re in for a treat! In this blog post, we will guide you on how to play Minecraft VR on your Oculus Quest 2 headset. Minecraft is an incredibly popular game that allows players to unleash their creativity and build virtual worlds. And with the immersive experience offered by virtual reality (VR) on the Oculus Quest 2, the game reaches a whole new level of excitement and engagement.
Key Takeaways:
- Minecraft VR allows you to immerse yourself in a virtual world, offering a unique and engaging gaming experience.
- By following a few simple steps, you can easily set up and play Minecraft VR on your Oculus Quest 2 headset.
So, let’s dive right in and discover how you can step into the expansive world of Minecraft VR on your Oculus Quest 2!
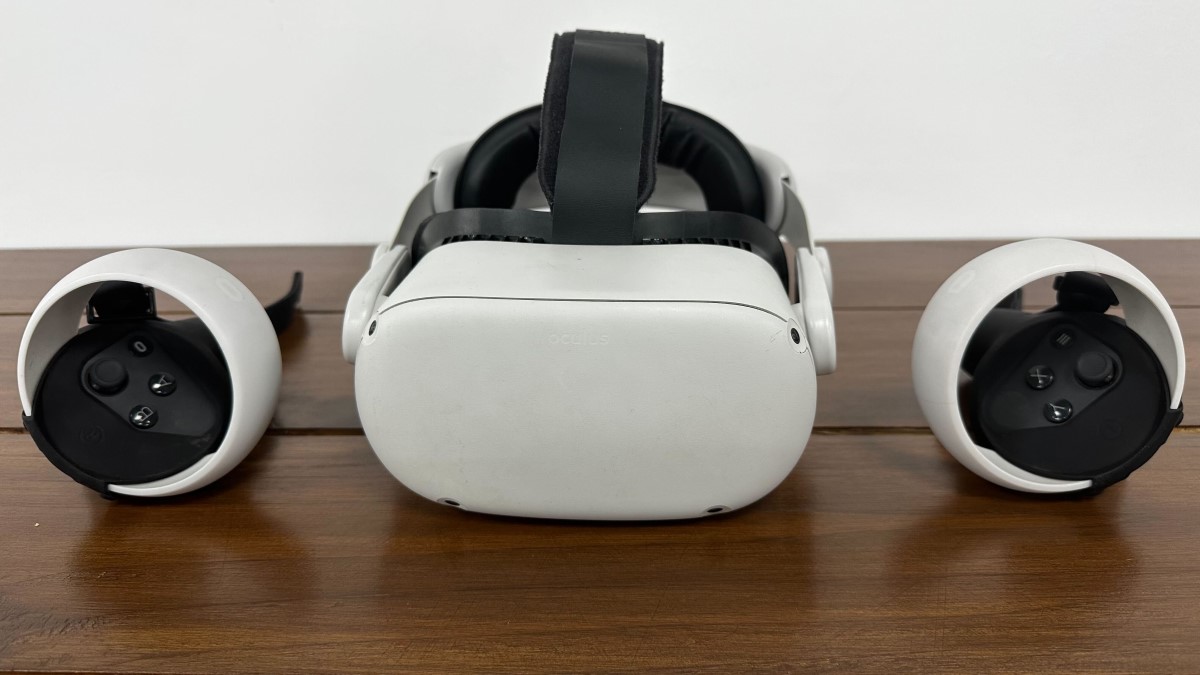
Step 1: Setting up your Oculus Quest 2
Before you can start playing Minecraft VR, you’ll need to ensure that your Oculus Quest 2 is properly set up:
- Turn on your Oculus Quest 2 and complete the initial setup process.
- Ensure your headset is connected to a stable Wi-Fi network, as a strong internet connection is crucial for a seamless gaming experience.
- Make sure your Oculus Quest 2 firmware is up to date by checking for and installing any available updates.
Step 2: Purchasing and Installing Minecraft VR
Once your Oculus Quest 2 is ready, you’ll need to purchase and install Minecraft VR:
- Open the Oculus Store on your Quest 2 headset.
- Search for “Minecraft” in the store and select the Minecraft VR version.
- Click on the “Buy” button and complete the purchase process.
- Wait for the download and installation to finish.
Step 3: Launching Minecraft VR
After installing Minecraft VR, it’s time to launch the game and venture into the virtual world:
- Put on your Oculus Quest 2 headset and ensure it is properly adjusted for comfort.
- From the Quest home menu, navigate to your library of installed games and select Minecraft VR.
- Click on the game to launch it.
Step 4: Exploring Minecraft VR Controls
Getting familiar with the controls in Minecraft VR is essential to make the most out of your gaming experience:
- Movement: Use the thumbsticks on your Oculus Touch controllers to move forward, backward, left, and right in the virtual world.
- Interaction: Reach out with your virtual hands to interact with objects within the game, such as mining blocks or crafting tools.
- Menu: Access the game’s menu by pressing the appropriate button on your Oculus Touch controllers.
Step 5: Crafting, Building, and Exploring in Minecraft VR
Now that you’re all set up, it’s time to unleash your creativity and embark on thrilling adventures in Minecraft VR:
- Crafting: Collect resources and use them to craft tools, weapons, and structures to survive and thrive in the game.
- Building: Let your imagination run wild and construct impressive structures, from humble houses to towering castles.
- Exploring: Venture into the vast Minecraft world, filled with unique biomes, hidden treasures, and dangerous creatures.
With the Oculus Quest 2 and Minecraft VR, the possibilities are endless. So, put on your headset, grab your Oculus Touch controllers, and get ready to embark on an incredible journey in the immersive blocky universe of Minecraft!
Have you tried Minecraft VR on the Oculus Quest 2? We’d love to hear about your experiences and creations in the comments below!