Introduction
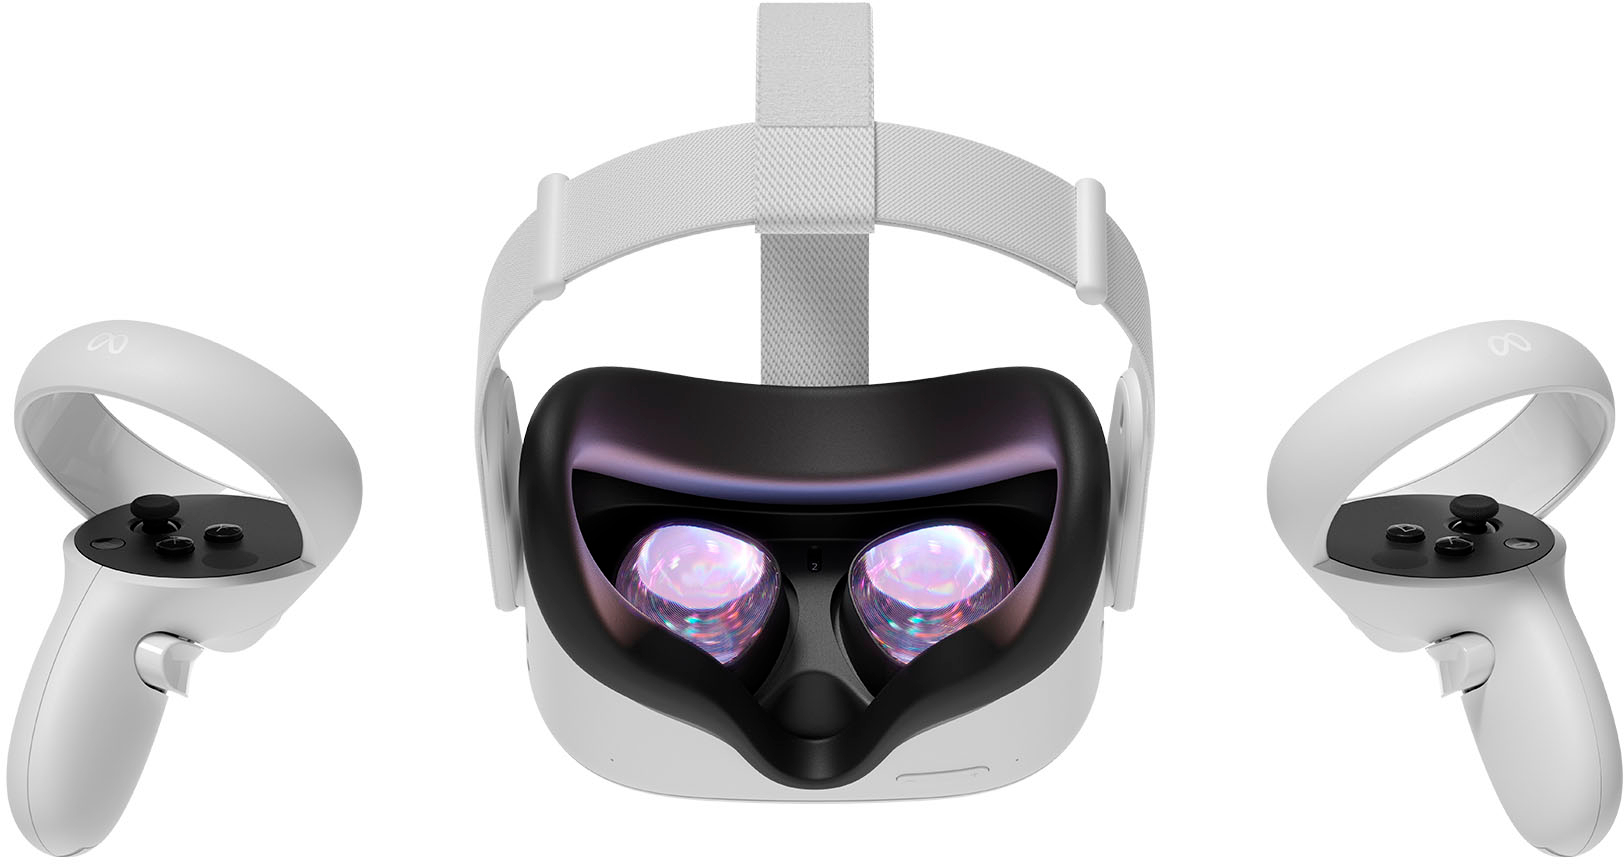
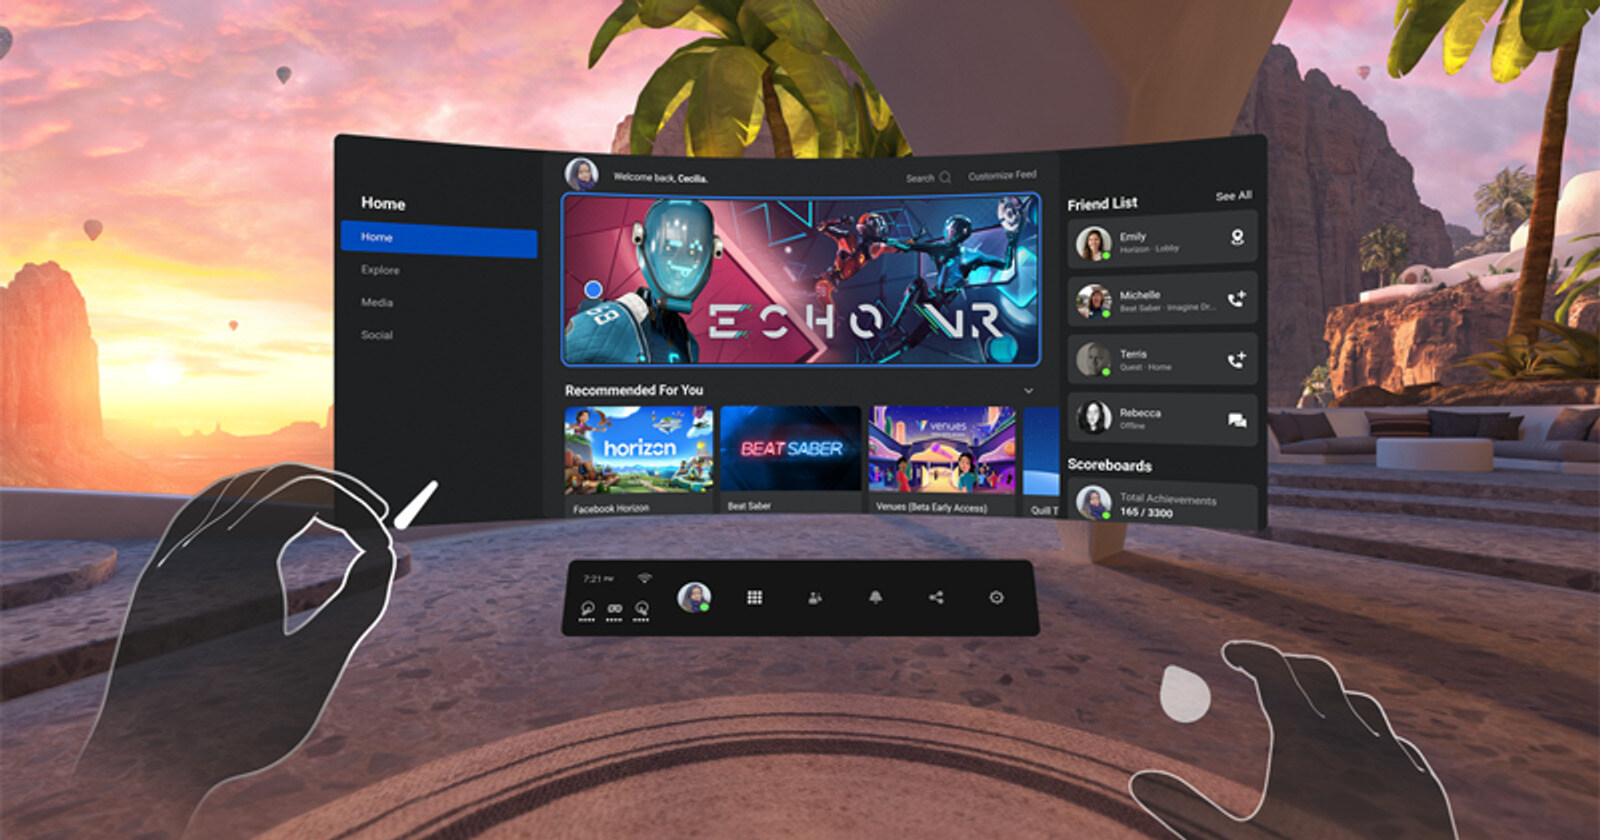
Welcome to the world of virtual reality with Oculus Quest! With its cutting-edge technology and immersive experiences, the Oculus Quest has revolutionized the way we interact with digital content. Whether you are exploring virtual environments, playing thrilling games, or engaging in interactive experiences, the Oculus Quest offers endless possibilities.
One exciting feature that users often want to explore is the ability to download and view images directly on their Oculus Quest headset. Whether it’s breathtaking landscapes, stunning artwork, or memorable photos, having the ability to download and view images on your Oculus Quest can enhance your virtual reality experience.
In this article, we will guide you through the different methods of downloading images on your Oculus Quest. We will cover everything from understanding image formats to transferring images from PC or mobile devices to your headset. So, let’s dive in and unlock the world of image downloading on your Oculus Quest!
Before we delve into the methods, let’s take a moment to understand the different image formats that you may encounter when downloading images for your Oculus Quest.
…
Understanding Image Formats
When it comes to downloading and viewing images on your Oculus Quest, it’s important to understand the different image formats that are compatible with the headset. The Oculus Quest supports commonly used image formats, including JPEG and PNG.
JPEG (Joint Photographic Experts Group) is a widely used image format known for its compression capabilities. This format is suitable for photographs and images with complex color gradients. JPEG files are often smaller in size compared to other formats, making them ideal for downloading and viewing on the Oculus Quest.
PNG (Portable Network Graphics) is another popular image format supported by the Oculus Quest. Unlike JPEG, PNG files employ lossless compression, preserving the original image quality without sacrificing details. PNG is particularly well-suited for images with transparent backgrounds or graphics that require crisp edges.
When downloading images for your Oculus Quest, ensure that the images are saved in one of these compatible formats. If the image is in a different format, you may need to convert it using image editing software or online converters before transferring it to your headset.
It’s worth noting that while the Oculus Quest accepts various image formats, the resolution and image quality may affect your overall viewing experience. Higher resolution images will typically provide sharper and more detailed visuals in virtual reality. However, keep in mind that larger file sizes may take longer to load and may consume more storage space on your Oculus Quest.
Now that we have a basic understanding of image formats, let’s explore the different methods of downloading images on your Oculus Quest.
…
Downloading Images from the Web
Downloading images from the web and viewing them on your Oculus Quest is a straightforward process. Here’s how you can do it:
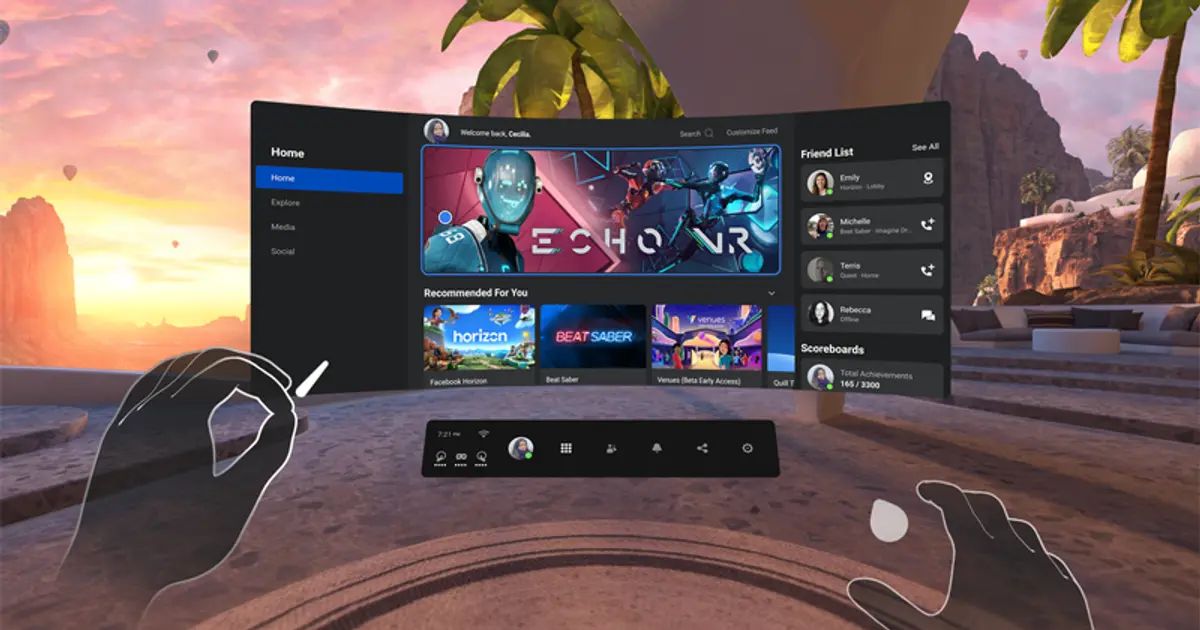
- Using the Oculus Browser: The Oculus Quest comes with a built-in web browser called the Oculus Browser. Open the Oculus Browser on your headset and navigate to a website that contains the image you want to download. Once you find the image, simply long-press on the image and select the “Download” option. The image will be saved to your Oculus Quest’s storage, and you can access it later from your Gallery or other image viewing apps.
- Using the Share functionality: Some websites may not allow direct downloads by long-pressing on the image. In such cases, you can use the Share functionality to save the image. Long-press on the image and select the “Share” option. From the sharing options, choose the “Save Image” or “Save to Oculus Quest” option. The image will be saved to your Oculus Quest’s storage for later viewing.
- Using a PC or laptop: If you prefer to download images from the web using your PC or laptop, you can then transfer them to your Oculus Quest. Simply find the image you want to download and save it to your computer. Connect your Oculus Quest to your PC using a USB cable. On your computer, navigate to the Oculus Quest’s storage, and copy the downloaded image into the “Pictures” or “Photos” folder. Disconnect the headset from the PC, and you will be able to view the downloaded image on your Oculus Quest.
Downloading images from the web opens up a world of possibilities when it comes to customizing your Oculus Quest experience. Whether it’s downloading wallpapers, artwork, or even reference images for your virtual reality creations, this method allows you to access an abundance of visuals right at your fingertips.
Now that you know how to download images from the web, let’s explore how you can download images from popular social media platforms on your Oculus Quest.
…
Downloading Images from Social Media Platforms
Social media platforms are a treasure trove of captivating images that you can enjoy on your Oculus Quest. While the process may vary slightly depending on the platform, here are some general methods to download images from popular social media platforms:
- Facebook: If you come across an image on Facebook that you’d like to save and view on your Oculus Quest, click on the image to open it in full screen. Right-click on the image and select the “Save Image As” option. Choose a location on your computer to save the image. Connect your Oculus Quest to your computer using a USB cable, and transfer the saved image to the headset’s storage. Once done, you can access the image from your Gallery or other image-viewing apps on your Oculus Quest.
- Instagram: Unfortunately, Instagram does not provide a direct option to download images. However, you can use third-party tools or websites that allow you to download images from Instagram. Simply find the image you want to save, copy the image URL, and paste it into the designated field on the third-party tool or website. Follow the instructions provided to download the image to your computer. Connect your Oculus Quest to your computer, transfer the downloaded image to the headset’s storage, and you’ll be able to view it on your Oculus Quest.
- Twitter: To download an image from Twitter, click on the image to open it in the Twitter window. Right-click on the image and select “Save Image As” to save it to your computer. Connect your Oculus Quest to your computer using a USB cable, transfer the image to the headset’s storage, and you’ll be able to view it on your Oculus Quest.
While the process may involve a few additional steps compared to downloading images from the web, downloading images from social media platforms opens up a vast collection of visuals for your Oculus Quest. From sharing memorable moments to enjoying artwork and photography, social media platforms can be a great source of images to enhance your virtual reality experience.
Next, let’s explore how you can transfer images from your PC or mobile devices directly to your Oculus Quest.
…
Transferring Images from PC to Oculus Quest
Transferring images from your PC to your Oculus Quest is a convenient way to access your favorite images in virtual reality. Here’s how you can do it:
- Connect your Oculus Quest to your PC using a USB cable. Make sure your headset is in developer mode.
- On your PC, a prompt should appear on the Oculus Quest asking for permission to allow USB debugging. Grant permission by selecting “Allow” or “Always Allow” on the prompt.
- Once the Oculus Quest is connected to your PC, it will appear as a device in your File Explorer or Finder (on macOS). Open the Oculus Quest folder.
- Inside the Oculus Quest folder, locate the “Pictures” or “Photos” folder. This is where you will transfer your images.
- Find the images you want to transfer on your PC. Select the images and copy/move them to the “Pictures” or “Photos” folder in the Oculus Quest folder.
- Once the transfer is complete, safely disconnect the Oculus Quest from your PC.
- Put on your Oculus Quest headset and navigate to the Gallery or other image-viewing apps. You should now see the transferred images in your collection.
Transferring images from your PC to your Oculus Quest allows you to bring your personal collection of images into virtual reality. Whether it’s your own photographs, wallpapers, or artwork, having them readily available on your headset adds a personal touch to your virtual reality experience.
Now that you’ve learned how to transfer images from your PC to your Oculus Quest, let’s explore how you can transfer images from your mobile devices to your headset.
…
Transferring Images from Mobile Devices to Oculus Quest
If you have images on your mobile device that you want to view on your Oculus Quest, you can easily transfer them using the following steps:
- Ensure that both your mobile device and Oculus Quest are connected to the same Wi-Fi network.
- On your Oculus Quest, open the Oculus app and go to the “Settings” tab.
- Select your Oculus Quest headset from the list of devices and tap on it.
- In the headset settings, enable the “Media Storage” option. This allows your mobile device to access the Oculus Quest’s internal storage.
- On your mobile device, open a web browser and enter the IP address displayed on your Oculus Quest into the address bar.
- You will see a web interface with options to upload and download files. Tap on the “Upload” button and select the images you want to transfer from your mobile device’s gallery.
- Wait for the upload to complete, and the images will be transferred to your Oculus Quest’s internal storage.
- Put on your Oculus Quest headset and navigate to the Gallery or other image-viewing apps. You should now see the transferred images in your collection.
Transferring images from your mobile device to your Oculus Quest provides a convenient way to access your favorite images while on the go. Whether it’s photos you’ve taken with your smartphone or images you’ve saved on your mobile device, having them accessible on your Oculus Quest expands your virtual reality experience.
Now that you’ve learned how to transfer images from your mobile devices to your Oculus Quest, let’s explore another method of downloading images using the Oculus Browser.
…
Using Oculus Browser to Download Images
The Oculus Browser provides a built-in browsing experience on your Oculus Quest, allowing you to explore websites and download images directly to your headset. Follow these steps to download images using the Oculus Browser:
- Put on your Oculus Quest headset and open the Oculus Browser from your apps or the Oculus Home.
- Use the controller to navigate to a website that contains the image you want to download.
- Once you find the image, hover the controller pointer over it. A context menu will appear.
- Click on the “Download Image” or similar option in the context menu.
- The image will be downloaded to your Oculus Quest’s internal storage.
- Open the Gallery or a compatible image-viewing app on your Oculus Quest to access the downloaded image.
Using the Oculus Browser to download images provides a seamless browsing and downloading experience directly on your Oculus Quest. It eliminates the need for external devices and allows you to quickly access and enjoy your favorite images in virtual reality.
Now that you know how to download images using the Oculus Browser, let’s explore the option of using third-party apps to enhance your image downloading capabilities on your Oculus Quest.
…
Using Third-Party Apps to Download Images
In addition to the built-in options, you can also use third-party apps to download and view images on your Oculus Quest. These apps offer additional features and customization options for your image downloading experience. Here are a few third-party apps you can consider:
- Gallery Plus: Gallery Plus is a popular app available on the Oculus Store that provides an enhanced image viewing and downloading experience. It allows you to download images directly from the web, social media platforms, and cloud storage services.
- Virtual Desktop: While primarily known for its remote desktop functionality, Virtual Desktop also allows you to browse the web and download images within the virtual environment. It provides a seamless integration between your PC and Oculus Quest, making it easy to transfer downloaded images from your PC to your headset.
- Dropbox and Google Drive: If you use cloud storage services like Dropbox or Google Drive, you can download their respective apps on your Oculus Quest. These apps enable you to access and download images stored in your cloud storage directly to your headset.
- Image Downloaders: There are also several image downloader apps available on third-party platforms that allow you to download images from specific websites or social media platforms. These apps provide a streamlined way to save and view images on your Oculus Quest.
By utilizing third-party apps, you can expand your image downloading options on your Oculus Quest and tailor the experience to suit your preferences. These apps offer additional functionalities, such as organizing downloaded images, managing collections, and even integrating with online image repositories.
Remember to explore and choose apps from reputable sources, such as the Oculus Store or trusted third-party websites, to ensure a safe and reliable downloading experience.
Now that you’re familiar with using third-party apps to download images, let’s wrap up this guide by summarizing what we’ve learned.
…
Conclusion
Downloading and viewing images on your Oculus Quest can greatly enhance your virtual reality experience. Whether you want to immerse yourself in stunning landscapes, admire captivating artwork, or browse through your personal photo collection, having access to a plethora of images on your headset adds a new dimension to your virtual adventures.
In this guide, we explored various methods of downloading images on the Oculus Quest. We started by understanding the different image formats supported by the headset, namely JPEG and PNG. We then delved into downloading images from the web using the Oculus Browser, as well as from popular social media platforms like Facebook, Instagram, and Twitter. We also learned how to transfer images from PCs and mobile devices directly to the Oculus Quest, providing a personalized collection of images for your virtual reality sessions.
We also discussed the option of using third-party apps like Gallery Plus, Virtual Desktop, and cloud storage services to further enhance your image downloading capabilities. These apps offer additional features and customization options to tailor your image viewing experience on the Oculus Quest.
By following the methods and utilizing the tools outlined in this guide, you can easily download and view images that cater to your interests and preferences on your Oculus Quest. Whether you’re seeking inspiration, adding personal touches to your virtual reality environment, or simply enjoying stunning visuals, the ability to download images on your Oculus Quest opens up a world of possibilities.
So, embrace the power of visual immersion and start downloading and experiencing images like never before on your Oculus Quest!