Introduction
Welcome to the world of digital music! With the advent of technology, music has become more accessible than ever before. Gone are the days of purchasing physical CDs and tapes; now, you can instantly download and enjoy your favorite songs and albums in the blink of an eye.
In this article, we will guide you through the process of finding, downloading, and burning music to create your own personalized playlists. Whether you want to listen to music on-the-go with a portable device or create a music library on your computer, we’ve got you covered.
Before we dive into the details, it’s important to note that downloading and sharing copyrighted music without proper authorization is illegal. Make sure to obtain music from legal sources, such as online music stores and streaming platforms. Additionally, ensure that you have the necessary rights and permissions to burn and transfer music to different devices.
So, if you’re ready to embark on your musical journey, get your headphones ready and let’s dive into the world of downloading and burning music!
Part 1: Finding and Downloading Music
With the vast array of music available online, finding and downloading your favorite songs has never been easier. Here are some steps to help you on your quest:
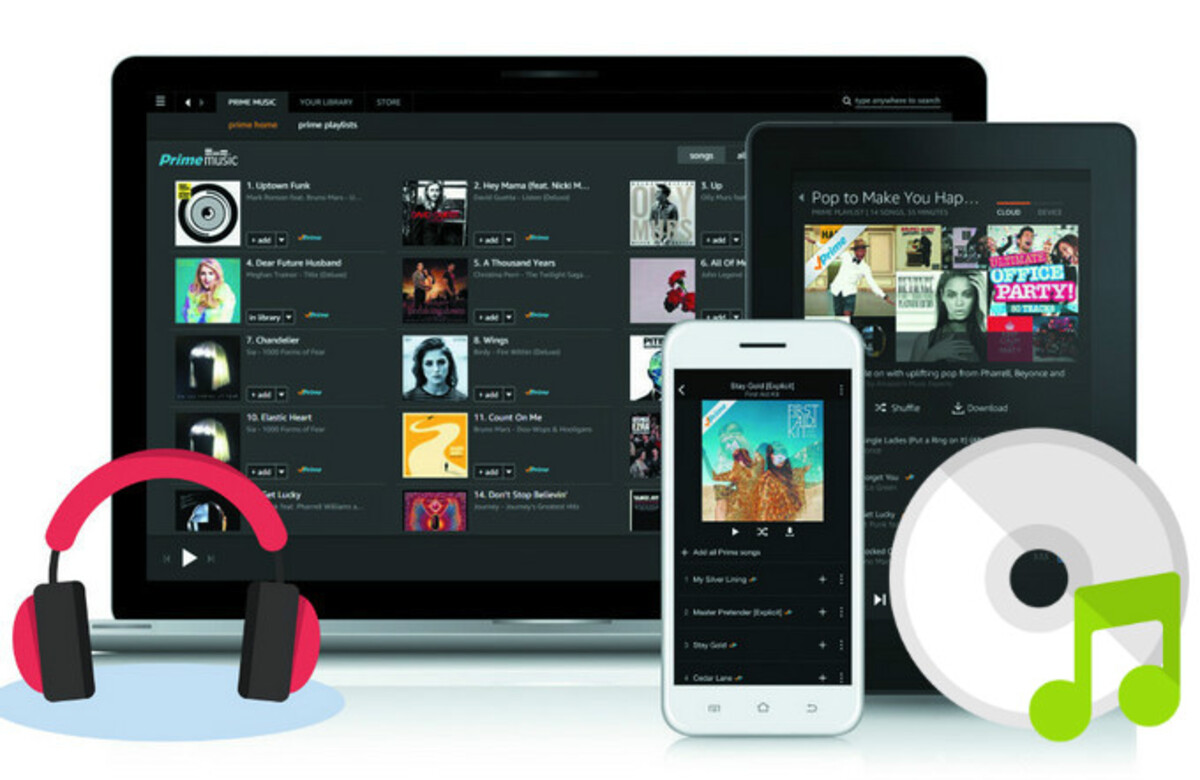
- Choose a reputable music platform: Start by selecting a trusted and legal music platform. Popular options include iTunes, Amazon Music, Google Play Music, and Spotify. These platforms offer a wide variety of music genres and artists, ensuring you find exactly what you’re looking for.
- Browse and search for music: Once you’ve chosen your preferred platform, explore their vast music library. You can browse different genres, top charts, or simply search for specific songs, albums, or artists using the platform’s search function. This will help you discover new music and find your favorite tunes.
- Purchase or download: Most legal music platforms offer both streaming and downloading options. Streaming allows you to listen to the music online without downloading it permanently. However, if you want to have the songs on your local device, you can choose to purchase and download them. Some platforms provide the option to buy individual songs or entire albums, ensuring you have the flexibility to choose what you want.
- Consider subscription services: If you’re a frequent music listener, you might want to consider subscribing to a streaming service. Platforms like Spotify and Apple Music offer monthly subscription plans that provide unlimited access to their entire music library. This allows you to listen to any song, create personalized playlists, and discover new music without the need to purchase each individual song.
- Ensure file compatibility: Before downloading music, make sure it is compatible with your device’s audio player. Most platforms offer various file formats like MP3, AAC, and FLAC. Check your device’s specifications to ensure compatibility.
Remember, always abide by copyright laws and only download music from legal sources. By following these steps, you can safely and easily find and download all your favorite songs to enjoy anytime, anywhere.
Part 2: Burning Music to a CD
If you prefer to listen to music on a traditional CD player or want to create a personalized mixtape, you can easily burn your downloaded music onto a CD. Here’s how:
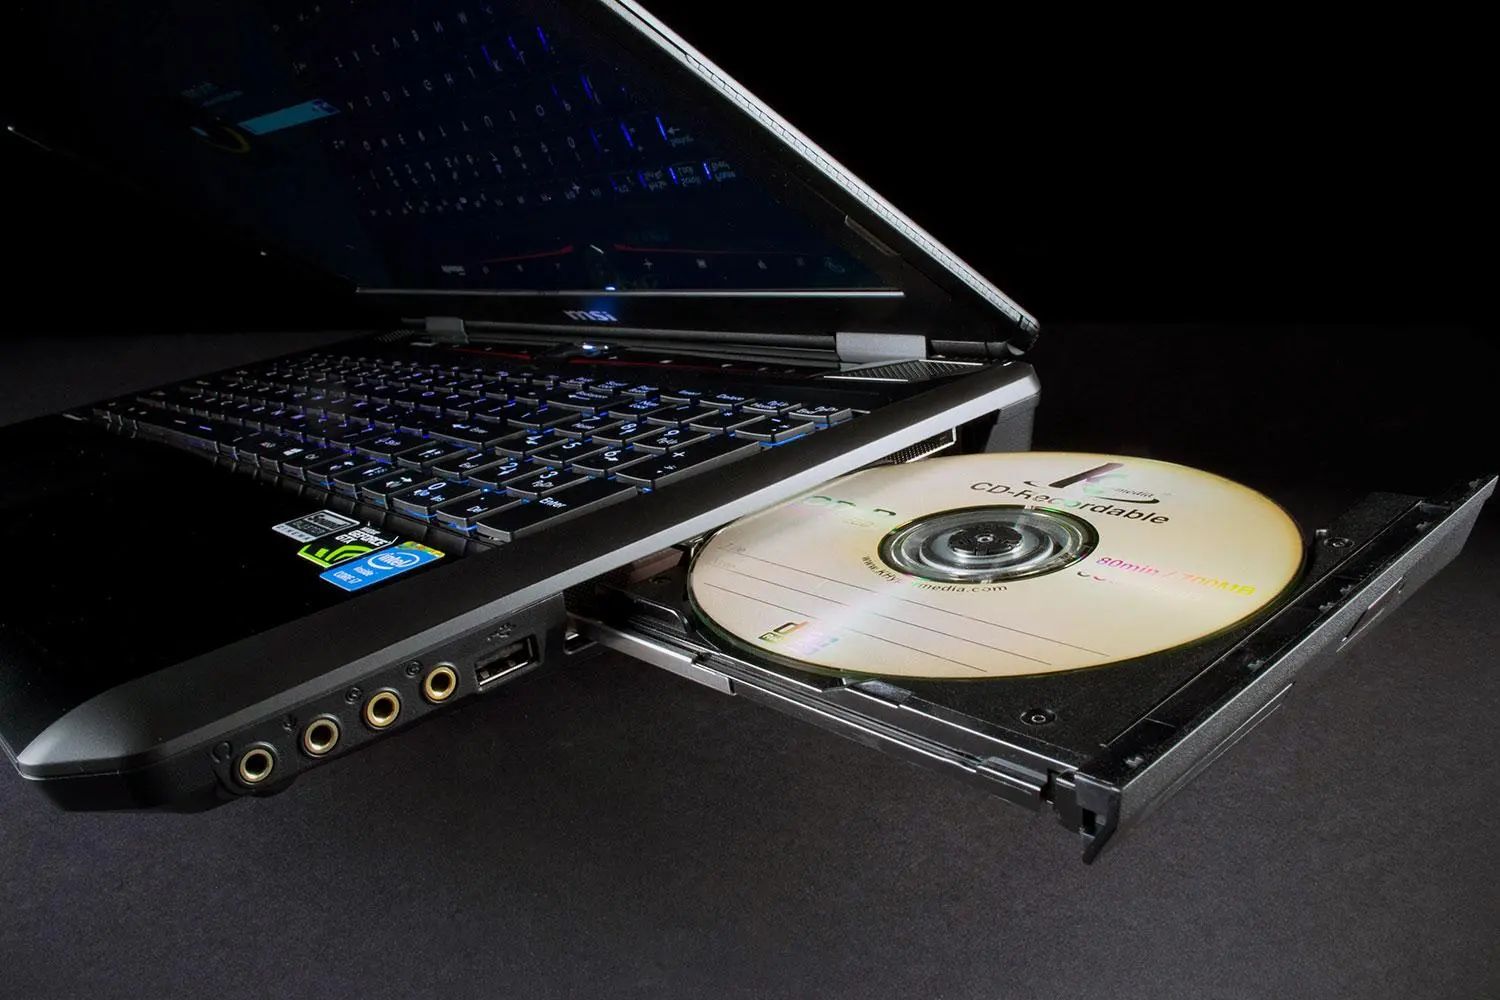
- Ensure you have a CD burner: Check if your computer is equipped with a CD burner. Most modern computers have built-in CD/DVD drives that can also burn CDs. If your computer doesn’t have a CD burner, you can purchase an external CD burner that plugs into a USB port.
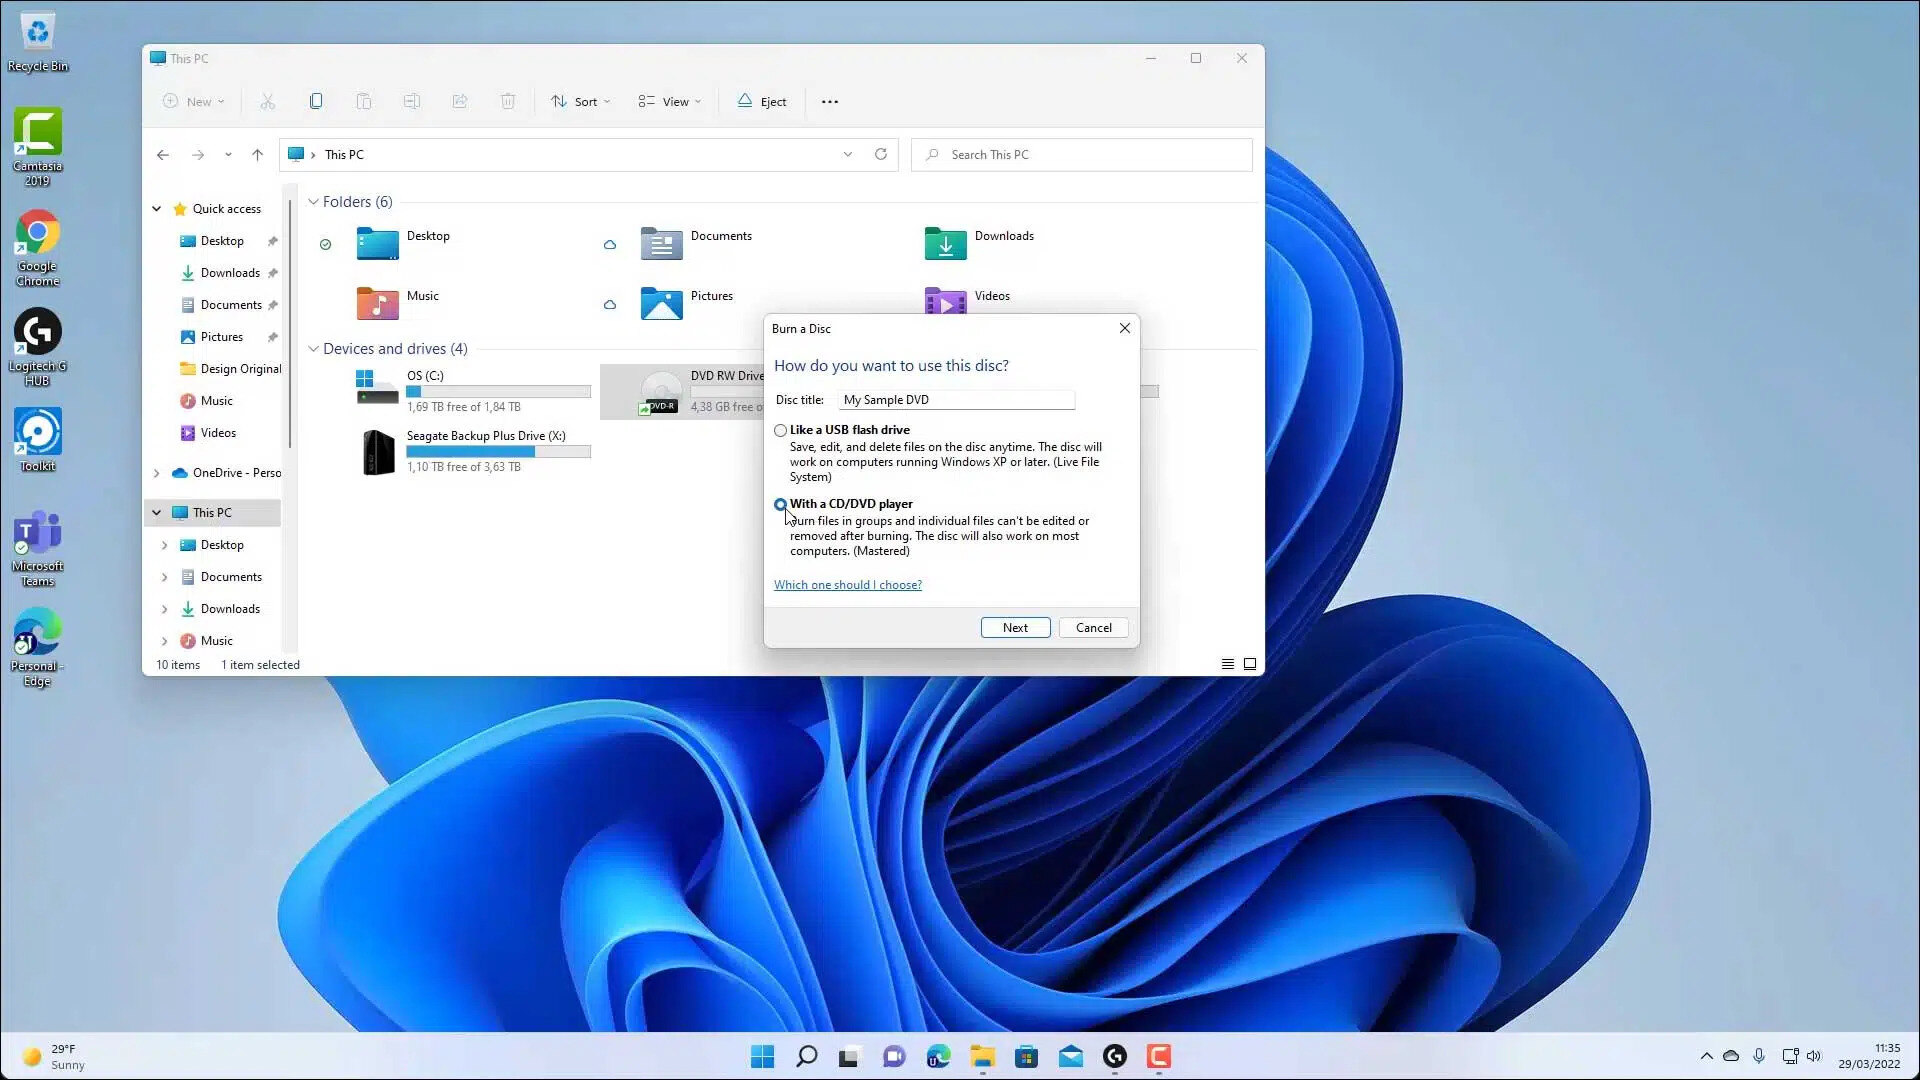
- Prepare a blank CD: Insert a blank CD-R or CD-RW into your CD burner. CD-R is a write-once CD, meaning the data is permanently burned onto the disc. CD-RW, on the other hand, allows you to rewrite and erase data multiple times.
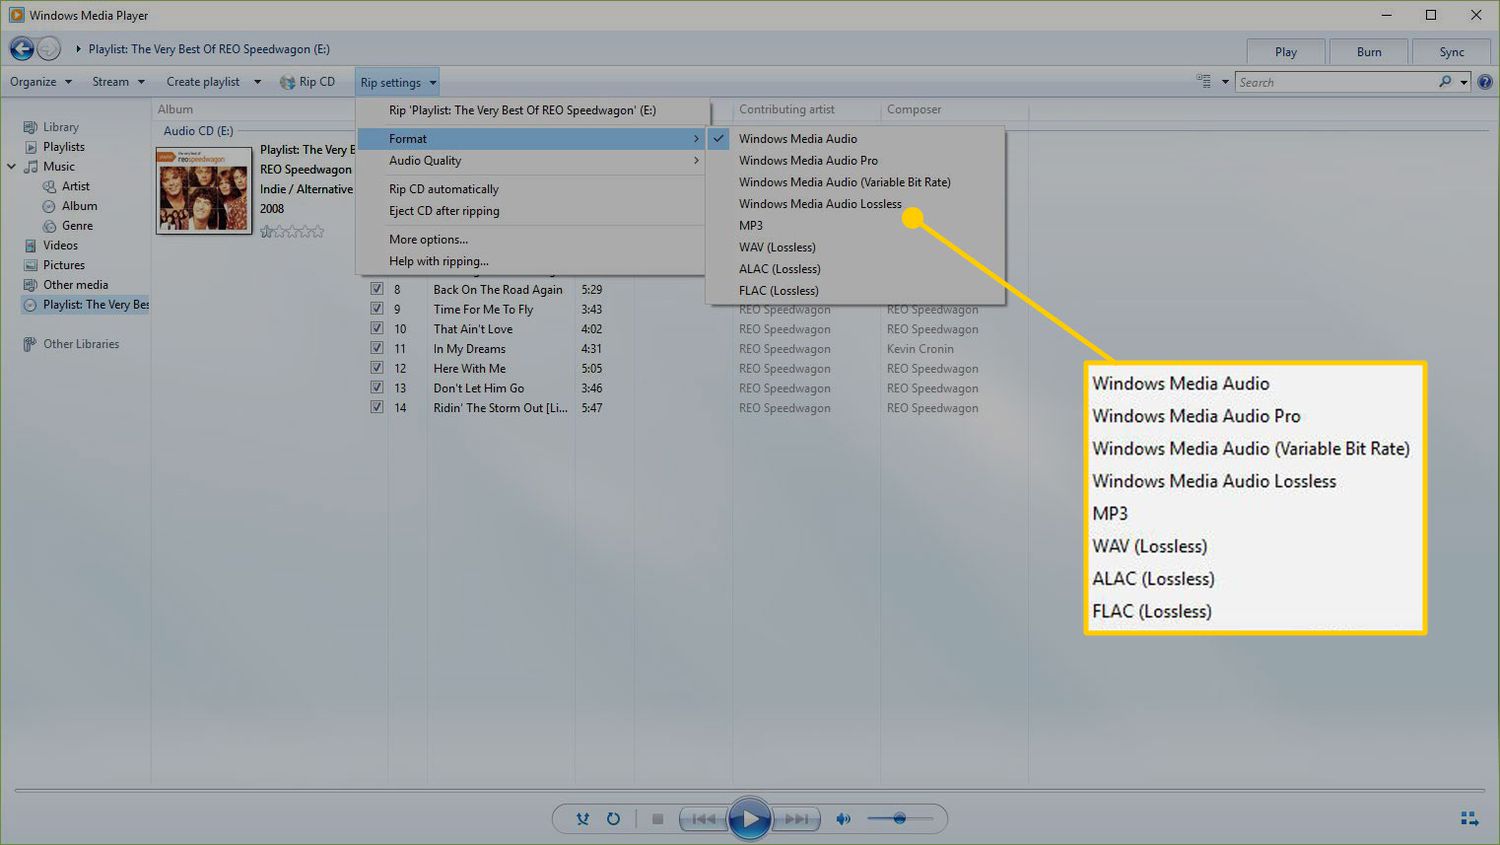
- Open the CD burning software: Depending on your computer’s operating system, you may have different CD burning software options. Windows users can use programs like Windows Media Player or iTunes, while Mac users have the built-in Finder app or iTunes. Open the software of your choice.
- Select and add the music files: In the CD burning software, select the option to create a new audio CD. Then, click on the “Add” or “Import” button to browse and select the music files you want to burn. You can add multiple files or even entire folders containing your desired songs.
- Arrange the tracklist: Once the music files are added, you can rearrange the tracklist in the software. Drag and drop the songs to change their order and create the perfect flow for your CD.
- Adjust the settings: Before burning, you may have the option to adjust settings such as the gap between songs or the writing speed. These settings are usually optional, but you can customize them according to your preference.
- Start the burning process: Once you’re satisfied with the tracklist and settings, click the “Burn” or “Start” button to begin the burning process. The software will convert the music files into a compatible format for the CD and write them onto the disc.
- Finalize and eject the CD: After the burning process is complete, the software will finalize the CD, making it playable on any CD player. Once finalized, the software will prompt you to eject the CD. Safely remove it from the CD burner.
Now you have successfully burned your favorite music onto a CD. You can now enjoy your custom-made music compilation in your car stereo, boombox, or any other CD player of your choice.
Part 3: Transferring Music to a USB Drive
If you want to take your music with you and listen to it on various devices, transferring your downloaded music to a USB drive is a convenient option. Here’s how you can do it:
- Ensure you have a USB drive: Make sure you have a USB drive with sufficient storage capacity to accommodate your music files. USB drives come in various sizes, so choose one that meets your needs.
- Connect the USB drive to your computer: Plug the USB drive into an available USB port on your computer. The operating system should detect and recognize the drive, assigning it a drive letter.
- Locate and copy your music files: Use your computer’s file explorer or music management software to navigate to the location where your music files are stored. Select the desired music files or folders and copy them by right-clicking and selecting “Copy” or using the keyboard shortcut (Ctrl+C or Command+C).
- Paste the music files onto the USB drive: Open the file explorer or music management software window for your USB drive. Right-click in the window and select “Paste” or use the keyboard shortcut (Ctrl+V or Command+V) to paste the copied music files onto the USB drive.
- Wait for the transfer to complete: The transfer speed depends on the size of the music files and the speed of your USB port. Larger files may take longer to transfer. It’s important not to disconnect the USB drive during the transfer process to avoid data loss or corruption.
- Safely remove the USB drive: Once the transfer is complete, safely remove the USB drive from your computer. On Windows, right-click on the USB drive icon in the system tray and select “Eject” or “Safely Remove Hardware.” On Mac, click and drag the USB drive icon to the trash bin, which will change to an eject symbol.
Now you can take your USB drive and enjoy your music on any device with a USB port. Whether it’s your car stereo, smart TV, or a portable speaker, you can simply plug in the USB drive and listen to your favorite tunes on the go.
Part 4: Creating a Music Library on your Computer
If you prefer to have all your music conveniently organized and easily accessible on your computer, creating a music library is the way to go. Follow these steps to create your own digital music collection:
- Choose a dedicated folder: Start by selecting a dedicated folder on your computer where you want to store all your music files. You can create a new folder specifically for your music library or use an existing one.
- Organize your music files: To keep your music library organized, it’s helpful to create subfolders within the main music folder. Consider categorizing your music by genres, artists, or albums. Create new folders and move your music files into their corresponding folders accordingly.
- Update file metadata: To ensure your music library is properly organized, you can edit the file metadata such as song titles, artist names, album names, and genre information. Right-click on the music file, select “Properties” or “Get Info,” and enter the desired information in the appropriate fields.
- Consider using a media player: To enhance your music listening experience, you can use dedicated media player software like iTunes, Windows Media Player, or VLC Media Player. These media players provide additional features for managing and playing your music library, including creating playlists and syncing with portable devices.
- Add music to your library: To add music to your library, simply copy or move the desired music files into your designated music folder or subfolders. You can also use the media player software to import music files automatically from specific folders.
- Regularly update and maintain your library: As you download new music or discover new artists, remember to add the files to your music library and update the metadata accordingly. Regularly organizing and maintaining your music library will ensure that it remains easy to navigate and enjoyable to use.
By creating a music library on your computer, you can easily access your entire collection with a few clicks. Whether you’re in the mood for a specific genre, artist, or album, your music library will be there to provide you with endless entertainment.
Part 5: Tips for Organizing and Managing your Music Collection
Organizing and managing a music collection can sometimes be a daunting task, especially as your collection continues to grow. Here are some tips to help you keep your music collection tidy and easily accessible:
- Use consistent file naming conventions: When saving music files, it’s essential to use a consistent file naming convention. Include relevant information such as the artist name, song title, and album name. This will make it easier to search and navigate through your music collection.
- Tag your music files: Take advantage of file metadata and tag your music files with information like artist, album, genre, and release year. This will allow you to easily sort and categorize your music within media player software or file explorers.
- Create playlists: Playlists are a great way to organize and group your favorite songs based on different themes, moods, or occasions. Create playlists for workouts, road trips, relaxing evenings, or any other categories that suit your preferences.
- Backup your music collection: Ensure you have a backup of your music collection to prevent data loss. Consider using external hard drives, cloud storage services, or network-attached storage (NAS) devices to store copies of your music files.
- Regularly update and delete unwanted songs: As your music tastes evolve, it’s important to regularly update your collection by adding new songs and removing unwanted ones. Deleting duplicate or low-quality files will free up valuable storage space and keep your collection organized.
- Explore music management software: Consider using dedicated music management software that offers advanced features for organizing and managing your music collection. These programs often provide automatic file tagging, album artwork retrieval, and other organizational tools.
- Utilize smart playlists: Many music management software applications offer smart playlists, which automatically update based on criteria you set. Use smart playlists to create dynamic lists based on factors like play count, recently added songs, or genres.
- Consider music streaming services: If managing a large music collection becomes overwhelming, you may want to consider subscribing to a music streaming service. Streaming platforms like Spotify, Apple Music, and Pandora offer vast music libraries and personalized recommendations.
- Take advantage of music organization apps: Several mobile apps can help you manage and organize your music collection on the go. These apps offer features such as scanning and organizing music files, syncing with your computer, and creating playlists.
By implementing these tips, you can maintain an organized and easily manageable music collection that reflects your personal taste and preferences. Enjoy the seamless access to your favorite tunes and optimize your music listening experience!
Conclusion
Congratulations! You’ve now learned the essential steps to find, download, and manage your music collection. Whether you prefer burning music to a CD, transferring it to a USB drive, or creating a digital music library on your computer, these methods allow you to enjoy your favorite tunes anytime, anywhere.
Remember to always download music from legal sources and respect copyright laws. Choose reputable platforms or streaming services to ensure you have access to a vast selection of music while supporting artists and creators.
By following the guidelines outlined in this article, you can organize and manage your music collection with ease. Consistent file naming, proper tagging, playlists, and regular maintenance will keep your library well-organized and make it simple to find the music you love.
Whether you’re creating personalized mixtapes, enjoying music on portable devices, or immersing yourself in a digital library, take the time to explore different platforms, formats, and tools that enhance your music listening experience.
So, gather your favorite songs, create the ultimate playlists, and let the rhythm take you on a journey. Unleash your love for music and enjoy the melodies that bring joy, inspiration, and comfort to your life.
Rock on!