Introduction
Downloading music to a disc is an excellent way to create personalized mixtapes, compile your favorite songs, or even burn a CD for a road trip. With the plethora of tools and resources available online, you can easily find and download music that suits your taste. In this article, we will guide you through the process of downloading music to a disc for free.
Gone are the days of purchasing CDs or relying solely on online streaming platforms. Now, you have the freedom to curate your own music collection and enjoy it offline. However, it’s important to ensure that you are not infringing copyright laws while downloading music. Always make sure to download music from legal sources or obtain proper licenses for any copyrighted material.
In this step-by-step guide, we will cover everything you need to know to download music to a disc. From choosing the right downloading tool to transferring the music onto a disc, we’ll walk you through each stage of the process. So, let’s get started and turn your computer into a music haven!
Step 1: Choose a Downloading Tool
The first step in downloading music to a disc is selecting a reliable downloading tool. There are various options available, both online and offline, that can assist you in this process. Here are a few popular tools to consider:
- Free Music Downloader: One of the simplest ways to download music is by using a free music downloader software. These tools allow you to search for and download mp3 files directly to your computer. Some popular free music downloaders include MP3Jam, Music2pc, and FrostWire.
- Torrent Clients: Torrent clients like uTorrent or BitTorrent provide a vast collection of music files available for downloading. However, it’s important to use them responsibly and ensure that you are not infringing any copyright laws.
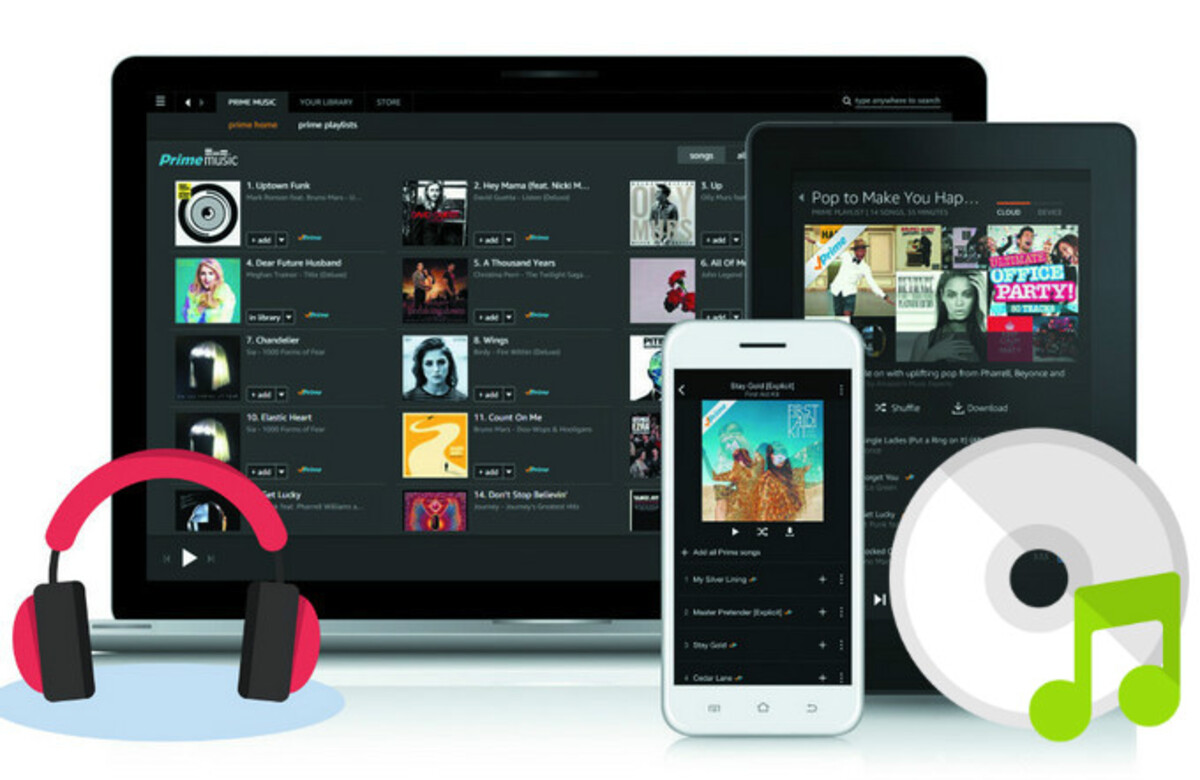
- Online Music Platforms: Websites like SoundCloud, Bandcamp, and Jamendo offer a wide range of music that can be downloaded legally. These platforms often have an option to download songs for free or choose from premium options that provide higher quality files.
- Streaming Services: Some streaming services like Spotify and Apple Music allow you to download songs for offline listening. However, note that these downloads are usually restricted to the platform itself and may not be transferable to a disc.
When choosing a downloading tool, make sure it supports the format you want to download and has a user-friendly interface. Additionally, read reviews and do some research to ensure that the tool you select is safe and trustworthy.
Step 2: Find Music to Download
Once you have chosen a downloading tool, the next step is to find the music you want to download. There are numerous sources available where you can discover and access a vast library of songs. Here are a few ways to find music for downloading:
- Music Websites: Many websites offer free and legal music downloads. Examples include Jamendo, Free Music Archive, and NoiseTrade. These platforms often allow independent artists to share their music for promotional purposes.
- Artist Websites: Artists and bands often have their own websites where they may offer downloads of their music. Look for the “Music” or “Downloads” section on their websites to access their songs.
- Online Music Stores: Platforms like iTunes, Amazon, and Google Play Music allow you to purchase and download individual songs or entire albums. These stores offer a wide range of music in various genres.
- Legal Torrent Sites: Some websites specialize in legal torrents that allow artists to share their music freely. Examples include Legit Torrents, Free Music Public Domain, and the Internet Archive.
- YouTube: Although downloading music directly from YouTube is not recommended due to copyright issues, you can use YouTube to discover new songs and artists. Once you find the music you like, search for it on other platforms or purchase it legally.
When searching for music, ensure that you respect copyright laws and only download from legal sources. Be cautious of websites that offer free downloads of copyrighted material without proper licensing. It’s always best to support artists by purchasing their music or downloading it from official channels.
Once you have located the music you want to download, proceed to the next step to select the format and quality that best suits your needs.
Step 3: Select the Format and Quality
After finding the music you want to download, the next step is to select the appropriate format and quality for your downloaded files. The format and quality options may depend on the downloading tool you’ve chosen and the source of the music. Here are some considerations to keep in mind:
- Format: Commonly used audio formats for music files include MP3, AAC, FLAC, and WAV. MP3 is the most widely compatible format and is suitable for most devices and platforms. However, if you prefer higher-quality files with lossless audio, formats like FLAC or WAV may be more suitable for you.
- Quality: Most downloading tools offer options to choose the quality of the downloaded music. For MP3 files, the quality is often measured in terms of bit rate, with higher bit rates resulting in better sound quality. However, higher bit rates also mean larger file sizes. Strike a balance between quality and file size depending on your storage capacity and audio preferences.
- Metadata: Consider whether you want the downloaded files to include metadata, such as song titles, album information, and artist names. This information helps organize your music library and enhances your listening experience. Most downloading tools allow you to automatically retrieve and embed metadata in the downloaded files.
Take some time to explore the settings and preferences of the downloading tool to ensure that you can select the desired format and quality for your music files. Remember, the format and quality choices may have an impact on the size and compatibility of the downloaded files.
Once you have made your format and quality selections, you are ready to proceed with the downloading process. In the next step, we will guide you through the necessary steps to start the downloading process and save the music files to your computer.
Step 4: Start the Downloading Process
Now that you have chosen the format and quality settings for your music files, it’s time to start the downloading process. Follow these steps to begin downloading the music to your computer:
- Copy the URL: If you are using a music downloader software or online platform, navigate to the webpage or page where the music is located. Copy the URL of the song or album you want to download.
- Paste the URL: Open your chosen downloading tool and look for an option to “Paste URL” or “Add URL.” Click on this option and paste the copied URL. The tool will start analyzing the URL and fetching the music files.
- Select Download Options: Depending on the downloading tool, you may have additional options to select the download location, file name, and other preferences. Customize these options according to your preferences.
- Initiate the Download: Once you have set the download options, click on the “Download” or “Start” button to initiate the downloading process. The tool will connect to the source and begin downloading the music files to your computer.
- Monitor the Progress: Keep an eye on the downloading progress to ensure that the files are being downloaded successfully. Some downloading tools provide a progress bar or percentage indicator to show how much of the file has been downloaded.
- Wait for Completion: Depending on the size of the music files and your internet connection speed, the downloading process may take some time. Be patient and let the tool complete the download.
Once the downloading process is complete, you will have the music files saved on your computer. In the next step, we will guide you on how to transfer these music files to a disc for easy listening and sharing.
Step 5: Transfer Music to Disc
Now that you have successfully downloaded the music files onto your computer, it’s time to transfer them to a disc for convenient playback. Follow these steps to transfer the music to a disc:
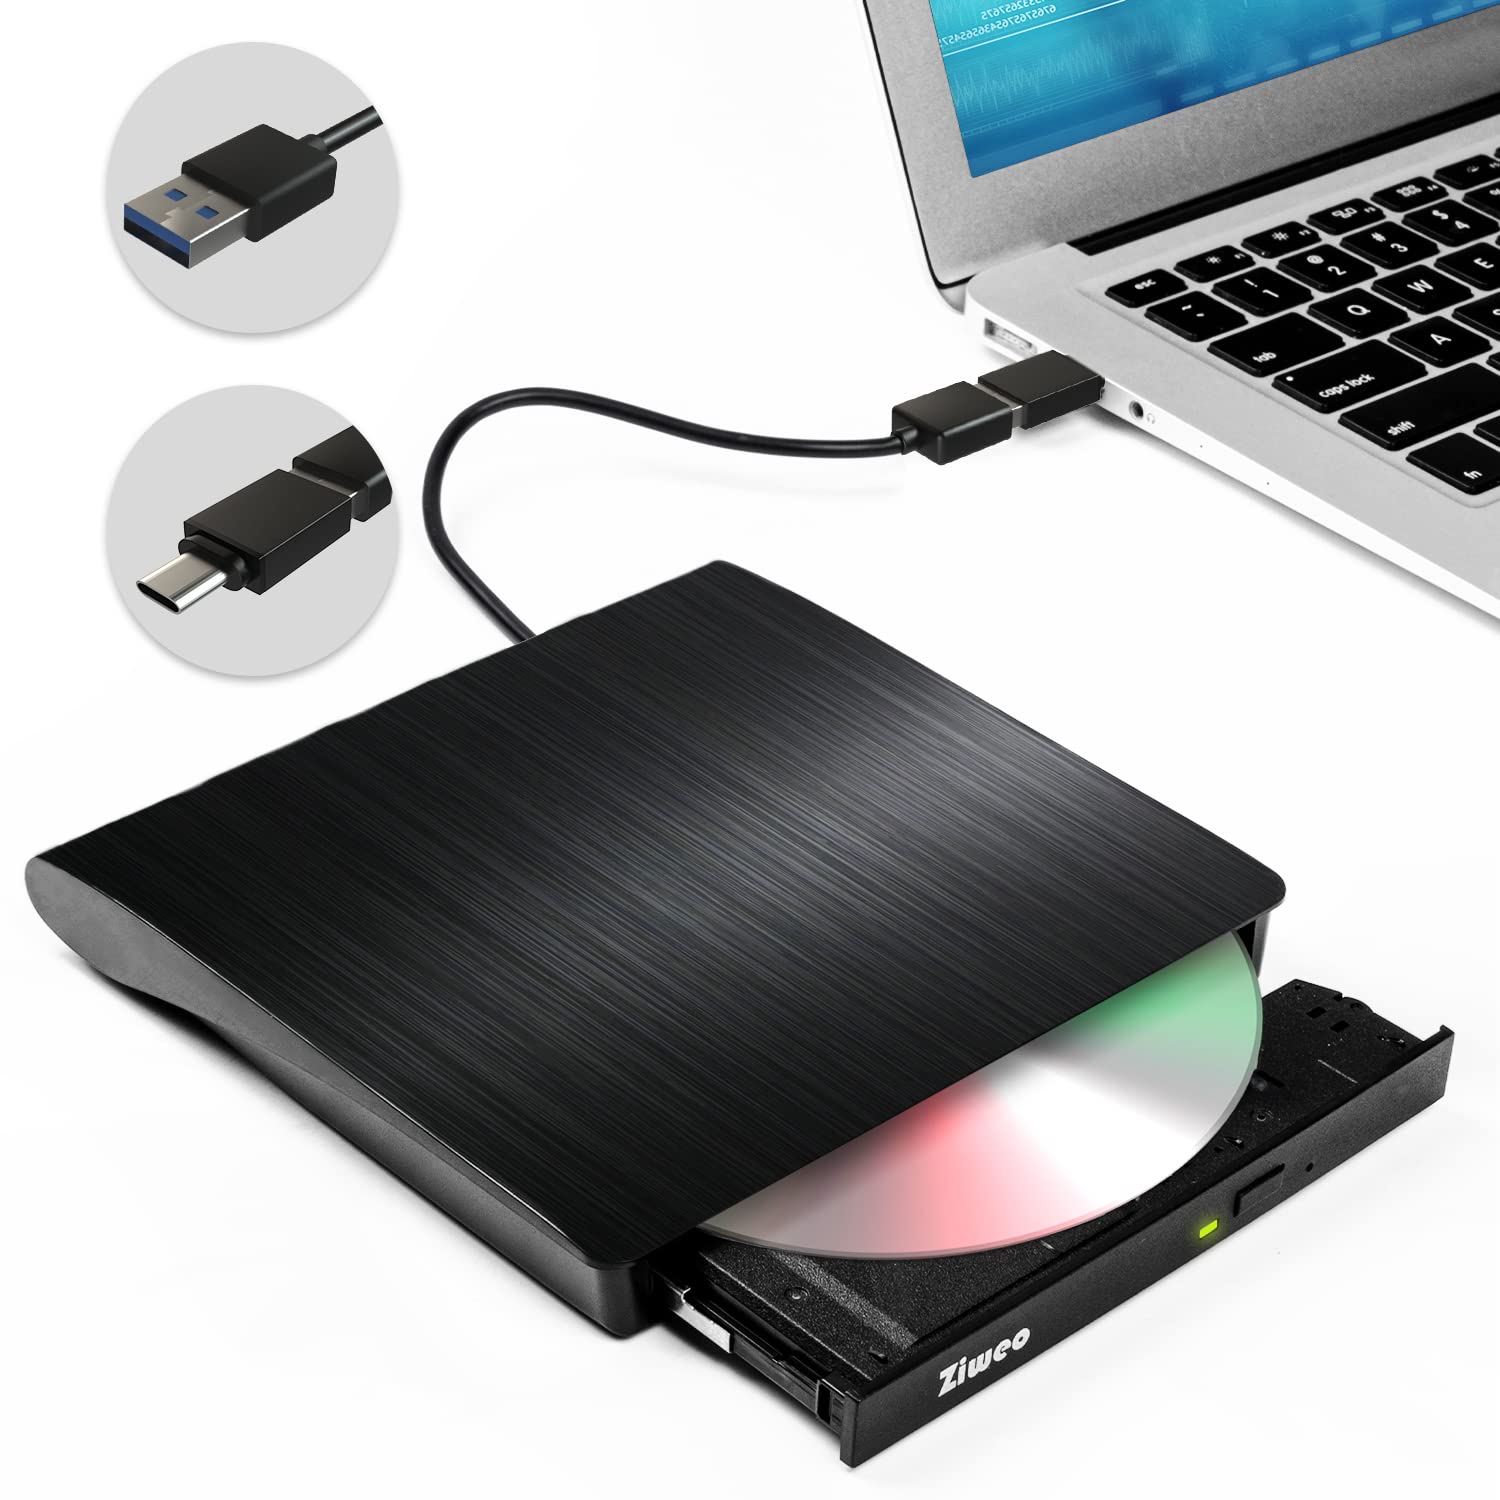
- Prepare a Blank Disc: Ensure you have a blank writable disc that is compatible with your computer’s disc drive. Common types of writable discs include CD-R, CD-RW, DVD-R, DVD+R, DVD-RW, and DVD+RW.
- Insert the Disc: Carefully insert the blank disc into your computer’s disc drive. Make sure it is inserted correctly and securely.
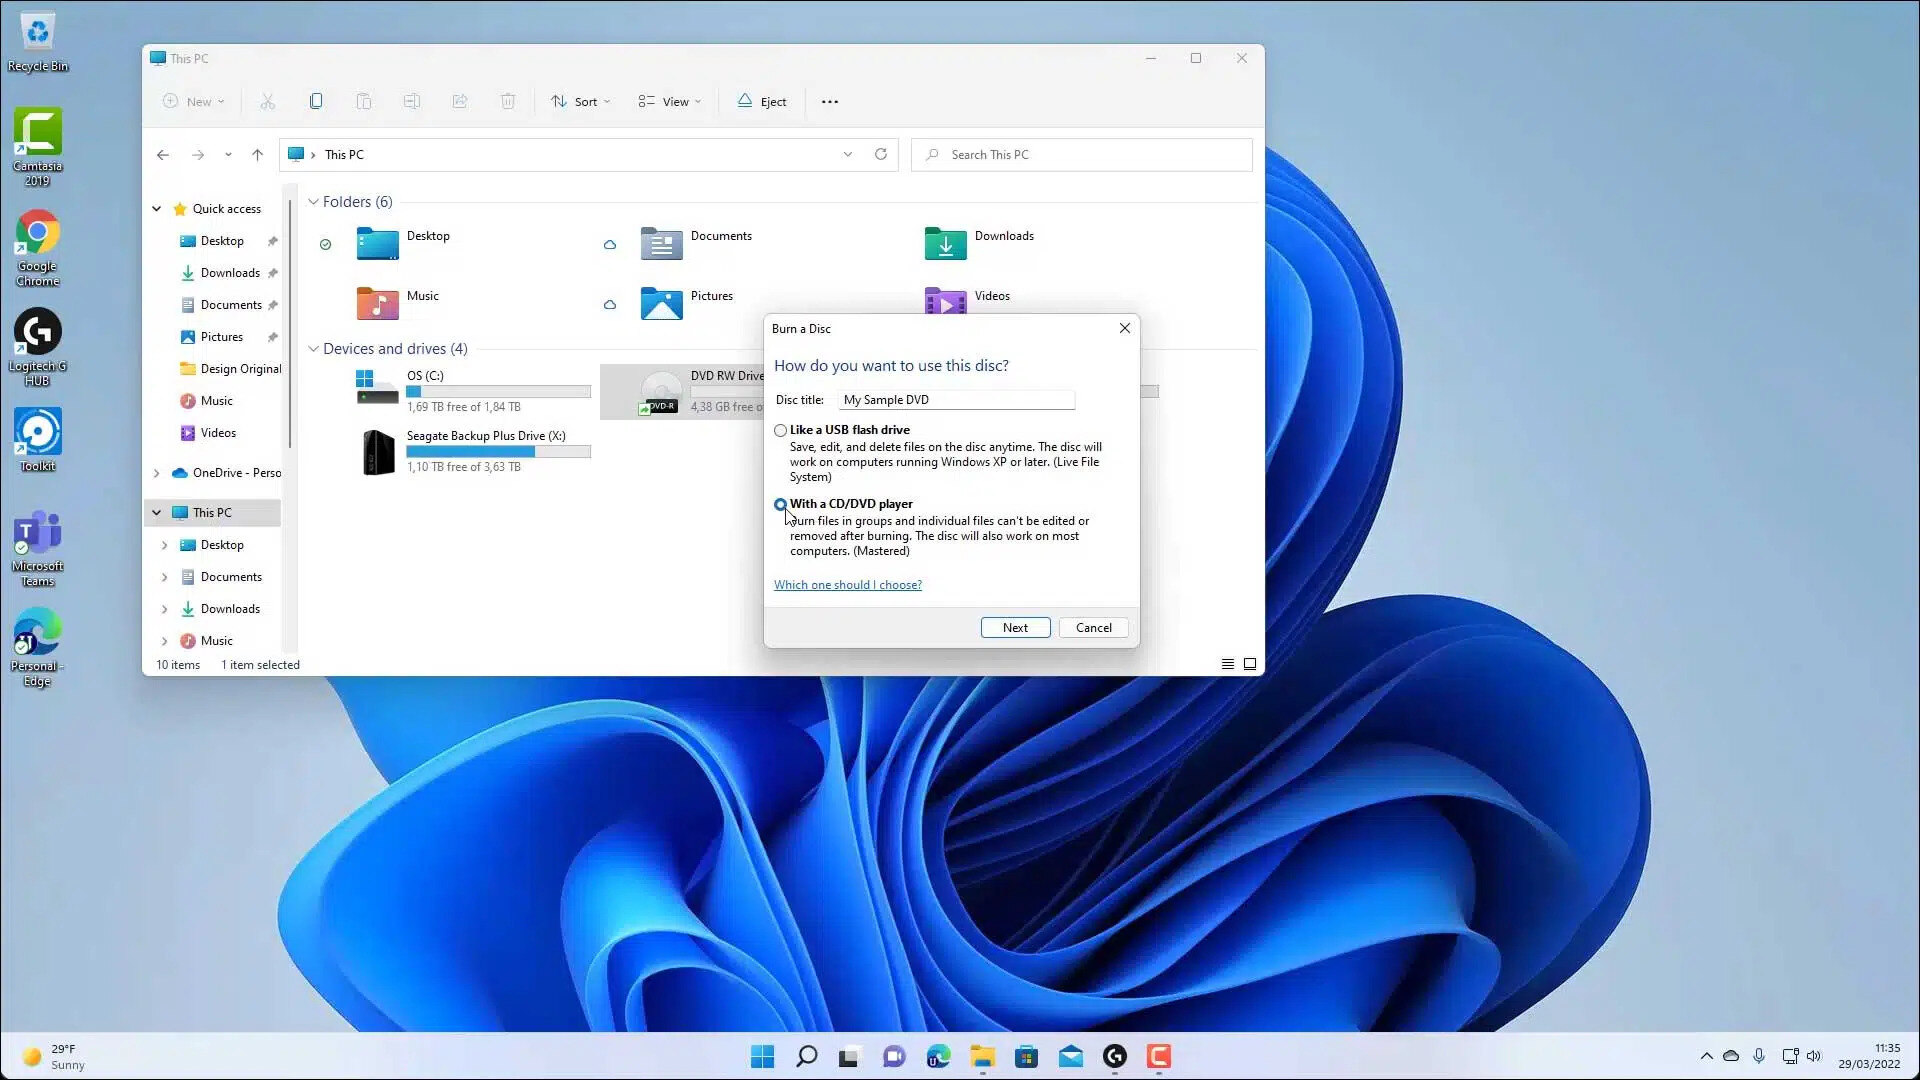
- Open the Disc Burning Software: Most computers come with built-in disc burning software, such as Windows Media Player or iTunes on Windows, or Finder on Mac. Open the software and select the option to create a new disc or burn files to a disc.
- Add Music Files: Locate the downloaded music files on your computer. In the disc burning software, there should be an option to add files or folders to the disc. Browse for the music files and select them to be added to the disc compilation.
- Arrange and Customize: Arrange the music files in the desired order if you want a specific track order on the disc. Some disc burning software also allows you to customize the disc’s title or add additional information.
- Start the Burning Process: Once you are satisfied with the arrangement and settings, click on the “Burn” or “Start” button to begin the burning process. The software will start writing the music files onto the disc.
- Wait for Completion: The burning process may take some time, depending on the number and size of the music files and the speed of your disc drive. Be patient and wait for the software to complete the burning process.
- Eject the Disc: Once the disc burning process is complete, the software will notify you. Eject the disc from your computer’s disc drive and safely store it for future use.
Congratulations! You have successfully transferred the downloaded music files to a disc. You can now enjoy the music on any CD or DVD player that supports the disc format you used.
In the next step, we will guide you on how to verify the music on the disc to ensure the transfer was successful without any errors or glitches.
Step 6: Verify Music on the Disc
After transferring the music files to the disc, it’s important to verify that the transfer was successful and the music is playable without any errors. Here are the steps to verify the music on the disc:
- Insert the Disc: Take the disc you burned and insert it into a CD or DVD player that is compatible with the disc format you used. Make sure the disc is inserted properly and securely.
- Play the Disc: Use the controls on the CD or DVD player to start playing the disc. Listen to a few songs to ensure that the music is playing without any distortions, skips, or other issues.
- Check for Errors: If you experience any issues while playing the music, such as skips or errors, it may indicate a problem with the disc or the burning process. Try playing the disc on different players to verify if the issue is with the disc or the player.
- Inspect the Tracks: While the music is playing, pay attention to the track order and make sure it matches the original arrangement. Check if any songs are missing or if there are any unexpected tracks on the disc.
- Test Different Sections: Skip to different sections of the disc and listen to different tracks to ensure that all the music files have been successfully transferred and are playable without any issues.
- Check Disc Compatibility: If you plan to use the disc on different devices or players, verify that it is compatible with those devices. Some older CD or DVD players may not support certain disc formats.
If you encounter any errors or issues during the verification process, it may be necessary to re-burn the music files onto a new disc or troubleshoot any problems with your disc burning software or hardware.
Once you have verified that the music on the disc is playing correctly and without any issues, you can confidently enjoy your favorite songs or share them with others. Happy listening!
Conclusion
Congratulations! You have successfully learned how to download music to a disc for free. By following the step-by-step guide, you are now capable of curating your own personalized music collection and enjoying it offline on any CD or DVD player.
We started by choosing an appropriate downloading tool and emphasized the importance of downloading music from legal sources. Then, we explored various avenues to find music, including music websites, artist websites, online music stores, legal torrent sites, and even using YouTube as a discovery platform.
Next, we discussed the significance of selecting the right format and quality for your downloaded files. The choice of format depends on your device and personal preferences, while the quality determines the sound fidelity and file size. We also touched upon the importance of including metadata to enhance your music library organization.
Moving on, we guided you through the process of starting the downloading process and monitoring its progress. We provided steps to copy and paste the music’s URL, select download options, and initiate the download using your chosen downloading tool. It is crucial to be patient and allow the downloading process to complete successfully.
Once the music files were downloaded to your computer, we explained how to transfer them to a disc. This involved preparing a blank disc, inserting it into your computer’s disc drive, and utilizing disc burning software to add the music files and initiate the burning process. We emphasized the need to wait for the burning process to complete before ejecting the disc.
Finally, we discussed the importance of verifying the music on the disc to ensure that the transfer was successful. By inserting the disc into a CD or DVD player, playing the disc, checking for errors, inspecting the tracks, and testing different sections, you can ensure that the music is playable without any issues.
Now that you have successfully downloaded and transferred music to a disc, you can enjoy your personalized music collection anytime, anywhere. Whether you’re creating mixtapes, compiling your favorite songs, or burning CDs for road trips, you have the freedom to curate the perfect soundtrack to suit your preferences.
Remember to always respect copyright laws and download music from legal sources to support artists and creators. With the knowledge and skills gained from this guide, you can continue to expand your music collection and explore new artists and genres.
Thank you for following along and happy music downloading and disc burning!