Introduction
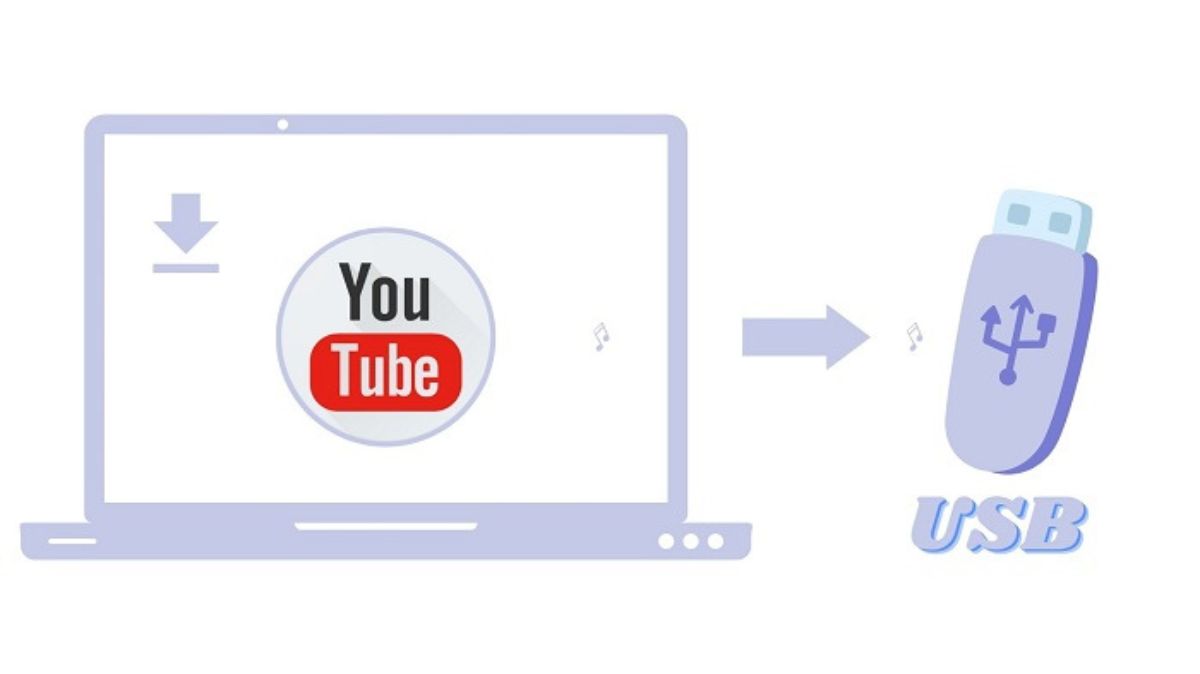
Downloading music from YouTube to a USB flash drive is a convenient way to have your favorite songs available on the go. Whether you want to listen to music in your car, on your portable audio player, or simply have a backup of your favorite songs, transferring them to a USB flash drive is a straightforward process.
YouTube, as the world’s largest online video sharing platform, hosts a vast array of music videos, covers, and remixes that you can access for free. However, YouTube doesn’t provide a direct option to download the audio files. That’s where a YouTube video to MP3 converter comes in handy. Using a reliable YouTube converter, you can extract the audio from a YouTube video and save it as an MP3 file that can be easily transferred to a USB flash drive.
In this step-by-step guide, we will walk you through the process of downloading music from YouTube to a USB flash drive. By following these simple instructions, you’ll be able to enjoy your favorite tunes anytime, anywhere.
Step 1: Find a reliable YouTube video to MP3 converter
The first step in downloading music from YouTube to a USB flash drive is to find a reliable YouTube video to MP3 converter. There are numerous online converters available, but it’s essential to choose one that is safe, trustworthy, and offers high-quality conversions.
When searching for a converter, consider factors such as user reviews, website security, and the converter’s reputation. Look for converters that are free to use and don’t require any software installation.
Some popular YouTube to MP3 converters include “OnlineVideoConverter,” “YTMP3,” and “Y2Mate.” These converters are known for their user-friendly interfaces and their ability to deliver MP3 files with excellent audio quality.
Before selecting a converter, make sure it supports the YouTube video format you wish to convert. Additionally, choose a converter that allows you to select the desired audio quality to ensure the best listening experience.
Remember to exercise caution and avoid converters that prompt you to download additional software or ask for personal information. It’s always a good idea to read user reviews and check forums to ensure that the converter you choose is reliable and free from any potential security risks.
Once you’ve found a trustworthy YouTube to MP3 converter, you’re ready to move on to the next step.
Step 2: Copy the YouTube video URL
After finding a reliable YouTube to MP3 converter, the next step is to copy the URL of the YouTube video you want to convert. The URL contains the unique web address of the video that will be used by the converter to extract the audio.
To copy the YouTube video URL, follow these simple steps:
- Go to YouTube and search for the video you want to download the audio from.
- Once you’ve found the desired video, click on the address bar at the top of the browser to select the URL.
- Right-click on the URL and choose the “Copy” option from the context menu, or simply press “Ctrl + C” on your keyboard.
Alternatively, some YouTube videos have a “Share” button directly below the video player. By clicking on the “Share” button, you’ll see the video URL displayed. Clicking on it will automatically copy the URL to your clipboard.
Ensure that you have copied the entire URL without any spaces or additional characters. The URL should start with “https://” or “http://” and include the specific YouTube video identifier.
With the YouTube video URL successfully copied, you’re ready to proceed to the next step of converting it into an MP3 file.
Step 3: Convert the YouTube video to MP3
Now that you have the YouTube video URL copied, it’s time to convert it into an MP3 file using the YouTube to MP3 converter you selected.
Follow these simple steps to convert the YouTube video to MP3:
- Open a new tab or window in your web browser and navigate to the YouTube to MP3 converter website you chose.
- Paste the copied YouTube video URL into the converter’s designated input box. You can do this by right-clicking in the input box and selecting “Paste” or pressing “Ctrl + V”.
- Select the desired audio quality for your MP3 file. Some converters offer various options, such as high-quality or standard-quality audio.
- Click on the “Convert” or “Start” button to initiate the conversion process. The converter will begin extracting the audio from the YouTube video and converting it into an MP3 file.
- Keep in mind that the conversion process may take a few moments, depending on the length of the video and the speed of your internet connection. Be patient and wait for the conversion to complete.
Once the conversion is finished, the YouTube to MP3 converter will provide a download link or button for your converted MP3 file.
It’s important to note that some converters may require you to provide an email address or solve a captcha before allowing you to download the MP3 file. If prompted, follow the instructions provided by the converter to access your converted file.
With the YouTube video successfully converted to an MP3 file, you’re ready for the next step of downloading the file to your computer.
Step 4: Download the MP3 file to your computer
After converting the YouTube video to an MP3 file, you need to download it to your computer before transferring it to a USB flash drive.
Follow these steps to download the MP3 file:
- Locate the download link or button provided by the YouTube to MP3 converter after the conversion process is complete.
- Click on the download link or button. This will prompt the file to begin downloading to your computer.
- Choose the destination folder on your computer where you want to save the MP3 file. It’s recommended to select a location that is easily accessible and memorable, such as the “Music” folder.
- Wait for the download to complete. The length of the download will depend on the file size and your internet connection speed.
- Once the download is finished, navigate to the chosen destination folder, and ensure that the MP3 file has been successfully downloaded.
Now that you have the MP3 file saved on your computer, you’re ready to proceed to the next step of transferring it to a USB flash drive.
Step 5: Connect the USB flash drive to your computer
In order to transfer the downloaded MP3 file from your computer to a USB flash drive, you need to first connect the USB flash drive to your computer.
Follow these steps to connect the USB flash drive:
- Locate an available USB port on your computer. USB ports are typically rectangular slots found on the front, back, or sides of your computer tower or along the sides of a laptop.
- Gently insert the USB connector of the flash drive into the USB port. Ensure that it is inserted fully, but be careful not to force it. The flash drive should slide in smoothly without any resistance.
- Once the flash drive is connected, your computer should detect it and automatically install any necessary drivers. You may see a notification or hear a sound indicating that the flash drive has been recognized.
- Depending on your computer’s operating system, you may also see a pop-up window or a new drive icon appear in your file explorer, representing the USB flash drive. Take note of the assigned drive letter (e.g., E:, F:, or G:).
It’s important to ensure that the USB flash drive is compatible with your computer’s operating system. Most modern USB flash drives support both Windows and Mac systems, but it’s always good to check the compatibility beforehand if you are unsure.
With the USB flash drive successfully connected to your computer, you are now ready to move on to the next step and transfer the MP3 file to the flash drive.
Step 6: Copy the downloaded MP3 file to the USB flash drive
Now that you have the downloaded MP3 file on your computer and the USB flash drive connected, it’s time to transfer the file to the flash drive.
Follow these steps to copy the downloaded MP3 file to the USB flash drive:
- Open a new file explorer window on your computer. You can usually do this by clicking on the folder icon in your taskbar or by pressing the “Windows key + E” on your keyboard.
- Navigate to the location on your computer where the downloaded MP3 file is saved. This is the folder you selected during the download process.
- Locate the MP3 file and right-click on it. A context menu will appear.
- Select the “Copy” option from the context menu. Alternatively, you can also use the keyboard shortcut “Ctrl + C” to copy the file.
- In the file explorer window, navigate to the USB flash drive. Look for the drive letter associated with the flash drive (e.g., E:, F:, or G:).
- Right-click on an empty space within the flash drive window and select the “Paste” option from the context menu. Alternatively, you can use the keyboard shortcut “Ctrl + V” to paste the file.
- Your computer will start copying the MP3 file to the USB flash drive. The duration of the copy process will depend on the file size and the speed of your computer.
- Once the copy process is complete, double-check that the MP3 file appears in the USB flash drive window. Ensure that the file size and file name match the original downloaded file on your computer.
It’s important to note that during the copy process, it’s best not to remove the USB flash drive or perform any other actions on your computer that may interrupt the transfer. Doing so may result in a partial or corrupted file transfer.
With the MP3 file successfully copied to the USB flash drive, you’re ready to safely remove the flash drive from your computer.
Step 7: Safely remove the USB flash drive from your computer
After successfully copying the MP3 file to the USB flash drive, it’s crucial to follow the proper procedure to safely remove the flash drive from your computer. This helps protect the integrity of the data and ensures no data loss or corruption occurs.
Follow these steps to safely remove the USB flash drive:
- Close any file explorer windows that display the contents of the USB flash drive.
- Locate the “Safely Remove Hardware” or “Eject” icon in the system tray. It is usually located in the bottom right corner of the taskbar on Windows or the menu bar at the top of the screen on Mac.
- Click on the “Safely Remove Hardware” or “Eject” icon to open the list of connected devices.
- Identify the USB flash drive you want to remove from the list. It should be listed by its associated drive letter (e.g., E:, F:, or G:).
- Click on the USB flash drive in the list to select it.
- Wait for your computer to notify you that it’s safe to remove the USB flash drive. The notification message may vary depending on your computer’s operating system.
- Once you receive confirmation that it’s safe to remove the flash drive, gently and carefully pull it out of the USB port.
It’s important to note that abruptly removing a USB flash drive without following the proper ejection process can lead to data corruption or loss. Safely removing the flash drive ensures that any data in the cache or pending write operations are completed before being disconnected.
By properly ejecting the USB flash drive, you prevent potential damage and ensure the longevity of both the flash drive and the stored MP3 file.
Congratulations! You have successfully downloaded music from YouTube to a USB flash drive. You can now enjoy your favorite songs wherever you go, whether it’s in your car, on a portable audio player, or any other device that supports USB connectivity.
Conclusion
Downloading music from YouTube to a USB flash drive allows you to create a portable library of your favorite songs. By following the step-by-step guide provided, you can easily convert YouTube videos to MP3 files and transfer them to a USB flash drive.
Remember, the key steps in the process are finding a reliable YouTube video to MP3 converter, copying the YouTube video URL, converting the video to MP3, downloading the MP3 file to your computer, connecting the USB flash drive to your computer, copying the MP3 file to the flash drive, and safely removing the flash drive from your computer.
By using a trustworthy converter, you ensure the audio quality of the MP3 files is at its best. Additionally, remember to always respect copyright laws and only download content that you have the rights to reproduce and distribute.
Now that you’ve learned how to download music from YouTube to a USB flash drive, you can enjoy your favorite tunes on the go. Whether you want to listen to music in your car, share it with friends, or have a backup of your favorite songs, having them readily available on a USB flash drive provides convenience and versatility.
So, gather your favorite YouTube videos, follow the steps outlined in this guide, and start creating your personalized music collection on a USB flash drive. Happy listening!