Introduction
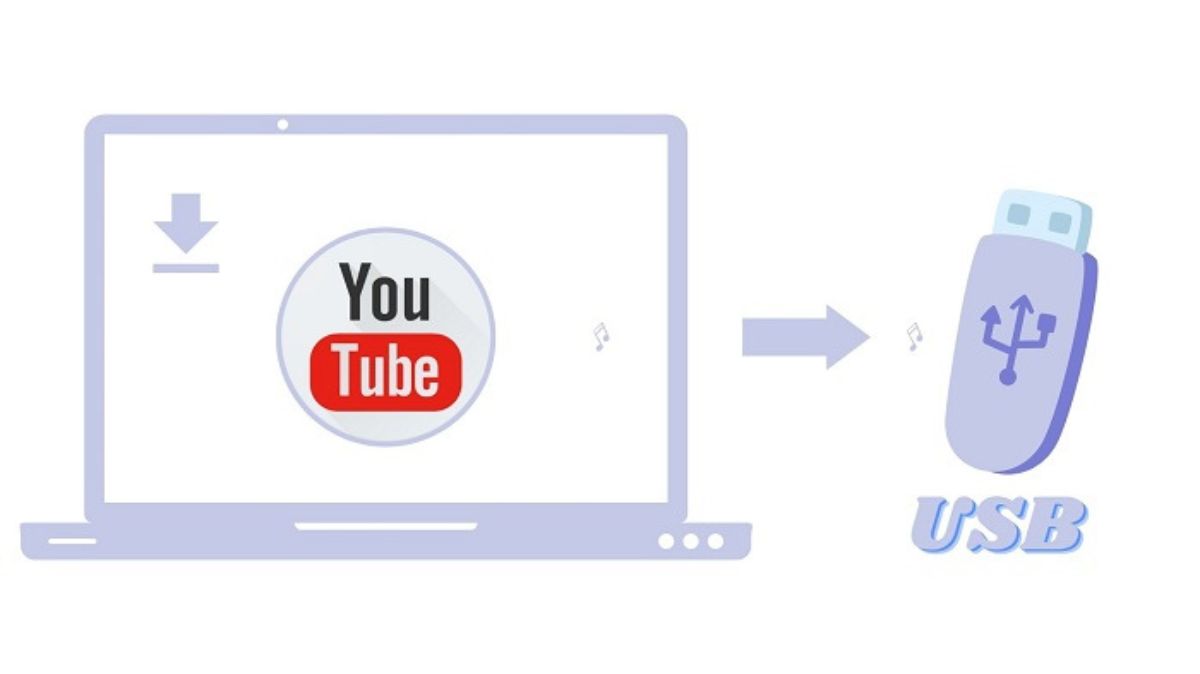
Welcome to this guide on how to download music from YouTube to a flash drive. YouTube is an amazing platform for discovering and enjoying music, but sometimes you may want to have your favorite songs offline and easily accessible on a flash drive. This can be particularly useful when you’re on the go, without an internet connection, or simply prefer to have your music collection stored on a physical device.
In this article, we will walk you through the step-by-step process of downloading music from YouTube and transferring it to a flash drive. We will cover the essential tools and techniques you need to accomplish this task effectively. So, whether you want to create a personalized playlist for your car or have your favorite tunes handy for a road trip, this tutorial will help you achieve just that.
Before we dive into the steps, it is important to note that downloading music from YouTube may infringe upon copyright laws. While some videos on YouTube may be available for free download and personal use, it is always best to check the copyright status of the content before proceeding. Additionally, be sure to use this knowledge responsibly and respect the rights of content creators.
Now that we’ve covered the necessary groundwork, let’s get started with the first step: finding a reliable YouTube to MP3 converter.
Step 1: Find a reliable YouTube to MP3 converter
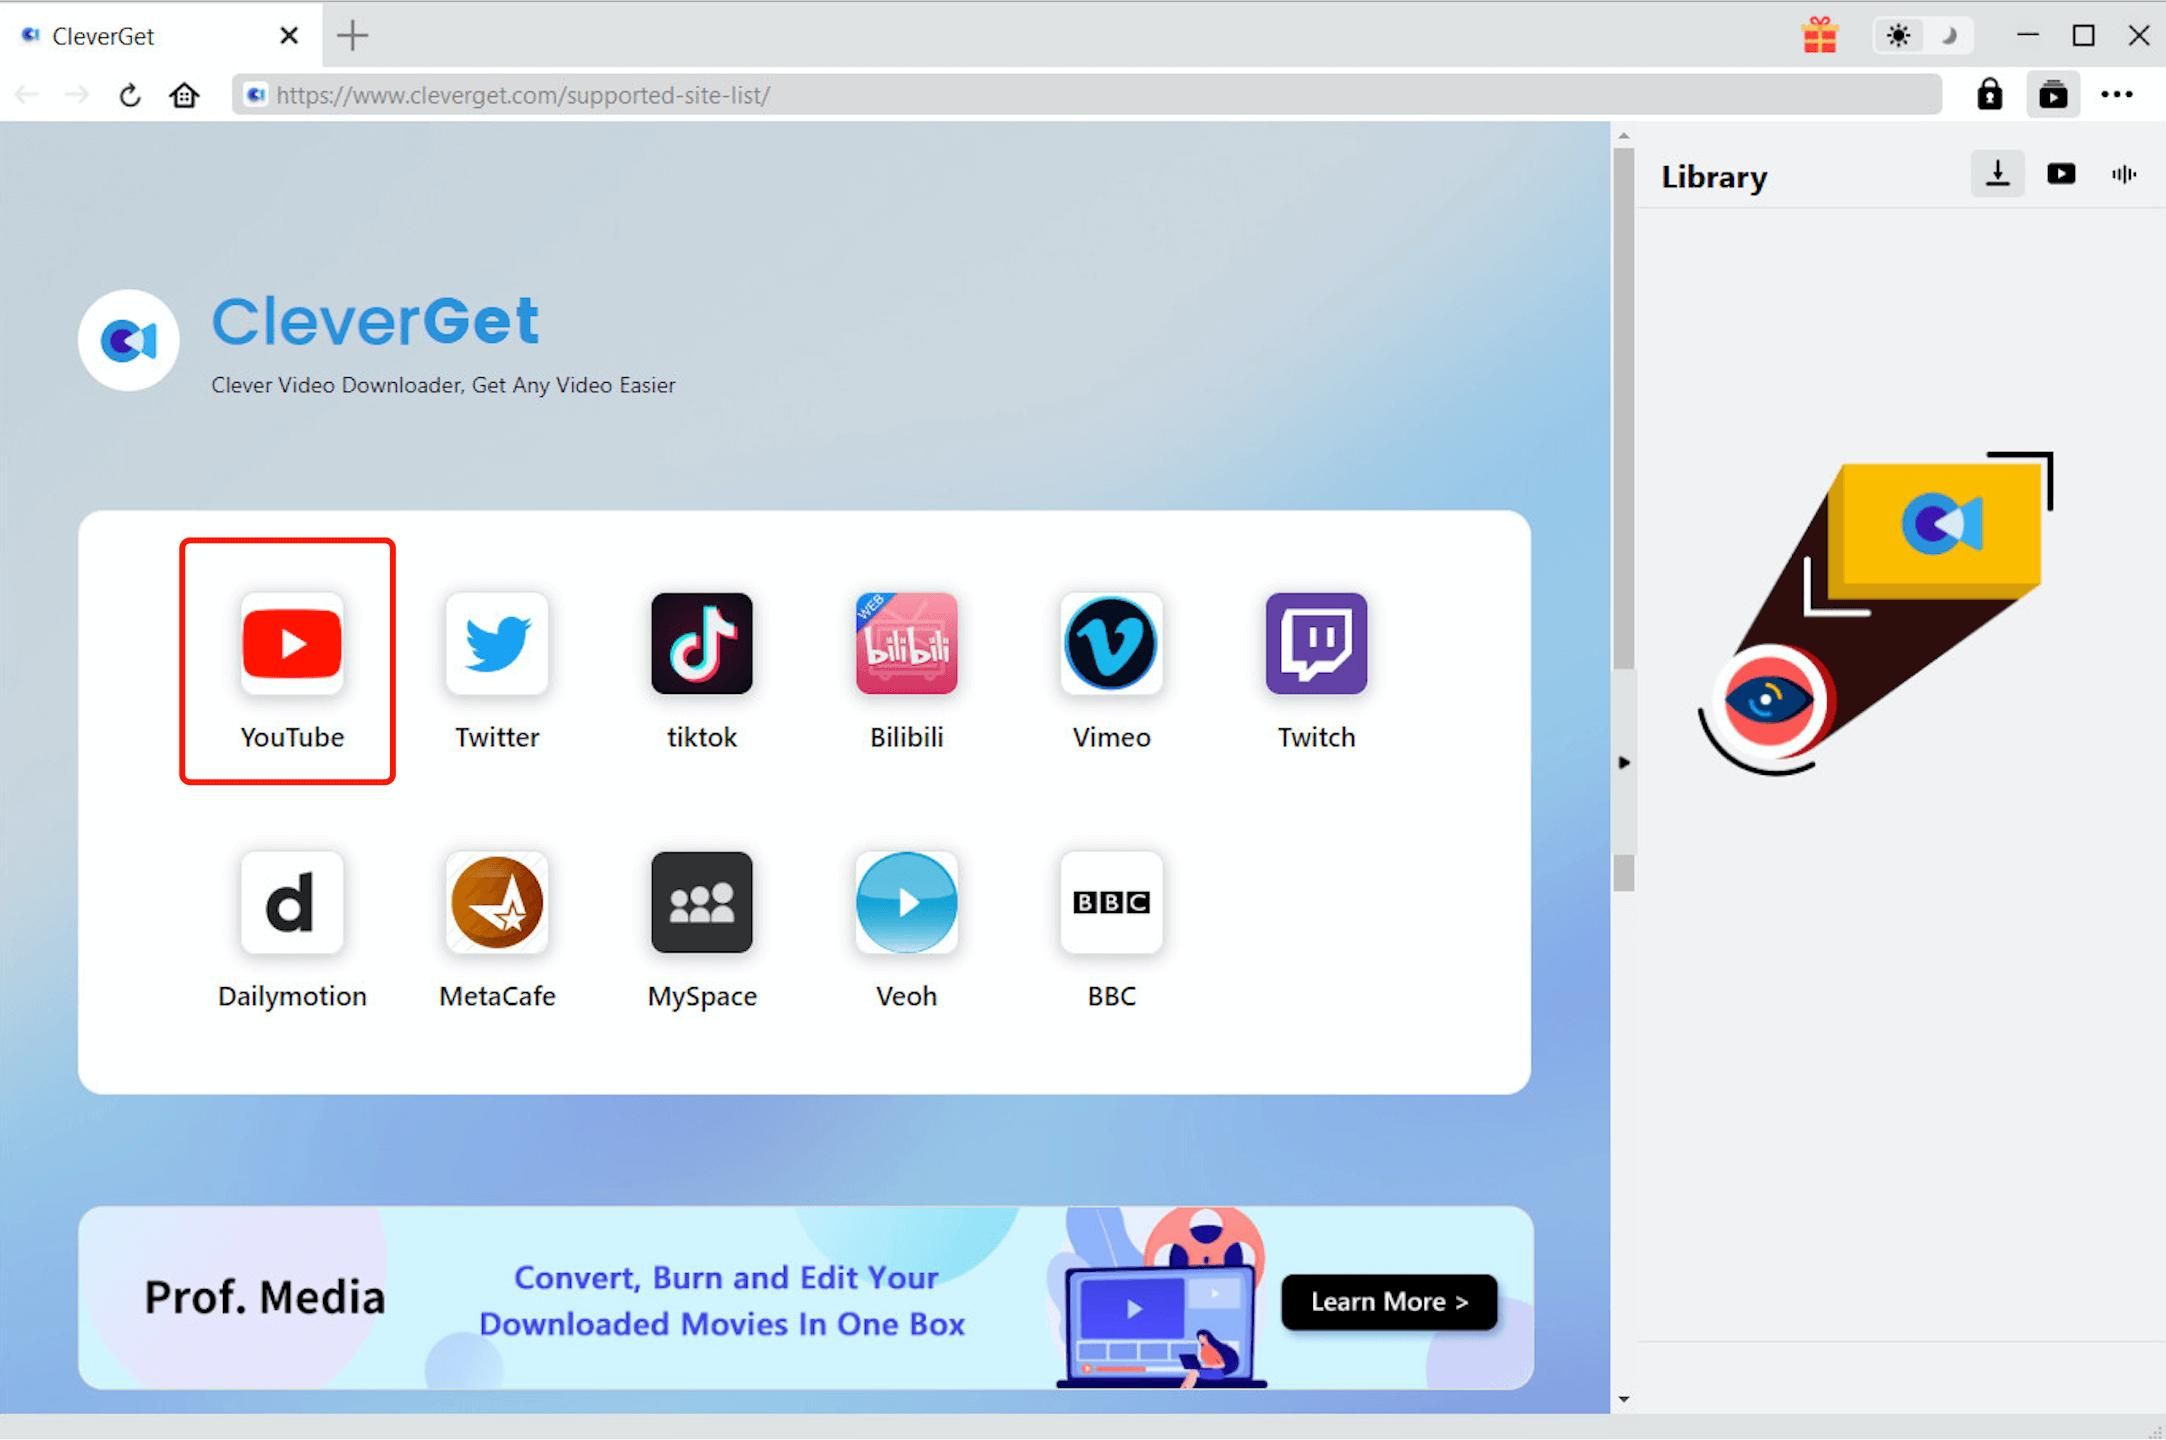
The first step in downloading music from YouTube to a flash drive is to find a reliable YouTube to MP3 converter. These converters are online tools that allow you to convert YouTube videos into audio files in MP3 format. There are numerous converters available, so it’s important to choose one that is reputable, user-friendly, and offers high-quality conversions.
When searching for a YouTube to MP3 converter, consider the following factors:
- Reputation: Look for converters that have good reviews and a positive reputation among users. You can read reviews and testimonials online to get an idea of the converter’s reliability.
- Usability: Opt for a converter that is easy to navigate and doesn’t require any complex installations or registrations. A user-friendly interface makes the conversion process much more straightforward.
- Conversion speed: Some converters may take a considerable amount of time to convert YouTube videos into MP3 files. Look for converters that offer fast and efficient conversions.
- Audio quality: The quality of the converted MP3 file is crucial for an enjoyable listening experience. Choose a converter that offers high-quality audio outputs.
- Additional features: Some converters may offer additional features, such as the ability to trim or edit the audio file. Consider whether these features are important to you.
Once you have selected a YouTube to MP3 converter that meets your requirements, proceed to the next step: copying the YouTube video URL.
Step 2: Copy the YouTube video URL
After finding a reliable YouTube to MP3 converter, the next step is to copy the URL of the YouTube video that contains the music you want to download. The video URL is the web address displayed in the browser’s address bar while you are watching the video on YouTube.
To copy the YouTube video URL, follow these steps:
- Open a web browser (such as Google Chrome, Mozilla Firefox, or Safari) on your computer or mobile device.
- Navigate to the YouTube website by typing “www.youtube.com” in the address bar and pressing Enter.
- Search for the video that contains the music you want to download. You can either use the YouTube search bar to find specific videos or browse through channels and playlists.
- Once you have found the desired video, click on it to open and start playing.
- While the video is playing, look at the browser’s address bar, where you will find the URL of the video. It usually starts with “https://www.youtube.com/watch?v=” followed by a unique combination of letters and numbers.
- Click inside the address bar to select the entire URL, or you can right-click on the URL and choose “Copy” from the context menu.
- Alternatively, you can also use the “Share” button beneath the YouTube video player to copy the video URL. This button usually looks like a curved arrow and brings up a sharing menu with the option to copy the URL.
Once you have successfully copied the YouTube video URL, move on to the next step: pasting the URL into the converter.
Step 3: Paste the URL into the converter
Now that you have copied the YouTube video URL, it’s time to paste it into the YouTube to MP3 converter of your choice. The converter will then process the URL and extract the audio from the video, converting it into an MP3 file that you can download.
Follow these steps to paste the YouTube video URL into the converter:
- Open a new tab or window in your web browser.
- Go to the website of the YouTube to MP3 converter you have selected.
- Look for a designated input field or box where you can paste the YouTube video URL. It may be labeled as “Video URL” or “Paste URL”.
- Click inside the input field to place your cursor, then right-click and select “Paste” from the context menu. Alternatively, you can use the keyboard shortcut Ctrl+V (Windows) or Command+V (Mac) to paste the URL.
- Double-check that the pasted URL matches the YouTube video you want to convert. Ensure that there are no additional characters or spaces in the URL.
- Some converters may also provide an option to directly search for the YouTube video within the converter’s website. In this case, you can enter the video’s title or relevant keywords in the search field instead of pasting the URL.
- Once you have pasted the YouTube video URL or performed a search, click on the “Convert” or “Start” button to begin the conversion process.
The converter will now start extracting the audio from the YouTube video and converting it into an MP3 file. The time it takes to convert the video will depend on the length and size of the video, as well as the speed of your internet connection. Once the conversion is complete, you can proceed to the next step: choosing the desired format and quality.
Step 4: Choose the desired format and quality
After pasting the YouTube video URL into the converter and initiating the conversion process, you will typically have the option to choose the desired format and quality for the MP3 file. Different converters may offer varying options, but the most common selections include the audio format (MP3) and the audio quality.
Follow these steps to choose the desired format and quality for your MP3 file:
- Once the conversion process has started, you will be directed to a new page or pop-up window that displays the conversion settings.
- Look for the section or drop-down menu that allows you to choose the audio format. Select “MP3” or “Audio” from the available options. This ensures that the YouTube video will be converted into an MP3 file, which is compatible with most devices and media players.
- Next, find the section or slider that allows you to select the audio quality. Typically, you will be presented with options such as low quality (128 kbps), standard quality (192 kbps), or high quality (320 kbps). The higher the quality, the better the audio will sound, but keep in mind that higher quality files may also take up more storage space.
- Consider your preferences and the device on which you plan to play the downloaded MP3 file. If you are unsure, you can select the standard quality option, as it provides a good balance between file size and audio quality.
- The converter may also offer additional settings or customization options, such as the ability to remove silence or adjust the volume of the converted audio. Feel free to explore these options if they are available and relevant to your needs.
- Once you have selected the desired format and quality settings, proceed to the next step to initiate the conversion and download process.
Now that you have chosen the format and quality for your MP3 file, you’re ready to move on to the next step: starting the conversion process.
Step 5: Start the conversion process
With the desired format and quality selected for your MP3 file, it’s time to start the conversion process. This step will initiate the conversion of the YouTube video into an MP3 file based on your chosen settings.
Follow these steps to start the conversion process:
- After finalizing the format and quality options, look for the “Convert” or “Start” button on the converter interface. This button is typically prominently displayed and labeled as such.
- Click on the “Convert” or “Start” button to initiate the conversion process. The converter will begin processing the YouTube video URL and extracting the audio to convert it into an MP3 file.
- Depending on the length and size of the YouTube video, as well as the speed of your internet connection, the conversion process may take some time. Be patient and allow the converter to complete the task.
- While the conversion is in progress, do not close the browser window or tab. Stay on the converter’s webpage or keep the window open to ensure the process completes successfully.
- Some converters may display a progress bar or percentage indicator to show the status of the conversion. This can give you an estimate of how much longer the process will take.
- Once the conversion is complete, the converter will provide a notification or display a message indicating that the MP3 file is ready for download.
Now that the YouTube video has been successfully converted into an MP3 file, you can proceed to the next step: downloading the MP3 file to your computer.
Step 6: Download the MP3 file to your computer
After the conversion process is complete, you can now download the MP3 file to your computer. The downloaded file can then be transferred to your flash drive for easy access and portability.
Follow these steps to download the MP3 file to your computer:
- Look for the download button or link on the converter’s webpage. This button is usually labeled as “Download” or will display an arrow pointing downwards.
- Click on the download button to start the download process.
- A file download dialog box will appear, asking you to choose a location on your computer to save the MP3 file. You can select a specific folder or save it directly to your desktop for easy access.
- Once you have chosen the desired location, click on “Save” to begin the download. The MP3 file will be saved to the specified location on your computer.
- Depending on the size of the MP3 file and the speed of your internet connection, the download may take a few moments to complete. The progress of the download may be indicated by a progress bar or percentage counter.
- Once the download is finished, navigate to the folder or location where the MP3 file was saved on your computer. You should see the downloaded file with a .mp3 file extension.
- At this stage, you can listen to the MP3 file on your computer to ensure that the audio quality meets your expectations. Double-click on the file, and it will typically open in your computer’s default media player.
Now that you have successfully downloaded the MP3 file to your computer, you can proceed to the next step: inserting the flash drive into your computer.
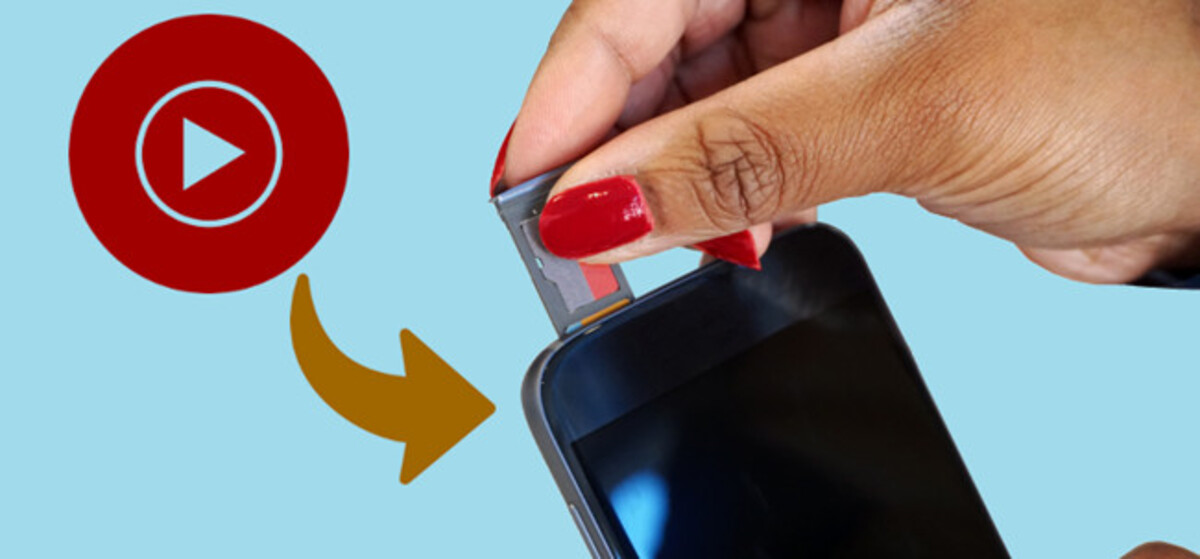
Step 7: Insert the flash drive into your computer
With the MP3 file downloaded to your computer, it’s time to insert the flash drive to transfer the file and make it portable. A flash drive, also known as a thumb drive or USB drive, provides a convenient way to store and carry files with you wherever you go.
Follow these steps to insert the flash drive into your computer:
- Locate an available USB port on your computer. USB ports are typically rectangular-shaped and can be found on the front, back, or sides of your computer tower. Laptops usually have USB ports on the sides or back of the device.
- Take the flash drive and carefully insert it into the USB port. Make sure the orientation is correct; the USB connector should fit smoothly into the port without forcing it.
- You may feel a slight resistance when inserting the flash drive, but it should smoothly slide in without excessive force. Avoid using excessive pressure, which could damage the flash drive or the USB port.
- Once the flash drive is inserted, your computer should recognize it and display a notification indicating the successful connection. The flash drive may also appear as a removable storage device in your computer’s file explorer or desktop.
- Before proceeding to the next step, it’s essential to ensure that the flash drive is properly recognized by your computer. You can double-check by opening the file explorer or desktop and checking if the flash drive is listed as one of the available drives.
- If the flash drive is properly recognized, you are ready to proceed to the next step. If not, try removing and reinserting the flash drive or using a different USB port on your computer.
Now that the flash drive is securely inserted into your computer and recognized, you can proceed to the next step: locating the downloaded MP3 file on your computer.
Step 8: Locate the downloaded MP3 file on your computer
After inserting the flash drive into your computer, the next step is to locate the downloaded MP3 file on your computer. This will allow you to easily transfer the file to the flash drive and make it accessible for portable use.
Follow these steps to locate the downloaded MP3 file on your computer:
- If the download window is still open after completing the download, you may see the downloaded MP3 file listed there. From the download window, you can right-click on the file and select “Show in Folder” or “Open Containing Folder” to directly access the file’s location.
- Alternatively, open the file explorer or finder on your computer. This can be done by clicking the “File Explorer” or “Finder” icon on your taskbar or by searching for “File Explorer” or “Finder” in your computer’s search bar.
- In the file explorer or finder, navigate to the folder or location where you chose to save the MP3 file during the download process. This location could be your desktop, the “Downloads” folder, or any other folder you specified during the download.
- In the folder, look for the MP3 file with the appropriate file name and the .mp3 file extension. The file name may be the same as the video’s title or a generated name provided by the converter.
- Once you have located the MP3 file, you can verify that it is the correct file by checking its size and duration, which should match the video’s audio content.
- At this point, you can listen to the MP3 file on your computer to ensure that it plays correctly and meets your expectations. Double-click on the file, and it should open and play in your computer’s default media player.
Now that you have successfully located the downloaded MP3 file on your computer, you can proceed to the next step: moving the MP3 file to the flash drive.
Step 9: Move the MP3 file to the flash drive
With the downloaded MP3 file located on your computer, it’s time to transfer it to the flash drive. Moving the MP3 file to the flash drive will make it easily accessible for portable use on different devices and in various settings.
Follow these steps to move the MP3 file to the flash drive:
- Open the file explorer or finder on your computer and locate the MP3 file you want to transfer.
- Connect the flash drive to your computer if it isn’t already connected. Ensure that it is properly inserted and recognized by your computer.
- In the file explorer or finder, navigate to the flash drive. It will typically be listed as a separate drive or device.
- Drag and drop the MP3 file from its current location on your computer into the folder of the flash drive. Alternatively, you can right-click on the MP3 file, select “Copy,” navigate to the flash drive, right-click in the folder, and select “Paste.”
- The file transfer process will begin, and you may see a progress bar indicating the status of the transfer. The duration of the transfer will depend on the size of the MP3 file and the speed of your computer and flash drive.
- Once the transfer is complete, you should see the MP3 file listed in the folder of the flash drive.
- To ensure that the file transfer was successful, you can safely remove the flash drive from your computer and then insert it back in. Open the flash drive and check that the transferred MP3 file is present and accessible.
- You can also double-click on the MP3 file on the flash drive to play it and confirm that it plays correctly without any issues.
Now that you have successfully moved the MP3 file to the flash drive, you can proceed to the final step: safely ejecting the flash drive from your computer.
Step 10: Safely eject the flash drive from your computer
After transferring the MP3 file to the flash drive, it is important to safely eject the flash drive from your computer. This ensures that all data is written to the flash drive and reduces the risk of data corruption or loss.
Follow these steps to safely eject the flash drive from your computer:
- Make sure that all file transfer operations involving the flash drive are complete. Ensure that no files are currently being copied or moved between your computer and the flash drive.
- In the taskbar of your computer, look for the “Safely Remove Hardware and Eject Media” icon. This icon may appear as a USB symbol or a hardware icon.
- Click on the “Safely Remove Hardware and Eject Media” icon to open the menu.
- A list of removable devices, including the flash drive, will be displayed. Locate the flash drive in the list.
- Click on the flash drive’s name in the list to select it for ejection.
- Once selected, a notification will appear, indicating that it is safe to remove the flash drive from your computer. This notification ensures that all data has been written and that the flash drive is no longer in use.
- Now, physically remove the flash drive from your computer. Gently pull it out of the USB port, taking care not to force or apply excessive pressure.
- At this point, the MP3 file has been successfully transferred to the flash drive, and the flash drive can be safely used on other devices or carried with you wherever you go.
Now that you have safely ejected the flash drive from your computer, you have completed the process of downloading music from YouTube to a flash drive. You can now enjoy your favorite songs on the go or listen to them in various settings without the need for an internet connection.
Conclusion
Downloading music from YouTube to a flash drive provides you with the flexibility to enjoy your favorite songs offline and on different devices. By following the step-by-step process outlined in this guide, you can convert YouTube videos into MP3 files and transfer them to a flash drive with ease.
We began by finding a reliable YouTube to MP3 converter that meets your requirements in terms of reputation, usability, conversion speed, audio quality, and additional features. Then, we copied the YouTube video URL and pasted it into the converter to initiate the conversion process. We explored options to choose the desired format and quality for the MP3 file, considering the compatibility of the format and the balance between audio quality and file size.
After starting the conversion process, we downloaded the MP3 file to our computer and located it in the file explorer or finder. With the flash drive inserted into the computer, we moved the MP3 file to the flash drive to make it portable and easily accessible. Finally, we safely ejected the flash drive from the computer to ensure all data was written and minimize the risk of data corruption.
Now, armed with the knowledge and steps outlined in this guide, you can enjoy your music collection from YouTube in a convenient and portable manner. Remember to always respect copyright laws and use this knowledge responsibly. Happy listening!