Introduction
Welcome to the world of digital music! With the abundance of online streaming platforms and the convenience of digital downloads, it’s easier than ever to enjoy your favorite songs on the go. But what if you want to have your music collection on a portable device, like a flash drive? Well, you’re in luck! In this article, we will guide you through the process of downloading music to a flash drive, so you can have your music library at your fingertips wherever you go.
Whether you want to transfer music from your computer to a flash drive for backup purposes or simply to play it on a car stereo, the steps involved are relatively straightforward. You’ll need a few things to get started: a flash drive with enough storage capacity to accommodate your music files, a computer with an internet connection, and the desire to embark on this musical adventure!
By following the step-by-step instructions provided, you will learn how to choose the right flash drive, find and download your favorite tunes, connect the flash drive to your computer, create a folder for organization, transfer music files, and safely eject the flash drive when you’re done. So let’s dive in and explore the wonderful world of downloading music to a flash drive!
Step 1: Choose and Format Your Flash Drive
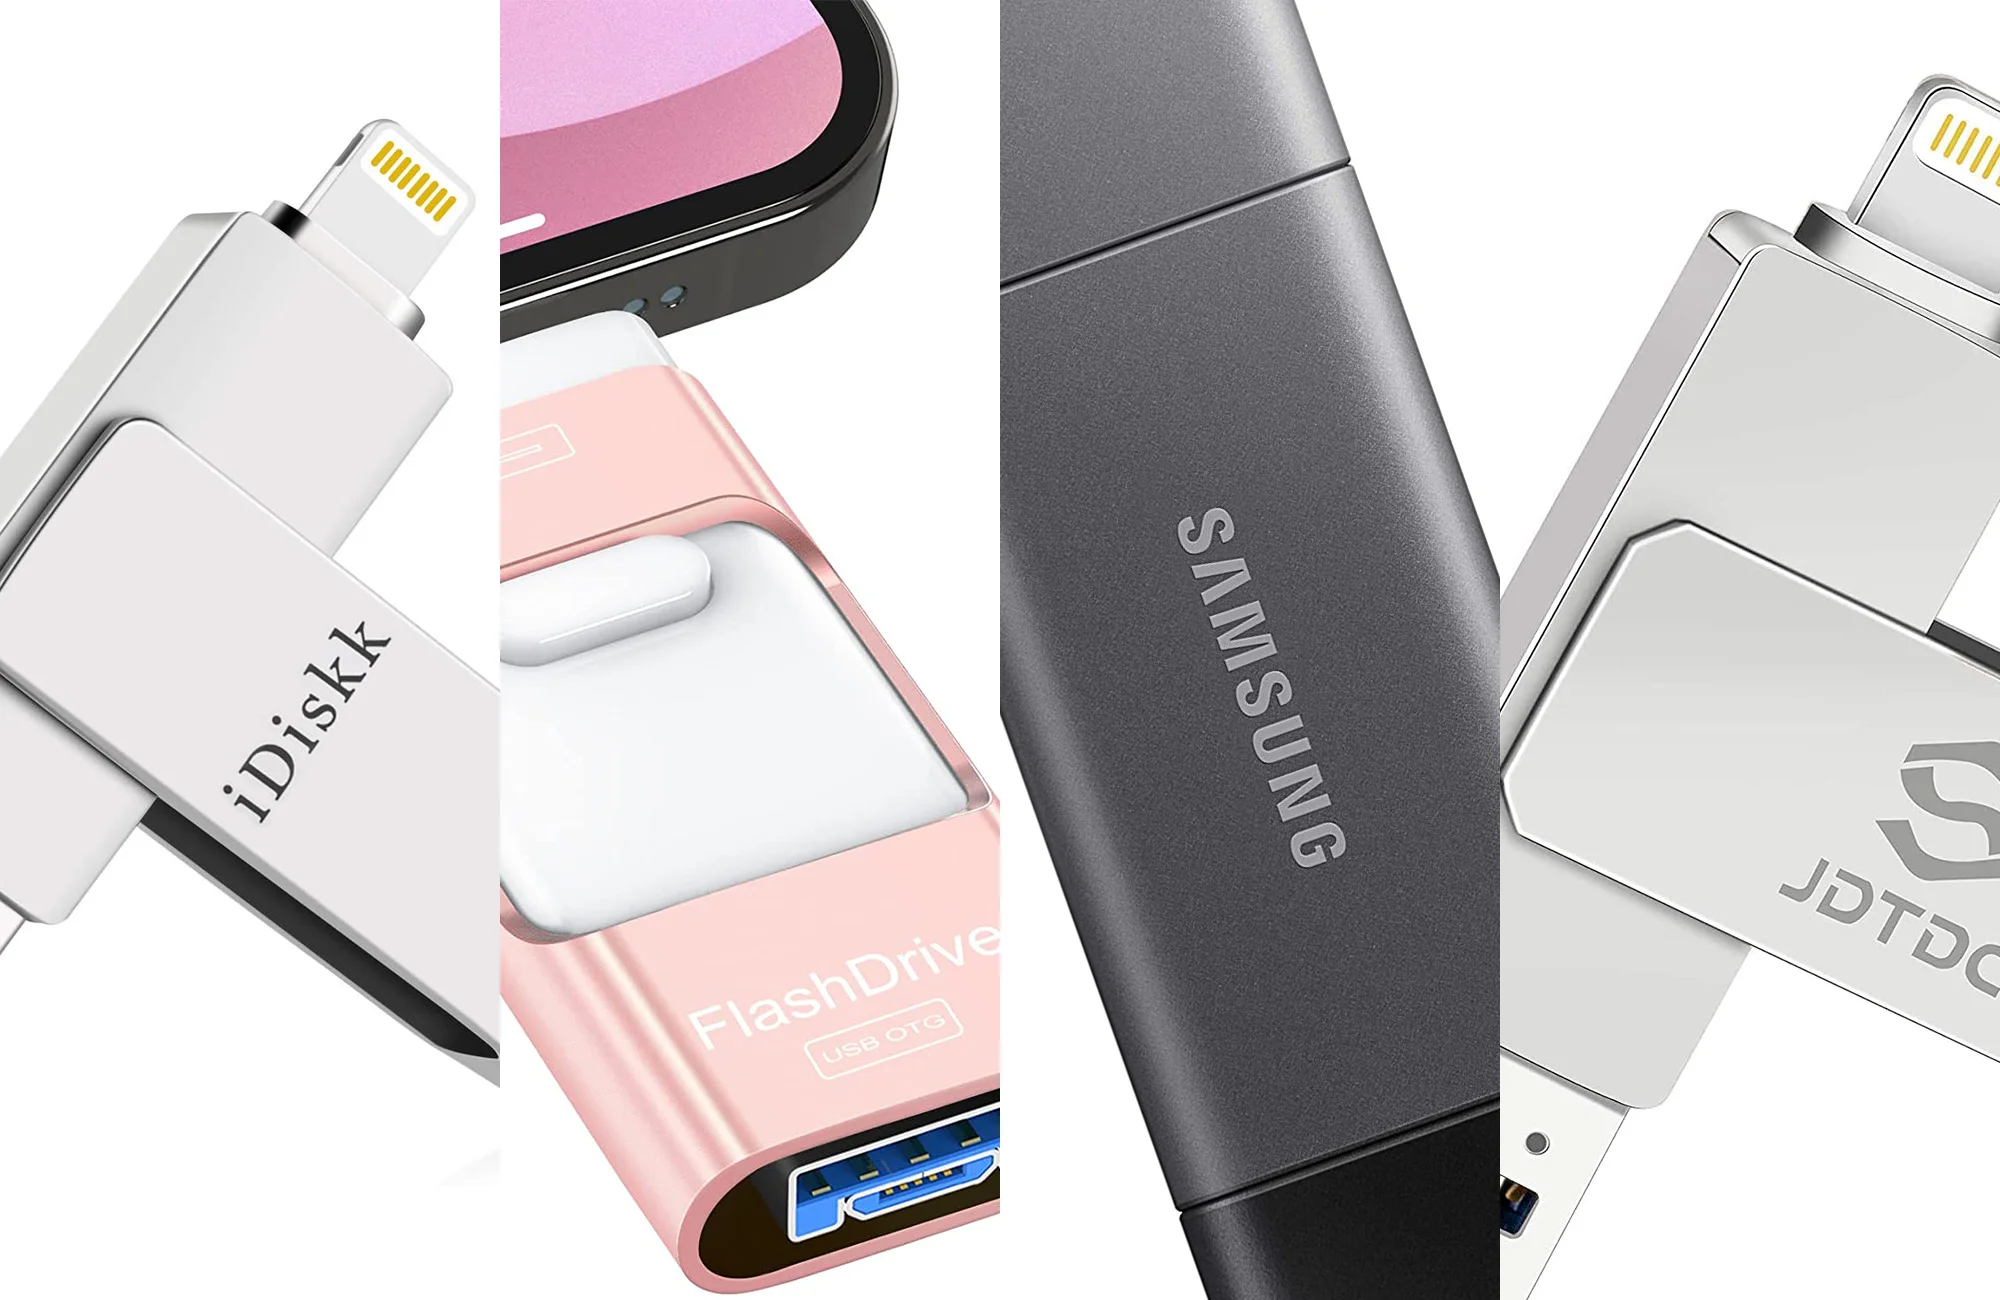
The first step in downloading music to a flash drive is to choose the right one for your needs. Flash drives, also known as thumb drives or USB drives, come in various storage capacities, ranging from a few gigabytes (GB) to several terabytes (TB). Consider the size of your music collection and select a flash drive with enough storage space to accommodate your files.
When it comes to formatting your flash drive, it’s essential to ensure compatibility with both your computer and the devices you plan to use it with. Most flash drives are preformatted with the FAT32 file system, which is compatible with both Windows and Mac operating systems. However, if your flash drive is larger than 32GB, you may need to format it using the exFAT or NTFS file systems to overcome the limitations of FAT32.
Formatting a flash drive erases all existing data, so be sure to back up any important files before proceeding. To format your flash drive, simply connect it to your computer, open the File Explorer (Windows) or Finder (Mac), right-click on the flash drive, and select the “Format” option. Choose the desired file system, give your flash drive a name, and click “Format” to begin the process. Once the formatting is complete, you’re ready to start downloading music!
Keep in mind that formatting may vary slightly depending on your operating system and device. If you’re unsure about the process, consult the manufacturer’s instructions or seek assistance from a reliable source.
Step 2: Find and Download Music Files
Now that you have your flash drive ready, it’s time to find and download the music files you want to transfer. There are several ways to acquire music files, and it largely depends on your personal preferences and legal considerations. Here are a few methods to consider:
1. Purchase and Download: Many online music stores, such as iTunes and Amazon Music, offer a wide selection of songs for purchase. Simply browse the store, find the songs or albums you want, and follow the prompts to download them onto your computer. Make sure to choose a location on your computer where you can easily locate the downloaded files.
2. Stream and Download: If you subscribe to a music streaming service like Spotify or Apple Music, you may have the option to download songs for offline listening. Look for the download or save offline feature within the app and choose the songs or playlists you want to download. These files are typically encrypted and can only be played within the streaming app.
3. Free Music Websites: There are websites that offer free and legal music downloads, such as Jamendo and SoundCloud. Explore these platforms to discover independent and upcoming artists who are willing to share their music for non-commercial use. Be sure to read the licensing terms and conditions to ensure proper usage and attribution.
Once you have obtained the music files on your computer, locate the downloaded files in the designated folder. You may need to extract the files if they are compressed in a zip format. To do this, simply right-click on the downloaded folder and select the “Extract” or “Unzip” option. Ensure that you extract the files to a location on your computer where you can easily access them.
Remember to respect copyright laws and only download music files from legal and authorized sources. Unauthorized downloading or piracy is not only illegal but also undermines the hard work and creativity of artists.
Step 3: Connect Your Flash Drive to Your Computer
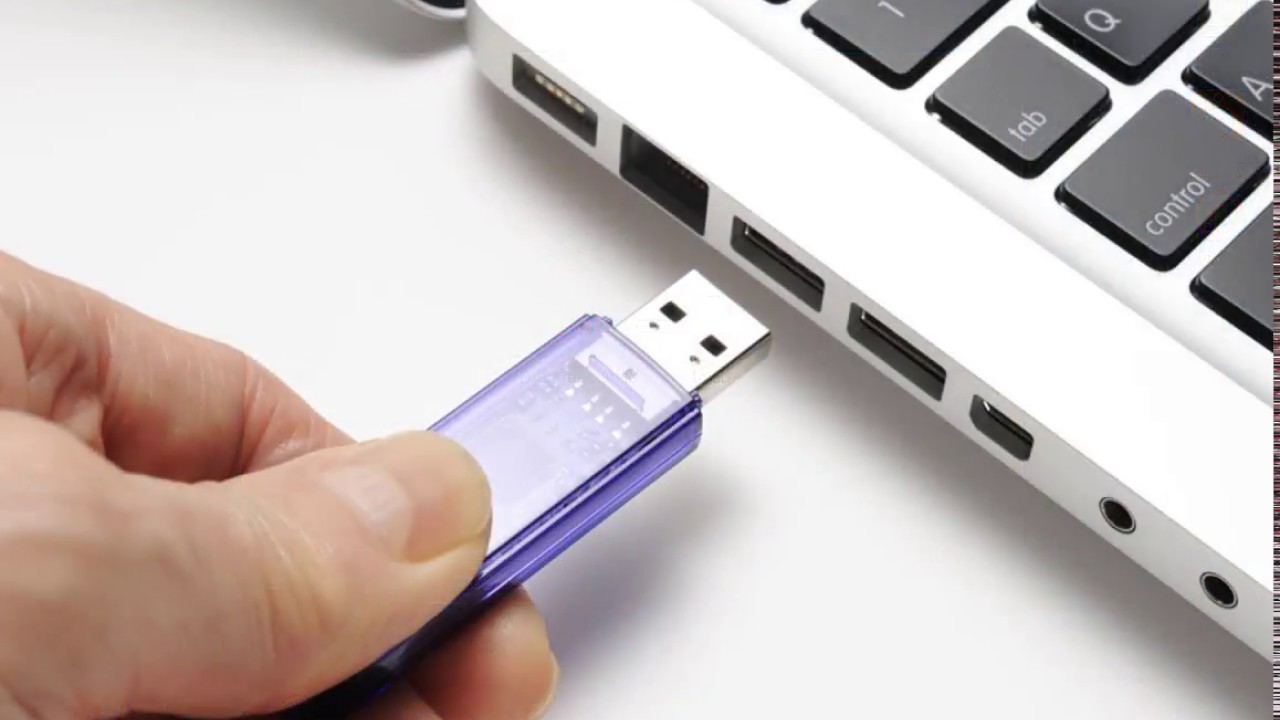
With your music files ready on your computer, it’s time to connect your flash drive. Insert one end of the USB connector into an available USB port on your computer. The connector should fit snugly into the port, but avoid applying excessive force.
Depending on the type of flash drive you have, it may have a protective cap that you need to remove before connecting it. Keep the cap in a safe place to prevent it from getting lost.
Once your flash drive is connected, your computer should recognize it and assign it a drive letter. In most cases, this will be displayed in the File Explorer (Windows) or Finder (Mac) window. Take note of the drive letter or name as you will be using it in the next steps.
If your flash drive doesn’t show up automatically, try disconnecting and reconnecting it to another USB port. If it still doesn’t appear, there may be an issue with the flash drive or the USB port on your computer. Try using another flash drive or consult a professional for further assistance.
It’s important to ensure that your flash drive is properly connected before proceeding to the next steps. A secure connection will enable smooth data transfer and prevent any potential data loss.
Now that your flash drive is connected to your computer, you’re ready to move on to the next step of creating a folder on your flash drive to organize your downloaded music files.
Step 4: Create a New Folder on Your Flash Drive
Now that your flash drive is connected to your computer, the next step is to create a new folder on the flash drive where you will store your downloaded music files. Creating a folder will help keep your music organized and make it easier to find specific songs or albums.
To create a new folder, open the File Explorer (Windows) or Finder (Mac) window and locate your flash drive in the list of available drives. It is usually labeled with the assigned drive letter or name.
Right-click on the flash drive and select the “New Folder” option from the drop-down menu. A new folder will be created with a default name, such as “New Folder” or “Untitled Folder.” You can rename the folder by right-clicking on it and selecting the “Rename” option. Choose a descriptive name for the folder that reflects the content it will contain, such as “Music” or “My Music Collection.”
It’s worth mentioning that you can also create subfolders within the main music folder to further organize your files. For example, you may create subfolders based on genres, artists, or playlists. This hierarchical structure will make it even easier to navigate and find your favorite songs.
Take a moment to double-check that the folder has been created successfully and that it appears on your flash drive. This will ensure that your downloaded music files have a designated place to reside and prevent them from getting mixed up with other files.
Now that your folder is ready, it’s time to move on to the exciting step of transferring the downloaded music files to your flash drive folder.
Step 5: Transfer the Downloaded Music Files to the Folder
With your flash drive connected and the folder created, it’s time to transfer the downloaded music files from your computer to the flash drive. Follow these steps to ensure a successful transfer:
- Open the folder on your computer where you saved the downloaded music files. It’s recommended to keep this folder open for easy access.
- Open a separate File Explorer (Windows) or Finder (Mac) window and locate your flash drive in the list of available drives.
- Drag and drop the music files from the download folder to the folder on your flash drive. Alternatively, you can right-click on the selected music files and choose the “Copy” option. Then, navigate to the flash drive folder, right-click inside the folder, and select the “Paste” option.
- Depending on the size of the music files and the speed of your computer, the transfer process may take some time. Be patient and avoid interrupting the transfer to ensure that all files are copied successfully.
- Once the transfer is complete, double-check that the music files have been successfully transferred to the folder on your flash drive. You can do this by opening the folder and confirming that all the desired music files are present.
It’s important to note that the transfer process may vary slightly depending on your operating system and the specific software you are using. However, the general principles of dragging and dropping or copying and pasting files remain the same.
To optimize the organization of your music files, consider maintaining a consistent naming convention for your songs and albums. This will make it easier to find specific songs and ensure a cohesive library structure.
Now that your music files are safely stored on your flash drive, it’s time to proceed to the final step of safely ejecting the flash drive from your computer.
Step 6: Safely Eject Your Flash Drive
After successfully transferring your music files to the flash drive, it’s crucial to follow the proper procedure to safely eject the device from your computer. Ejecting your flash drive ensures that all data is written and saved correctly, reducing the risk of data corruption or loss.
Follow these steps to safely eject your flash drive:
- Ensure that all file transfer operations involving the flash drive are complete. Make sure no files are currently being accessed or transferred.
- Locate the system tray on your computer. On Windows, it is typically located at the bottom-right corner of the screen, while on Mac, it is located at the top-right corner.
- Look for the “Safely Remove Hardware” or “Eject” icon in the system tray. The icon may resemble a USB connector or a removal drive symbol.
- Click on the “Safely Remove Hardware” or “Eject” icon, and a list of connected devices, including your flash drive, will appear.
- Select your flash drive from the list and click on the “Eject” option next to it.
- Wait for the system to confirm that it is safe to remove the device. This message indicates that all ongoing read/write operations have been completed and that it is now safe to physically remove the flash drive.
- Gently remove the flash drive from the USB port by carefully pulling it out.
By following these steps, you can prevent data loss or damage to your flash drive and ensure the integrity of your music files.
It’s important to note that forcibly removing the flash drive without following the proper ejection process can lead to data corruption or loss. Additionally, abruptly disconnecting the flash drive may result in physical damage to the USB port or the flash drive itself.
With your flash drive safely ejected, you can now enjoy your favorite music on any device that supports USB playback. Simply connect your flash drive to the device, select the desired songs or playlists, and let the music play!
Conclusion
Congratulations! You have successfully learned how to download music to a flash drive. By following the step-by-step instructions provided in this article, you can now take your music collection with you wherever you go. Whether you want to enjoy your favorite tunes in your car, on a portable music player, or even share your music library with friends, a flash drive offers the convenience and portability you need.
Remember to choose and format the right flash drive for your needs, find and download music files from legal sources, connect your flash drive to your computer, create a folder to organize your music, transfer the downloaded files to the flash drive, and safely eject the device before removing it from your computer.
By properly organizing and storing your music files on a flash drive, you can save valuable space on your computer’s hard drive and have a portable backup of your music collection. Whether you’re taking a road trip, going to the gym, or working on a project, having your favorite songs at your fingertips enhances the overall experience.
As technology continues to evolve, new methods for obtaining and enjoying music may emerge. However, the process of downloading music to a flash drive remains a reliable and convenient option for music enthusiasts. Whether you’re a casual listener or a dedicated music aficionado, the ability to have your music library stored on a flash drive is a valuable asset.
We hope this guide has been helpful in assisting you with downloading music to a flash drive. Now, go ahead and start building your personalized music collection on your flash drive, and enjoy the convenience of having your favorite songs always at your side!