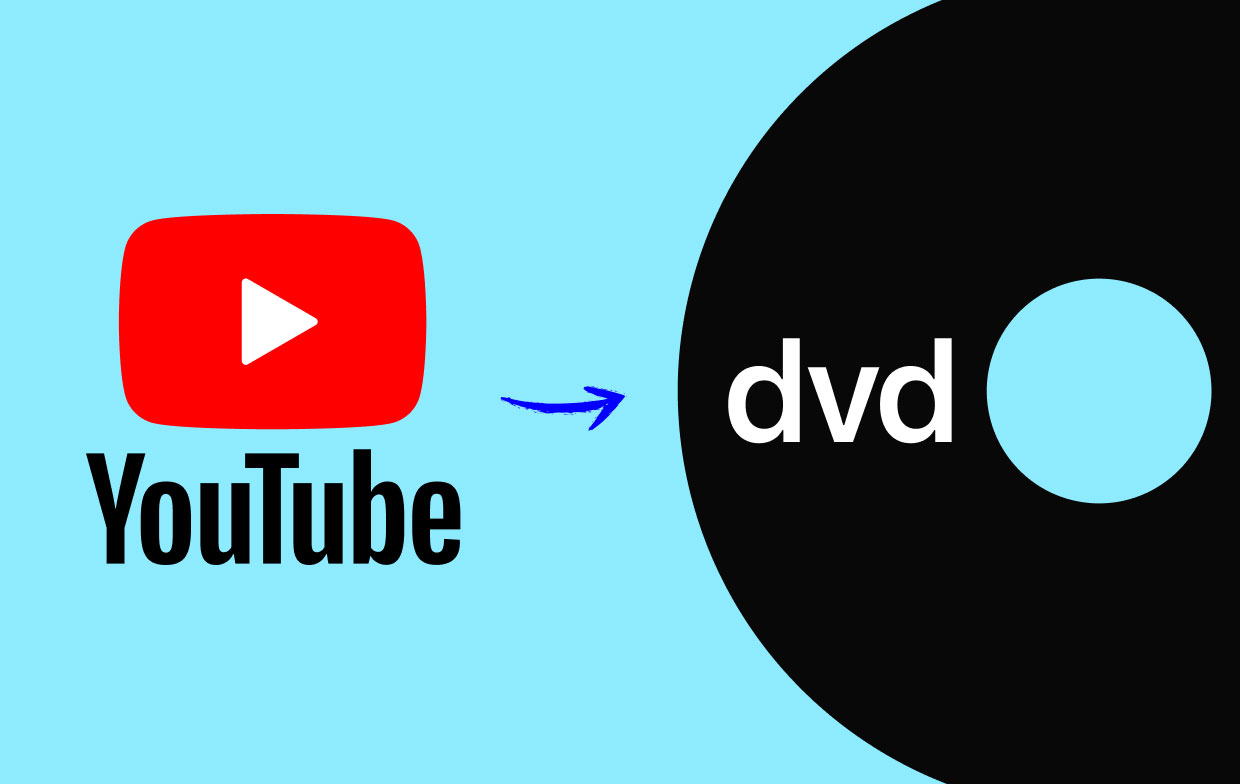
Introduction
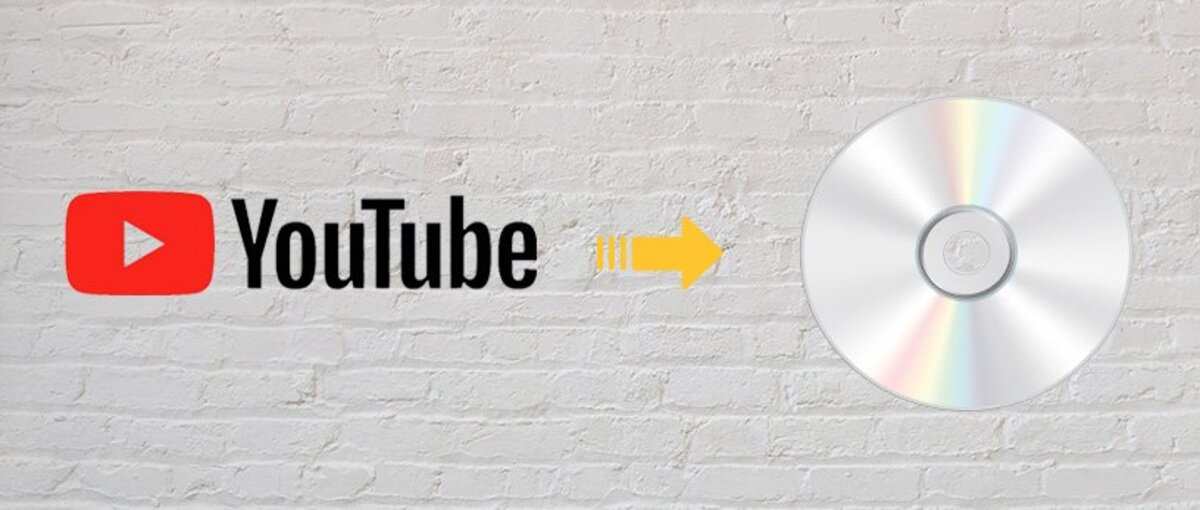
Are you a music lover who prefers to have your favorite tracks in a more accessible format? YouTube, being the vast repository of music that it is, is a popular platform for discovering and enjoying your favorite songs. However, not always being connected to the internet means you can’t always listen to your favorite tunes. That’s where downloading and burning music from YouTube comes in handy.
In this guide, we’ll walk you through the step-by-step process of downloading and burning music from YouTube. By following these simple instructions, you’ll be able to have your favorite songs readily available on your computer or even on a CD that you can play in your car or stereo system.
Please note that downloading music from YouTube videos may violate copyright laws, so it’s essential to ensure you have the necessary permission to download and use the content for personal purposes. Always respect the creators and their rights whenever using and distributing their work.
Additionally, it is important to be aware that YouTube’s terms of service prohibit the unauthorized downloading of videos. While the following techniques involve converting YouTube videos to audio files, be mindful of the legal implications and use them responsibly and for personal use only.
With that being said, let’s dive into the step-by-step process of downloading and burning music from YouTube, so you can enjoy your favorite songs anytime, anywhere.
Step 1: Finding the right YouTube video to download
The first step in downloading and burning music from YouTube is to find the right video that contains the song you want to download. YouTube is home to a vast collection of music videos, live performances, and audio tracks from various artists and genres. Here’s how you can find the perfect video to download:
- Start by opening the YouTube website or app on your computer or mobile device.
- Use the search bar at the top of the page to enter the name of the song or artist you’re looking for.
- YouTube will display a list of relevant videos. Look for the official music video or audio track that best matches your search.
- You can also explore playlists or channels dedicated to music to find a specific song or a collection of songs by your favorite artist.
- Once you’ve found the video you want to download, click on it to open and play it.
It’s important to note that there are numerous YouTube channels and videos that upload unauthorized or low-quality content. To ensure you’re downloading the best version of the song, prioritize official music videos or tracks from reputable channels or the artist’s official channel.
Once you’ve found the right YouTube video to download, you’re ready to move on to the next step, where we’ll learn how to convert the video into an MP3 file.
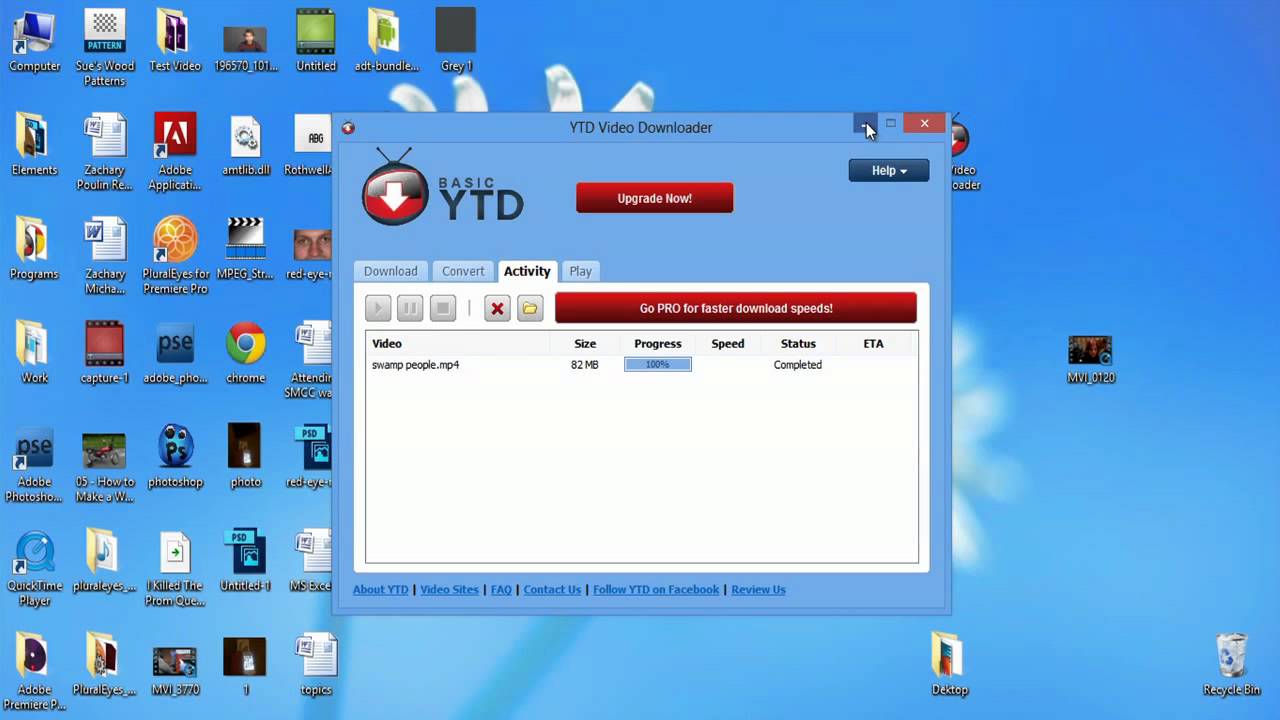
Step 2: Using a YouTube to MP3 converter
After finding the desired YouTube video, the next step is to convert it into an MP3 file format. To accomplish this, we’ll make use of a YouTube to MP3 converter. These online tools allow us to extract the audio from the video and save it as an MP3 file that can be easily downloaded. Follow the steps below to convert the YouTube video into an MP3:
- Copy the URL of the YouTube video you want to convert. This can usually be found in the address bar at the top of your browser.
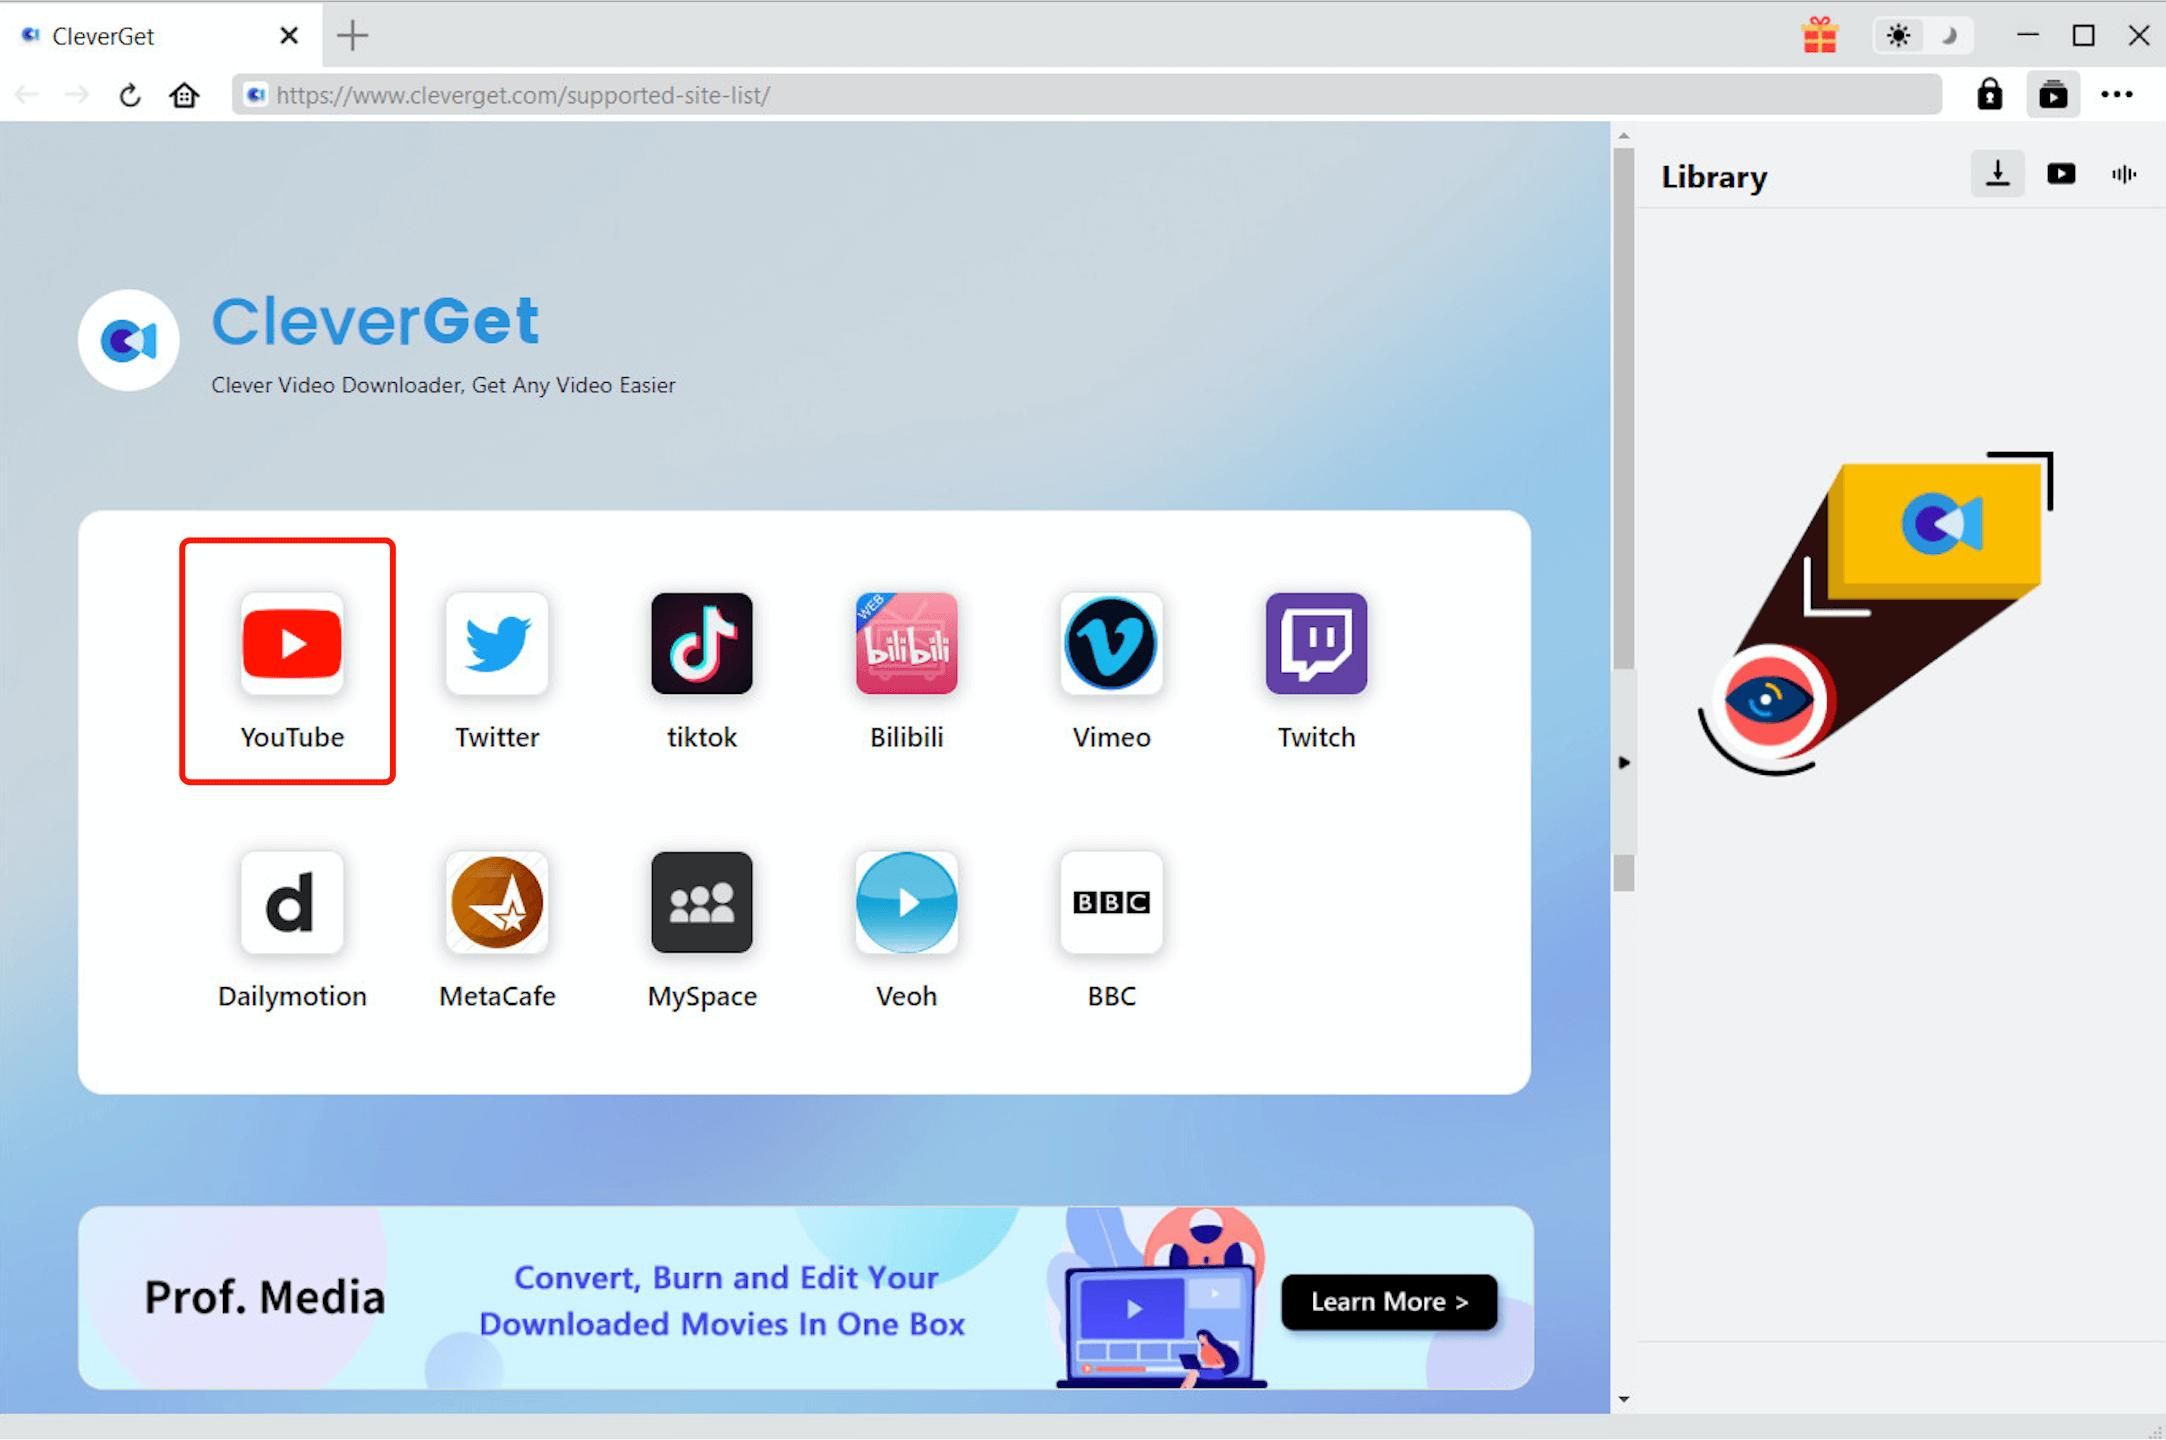
- Open a new tab or window in your web browser and search for a reliable YouTube to MP3 converter. There are many options available, such as YTMP3, 2conv, or YouTubeMP3.io.
- Once you’ve chosen a converter, go to its website and look for a box where you can paste the YouTube video URL.
- Paste the copied YouTube video URL into the designated box on the converter website.
- Next, select the format you want to convert the video to. In this case, choose MP3.
- Click on the “Convert” or “Start” button to begin the conversion process.
- The converter will process the video and extract the audio. This may take a few seconds or minutes depending on the length of the video and the speed of your internet connection.
- Once the conversion is complete, the website will provide a download link for the MP3 file.
- Click on the download link to save the MP3 file to your computer or mobile device.
It’s important to be cautious when using online converters and ensure that you choose a reputable and secure website. Avoid websites that require software installation or ask for personal information. Stick to widely recommended converters to minimize the risk of malware or other security issues.
With the YouTube video successfully converted into an MP3 file, we can now move on to the next step of selecting the desired quality for the download.
Step 3: Choosing the download quality
Once you have converted the YouTube video into an MP3 file, it’s time to decide on the download quality. The download quality refers to the audio bitrate or the level of compression applied to the MP3 file. Higher bitrates generally result in better audio quality but also larger file sizes. Follow these steps to choose the download quality:
- Open the folder or location where you saved the converted MP3 file.
- Right-click on the MP3 file and select “Properties” or “Get Info” (depending on your operating system) to view the file details.
- Look for the “Bitrate” or “Quality” information in the file properties. This will indicate the current quality of the MP3 file.
- Consider your preferences and requirements. If you prioritize audio quality, choose a higher bitrate such as 320 kbps. If you prefer smaller file sizes, you can opt for lower bitrates like 128 kbps or 192 kbps.
- If you’re not satisfied with the current quality, you can consider re-converting the video at a different bitrate using the same YouTube to MP3 converter or try another converter that offers more options.
It’s worth noting that higher bitrate MP3 files generally offer better audio fidelity, particularly when using high-quality audio equipment or listening with discerning ears. However, keep in mind that higher bitrate files will take up more storage space on your device or when burning them onto a CD.
Once you’ve decided on the download quality that suits your needs, it’s time to proceed with the downloading process. In the next step, we’ll cover the process of downloading the MP3 file onto your device from the converter website.
Step 4: Downloading the MP3 file
After choosing the desired download quality for your MP3 file, it’s time to download it onto your device. Follow these steps to complete the downloading process:
- Locate the download link provided on the YouTube to MP3 converter website.
- Click on the download link to initiate the download process.
- A dialog box or pop-up window will appear, asking you to choose a location to save the MP3 file.
- Select a folder or directory on your computer or mobile device where you want to save the downloaded file.
- Click “Save” or “OK” to begin the download process.
- Depending on the speed of your internet connection and the size of the MP3 file, downloading may take a few moments.
- Once the download is complete, navigate to the folder or directory where you saved the MP3 file to confirm the successful download.
It’s important to note that some browsers might automatically save the downloaded file to a default location. If you can’t find the MP3 file in the folder you specified during the downloading process, check your browser’s default download location.
With the MP3 file successfully downloaded onto your device, you are ready to move on to the final step of burning the downloaded music to a CD. Continue reading to learn how.
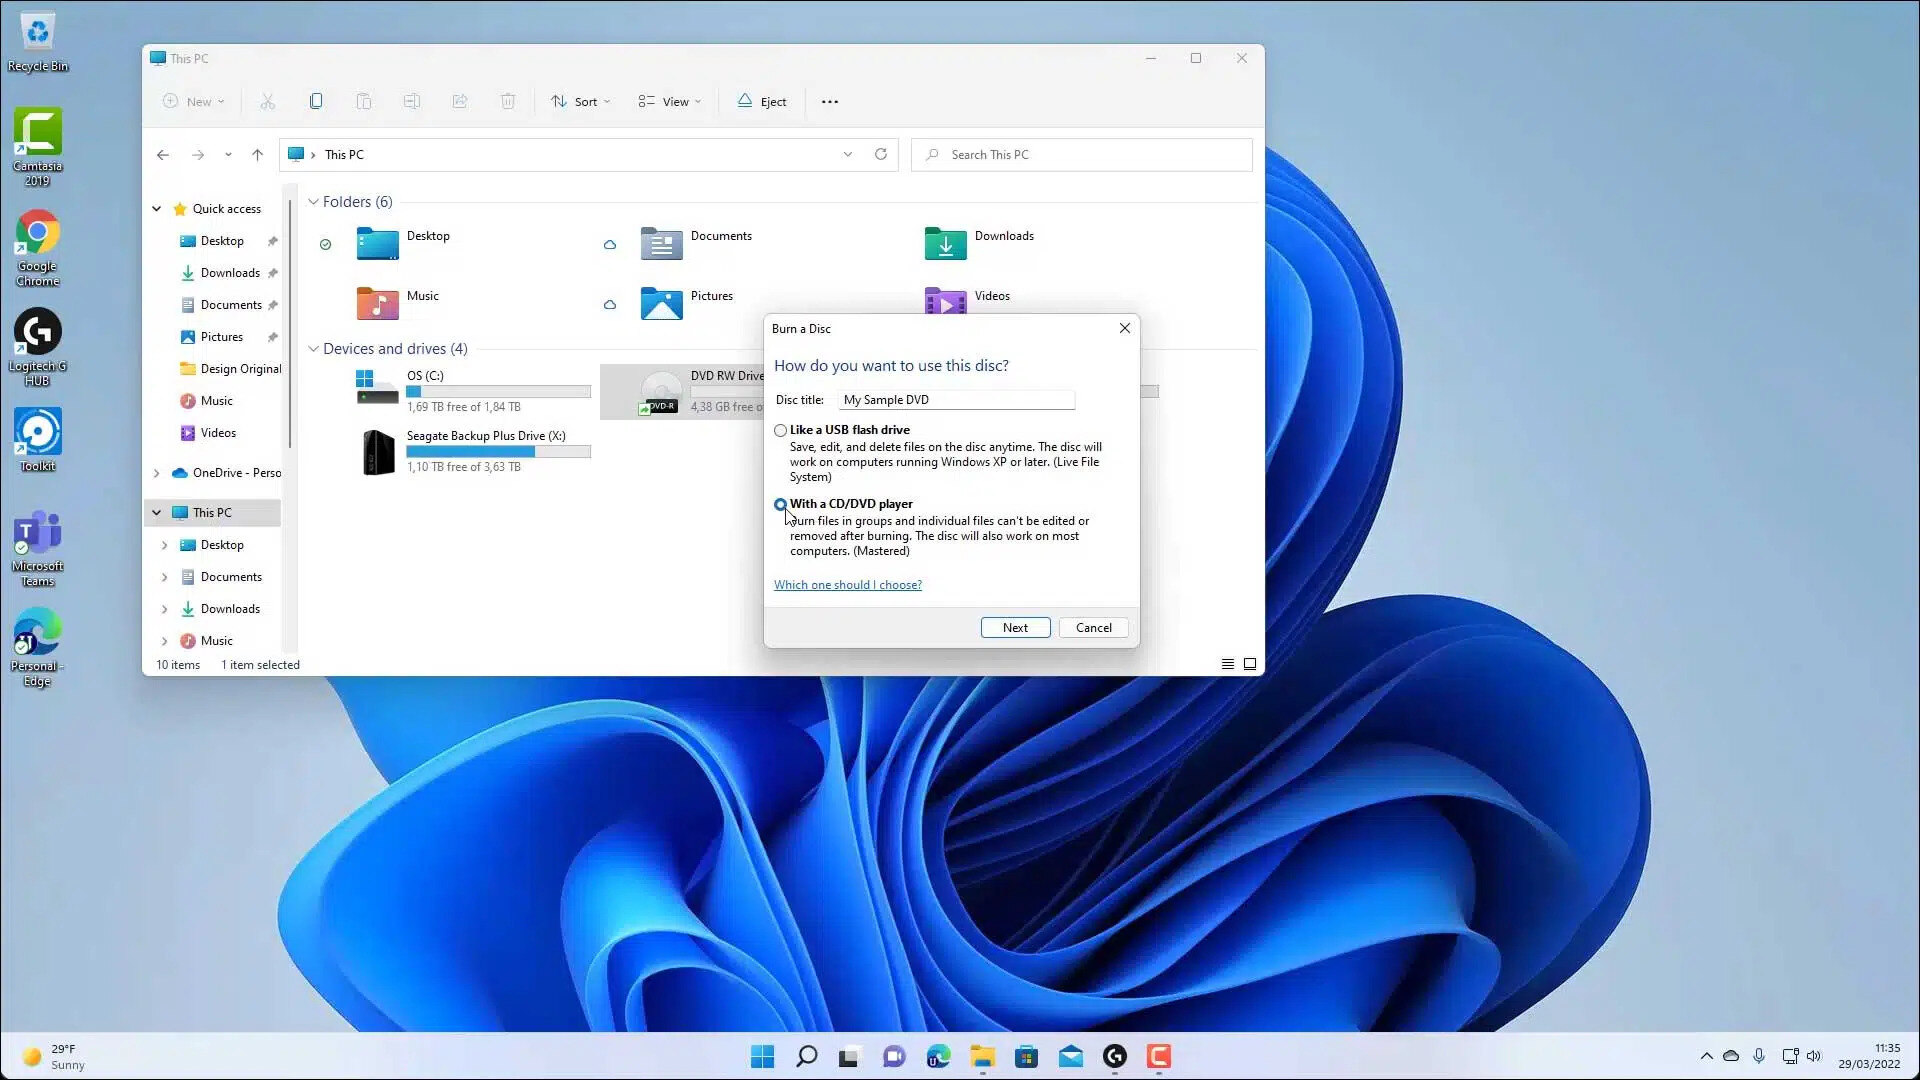
Step 5: Burning the downloaded music to a CD
Once you have the downloaded music in MP3 format, you can proceed to burn it to a CD. Burning music to a CD allows you to create your own compilation or mixtape that can be played in various CD players and car stereos. Follow these steps to burn the downloaded music to a CD:
- Ensure you have a CD-R or CD-RW blank disc and a CD burner drive on your computer. Not all computers come with a built-in CD burner, so you may need to purchase an external CD burner if necessary.
- Insert the blank CD into the CD burner drive on your computer.
- Open your preferred CD burning software. Many operating systems have built-in CD burning software, such as Windows Media Player on Windows or iTunes on macOS.
- Create a new audio CD project in the CD burning software.
- Import the downloaded MP3 files into the CD burning software. Most CD burning software allows you to simply drag and drop the MP3 files into the project window.
- Arrange the order of the songs if desired by dragging and dropping them into the desired sequence.
- Review the total length of the audio compilation to ensure it fits within the capacity of the blank CD. CD-R discs typically have a capacity of 80 minutes.
- Click the “Burn” or “Start Burn” button in the CD burning software to begin the burning process.
- Wait for the burning process to complete. This may take a few minutes, so be patient.
- Eject the burned CD from the CD burner drive when prompted or once the burning process is finished.
It’s important to note that CD-R discs are write-once, meaning once you have burned the music onto the CD, it cannot be altered or overwritten. CD-RW discs, on the other hand, are rewritable and allow you to erase and burn new music multiple times.
Now that you have successfully burned the downloaded music onto a CD, you can proceed to the final step – enjoying your favorite tunes on the burned CD.
Step 6: Playing the burned CD
You’ve made it to the final step – playing the burned CD! Now that you have successfully burned the downloaded music onto a CD, you can enjoy your favorite tracks on various CD players and car stereos. Follow these steps to play the burned CD:
- Ensure you have a CD player or stereo system that supports playing audio CDs.
- Insert the burned CD into the CD tray or slot of the CD player or stereo system.
- Close the CD tray or slot if necessary, and wait for the CD to load.
- Use the controls on the CD player or stereo system to navigate and play the tracks. Most devices have buttons for play, stop, skip, and volume control.
- Enjoy your favorite tunes as they play from the burned CD! You can listen to the tracks in the order you arranged them during the burning process.
Remember to adjust the volume according to your preference and enjoy the high-quality audio that the burned CD provides. You can also use the CD player’s features, such as repeat or shuffle, to customize your listening experience.
It’s worth mentioning that different CD players or stereo systems may have variations in controls and features. Refer to the user manual of your specific device if you encounter any difficulties in playing the burned CD.
Congratulations! You have successfully completed the process of downloading and burning music from YouTube, and you can now enjoy your favorite songs on a physical CD. Whether you’re taking a road trip or hosting a gathering, the burned CD allows you to listen to your favorite music without relying on an internet connection.
Conclusion
In this guide, we’ve explored the step-by-step process of downloading and burning music from YouTube. By following these simple instructions, you can have your favorite songs readily available on your computer or as a physical CD that you can play in CD players or car stereos.
We began by finding the right YouTube video to download, ensuring that we chose the official music video or audio track from a reputable source. Then, we used a YouTube to MP3 converter to convert the video into an MP3 file. Choosing the appropriate download quality allowed us to strike a balance between audio fidelity and file size.
After successfully converting the YouTube video into an MP3 file, we proceeded to download it onto our devices. By carefully selecting the desired location for the downloaded file, we ensured easy access and organization. With the downloaded music in hand, we moved on to the exciting step of burning the music to a CD.
Burning the downloaded music to a CD allowed us to create our own audio compilation, making it convenient to listen to our favorite songs without relying on an internet connection. We followed the steps to burn the music onto a blank CD and verified the success of the burning process.
Finally, we concluded our journey by exploring the joy of playing the burned CD on various CD players and stereo systems. By inserting the CD into the device, we could enjoy our favorite tunes in high-quality audio, with the freedom to control playback using the device’s features and settings.
Remember to always respect copyright laws and obtain the necessary permissions when downloading and using content from YouTube. Additionally, ensure that you use reputable YouTube to MP3 converters and take caution when downloading files from the internet.
Now that you have the knowledge and steps to download and burn music from YouTube, go ahead and create your personalized music collection. So, grab your favorite songs, follow the guide, and enjoy your music wherever you go!