Introduction
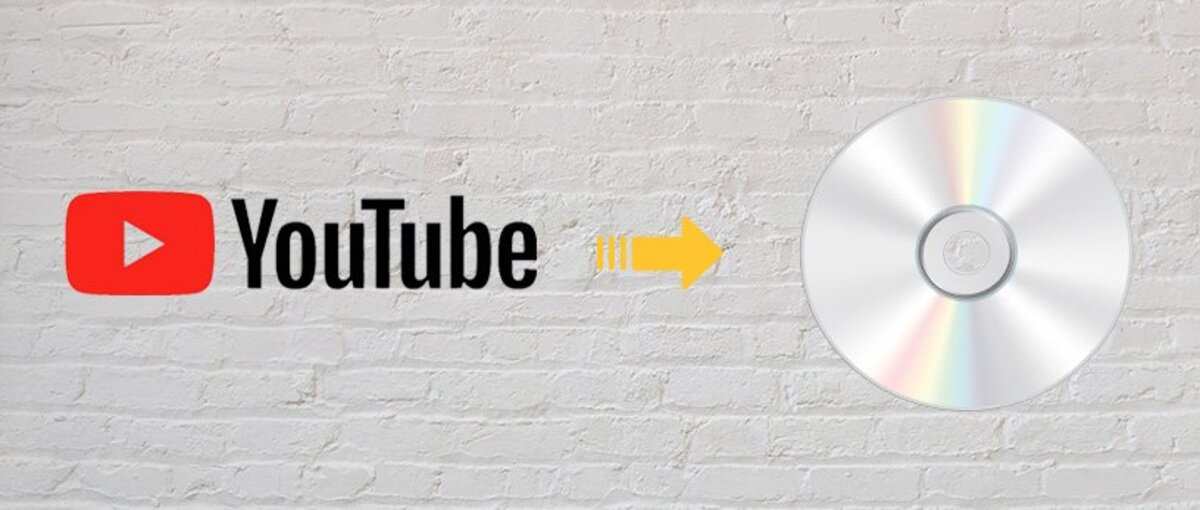
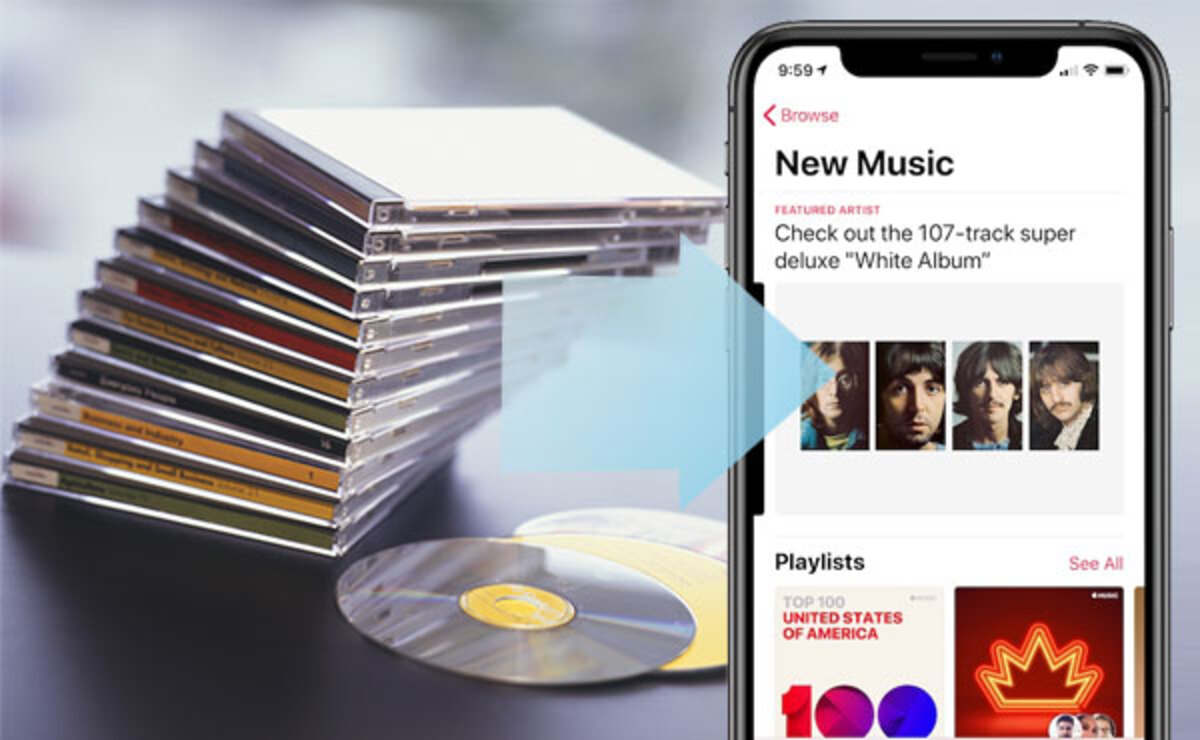
Welcome to our comprehensive guide on how to download songs onto a CD! Whether you’re an avid music lover, looking to create a personalized mixtape for a road trip, or simply want to have a physical copy of your favorite songs, burning songs onto a CD is a convenient and enjoyable process.
In this guide, we’ll take you through each step of the process, from gathering the necessary equipment to organizing and burning the CD. By the end of this article, you’ll be ready to create your own music compilation that you can enjoy anytime, anywhere.
With the rise of digital music platforms and streaming services, physical CDs may seem like a thing of the past. However, there’s still something special about creating a personalized collection of songs that can be played in your car, at home, or shared with friends and family. Plus, burning your own CD allows you to have full control over the songs you include and the order in which they are played.
Before we dive into the step-by-step process, it’s important to note that downloading music from the internet should only be done using legal and authorized sources. Respect copyright laws and make sure you have the right to download and burn the songs onto a CD.
Now, let’s get started on this musical journey and learn how to download songs onto a CD!
Step 1: Gathering the Necessary Equipment
Before you begin the process of downloading songs onto a CD, you’ll need to gather the necessary equipment. Here’s what you’ll need:
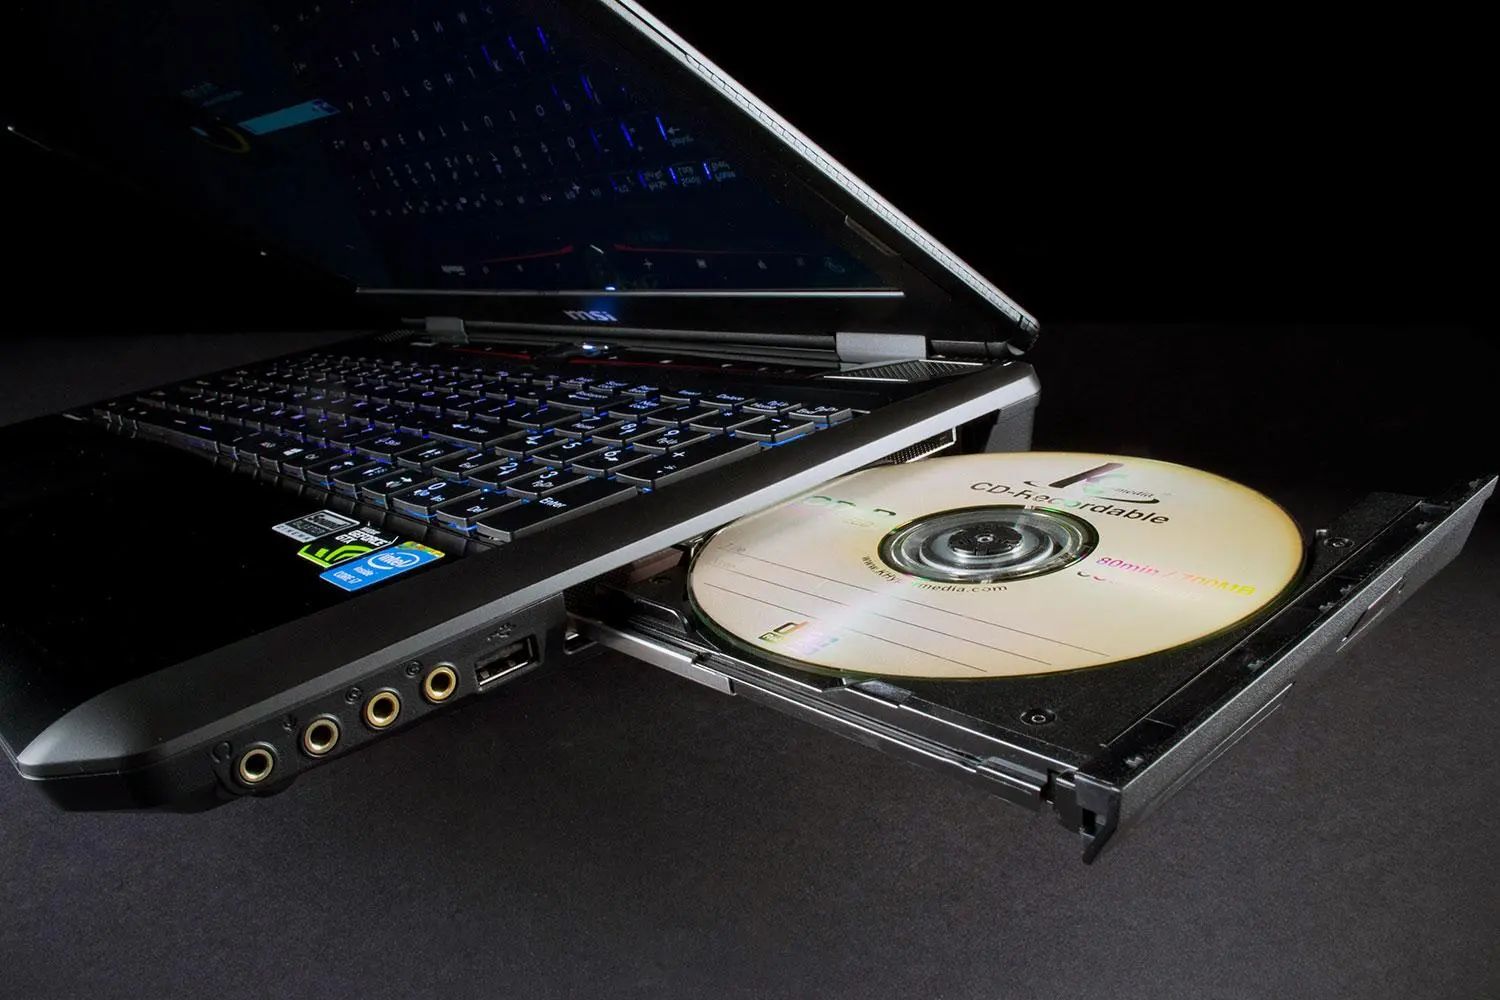
- Computer or Laptop: You’ll need a computer or laptop with a CD burner. Most modern computers come equipped with CD burners, but double-check to ensure yours has this feature.
- Blank CDs: Make sure you have a stack of blank CDs on hand. These can typically be purchased at electronics stores or online.
- Internet Connection: A stable internet connection is required to download songs from the internet. Whether you have a wired or wireless connection, make sure it’s stable to avoid interruptions during the download process.
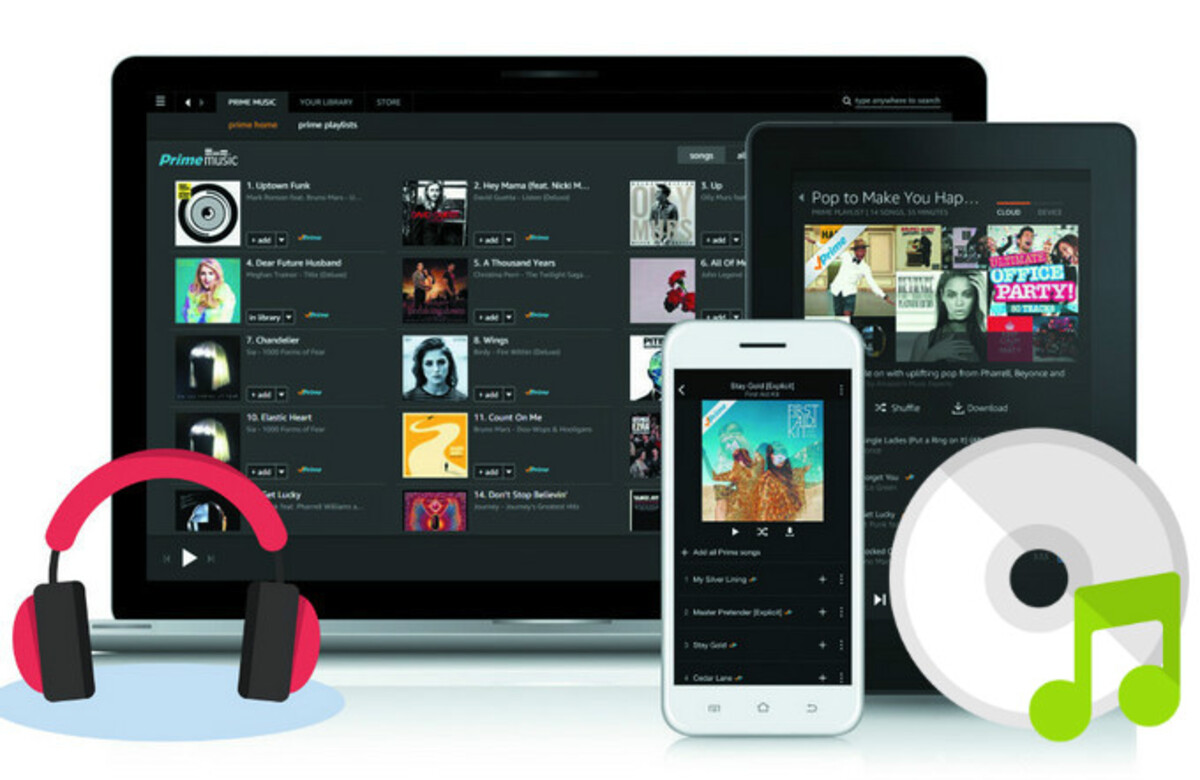
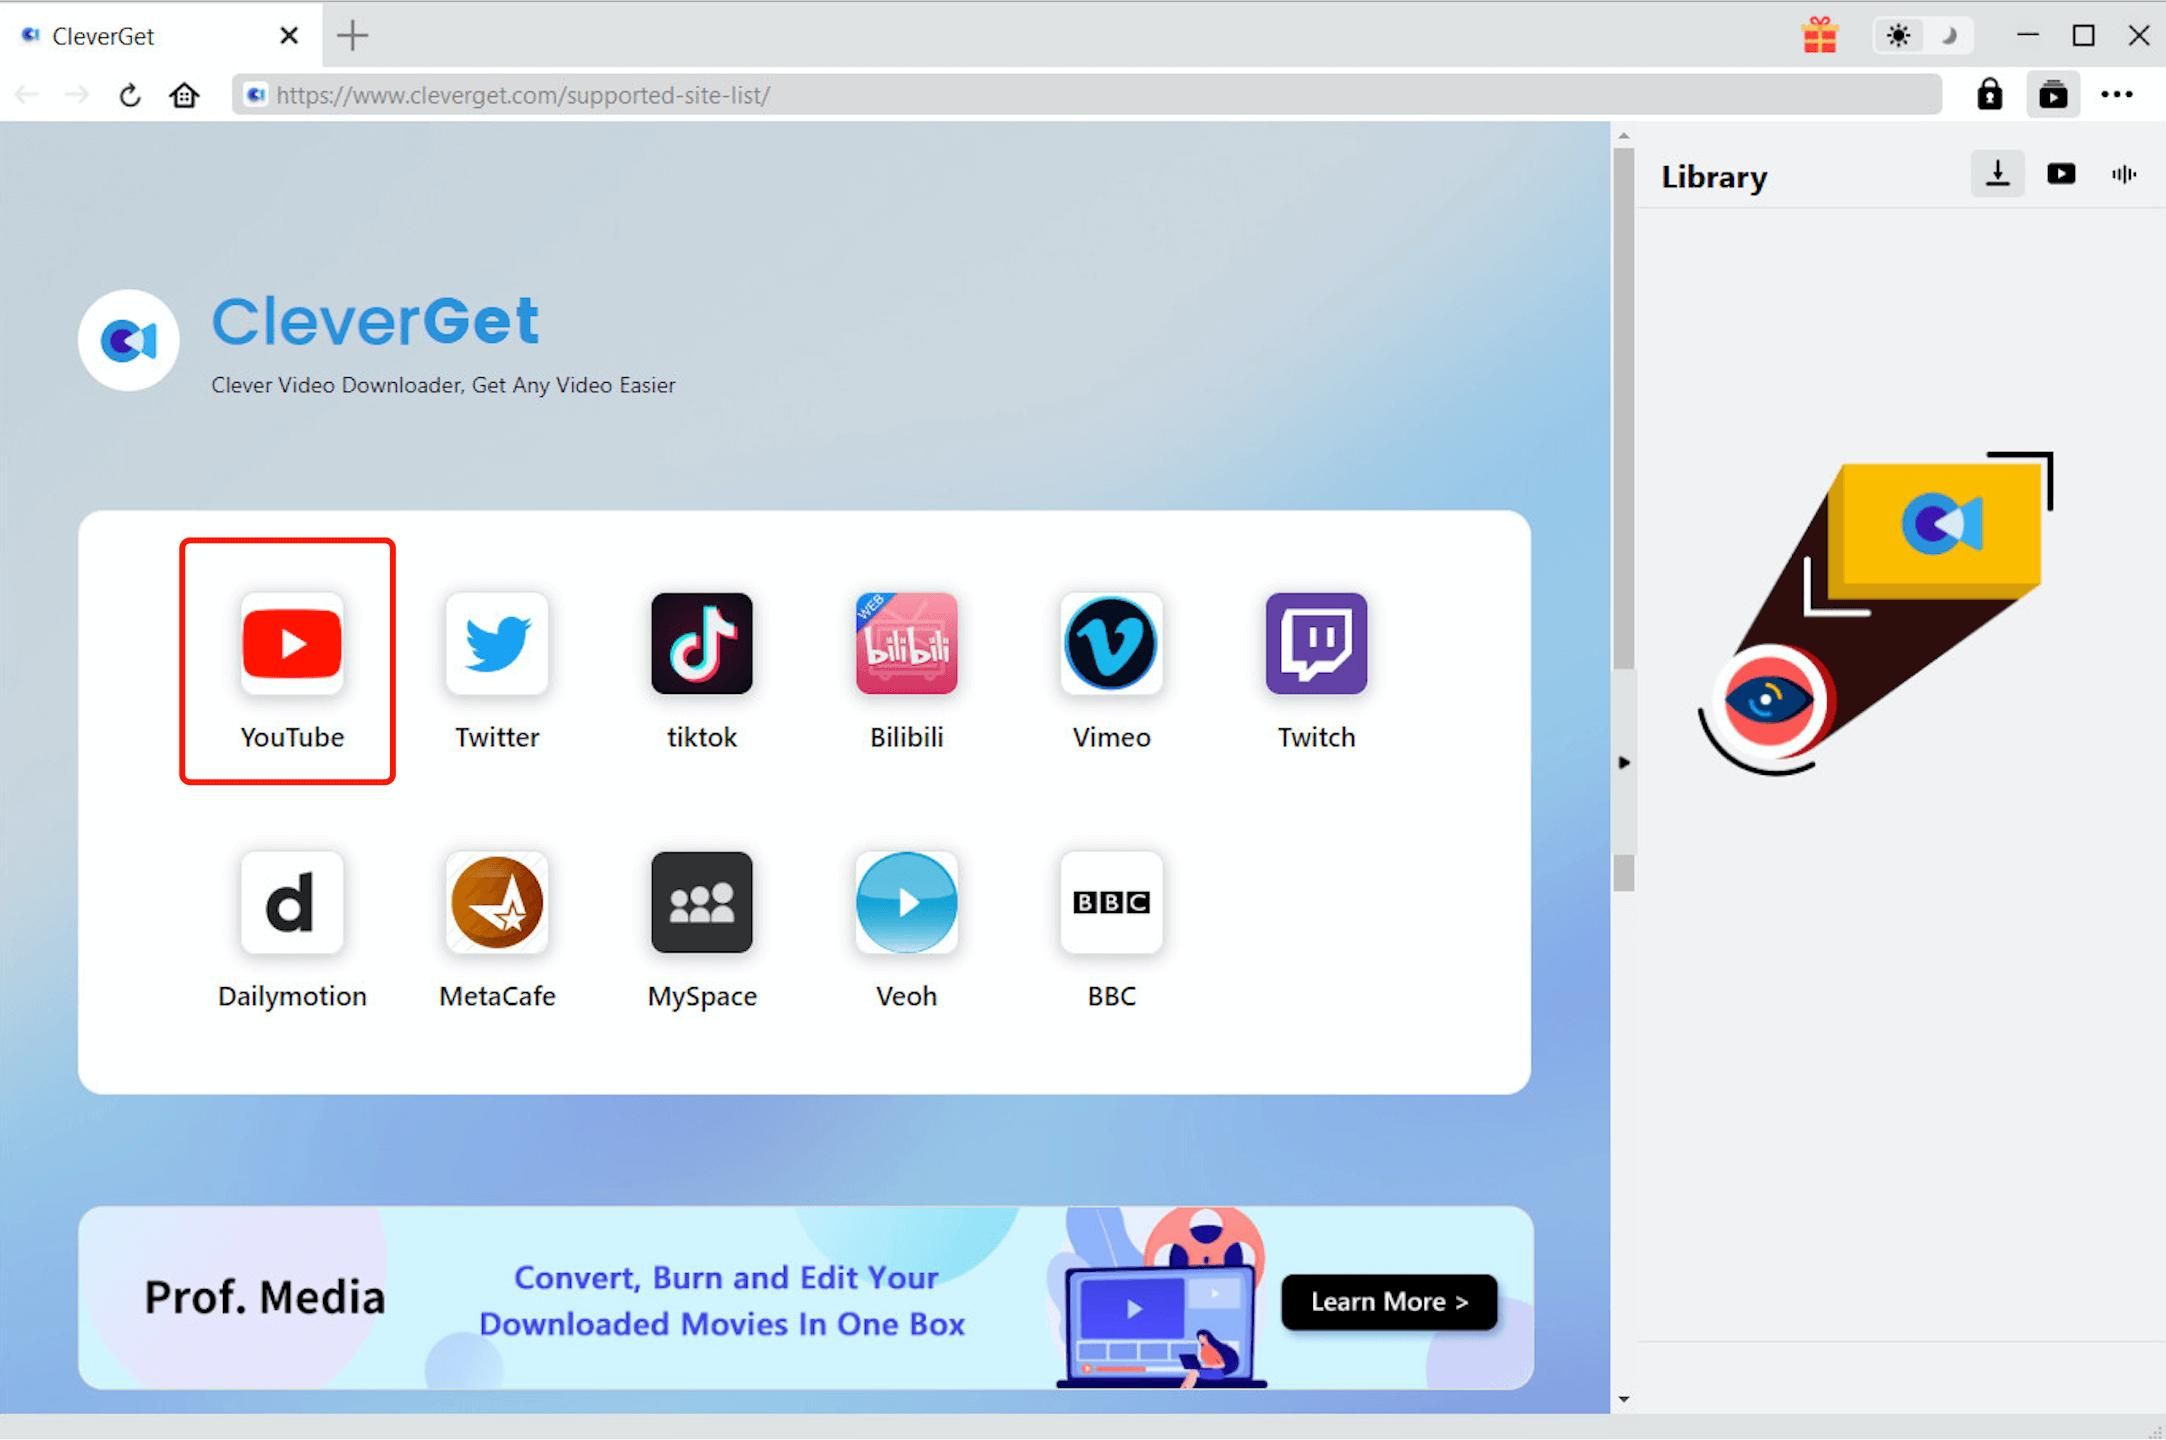
- Music Downloading Software: To download songs from the internet, you’ll need reliable music downloading software. There are various options available, both free and paid. Popular choices include iTunes, Windows Media Player, and Spotify, which offer easy-to-use interfaces and extensive music libraries.
Once you have gathered these essential items, you’re ready to move on to the next step. Having these components readily available will ensure a smooth and hassle-free experience as you proceed with downloading and burning songs onto a CD.
Now that you have a clear understanding of the equipment needed, it’s time to dive into the next step: choosing the right songs for your CD compilation.
Step 2: Choosing the Right Songs
The key to creating a memorable CD is selecting the right songs that resonate with your musical preferences and the purpose of the compilation. Here are some tips to help you choose the perfect tracks:
- Consider the Theme or Mood: Decide on the overall theme or mood you want to convey through the CD. Are you creating a party playlist, a romantic mix, or a collection of your all-time favorite feel-good tunes? Having a clear theme in mind will guide your song selection process.
- Think About the Audience: Consider the preferences and tastes of the intended audience. Are you making the CD for yourself, a friend, or a family member? This will help you choose songs that will resonate with the listener and make the CD more personalized.
- Diversify the Genres: To keep the CD interesting and engaging, include songs from different genres. Mix it up with some pop, rock, R&B, country, or whatever genres you enjoy. This diversity will add variety and keep listeners captivated.
- Choose Memorable Songs: Select songs that hold special meaning or evoke emotions. Include tracks that bring back fond memories or have a significant impact on your life. These songs will make the CD more personal and meaningful.
- Consider Song Length: Keep in mind the length of each song to ensure they fit within the CD’s total time limit. Most standard CDs can hold up to 80 minutes of music, so be mindful of the duration of each track to avoid exceeding the capacity.
Take your time in curating the song list, as this step plays a crucial role in determining the overall mood and enjoyment of the CD. Once you have a thoughtfully selected collection of songs, it’s time to move on to the next step: downloading the songs from the internet.
Step 3: Downloading Songs from the Internet
Now that you have a list of songs you want to include on your CD, it’s time to download them from the internet. Follow these steps to ensure a smooth downloading process:
- Open your music downloading software: Launch the music downloading software on your computer. If you haven’t installed any yet, choose one that suits your preferences and install it.
- Search for the songs: Use the search function within the software to find the specific songs you want to download. You can search by song title, artist name, or album name.
- Select the desired songs: Once you find the songs, select them by either highlighting them individually or adding them to a playlist within the software.
- Start the download: Initiate the download process by clicking on the download button or selecting the option to save the songs to your computer.
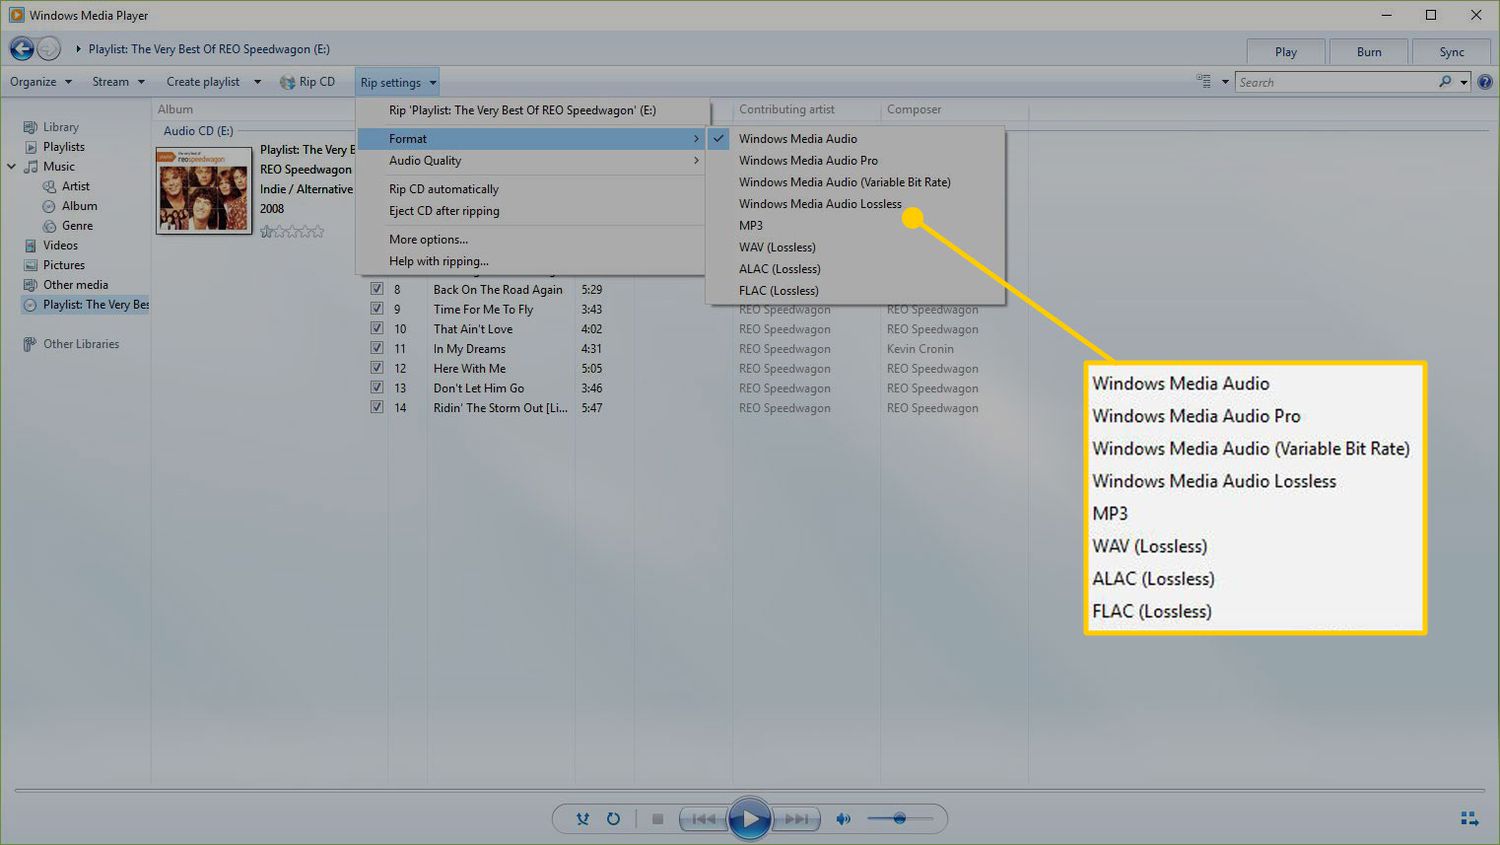
- Choose the file format: Depending on the software and settings, you may have options to choose the file format for the downloaded songs. MP3 is the most common format, but make sure it’s compatible with your CD burner.
- Specify the download location: Select the folder or directory on your computer where you want the downloaded songs to be saved. Make sure you choose a location that is easily accessible and organized.
- Monitor the download progress: Depending on the size and quantity of the songs, the download process may take some time. Keep an eye on the progress indicator to ensure all the songs are downloaded successfully.
Once the songs have finished downloading, you’re now one step closer to creating your personalized CD. In the next step, we’ll guide you through the process of creating a playlist and organizing the songs in the desired order. So, let’s move on to Step 4: Creating a Playlist.
Step 4: Creating a Playlist
Creating a playlist is an essential step in organizing the songs you’ve downloaded for your CD. Follow these steps to create a cohesive and enjoyable playlist:
- Open your music downloading software: Launch the music downloading software on your computer and navigate to the playlist creation feature. Most software applications have a dedicated section for creating playlists.
- Click on “New Playlist”: Look for the option to create a new playlist and click on it. Give your playlist a descriptive name that reflects the theme or mood of the CD.
- Add the downloaded songs: Open the library or folder where you saved the downloaded songs. Select the songs you want to include in your playlist by either dragging and dropping them into the playlist or using the “Add” or “Import” function.
- Organize the songs: Arrange the songs in the playlist in the desired order. You can easily rearrange the songs by dragging them to the desired position.
- Customize the playlist: Most music downloading software allows you to customize the playlist by adding cover artwork, creating a personalized description, or adjusting playback settings.
- Save the playlist: Once you’re satisfied with the arrangement and customization, save the playlist within the music downloading software. This will enable you to easily access and play the songs in the desired order.
Creating a playlist not only helps in organizing the songs but also enhances the overall listening experience. It allows you to create a seamless flow of music, ensuring that each song transitions smoothly to the next. Take your time to curate the playlist and arrange the songs in a way that captures the mood and theme you desire.
With the playlist created, it’s time to move on to Step 5: Organizing the Playlist. In the next section, we’ll provide tips on how to fine-tune your playlist and make it even more enjoyable. Stay tuned!
Step 5: Organizing the Playlist
Now that you have created your playlist, it’s time to fine-tune and organize it for a seamless listening experience. Follow these steps to optimize your playlist:
- Review the song order: Take a moment to listen to the playlist in its current order. Consider the flow and transitions between songs. If any songs feel out of place or disrupt the overall mood, rearrange them accordingly.
- Consider song tempos: Pay attention to the tempos and energy levels of the songs. Aim for a balanced mix of fast-paced and slower songs throughout the playlist to maintain interest and variety.
- Keep similar genres together: If you have included songs from different genres, try to group similar genres together. This will create a smoother listening experience and prevent abrupt genre shifts.
- Break up repetitive artists or voices: If you have multiple songs by the same artist or with similar voices, intersperse them throughout the playlist to avoid consecutive repetition. This will keep the playlist fresh and diverse.
- Consider thematic transitions: Look for opportunities to create thematic transitions between songs. For example, you can pair songs with similar lyrical themes, musical styles, or key signatures for a more cohesive listening experience.
- Experiment with intros and outros: Play around with the placement of songs’ intros and outros. Sometimes, a well-chosen intro or outro can seamlessly connect two songs or create a smooth transition.
Take the time to fine-tune your playlist according to your own preferences and the desired listening experience. Experiment with different song orders and listen to the transitions between songs to ensure a satisfying and flowing playlist.
With your playlist now perfectly organized, it’s time to move on to the next step: burning the CD. In the following section, we’ll guide you through the process of transferring your playlist onto a physical CD. Let’s keep the momentum going!
Step 6: Burning the CD
After organizing and fine-tuning your playlist, it’s time to transfer the songs onto a physical CD. Follow these steps to burn the CD:
- Insert a blank CD: Open your CD burner and insert a blank CD. Ensure that it is compatible with your CD burner and has enough storage capacity for the playlist.
- Open your music downloading software: Launch the music downloading software that you used to create the playlist.
- Select the playlist: Locate the playlist you created and want to burn onto the CD within the software. Ensure that the playlist is selected and ready for burning.
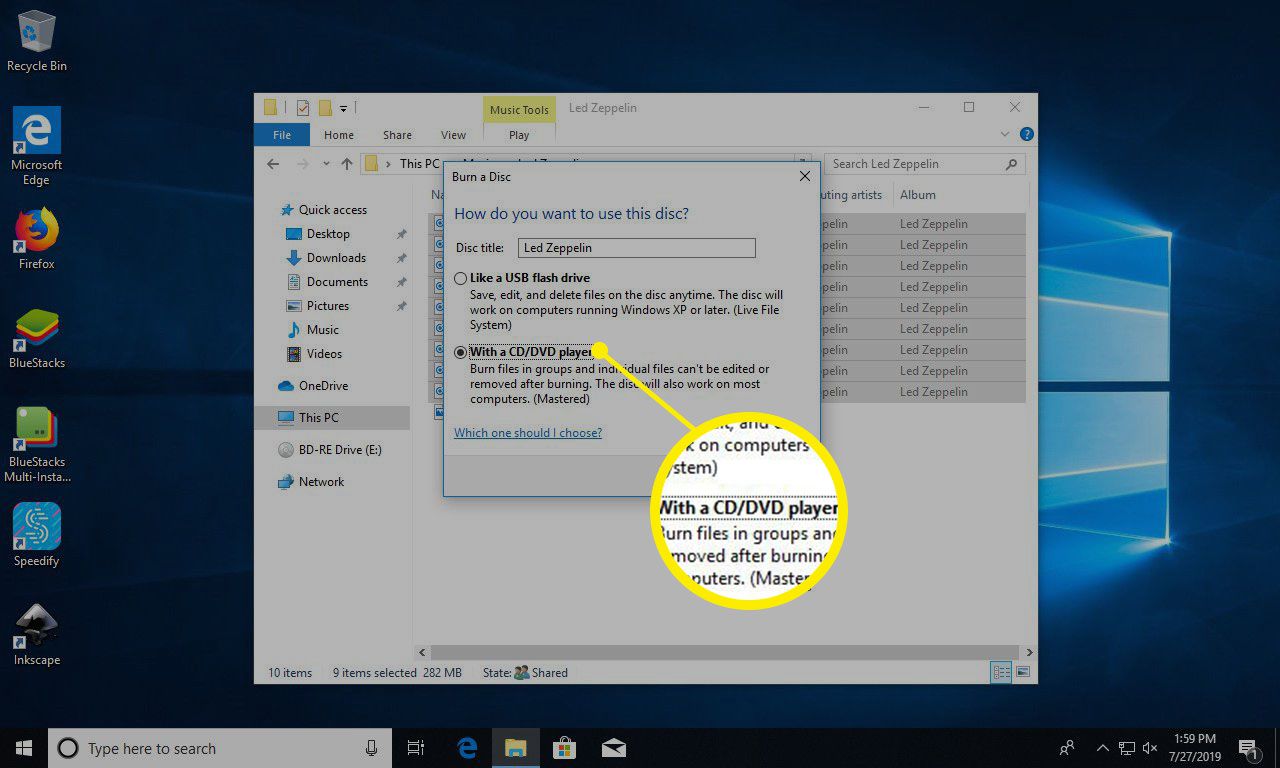
- Initiate the burning process: Look for the option to burn the playlist onto the CD. This option is typically located in the menu or toolbar of the software.
- Configure burn settings: Before proceeding with the burn, configure any desired settings, such as the burn speed, audio format, and CD text. For most cases, the default settings will work well.
- Start the burn: Once you have configured the settings, click on the “Burn” or “Start” button to begin the burning process. The software will start copying the songs from the playlist onto the CD.
- Monitor the burning process: Keep an eye on the burning progress to ensure that it completes successfully. Avoid interrupting or ejecting the CD until the burn is complete.
- Eject the CD: Once the burn is complete, the software will prompt you to eject the CD. Carefully remove the burned CD from the CD burner and ensure that it is finalized before using.
Take a moment to celebrate your achievement – you have successfully burned your personalized music playlist onto a CD! Now, in the next step, we’ll guide you through verifying the burned CD to ensure that it plays smoothly without any errors. Stay with us!
Step 7: Verifying the Burned CD
After successfully burning your playlist onto a CD, it’s important to verify the burned CD to ensure it plays smoothly without any errors. Follow these steps to verify the quality of your burned CD:
- Insert the burned CD: Carefully insert the burned CD into a CD player, DVD player, or your computer’s CD drive.
- Play the CD: Open your preferred media player or CD player application and play the burned CD. Listen attentively to make sure that all the songs play smoothly without any skips, pauses, or distortions.
- Navigate through the playlist: Use the media player or CD player controls to navigate through the playlist, ensuring that all songs are accessible and play as intended.
- Check for song order: Verify that the songs on the burned CD are in the same order as the playlist in your music downloading software. Make sure that the transitions between songs are seamless.
- Listen for audio quality: Pay attention to the overall audio quality of the songs on the burned CD. Ensure that they sound clear, with no unwanted noise or distortion.
- Test different CD players: If possible, test the burned CD on different CD players or devices to ensure compatibility and consistent playback. This will help identify any potential issues with specific devices.
By verifying the burned CD, you can be confident that the songs are accurately transferred and playable in their intended order. If you notice any issues during the verification process, you may need to repeat the burning process or troubleshoot any potential problems with the CD or burning software.
With a successfully verified CD in hand, you’re almost ready to enjoy your personalized music compilation. Now, let’s move on to the final step: labeling and storing the CD.
Step 8: Labeling and Storing the CD
Now that you have successfully burned and verified your personalized music CD, it’s time to give it a finishing touch by labeling and properly storing it. Follow these steps to ensure your CD is well-preserved:
- Label the CD: Use a permanent marker or CD label kit to label the CD with the playlist name or any other relevant information. This will make it easier to identify and locate the CD in the future.
- Create a cover artwork: If you’re feeling creative, consider designing a unique cover artwork for your CD. This adds a personal touch and enhances the overall presentation.
- Store the CD properly: To ensure the longevity of the CD, store it in a protective case or sleeve. Avoid exposing it to direct sunlight, high temperatures, humidity, or any other conditions that could damage the CD.
- Organize your CD collection: If you have multiple CDs or plan to create more, consider organizing them in a CD storage rack or binder. This will make it easier to access and enjoy your music collection in the future.
- Keep a backup: For added security and convenience, consider creating a backup copy of your burned CD. This backup can serve as a spare in case the original CD gets lost, damaged, or scratched.
Labeling and properly storing your CD not only helps keep it safe but also adds a personal touch to your music collection. It allows you to easily locate and enjoy your favorite playlists whenever you’re in the mood for some good music.
Now that you have completed all the steps, take a moment to appreciate the hard work you’ve put into creating your personalized music CD. It’s time to sit back, relax, and enjoy the fruits of your labor.
Thank you for following this guide on how to download songs onto a CD. We hope this process has been informative and enjoyable for you. Happy listening!
Conclusion
Creating a personalized music CD can bring back a nostalgic sense of joy and allow you to curate a collection of songs that truly resonate with you. Throughout this guide, we have walked you through the step-by-step process of how to download songs onto a CD, from gathering the necessary equipment to labeling and storing the final product.
By following these steps, you have learned how to choose the right songs, download them from the internet, create a playlist, and burn the CD. You have also learned the importance of organizing and fine-tuning the playlist for a seamless listening experience. Verifying the burned CD ensures that your music plays smoothly without any issues, and finally, labeling and properly storing the CD preserves its longevity.
Remember to always respect copyright laws and make sure you have the right to download and burn the songs onto a CD. Support the artists and the music industry by using legal and authorized sources for downloading music.
Now, armed with the knowledge and skills you’ve gained, you’re ready to embark on your musical journey and create personalized CDs for yourself or as thoughtful gifts for others. The process of downloading songs onto a CD offers a unique and tangible way to enjoy your favorite music in a world dominated by digital streaming.
So, gather your equipment, choose the perfect songs, and start creating your own personalized music CDs. Let the music accompany you on road trips, lazy afternoons, and special moments with your loved ones. Enjoy the pleasure of having a physical collection of your favorite songs that can be cherished for years to come.
Thank you for taking the time to read this guide, and we sincerely hope that it has been informative and helpful. Get ready to dive into the world of music and create a soundtrack that perfectly captures your unique taste and preferences.
Happy music downloading and CD burning!