Introduction
Welcome to the era of digital music streaming! With platforms like Spotify, you have access to an extensive library of songs with just a few clicks. However, there may still be occasions when you want to enjoy your favorite tracks on a traditional CD. Whether it’s for a road trip, a gift for a loved one, or simply to have a physical copy of your favorite songs, burning a CD can be a great option.
Although Spotify does not provide a direct option to burn CDs, there are workarounds that allow you to create your own custom CDs. In this article, we will guide you through the process of burning a CD from your Spotify playlists.
Before we begin, it’s important to note that the method we will share involves using third-party software. Additionally, make sure to respect intellectual property rights and only burn CDs for personal use or for gifting to others. Commercial distribution of copyrighted material is against the law.
So, let’s dive in and explore the steps to burn a CD from your Spotify playlists!
Step 1: Understanding Spotify’s Limitations
Before we proceed with burning a CD from your Spotify playlists, it’s essential to understand the limitations imposed by Spotify itself. Spotify uses digital rights management (DRM) to protect the music on its platform, which restricts users from directly downloading or copying songs onto external devices.
This means that you cannot simply export your Spotify playlists and burn them directly onto a CD. However, there is a workaround that involves exporting the playlist as a local file and then importing it into CD burning software. Keep in mind that the audio quality may be affected during this process, as it depends on the settings of the software and the encoding of the tracks.
It’s worth mentioning that if you are using the Spotify Free version, you will need to upgrade to Spotify Premium to have offline access and export playlists. Spotify Premium allows you to download playlists onto your device, which makes it easier to convert them into audio CD format.
Another limitation to be aware of is the availability of the songs themselves. Not all songs on Spotify are available for offline listening or export due to licensing agreements with artists and record labels. Therefore, you may encounter some songs that cannot be burned onto a CD, even if you have Spotify Premium.
With these limitations in mind, let’s move on to the next step and prepare the CD burning software to create your custom CDs from Spotify playlists.
Step 2: Preparing Your CD Burning Software
Before you can start burning your Spotify playlists onto a CD, you’ll need to have CD burning software installed on your computer. There are several free and paid options available, each with its own set of features and user interface.
One popular choice is ImgBurn, a free software that provides a simple and intuitive interface for burning CDs. If you prefer a more comprehensive solution, Nero Burning ROM and Ashampoo Burning Studio are excellent paid options, offering advanced features like CD labeling and customization.
To get started, download and install the CD burning software of your choice. Make sure it is compatible with your operating system and supports the file format of the exported playlist from Spotify.
Once the software is installed, open it and familiarize yourself with the interface. You will typically find options for creating audio CDs, data CDs, or mixed-mode CDs. For our purpose, select the option for creating an audio CD.
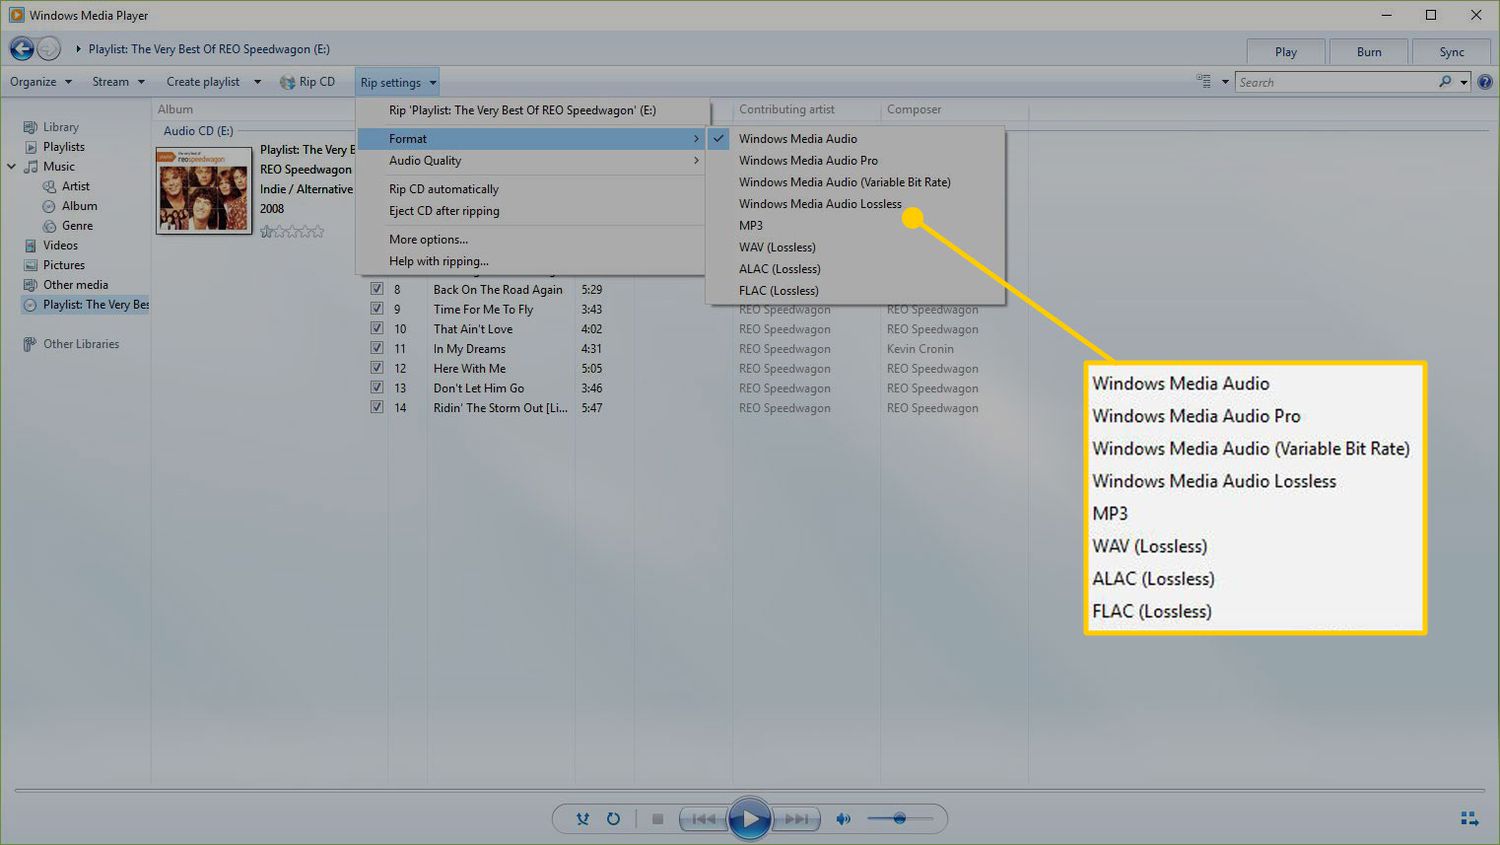
At this stage, it’s a good idea to verify the settings of the CD burning software. Check the audio format compatibility to ensure that the software supports the file format of the exported Spotify playlist. The most commonly supported audio formats are MP3 and WAV.
Ensure that the CD burner drive is correctly recognized by the software. If you have multiple CD/DVD drives, select the one you want to use for burning the CDs. Additionally, check the burning speed options; a slower speed can result in higher quality audio.
Now that you have prepared the CD burning software, you’re ready to move on to the next step and create a playlist from your Spotify account.
Step 3: Creating a Playlist
In order to burn a CD from Spotify, you will need to create a playlist of the songs you want to include. Spotify allows you to create and customize playlists according to your preferences.
To create a playlist, follow these steps:
- Open the Spotify application on your computer or mobile device.
- Navigate to the “Your Library” section or the “Playlists” tab.
- Click on the “+” or “New Playlist” button.
- Give your playlist a descriptive name that reflects the theme or mood of the songs you plan to include.
- Now, it’s time to start adding songs to your playlist. You can search for specific songs, albums, or artists using the search bar at the top. Simply type in the name of the song or artist and select the desired result from the search results.
- To add a song to your playlist, click on the “+” button next to the track’s name or right-click on the track and select “Add to Playlist.” Alternatively, you can drag and drop the songs directly onto the playlist.
- Continue adding songs to your playlist until you have included all the tracks you want to burn onto the CD.
- Take some time to arrange the songs in a desired order by dragging and rearranging them within the playlist.
- Once you are satisfied with your playlist, make sure to save it by clicking the “Save” or “Done” button.
Remember, you can create multiple playlists to burn different CDs with various themes or genres. Now that you have created your playlist, it’s time to export it as a local file that can be imported into the CD burning software.
Step 4: Exporting the Playlist to a Local File
Now that you have created your playlist on Spotify, it’s time to export it as a local file that can be imported into your CD burning software. Follow these steps to export your playlist:
- Open the Spotify application and navigate to the playlist you want to export.
- Click on the three dots (…) next to the playlist’s name.
- In the drop-down menu, select “Share” and then “Copy Playlist Link.”
- Open a web browser and paste the copied link into the address bar.
- Replace the “https://” at the beginning of the URL with “spotify.” The resulting URL should start with “spotify:playlist:…”
- Press Enter to open the modified URL; it will open Spotify in your web browser.
- In the web browser, click on the three dots (…) next to the playlist’s name.
- In the options that appear, select “Copy Embed Code.”
- Paste the copied embed code into a text editor (e.g., Notepad) and save the file with a “.txt” extension.
By exporting your playlist as a local file, you create a reference that contains information about each track in the playlist. This file will be imported into your CD burning software in the next step.
Now that you have exported your playlist, let’s move on to Step 5 and import the local file into your CD burning software to prepare for the CD burning process.
Step 5: Importing the Local File to Your CD Burning Software
With the playlist exported as a local file, you can now import it into your CD burning software to begin the process of creating a CD. Follow these steps to import the playlist:
- Open your CD burning software on your computer.
- Look for an option to import or add files to your project. This option is often found in the menu or toolbar.
- Navigate to the location where you saved the exported playlist file.
- Select the file and click “Open” or “Import.”
- The CD burning software will now read the file and display a list of tracks from the playlist.
- Take a moment to review the track list to ensure that all the songs you want to include in your CD are present.
- If you need to make any changes to the track order or remove/add songs, use the software’s editing tools to make the desired adjustments.
- Once you are satisfied with the track list, save the project or proceed to the next step, depending on your CD burning software.
By importing the local file into your CD burning software, you have successfully transferred the playlist data into the software, ready for the CD creation process. In the next step, we will adjust the CD burning settings to ensure optimal quality and compatibility.
Step 6: Adjusting the CD Burning Settings
Before you start burning your CD, it is essential to adjust the CD burning settings to ensure optimal quality and compatibility. The specific settings may vary depending on the CD burning software you are using, but here are some key considerations:
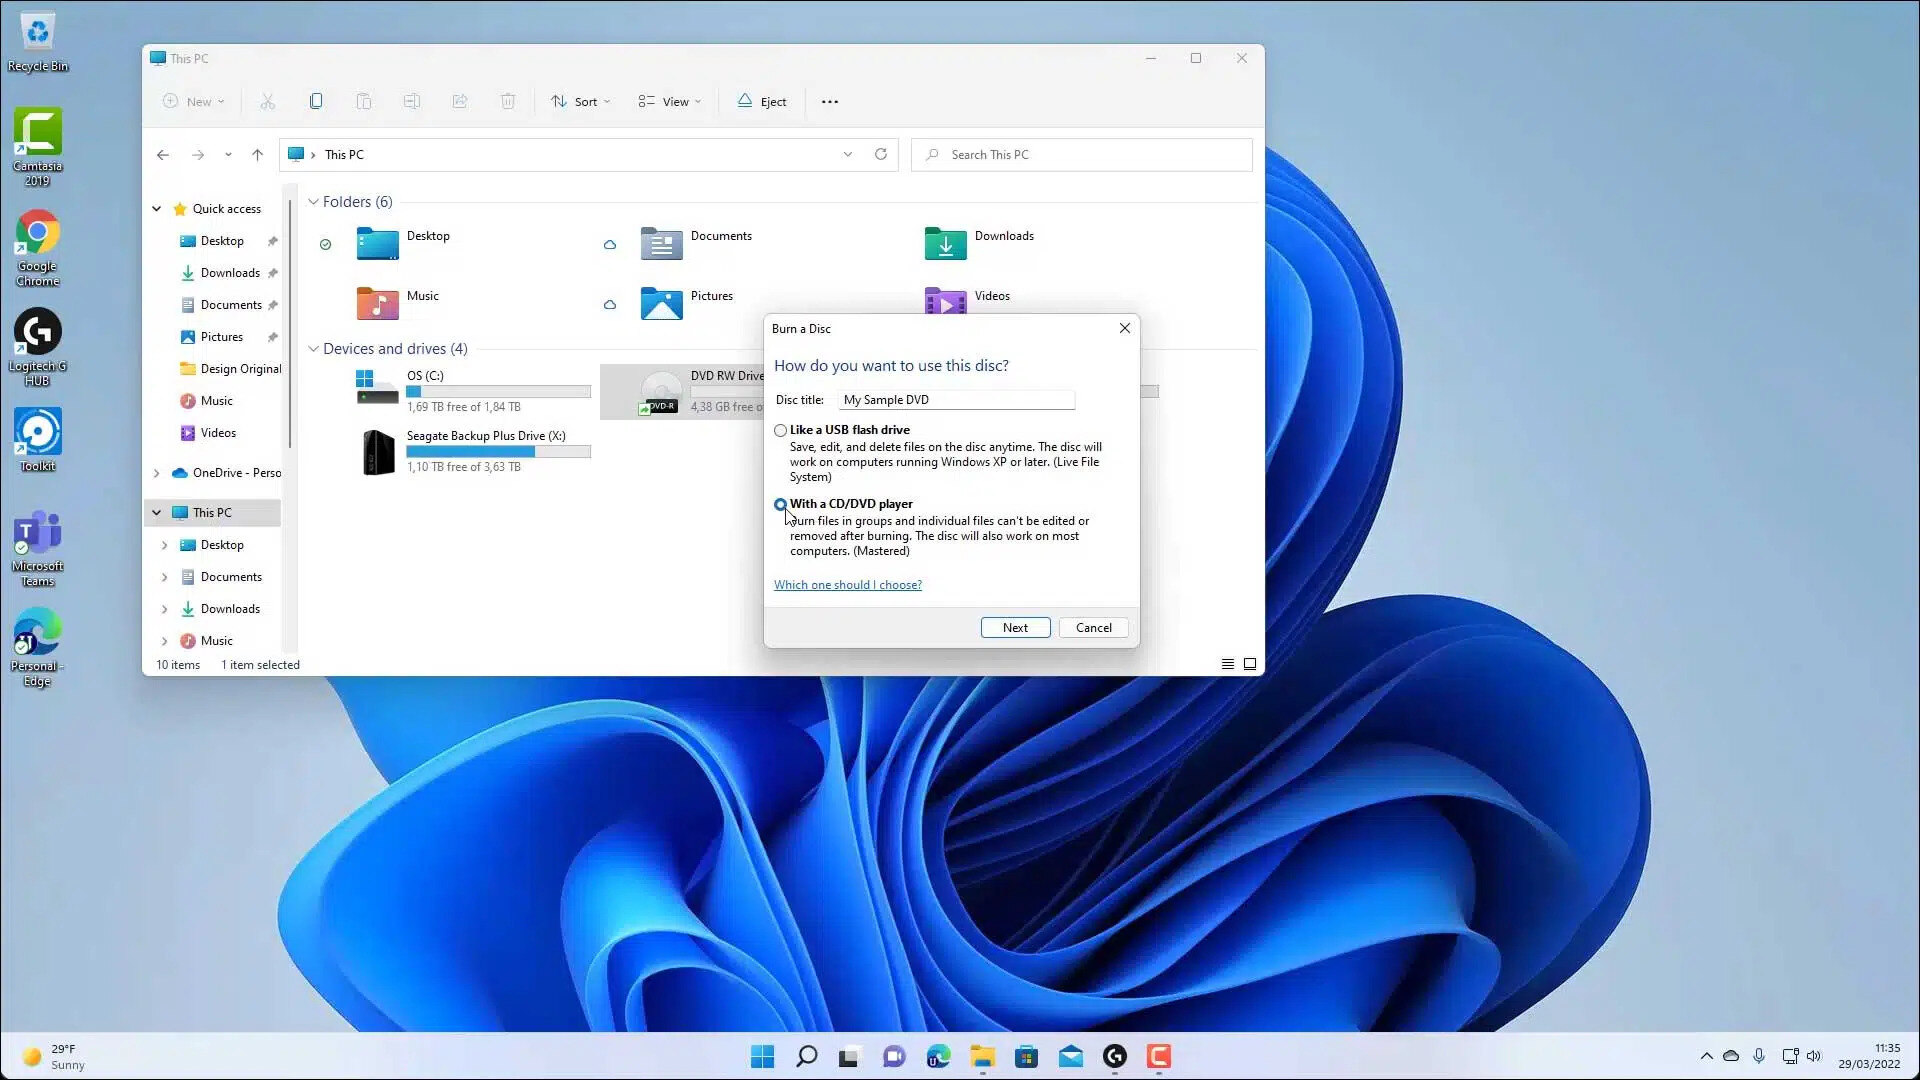
- Choose the appropriate disc format: Most CD burning software will provide options for different disc formats, such as Audio CD, MP3 CD, or Data CD. Select “Audio CD” to ensure your CD will be playable on standard CD players.
- Select the burning speed: Burning a CD at a higher speed may result in errors or reduced sound quality. Choose a lower burning speed, such as 4x or 8x, to ensure a more reliable burn and better audio quality.
- Check the CD length: Standard audio CDs can typically hold up to 80 minutes of music. Make sure the total length of your playlist does not exceed the CD’s capacity.
- Enable or disable gapless playback: Gapless playback eliminates the brief pauses between tracks, providing a seamless listening experience. Depending on your preference, enable or disable this feature in the settings.
- Verify the file format and encoding settings: Ensure that the CD burning software is configured to use the appropriate file format and encoding settings. Common file formats for audio CDs are WAV or MP3. Choose a high-quality encoding option for better audio fidelity.
- Take note of any other advanced settings: Depending on your CD burning software, there may be additional settings such as crossfade, normalization, or equalization. Familiarize yourself with these options and adjust them according to your preference.
Once you have adjusted the CD burning settings to your liking, you are now ready to proceed with burning the CD. In the next step, we will guide you through the process of burning the CD from the prepared playlist and settings.
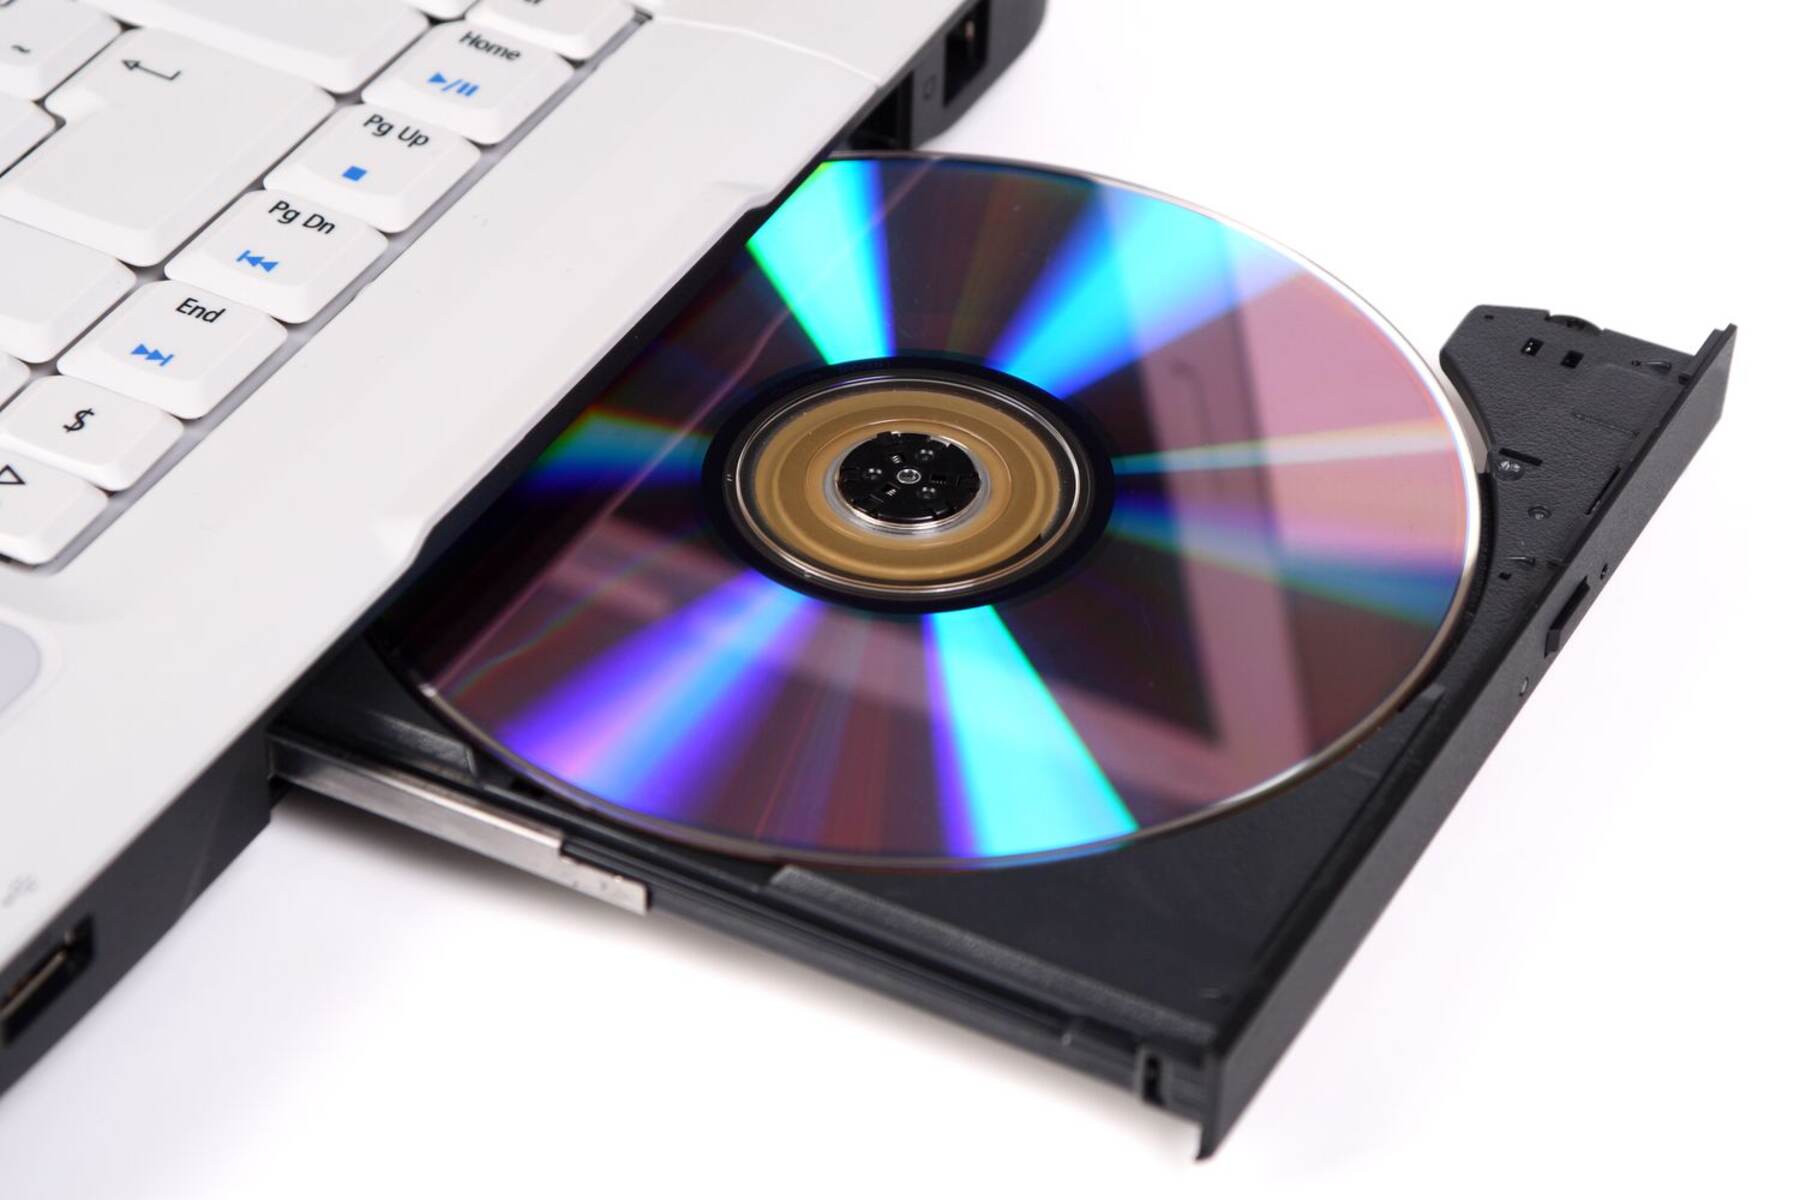
Step 7: Burning the CD
Now that you have prepared your CD burning software and adjusted the settings, it’s time to start the CD burning process. Follow these steps to burn your CD:
- Ensure that you have a blank CD-R or CD-RW inserted into your computer’s CD drive.
- In the CD burning software, locate and click on the “Burn” or “Start” button to initiate the burning process.
- Wait for the CD burning software to analyze the tracks, convert them if necessary, and initiate the burning process.
- While the CD is being burned, it’s important to avoid any unnecessary activities on your computer to ensure a smooth burning process.
- Once the burning process is complete, the CD burning software will typically eject the CD or prompt you to remove it from the CD drive.
- Take out the burned CD carefully and inspect it for any physical scratches or defects.
- Label the CD with a permanent marker to identify its content.
Congratulations! You have successfully burned a CD from your Spotify playlist. Now, you can enjoy your favorite music on any CD player, share it with friends, or give it as a thoughtful gift.
Remember to test the CD on different CD players to ensure compatibility and satisfactory audio quality. If you encounter any issues, double-check the burning settings and consider using a different brand of blank CDs.
Now that you have completed the CD burning process, it’s time to move on to the final step: caring for your newly burned CD.
Step 8: Caring for Your Newly Burned CD
Once you have successfully burned your CD, it’s important to take proper care of it to ensure its longevity and maintain optimal playback quality. Here are some tips for caring for your newly burned CD:
- Handle the CD with care: Avoid touching the shiny side of the CD (the side with the audio tracks) to prevent smudges and fingerprints. Hold the CD by its edges or place it in a protective case.
- Store the CD in a cool and dry place: Excessive heat, humidity, and exposure to sunlight can damage the CD and affect its playback quality. Store the CD in a cool and dry location, preferably in a CD case or sleeve to protect it from dust and scratches.
- Clean the CD properly: If the CD becomes dirty or develops smudges, use a soft, lint-free cloth to gently wipe the surface in a radial motion from the center to the outer edge. Avoid using abrasive materials or strong chemicals that can cause damage.
- Avoid using adhesive labels: While it may be tempting to use adhesive labels to provide a professional look, they can cause problems with the CD’s balance and disrupt playback. Instead, use a permanent marker to label the top surface of the CD.
- Keep the CD away from magnets and magnetic fields: Exposure to magnets or strong magnetic fields can corrupt the data on the CD and render it unreadable. Ensure that your CD is kept away from magnetic objects.
- Make backup copies: To prevent the loss of your music collection in case of damage or loss, consider making backup copies of your burned CDs. Keep the backup copies in a separate location to provide an extra layer of protection.
By following these simple tips, you can prolong the lifespan of your newly burned CD and enjoy uninterrupted playback for years to come.
Now that you know how to care for your CD, you have completed the entire process of burning a CD from your Spotify playlist. Enjoy the music and share your customized CDs with family and friends!
Conclusion
Creating a custom CD from your Spotify playlist is a great way to enjoy your favorite music in a traditional format. While Spotify itself doesn’t provide a direct option to burn CDs, by following the steps outlined in this guide, you can successfully achieve your goal.
Understanding the limitations imposed by Spotify’s DRM and the need for third-party CD burning software sets the foundation for a smooth CD burning process. By preparing your CD burning software, creating a playlist, exporting it as a local file, and importing it into the software, you can customize your CD to your liking.
Adjusting the CD burning settings ensures optimal audio quality and compatibility with standard CD players. Taking care of the newly burned CD by handling it properly, storing it in a safe place, and cleaning it using gentle methods will help prolong its lifespan and maintain playback quality.
Now that you have completed all the steps, you can proudly enjoy your personalized CDs with your favorite songs. Whether it’s for road trips, sharing music with loved ones, or simply cherishing the nostalgia of physical media, burning a CD from your Spotify playlists allows you to take your music collection to a whole new level.
So go ahead, create your playlists, choose the perfect CD burning software, and start enjoying your custom CDs filled with music that resonates with you. Happy CD burning!