Introduction
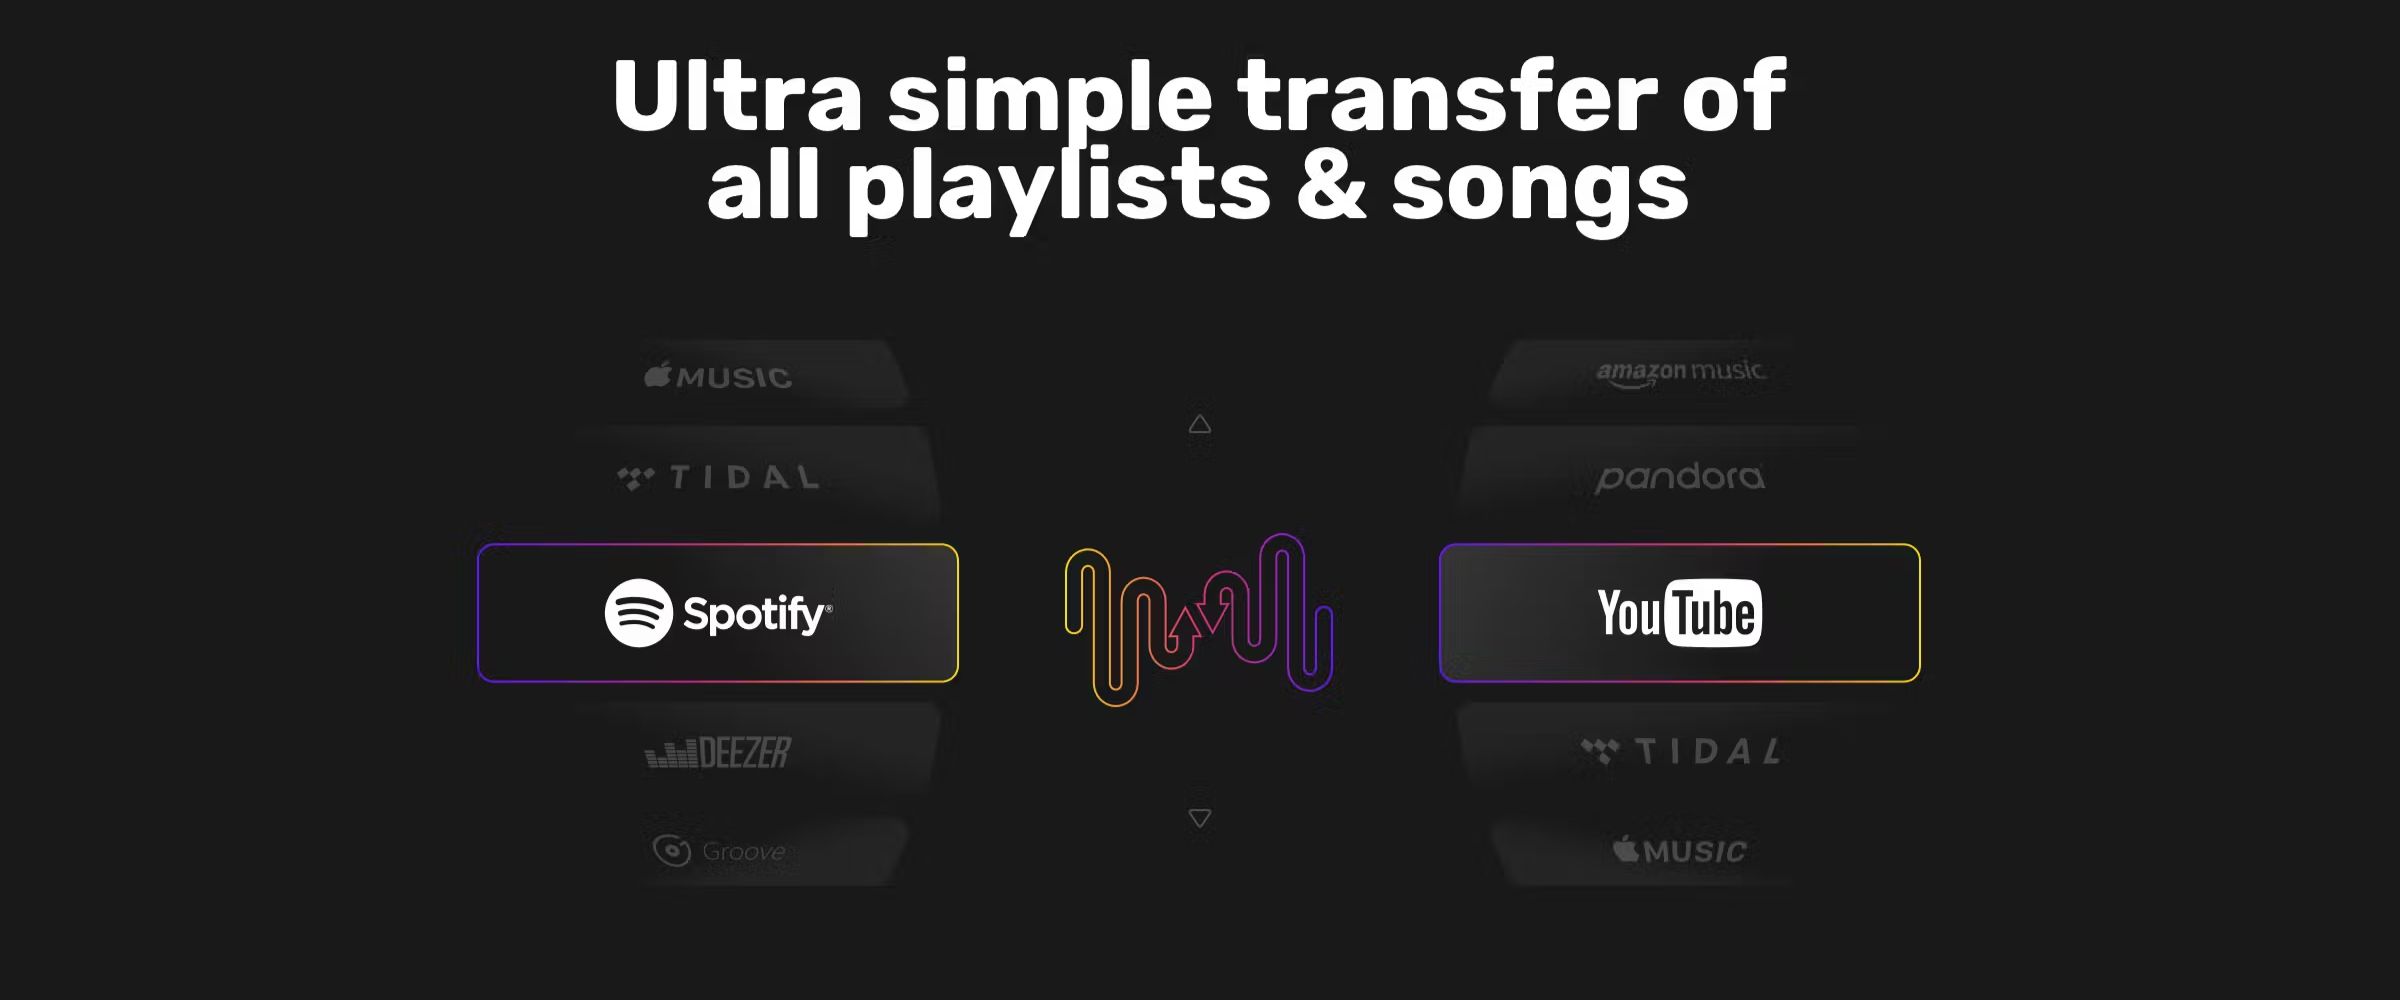
Music streaming has become an integral part of our lives, and many of us rely on popular platforms like Spotify and Amazon Music to curate and enjoy our favorite playlists. However, what happens when you want to switch from Spotify to Amazon Music? Moving your meticulously crafted playlists can seem like a daunting task, but fear not! In this guide, we will walk you through the steps to seamlessly transfer your playlist from Spotify to Amazon Music.
Whether you’re switching to Amazon Music for its vast library, exclusive content, or simply for a change of pace, rest assured that the process is straightforward and easy to follow. By following the steps outlined in this guide, you’ll be able to enjoy your favorite tunes on Amazon Music in no time, without the hassle of recreating your entire playlist from scratch.
We will guide you through the process of exporting your playlist from Spotify, converting the exported file to a compatible format, and finally, importing your playlist to Amazon Music. So, grab your headphones and let’s dive into the world of seamless music playlist migration!
Step 1: Export your playlist from Spotify
The first step in the process of moving your playlist from Spotify to Amazon Music is to export your playlist from Spotify.
To begin, open Spotify on your computer and navigate to the playlist you want to transfer. Once you’ve selected the playlist, click on the three-dot menu icon next to the playlist’s name. From the dropdown menu, choose the “Share” option.
A pop-up window will appear with various sharing options. Locate and click on the “Copy Playlist Link” option. This will copy the playlist’s link to your clipboard.
Now, open your web browser and paste the copied link in the address bar. The link will redirect you to the Spotify web player, where you’ll see the playlist displayed.
Next, click on the three-dot menu icon located next to the playlist’s name. From the menu that appears, select the “Copy Playlist” option. This action will copy the playlist’s content to your clipboard.
At this point, you have successfully exported your playlist from Spotify. The next step is to convert the exported file into a format compatible with Amazon Music. Let’s move on to step two!
Step 2: Convert the exported file to a compatible format
Now that you have exported your playlist from Spotify, the next step in transferring it to Amazon Music is to convert the exported file into a format that is compatible with Amazon Music.
The exported file from Spotify is in a format called JSON, which is not directly supported by Amazon Music. We need to convert it to a compatible format before importing it into Amazon Music.
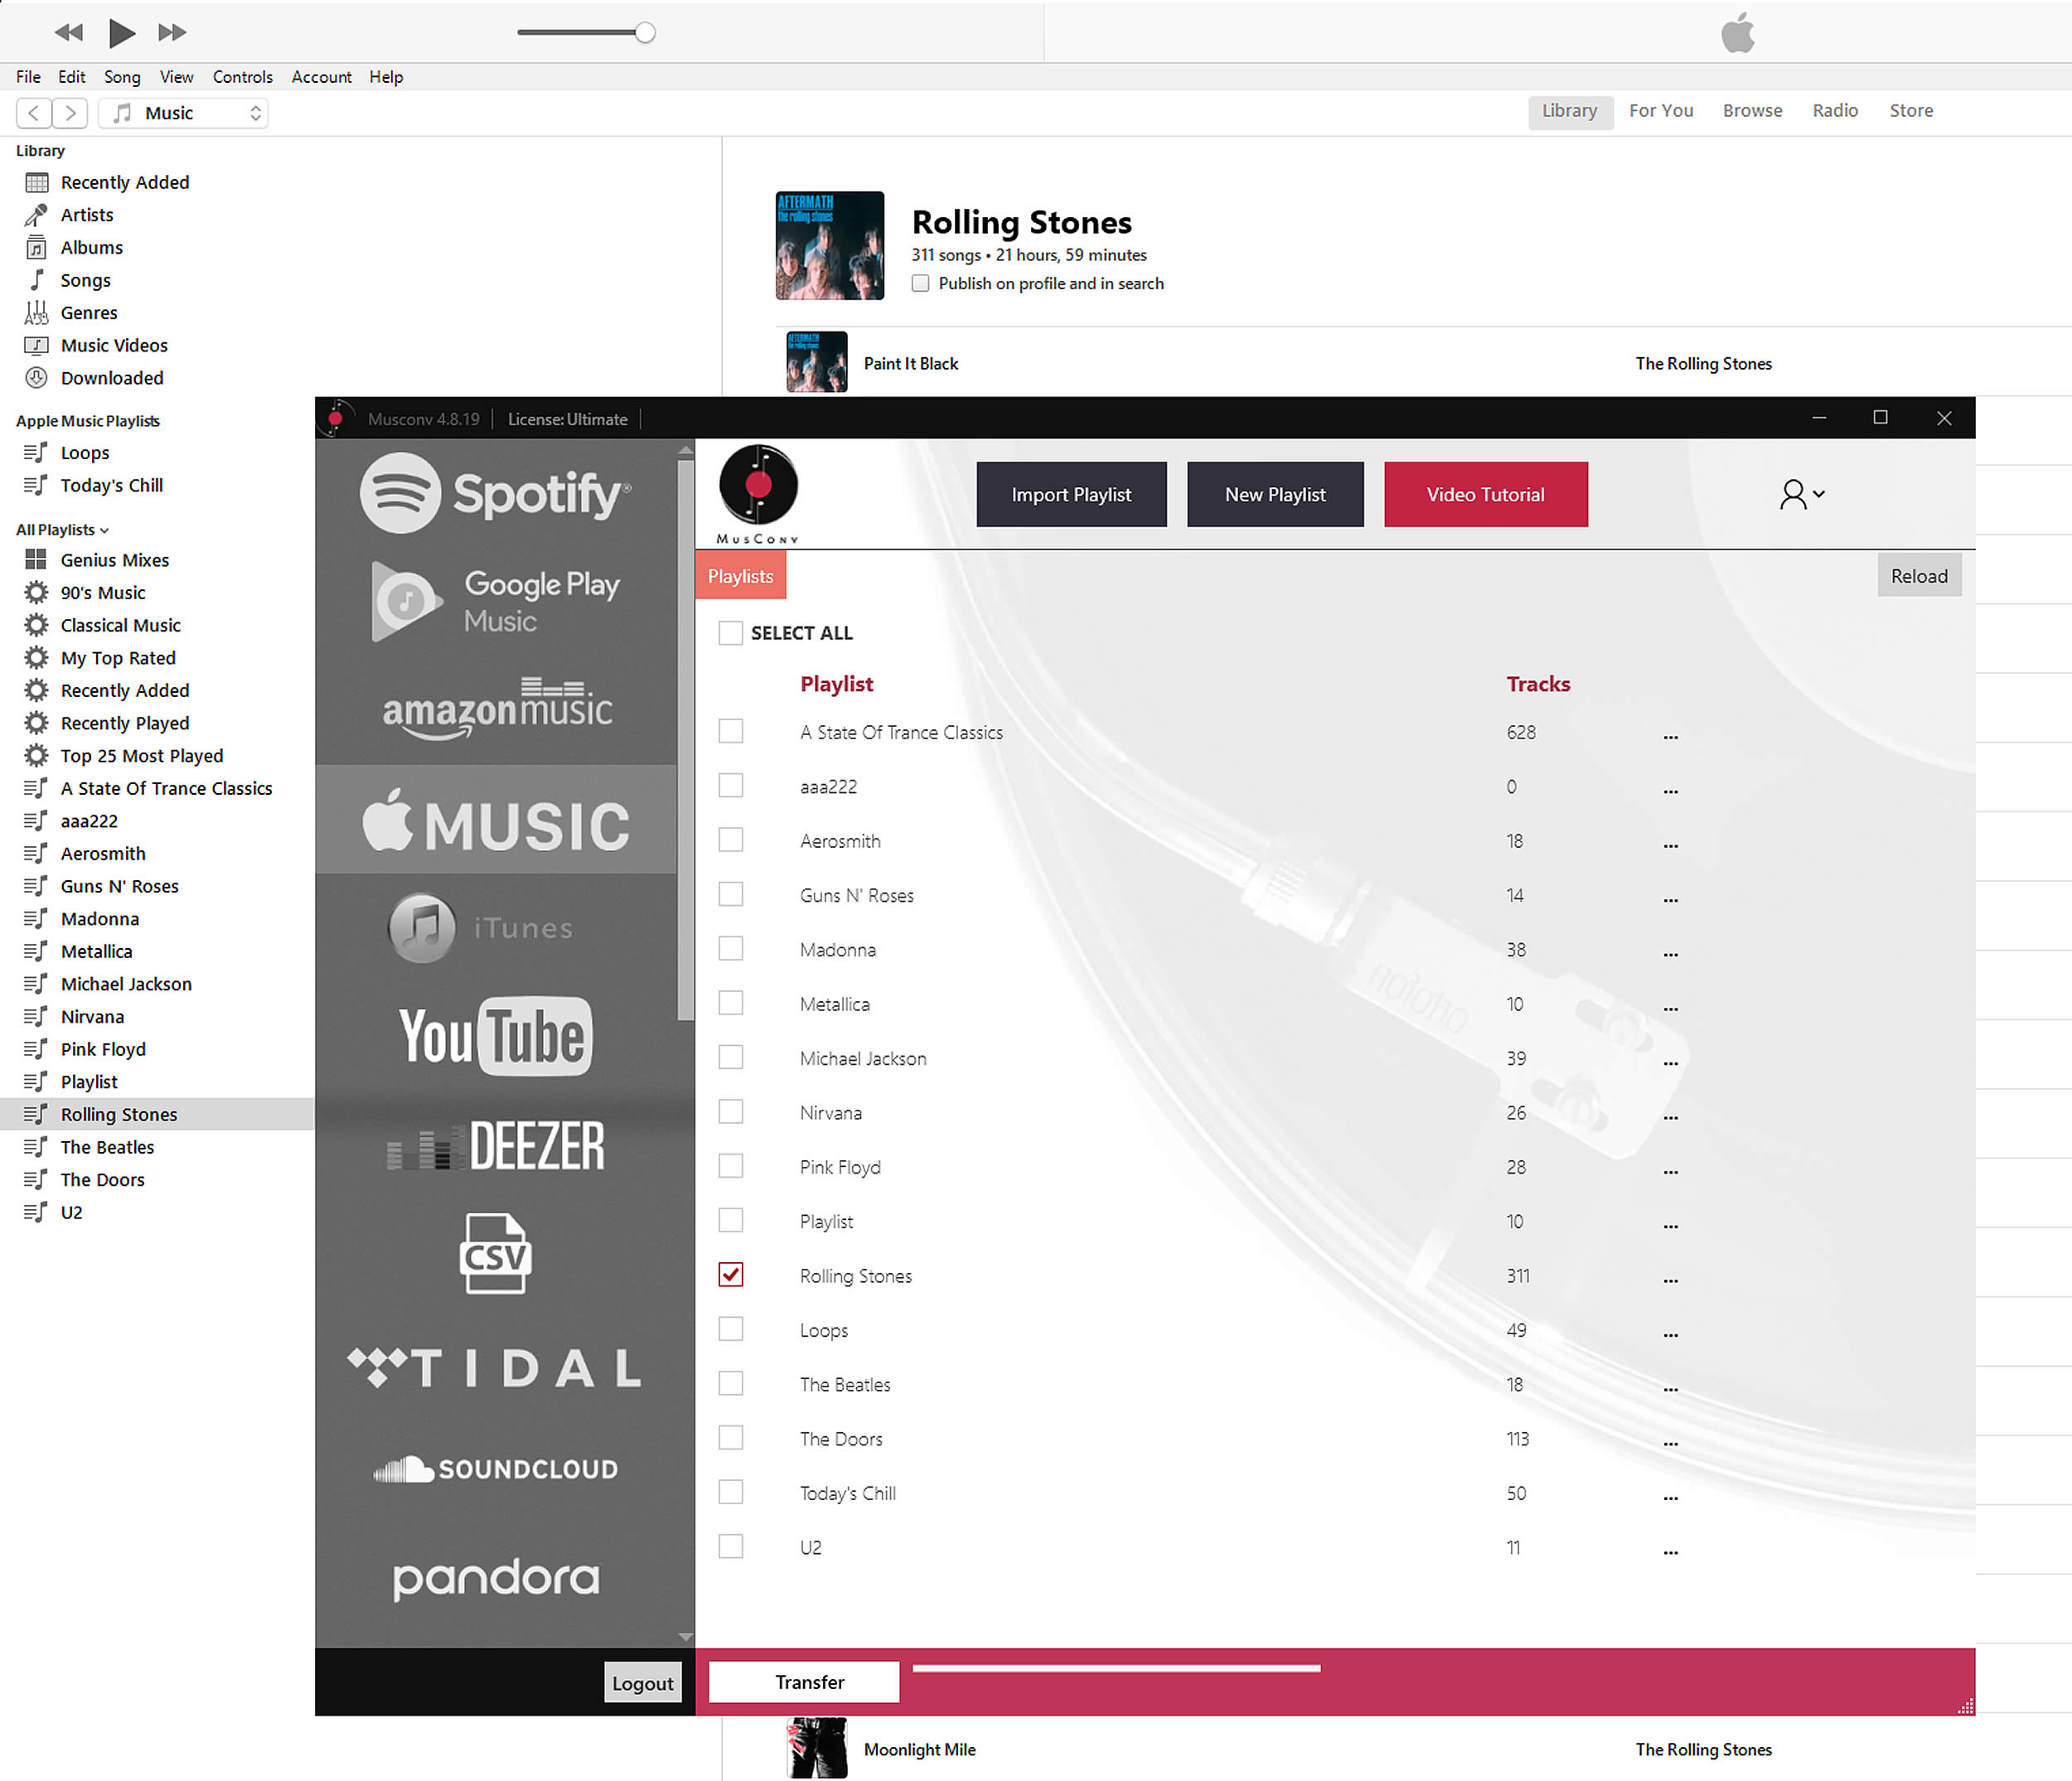
There are several online tools and software available that can help you with this conversion process. One popular tool is the “Spotify Playlist Converter”. This tool allows you to upload your exported JSON file and convert it to a format suitable for Amazon Music.
To convert your exported playlist, visit the Spotify Playlist Converter website using your web browser. Look for the option to upload your JSON file, and select the exported file from your computer.
Once you have uploaded the file, the tool will begin the conversion process. This may take a few moments, depending on the size of your playlist. Once the conversion is complete, you will be provided with a download link to retrieve the converted file.
Download the converted file to your computer, making note of its location for the next step of the process. We are now ready to move on to step three!
Step 3: Import your playlist to Amazon Music
Now that you have converted your playlist into a compatible format, it’s time to import it into Amazon Music and enjoy your favorite tunes. Let’s dive into step three!
Open your preferred web browser and visit the Amazon Music website. Log in to your Amazon Music account if you haven’t already done so.
Once you are logged in, navigate to the “My Music” section of Amazon Music. Look for the option to import your playlist. The location of this option may vary depending on the version of Amazon Music you are using, but it is usually found in the settings or library section.
Click on the “Import Playlist” or similar option, and a dialog box will appear asking you to select the file you want to import. Locate the converted file from step two on your computer and select it.
After selecting the file, click on the “Import” button or similar option to begin the import process. Amazon Music will start importing your playlist, and depending on the size of your playlist, this may take some time. Please be patient while the import is in progress.
Once the import is complete, Amazon Music will notify you that your playlist has been successfully imported. You can now navigate to the “Playlists” section of Amazon Music to find and play your imported playlist.
Voila! You have successfully imported your playlist from Spotify to Amazon Music. Get ready to groove to your favorite tunes in your new music streaming platform. Let’s move on to the final step to ensure everything is in order.
Step 4: Verify your playlist in Amazon Music
After importing your playlist from Spotify to Amazon Music, it’s essential to verify that the transfer was successful and that your playlist appears as expected. Let’s go through the final step to ensure everything is in order.
Navigate to the “Playlists” section of Amazon Music, where you will find all your playlists. Look for the name of the playlist you just imported and click on it to open it.
Take a few moments to go through the songs in your playlist and make sure they match the original playlist from Spotify. Check the order of the songs, any customizations you made, or any album artwork associated with each track.
Listen to a few songs and ensure they play without any issues. Sometimes, due to regional availability or licensing limitations, certain songs may not be available on Amazon Music. If any songs are missing, you may need to manually search and add them to your Amazon Music playlist.
If everything looks good and your playlist is intact, congrats! You have successfully moved your playlist from Spotify to Amazon Music. You can now enjoy your favorite songs on the Amazon Music platform.
However, if you notice any discrepancies or missing songs, don’t worry. You can manually edit your playlist in Amazon Music to rectify any discrepancies or search for missing songs to add them back.
Remember, regularly updating your playlist and exploring the vast music library on Amazon Music will help you discover new tracks and keep your music experience fresh and exciting!
With your playlist successfully verified in Amazon Music, you are now ready to immerse yourself in the world of music on your new favorite streaming platform. Enjoy your tunes and keep on grooving!
Conclusion
Transferring your playlist from Spotify to Amazon Music may have seemed like a daunting task at first, but with the steps we’ve outlined in this guide, it can be a seamless process. By exporting your playlist from Spotify, converting it to a compatible format, importing it into Amazon Music, and verifying its accuracy, you can enjoy your favorite tunes without missing a beat.
Music has the power to evoke emotions and set the mood for any occasion, and with the wide range of features and expansive library that Amazon Music offers, you can continue to curate and enjoy your unique playlist on a platform that suits your preferences.
Remember to explore all that Amazon Music has to offer. From personalized recommendations to exclusive content and playlists curated by industry experts, you can discover new music that complements your tastes.
Whether you switched from Spotify to Amazon Music for its diverse music collection, improved user experience, or added features, you can now enjoy your favorite songs seamlessly on your new streaming platform.
So, get ready to press play, relax, and let the music transport you to a world of melodies and rhythm. Happy listening!