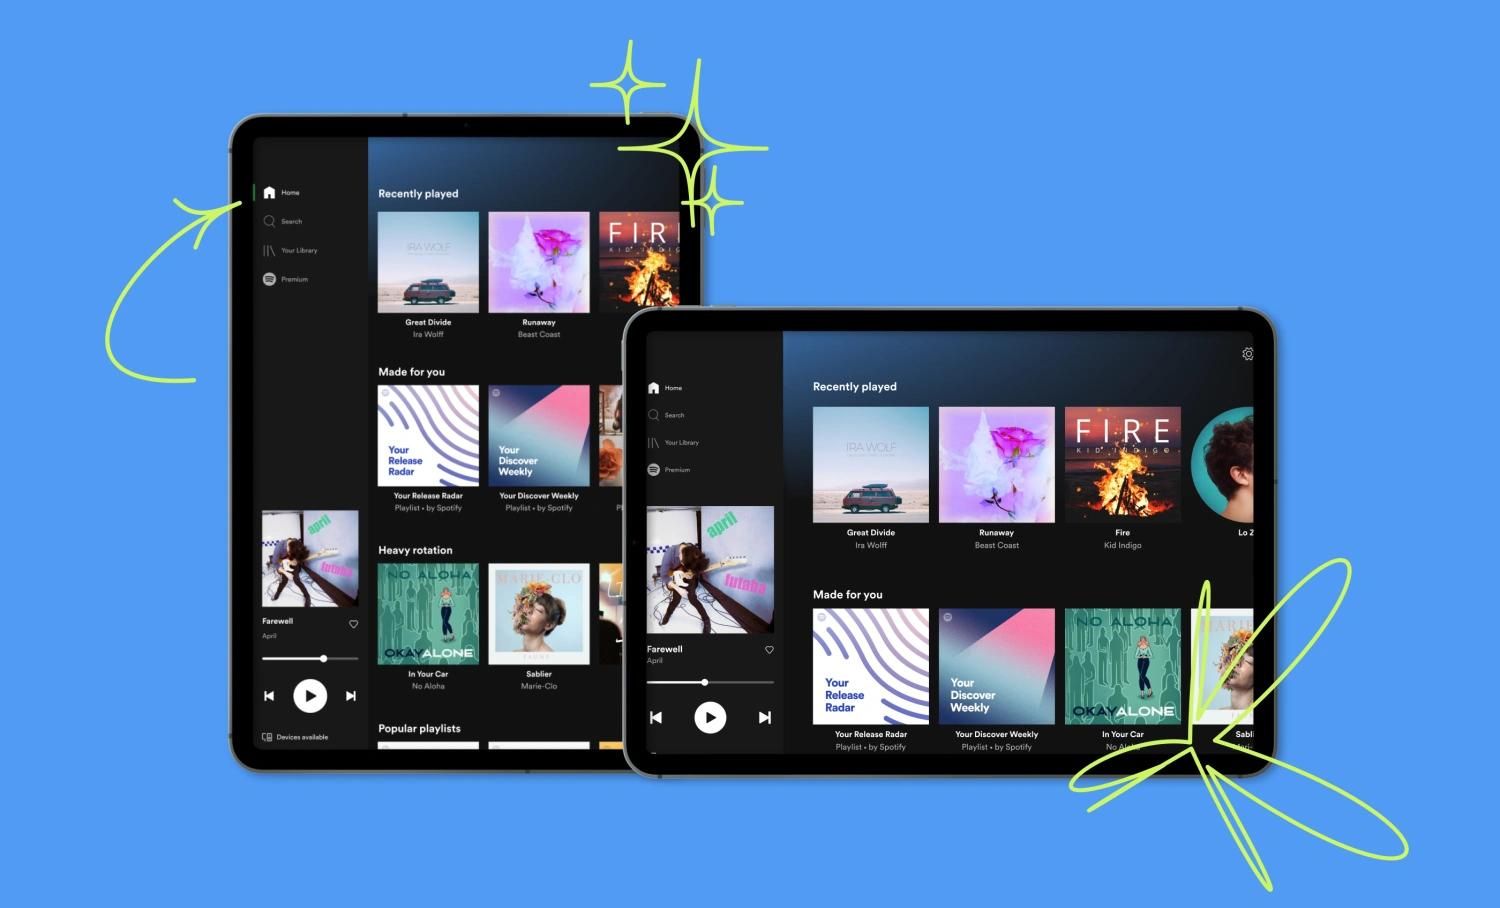
Introduction
Transferring your favorite playlists from one music streaming platform to another can be a daunting task. In this guide, we will walk you through the process of transferring playlists from Amazon Music to Spotify seamlessly. Whether you’ve recently switched to Spotify or you want to take advantage of Spotify’s extensive music library, this step-by-step tutorial will help you transfer your beloved playlists to your new streaming platform.
Both Amazon Music and Spotify are incredibly popular music streaming services, each with its own unique features and benefits. However, if you’ve invested time in curating the perfect playlist on Amazon Music, it can be frustrating to start from scratch when transitioning to Spotify. Fortunately, with just a few simple steps, you can easily import your Amazon Music playlists to Spotify and continue enjoying your favorite tunes on a different platform.
Before we dive into the playlist transfer process, it is essential to note that this guide assumes you already have active accounts with both Amazon Music and Spotify. Additionally, you should have basic knowledge of how to navigate both platforms.
Now, let’s get started with transferring your beloved playlists from Amazon Music to Spotify!
Step 1: Exporting Playlist from Amazon Music
In order to transfer your playlist from Amazon Music to Spotify, you need to first export the playlist from Amazon Music. Here’s how you can do it:
- Open the Amazon Music web app or launch the Amazon Music desktop application on your computer.
- Navigate to the playlist that you wish to transfer.
- Click on the ellipsis (…) next to the playlist name to reveal the options menu.
- Select the “Export as a file” option from the menu.
- Choose your preferred export format. We recommend selecting the “M3U” format as it is widely supported.
- Click on the “Export” button and choose a location on your computer to save the exported playlist file.
Once you have successfully exported the playlist from Amazon Music, you are ready to move on to the next step: converting the playlist format.
Step 2: Converting Playlist Format
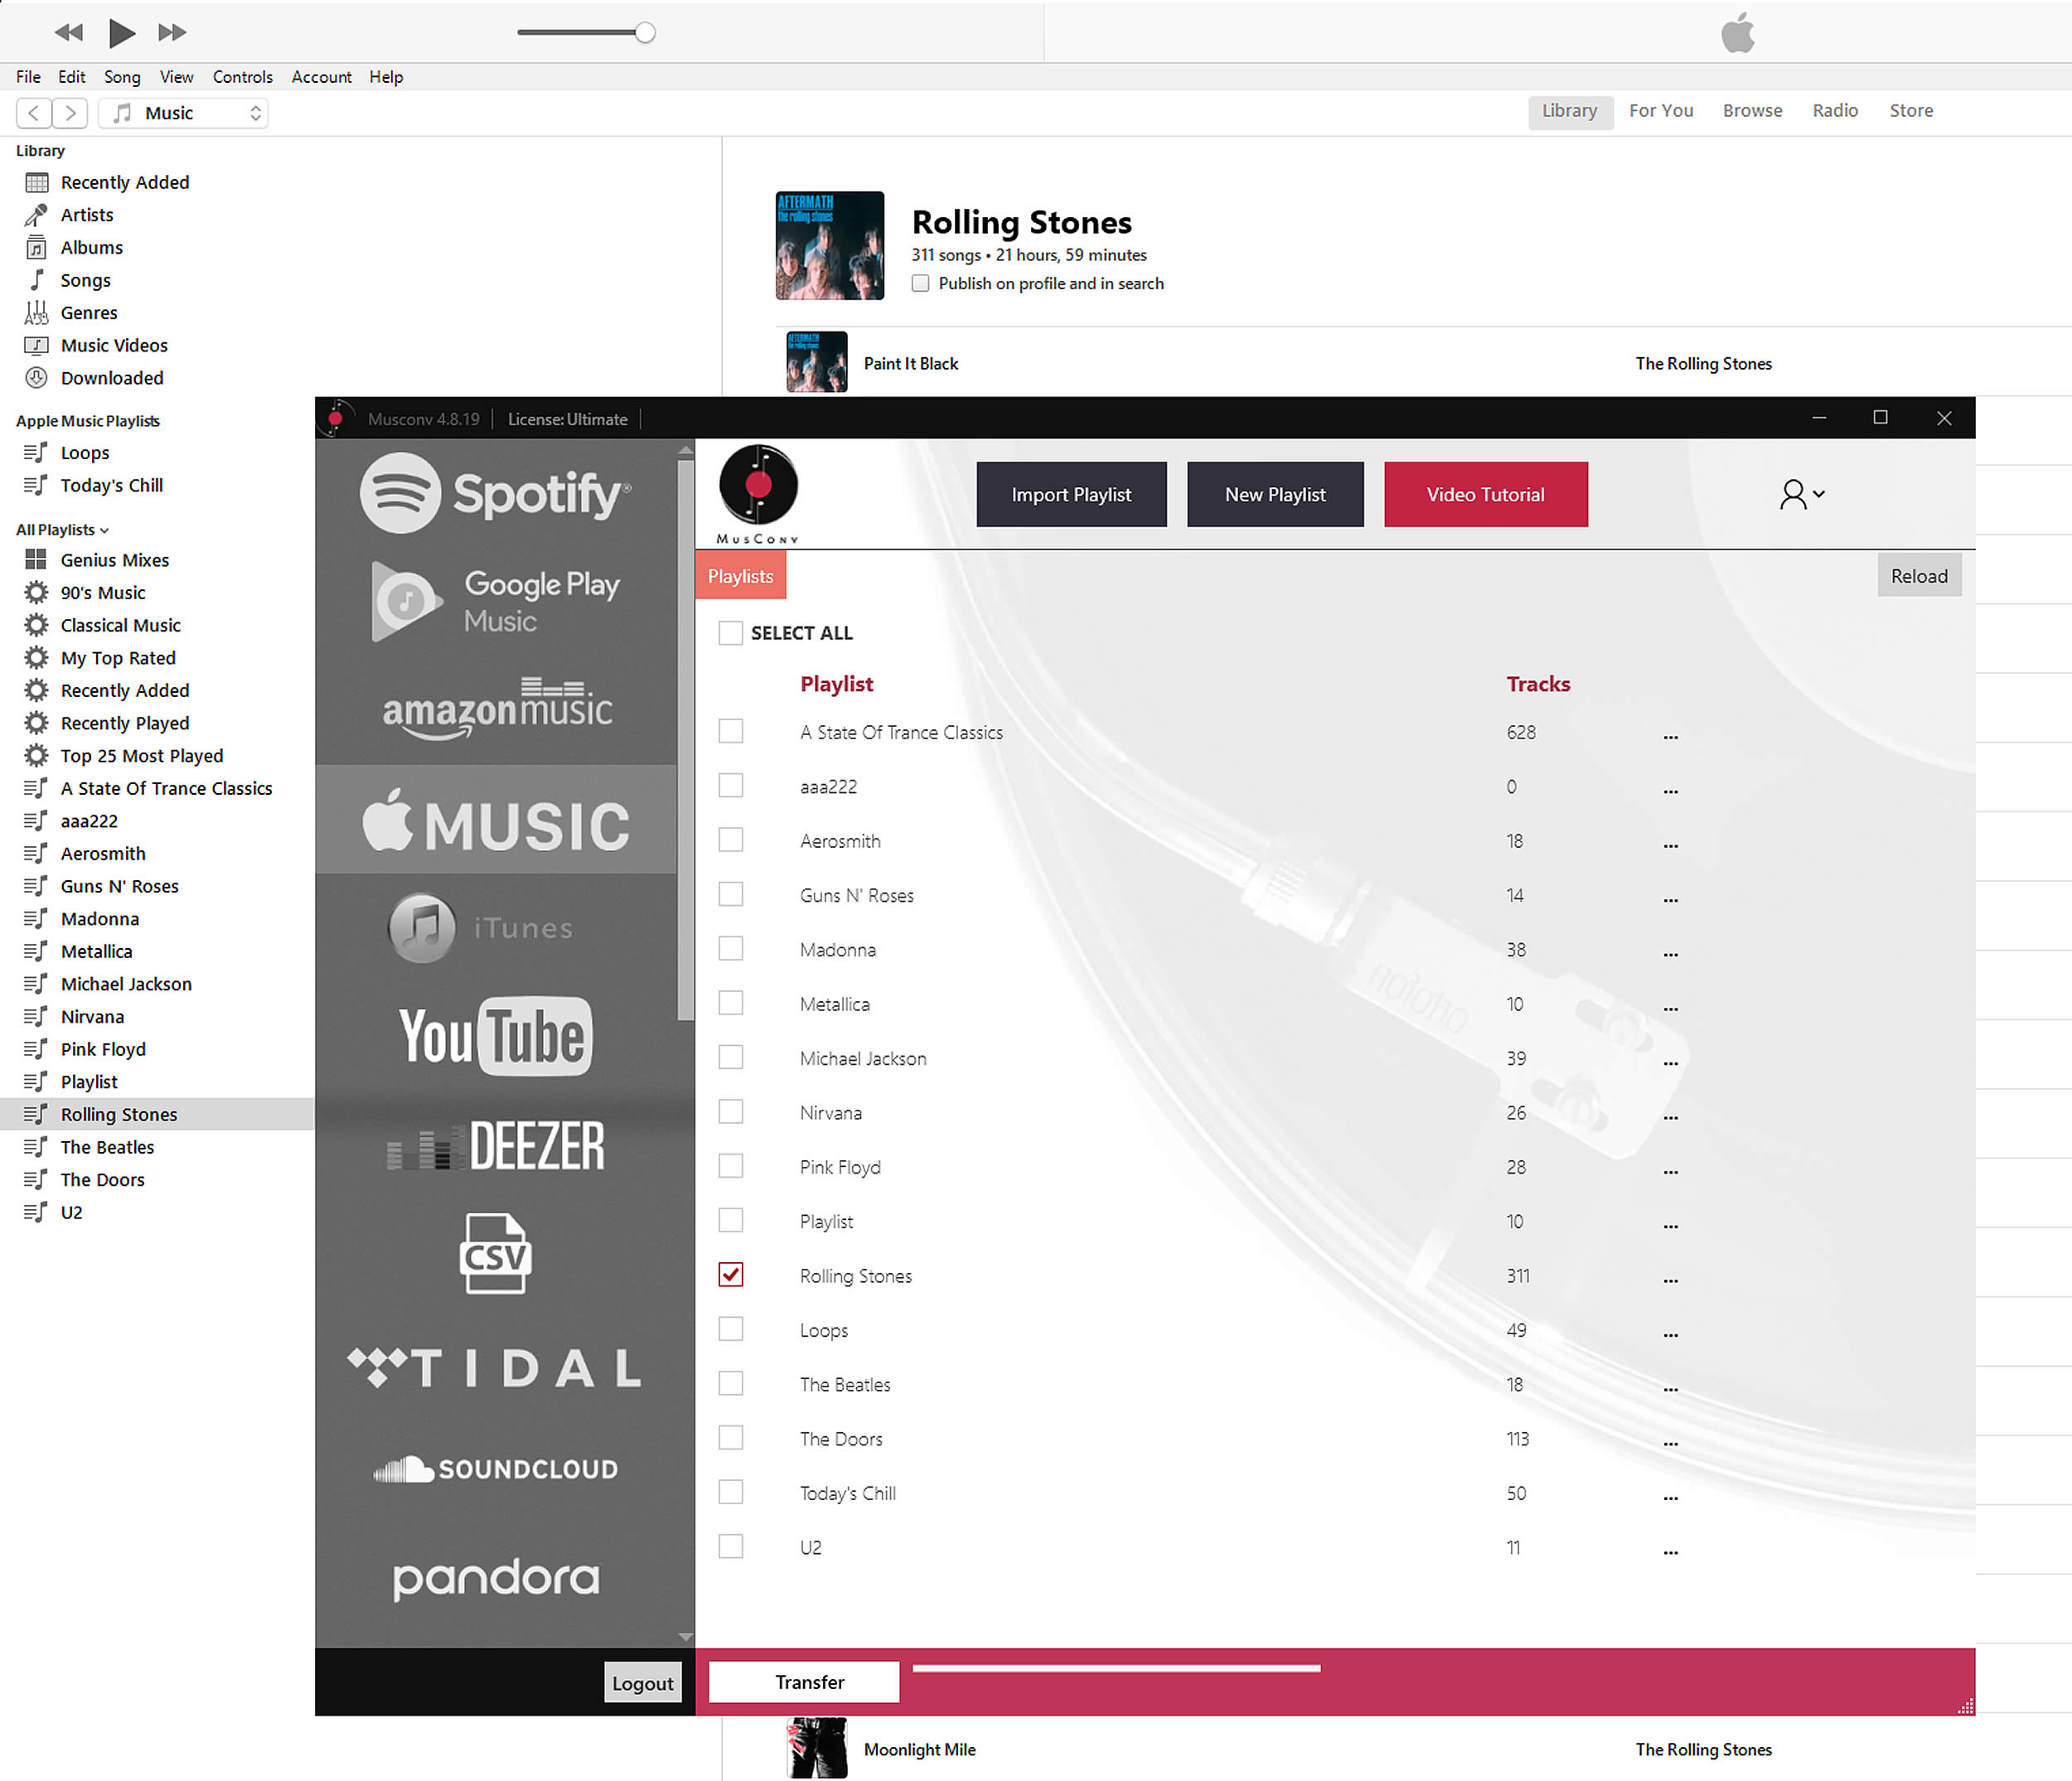
After exporting the playlist from Amazon Music, the next step is to convert the playlist format to a format compatible with Spotify. Follow these steps to convert the playlist format:
- Locate the exported playlist file on your computer.
- If the file is in a compressed format, such as ZIP, extract the contents to a folder.
- Open a text editor or a playlist conversion tool of your choice.
- Drag and drop the exported playlist file into the text editor or conversion tool.
- Your playlist will appear as a list of songs with file paths or URLs.
- Now, you need to convert these file paths or URLs into Spotify track links.
- Using a playlist conversion tool, search for each song on Spotify and copy the corresponding track link.
- Replace the file paths or URLs in the text editor or conversion tool with the Spotify track links.
- Once you have converted all the songs in the playlist, save the converted playlist file.
Now that you have successfully converted the playlist format, you are ready to proceed with importing the playlist to Spotify.
Step 3: Importing Playlist to Spotify
Now that you have converted the playlist format, it’s time to import the playlist to Spotify. Follow these simple steps to import your playlist:
- Open the Spotify app or visit the Spotify web player in your browser.
- Ensure that you are signed in to your Spotify account.
- Navigate to the “Library” section in Spotify.
- Click on the “Create Playlist” button to create a new playlist.
- Name the playlist according to your preference.
- Open the converted playlist file in a text editor or conversion tool.
- Select all the Spotify track links in the converted playlist.
- Copy the selected track links to your clipboard.
- Go back to the Spotify app or web player and navigate to the newly created playlist.
- Paste the copied track links into the playlist using the “Paste Track Link” option.
- Wait for Spotify to automatically add each track to your playlist.
- Once all the tracks are added, you have successfully imported your playlist from Amazon Music to Spotify!
Congratulations! You have successfully transferred your playlist to Spotify. Now you can enjoy your curated collection of songs on Spotify’s platform.
Step 4: Finalizing the Playlist Transfer
After importing your playlist to Spotify, it is important to double-check and finalize the playlist transfer to ensure everything is in order. Follow these final steps to complete the playlist transfer:
- Open the playlist in Spotify that you imported from Amazon Music.
- Verify that all the songs in the playlist are present and in the correct order.
- If any songs are missing or out of order, you can manually search for them on Spotify and add them to the playlist.
- Listen to a few songs from the playlist to ensure they are playing correctly.
- If any songs encounter playback issues, check if they are available on Spotify and add them again if necessary.
- Take some time to organize and customize your playlist in Spotify using features like renaming, adding descriptions, or creating folders.
- Once you are satisfied with the playlist, share it with your friends or keep it private for your personal enjoyment.
By following these steps and finalizing the playlist transfer, you can seamlessly transition your favorite tracks and playlists from Amazon Music to Spotify without losing any of your carefully curated content.
Now that the playlist transfer is complete, you can continue to explore and enjoy the vast music library and features offered by Spotify. Happy listening!
Conclusion
Transferring your playlists from one music streaming platform to another can seem like a daunting task, but with the right steps, it can be a seamless process. In this guide, we walked you through the process of transferring your playlists from Amazon Music to Spotify.
We started by exporting the playlist from Amazon Music, ensuring that we had a file containing the necessary information. Then, we converted the playlist format to make it compatible with Spotify, replacing file paths or URLs with Spotify track links.
Next, we imported the converted playlist into Spotify, creating a new playlist and adding the track links from the converted file. After the import, we double-checked the playlist, making sure all the songs were present and in the correct order. We also made any necessary adjustments to ensure the proper functionality and playback of the songs.
By following these steps, you should now have successfully transferred your playlist from Amazon Music to Spotify, allowing you to continue enjoying your favorite songs on a new platform.
Remember, the process of transferring playlists may vary depending on the platforms involved and updates to the apps or services. It’s always a good idea to check for the latest instructions and guidelines provided by the respective platforms.
Now that you have mastered the art of transferring playlists, you can explore the features and benefits offered by Spotify and continue to curate your perfect music collection. Happy listening!





![How To Download Music Safe and Fast [GUIDE]](https://robots.net/wp-content/uploads/2022/04/how-to-download-music-featured-300x175.jpg)

