Introduction
Welcome to this guide on how to download Amazon Music to an SD card! If you are an Amazon Music user looking to expand your offline music library or save storage space on your device, utilizing an SD card is a great option. With an SD card, you can download your favorite songs and playlists and listen to them anytime, anywhere, even without an internet connection.
Before we dive into the steps, it’s important to note that not all devices support the use of an SD card for Amazon Music downloads. Ensure that your device is compatible with this feature before proceeding.
Downloading Amazon Music to an SD card is a straightforward process that can be done by following a few simple steps. In this guide, we will cover each step in detail, providing you with a clear understanding of the process.
By the end of this guide, you will know how to format your SD card, download the Amazon Music app, change the storage location, download music to your SD card, and manage offline music stored on the SD card.
Now, without further ado, let’s get started with step one: checking compatibility.
Step 1: Check Compatibility
Before you begin the process of downloading Amazon Music to an SD card, it’s important to confirm whether your device supports this feature. Not all devices have the capability to save music directly to an SD card, so it’s crucial to check compatibility.
To check if your device supports downloading Amazon Music to an SD card, follow these steps:
- Go to the settings menu on your device. This can usually be found by swiping down from the top of the screen and selecting the gear icon.
- Navigate to the storage or storage options section.
- Look for an option related to external storage or SD card settings. This may vary depending on your device, so explore the settings thoroughly.
- If you find an option to enable or use an SD card as external storage, it means your device supports this feature. Make sure the SD card is inserted properly into your device before proceeding.
- If your device does not have an option to use an SD card as external storage, it means that downloading Amazon Music directly to an SD card is not supported. In this case, you will need to use the internal storage of your device to store your downloaded music.
By checking the compatibility of your device with an SD card, you can determine whether the subsequent steps in this guide will apply to your situation. If your device is compatible, move on to the next step: formatting the SD card.
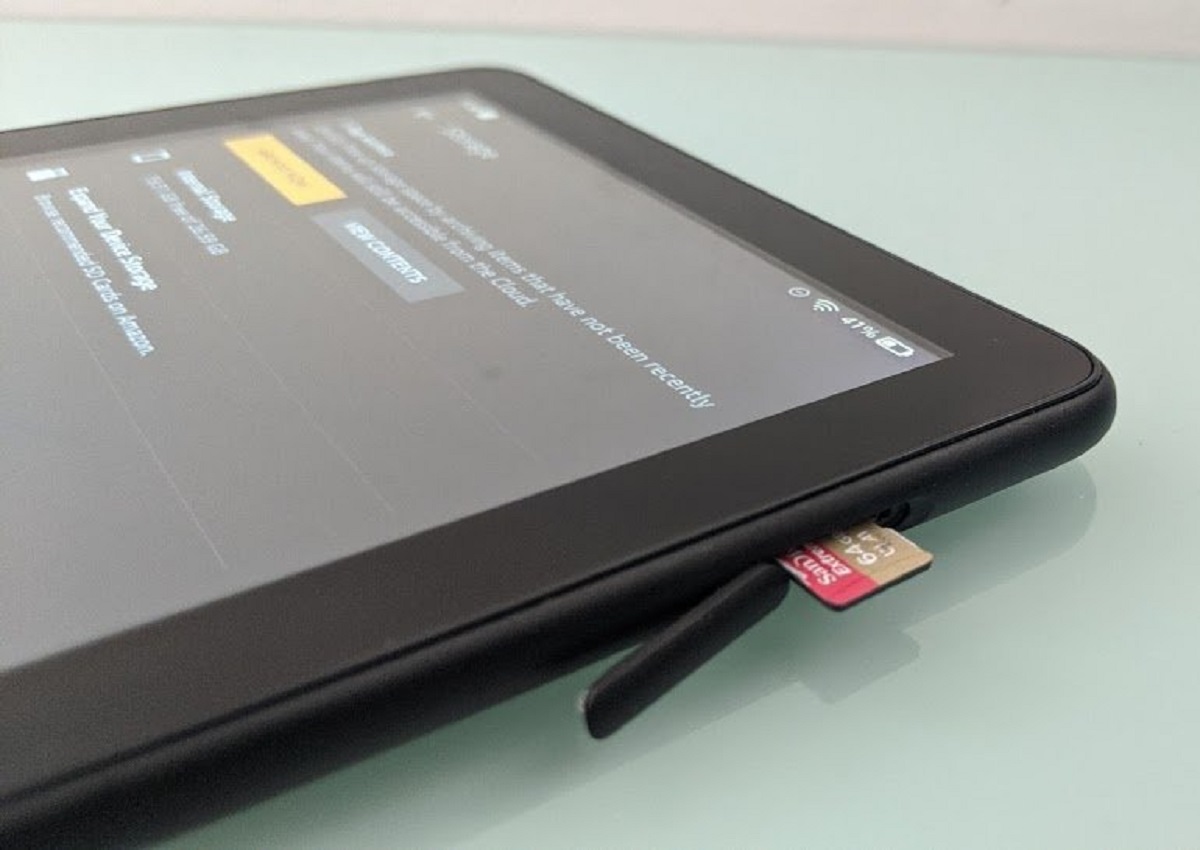
Step 2: Format the SD Card
Before you can start downloading Amazon Music to your SD card, it’s important to format the card properly. Formatting prepares the SD card for use and ensures compatibility with your device. Here’s how you can format your SD card:
- Insert the SD card into your device’s SD card slot. If your device doesn’t have a dedicated slot, you may need an SD card adapter to connect it.
- Go to the settings menu on your device and navigate to the storage or storage options section.
- Locate the option to format the SD card. This may be labeled as “Format SD card,” “Format,” or something similar.
- Tap on the format option and confirm your selection if prompted. Keep in mind that formatting the SD card will erase all existing data, so make sure you have a backup if necessary.
- Wait for the formatting process to complete. This may take a few minutes depending on the size of the SD card.
- Once the formatting is done, your SD card is ready to use.
By properly formatting your SD card, you ensure that it is compatible with your device and ready to receive the downloaded music files. With the formatting complete, you can now proceed to the next step: downloading the Amazon Music app.
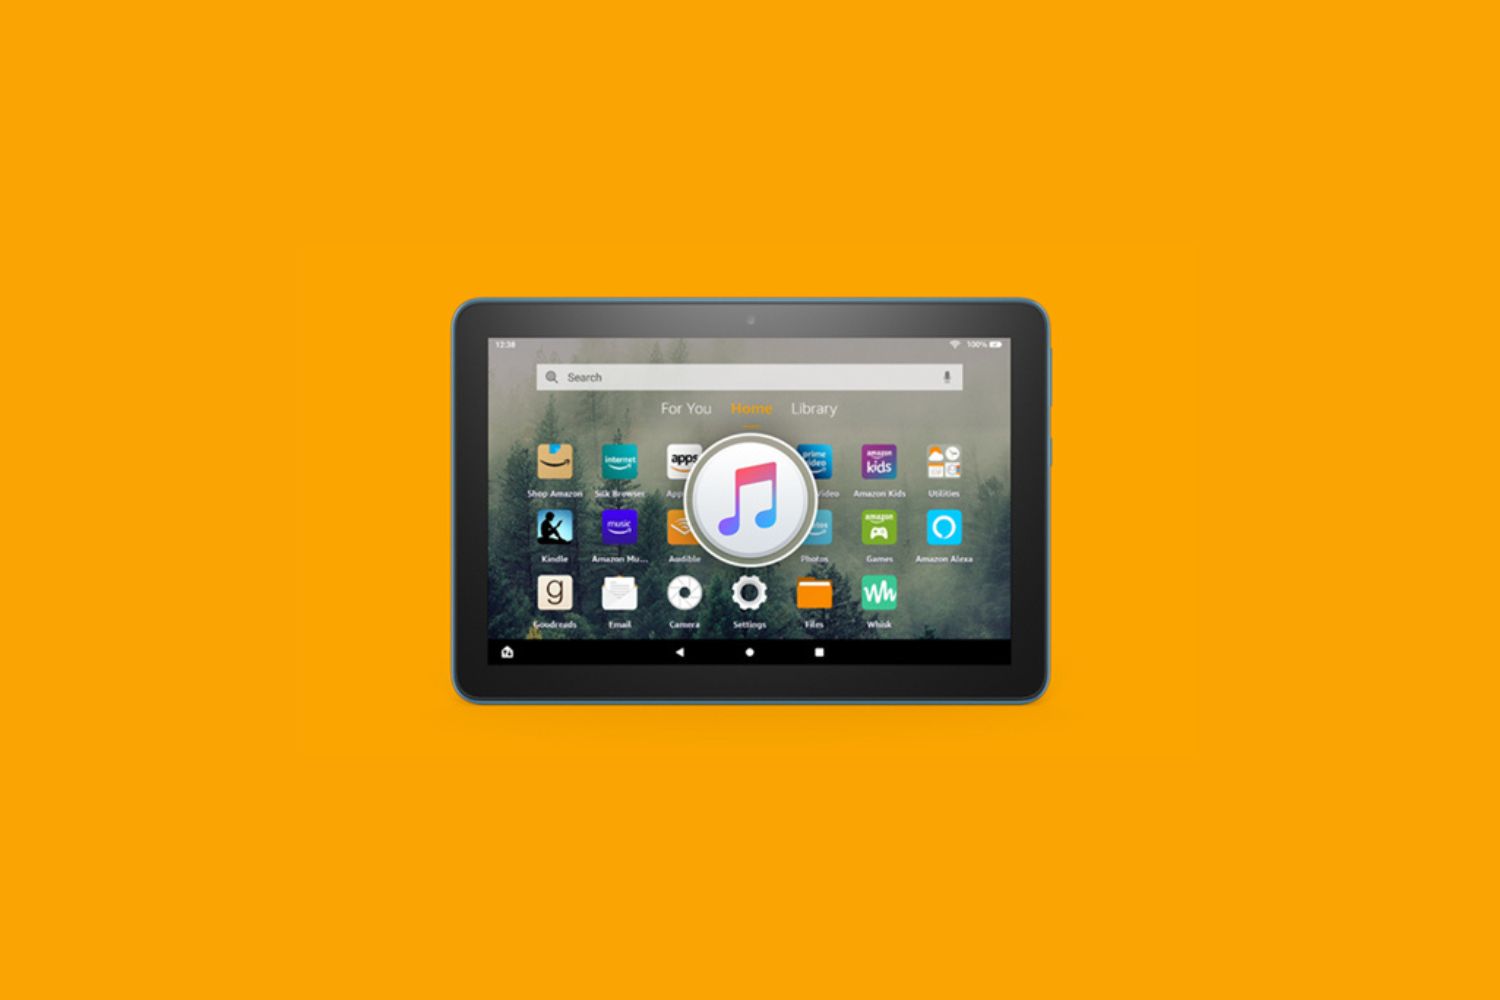
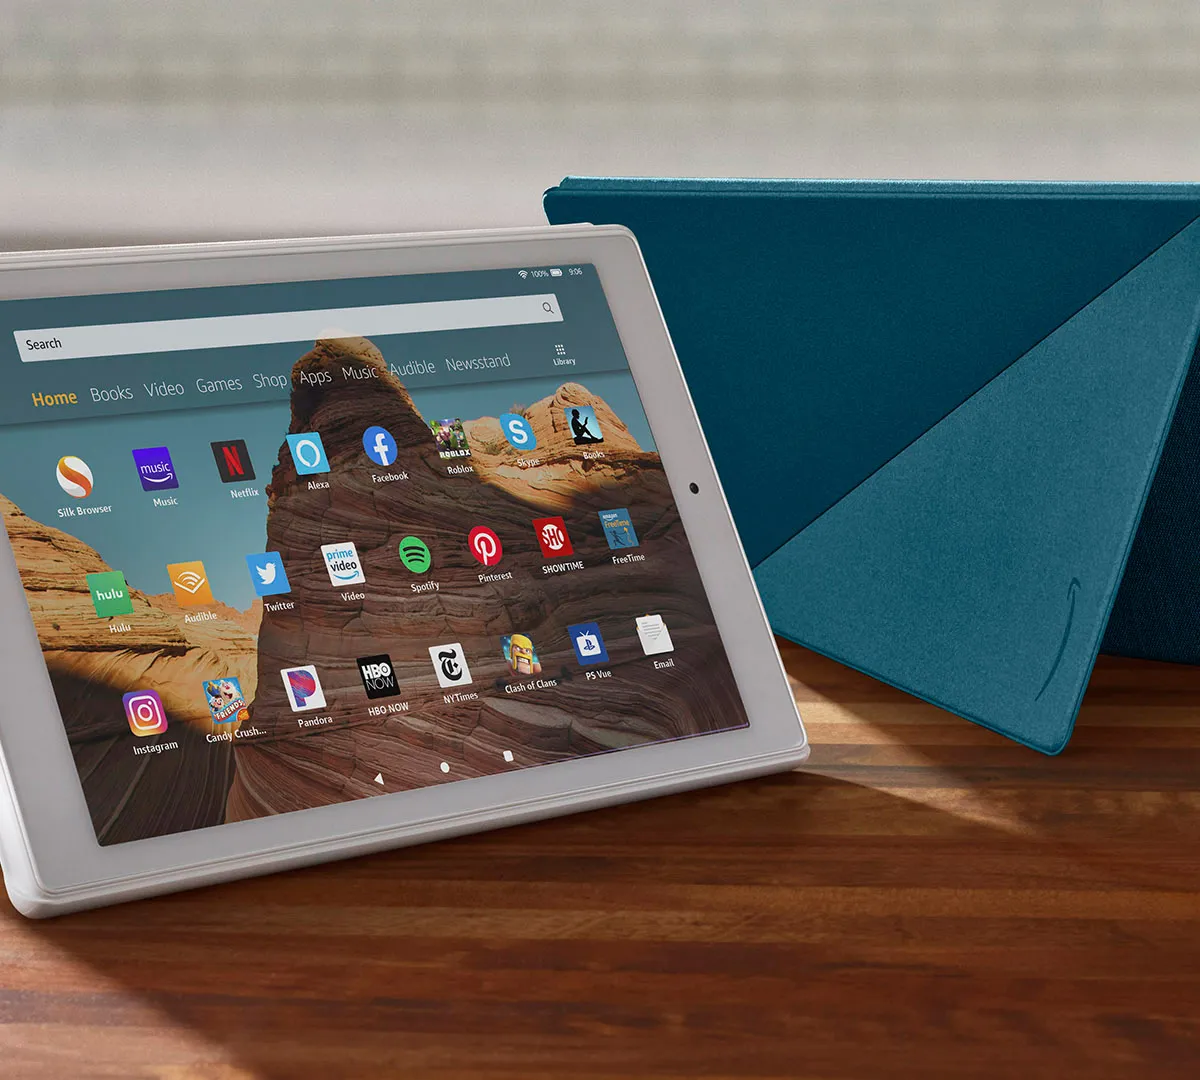
Step 3: Download Amazon Music App
In order to download and manage Amazon Music on your device, you’ll need to have the Amazon Music app installed. Here’s how you can download the Amazon Music app:
- Open the app store on your device. If you’re using an Android device, access the Google Play Store. For iOS devices such as iPhones and iPads, open the App Store.
- Search for “Amazon Music” in the app store’s search bar. The official Amazon Music app should appear in the search results.
- Select the Amazon Music app from the search results to open its app page.
- Tap the “Install” or “Get” button to download and install the app on your device.
- Wait for the app to download and install. The installation process may take a few moments.
- Once the installation is complete, you can open the app and sign in to your Amazon Music account.
Once you have successfully downloaded and installed the Amazon Music app on your device, you are one step closer to being able to download and listen to your favorite music on an SD card. The next step is to change the storage location to the SD card, which will be covered in the following section.
Step 4: Change Storage Location
By default, the Amazon Music app saves downloaded songs to the internal storage of your device. To download music directly to your SD card, you’ll need to adjust the storage location setting within the app. Here’s how:
- Open the Amazon Music app on your device and sign in to your account if you haven’t already done so.
- Tap on the menu icon, usually located in the top-left or top-right corner of the app. It appears as three horizontal lines or three dots.
- From the menu, select “Settings” or “Preferences.”
- In the settings or preferences menu, navigate to the “Storage” or “Download” section.
- Look for an option to change the storage location or download location. This may be labeled as “Download Storage,” “Storage Location,” or similar. Tap on this option.
- If prompted, choose the option for using an external storage or SD card as the default download location.
- Select your SD card as the preferred storage location for downloaded music.
- Save the changes and exit the settings menu.
By changing the storage location within the Amazon Music app, you are instructing the app to save downloaded songs directly to your SD card. This ensures that your device’s internal storage remains free while allowing you to enjoy your music collection on the go.
Now that you have set the SD card as the default storage location, you are ready to move on to the next step: downloading music to the SD card.
Step 5: Select SD Card as Default Storage
Before you can start downloading music to your SD card in the Amazon Music app, you need to ensure that the app recognizes the SD card as the default storage option. Here’s how you can select the SD card as the default storage:
- Open the Amazon Music app on your device and sign in to your account, if necessary.
- Tap on the menu icon, usually located in the top-left or top-right corner of the app.
- From the menu, select “Settings” or “Preferences.”
- In the settings or preferences menu, navigate to the “Storage” or “Download” section.
- Look for an option that allows you to choose the default storage location. This may be labeled as “Default Storage,” “Storage Location,” or something similar.
- Select the option to use the external storage or SD card as the default storage.
- Save the changes and exit the settings menu.
By selecting the SD card as the default storage in the Amazon Music app settings, any new downloads will automatically be saved to the SD card. This ensures that you are maximizing the available storage space on your device and allows for seamless access to your music library.
With the SD card set as the default storage option, you are now ready for the next step: downloading music directly to the SD card in the Amazon Music app.
Step 6: Download Music to SD Card
Now that you have set the SD card as the default storage location in the Amazon Music app, you can proceed to download music directly to the SD card. Here’s how:
- Open the Amazon Music app on your device and sign in to your account.
- Navigate to the song, album, or playlist you want to download to your SD card.
- Tap on the three-dot menu icon next to the desired item.
- From the menu, select the “Download” or “Add to library” option. The wording may vary depending on the version of the app.
- The app will begin downloading the selected item to your SD card. You may see a progress bar or indicator showing the download status.
- Wait for the download to complete. The time it takes will depend on the size of the file and your internet connection speed.
- Once the download is finished, the song, album, or playlist will be stored on your SD card and available for offline listening.
By following these steps, you can easily download music directly to your SD card using the Amazon Music app. This allows you to save storage space on your device and have your favorite songs ready for offline listening wherever you go.
Now that you have successfully downloaded music to your SD card, let’s move on to the final step: managing offline music stored on the SD card.
Step 7: Manage Offline Music on SD Card
Once you have downloaded music to your SD card using the Amazon Music app, it’s important to know how to manage your offline music library effectively. Here are some tips on how to do that:
- Open the Amazon Music app on your device and sign in to your account.
- Tap on the “My Music” or “Library” tab to access your music library.
- Choose the category you want to manage, such as songs, albums, or playlists.
- Locate the music you want to manage. You can use the search bar or browse through your library.
- To delete a song or album from your SD card, tap on the three-dot menu icon next to the item and select the “Delete” or “Remove from device” option. This will remove the selected item from your SD card, but it will still be available for streaming.
- If you want to delete all downloaded music from your SD card at once, you can go to the settings or preferences menu of the Amazon Music app, find the “Storage” or “Cache” section, and select the option to clear all downloaded music. Keep in mind that this will delete all downloaded music, including songs, albums, and playlists, from your SD card.
- To manage your downloaded playlists, you can go to the “Playlists” section in the Amazon Music app, find the playlist you want to edit, and tap on the pencil icon to make changes. From there, you can add or remove songs, rename the playlist, or rearrange the track order.
- Remember to periodically check your storage space on both your device and SD card to ensure you have enough space for new downloads. You can do this by going to the settings menu of your device and navigating to the storage or storage options section.
By effectively managing your offline music library on the SD card, you can keep your collection organized and ensure you have enough space for new downloads.
Congratulations! You have successfully learned how to download Amazon Music to an SD card and manage your offline music collection. With this knowledge, you can enjoy your favorite music anytime, anywhere, without relying on an internet connection.
Conclusion
In conclusion, downloading Amazon Music to an SD card can be a game-changer for avid music enthusiasts. By following the steps outlined in this guide, you can easily expand your offline music library and save valuable storage space on your device.
We started by checking the compatibility of your device to ensure it supports downloading music to an SD card. Then, we walked you through the process of formatting the SD card to prepare it for use.
Next, we guided you through downloading the Amazon Music app and changing the storage location to the SD card within the app’s settings. This step is crucial in ensuring that all future music downloads are automatically saved to the SD card.
Once the settings were properly configured, we showed you how to download music directly to the SD card using the Amazon Music app. This allows you to have your favorite songs and playlists available for offline listening wherever you go.
Lastly, we discussed managing offline music stored on the SD card. By utilizing the options within the Amazon Music app, you can easily delete or rearrange your downloaded songs and playlists, ensuring a well-organized music library.
With these steps, you have gained the knowledge to fully leverage the advantages of downloading Amazon Music to an SD card. Enjoy the freedom of having your music collection at your fingertips, even without an internet connection.
So, grab your SD card, follow the steps outlined in this guide, and experience the joy of downloading and listening to your favorite music on the go!