Connecting the SD card to the Samsung tablet
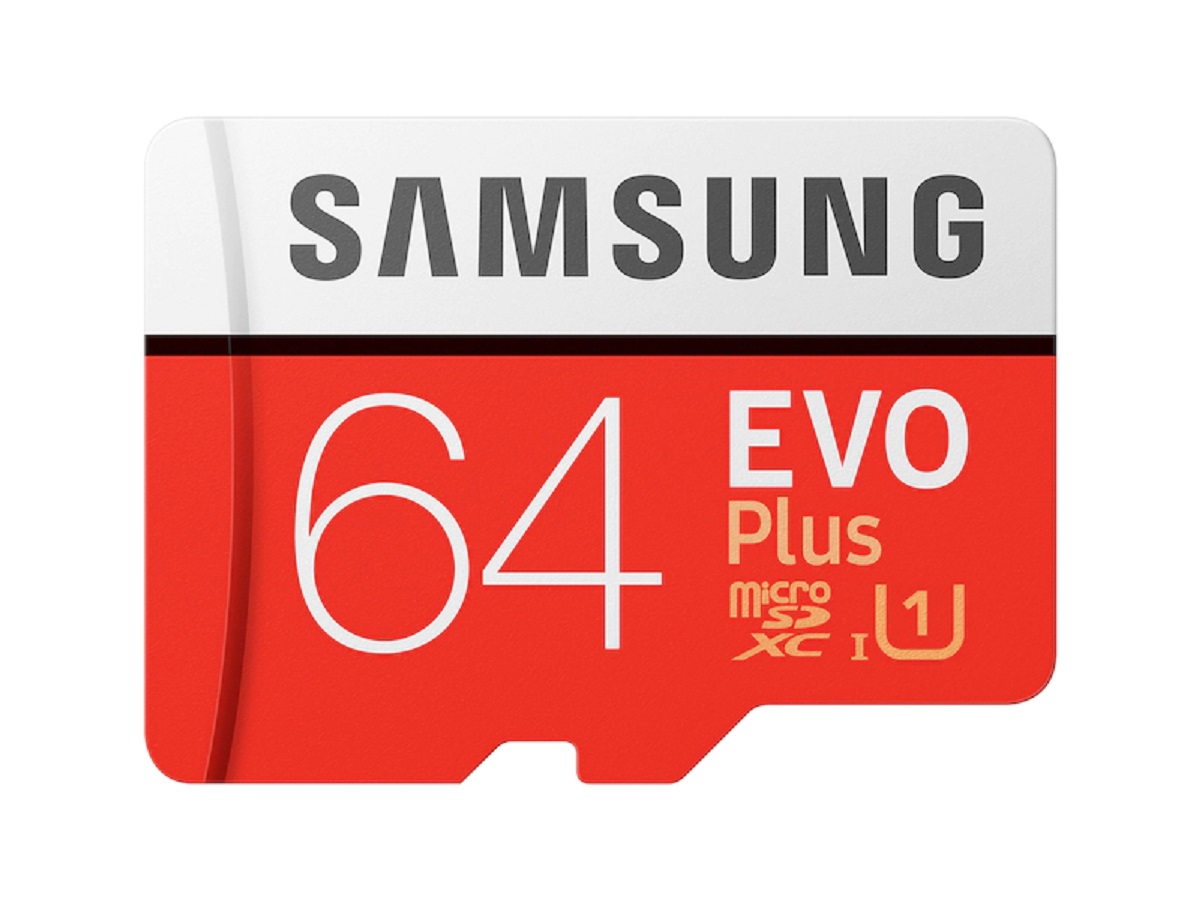
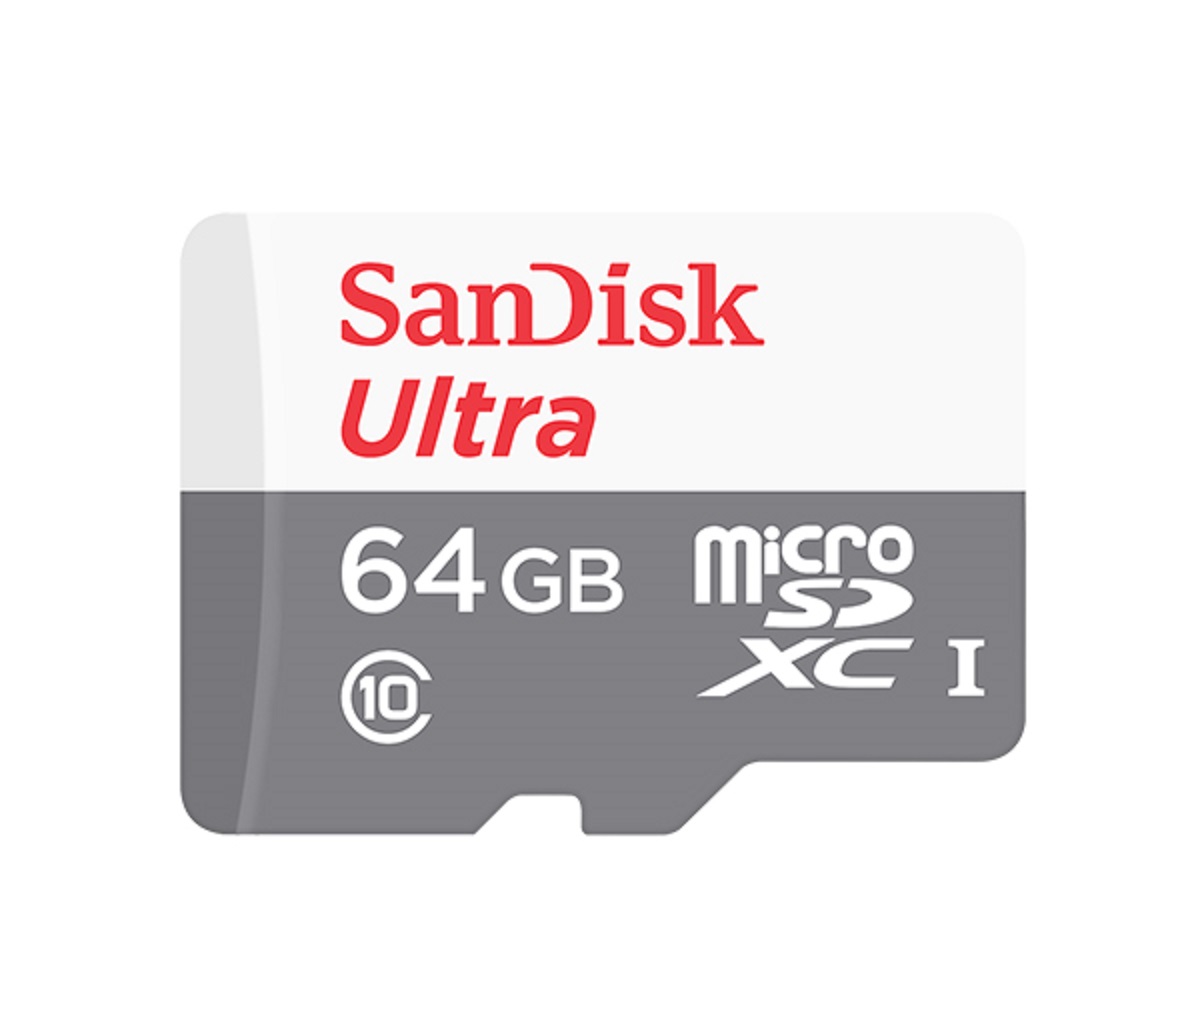
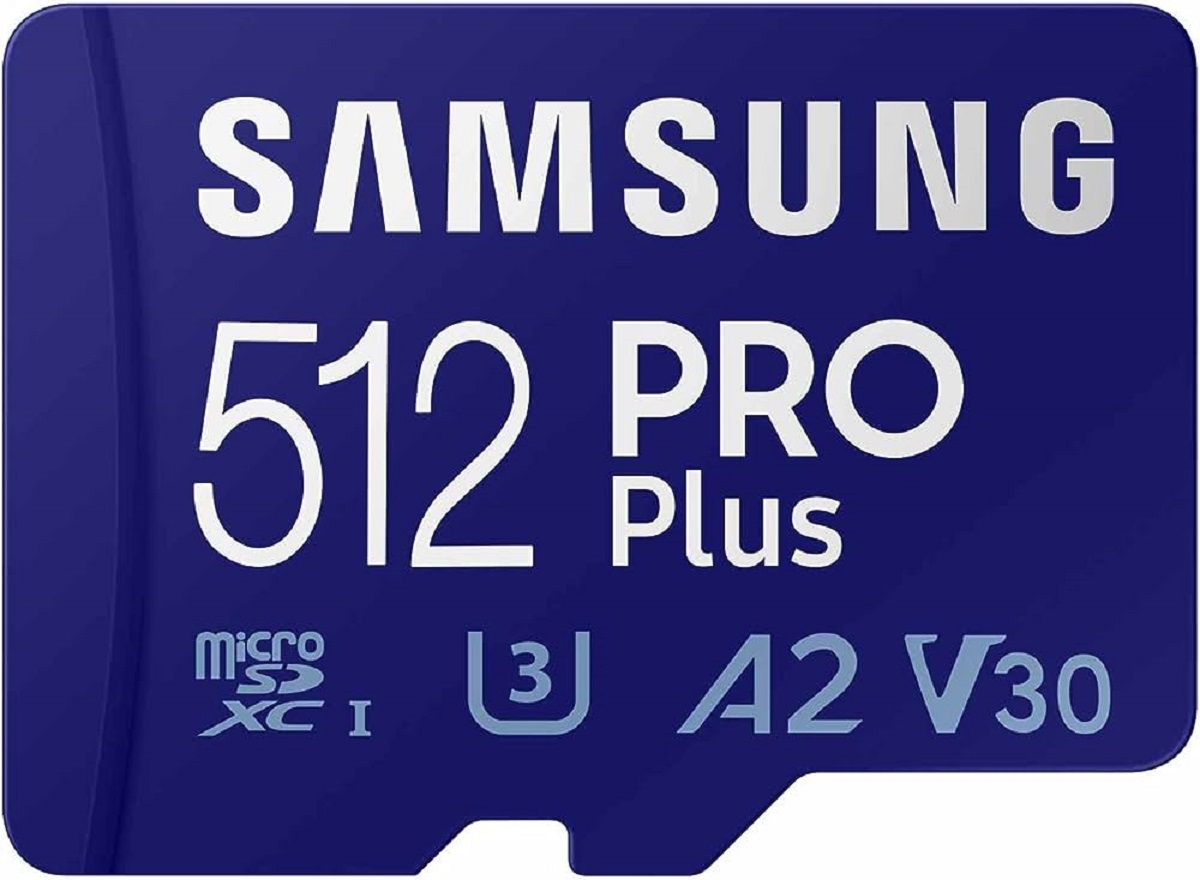
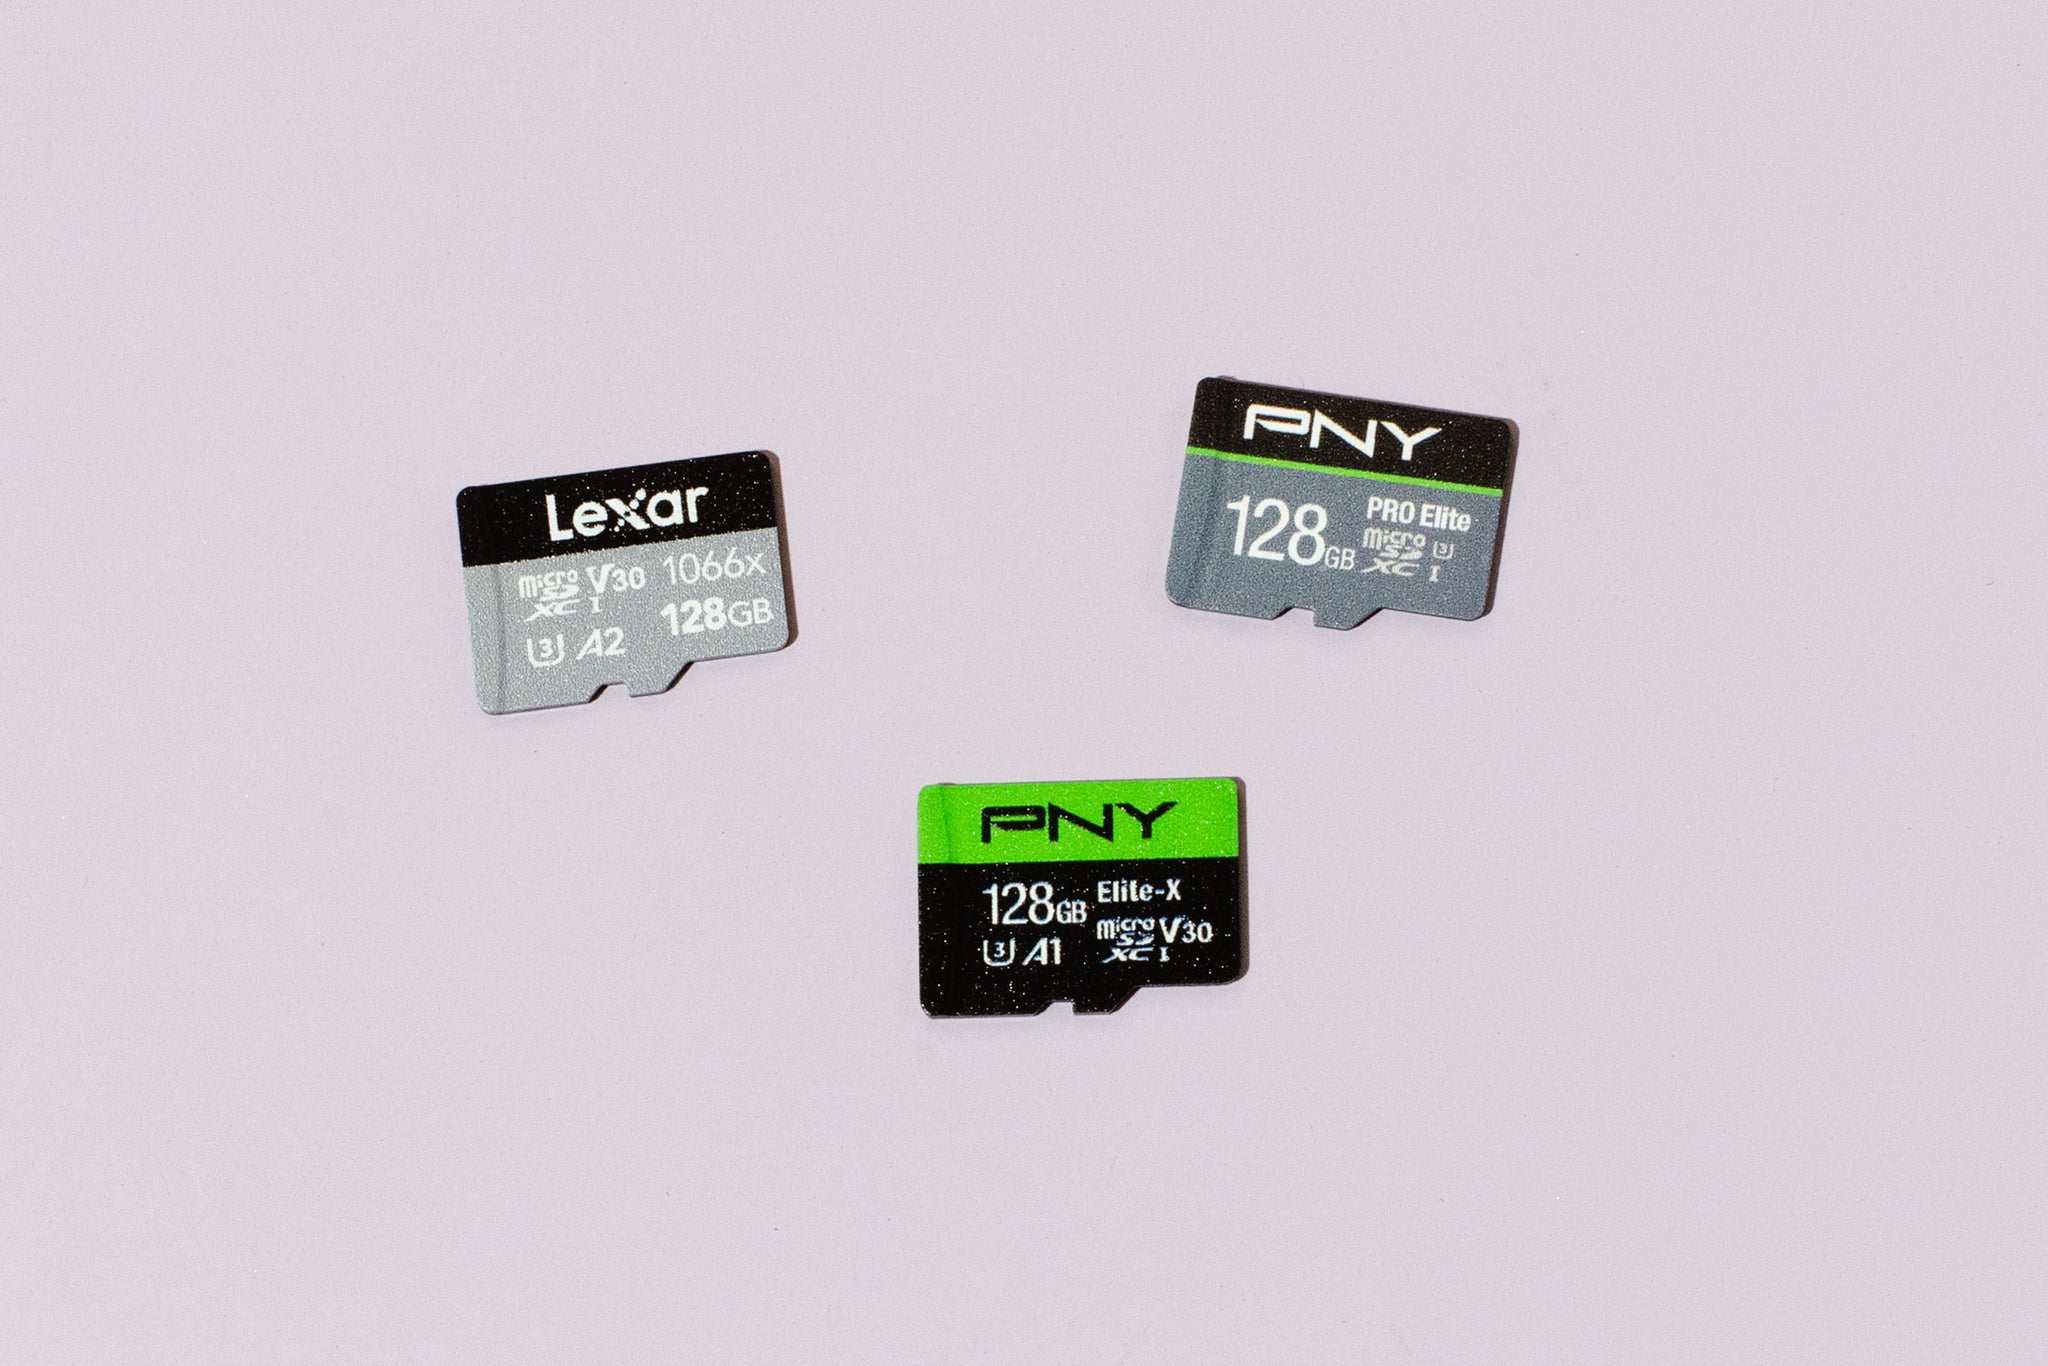
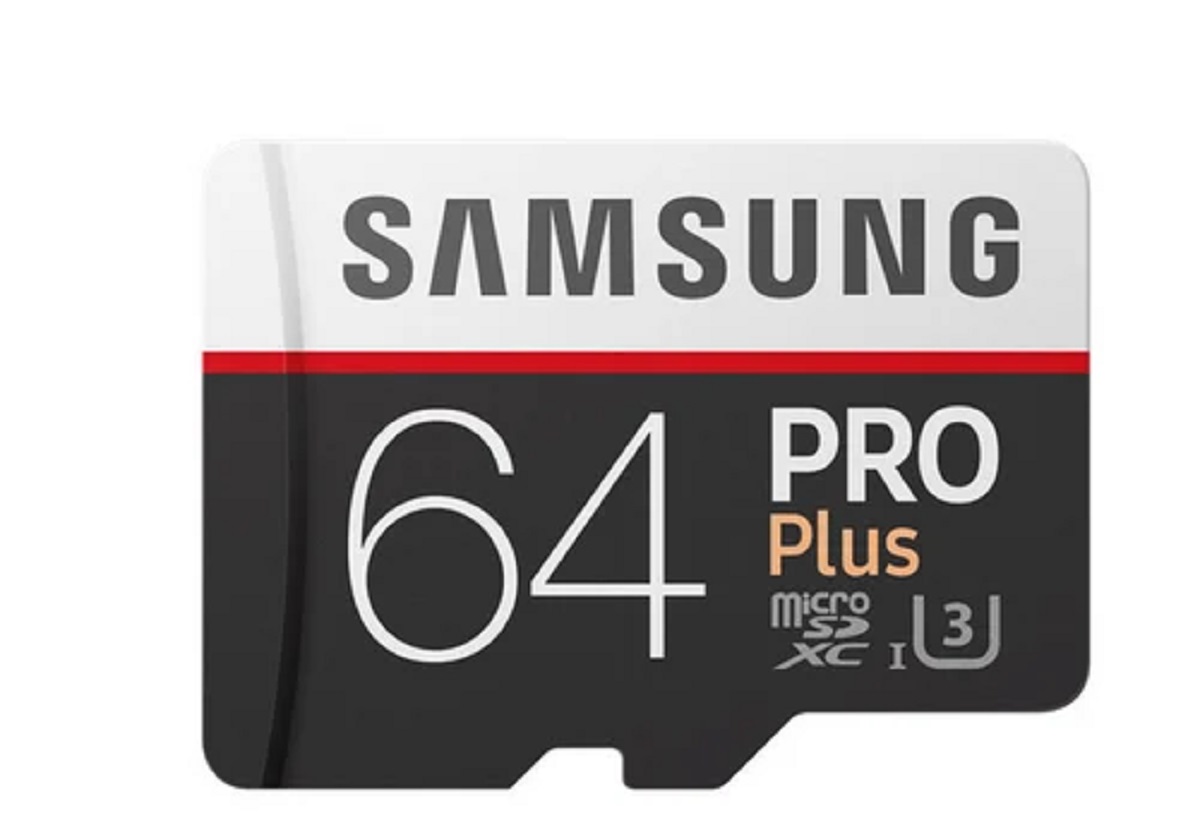
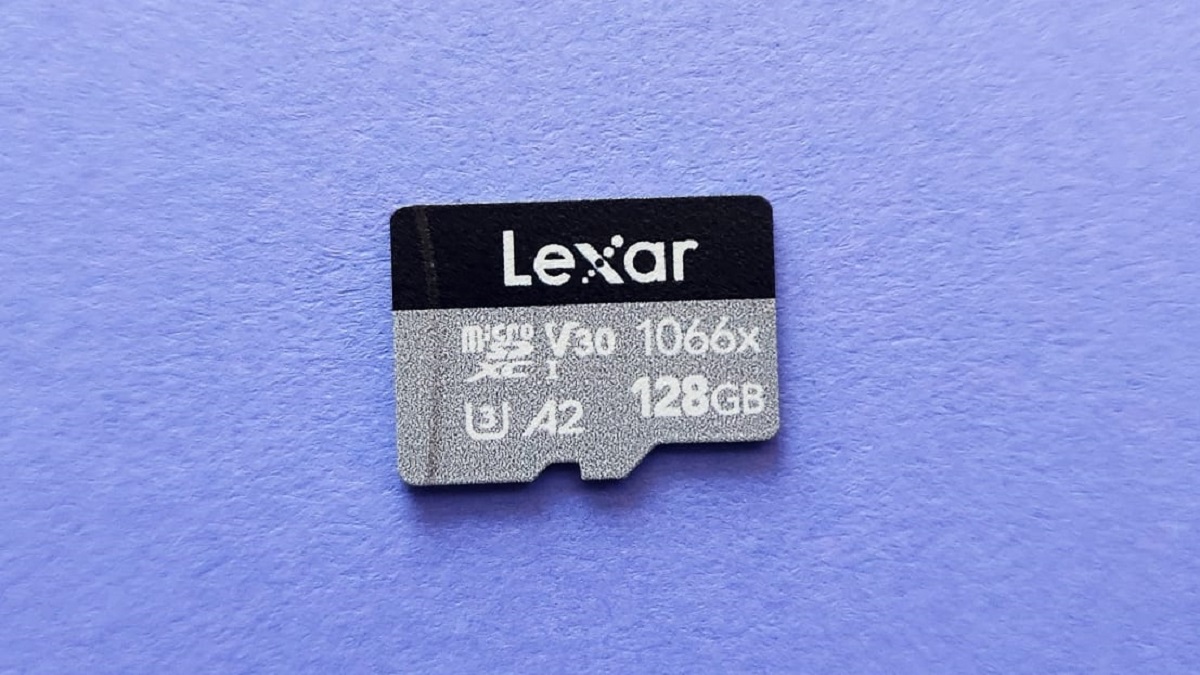
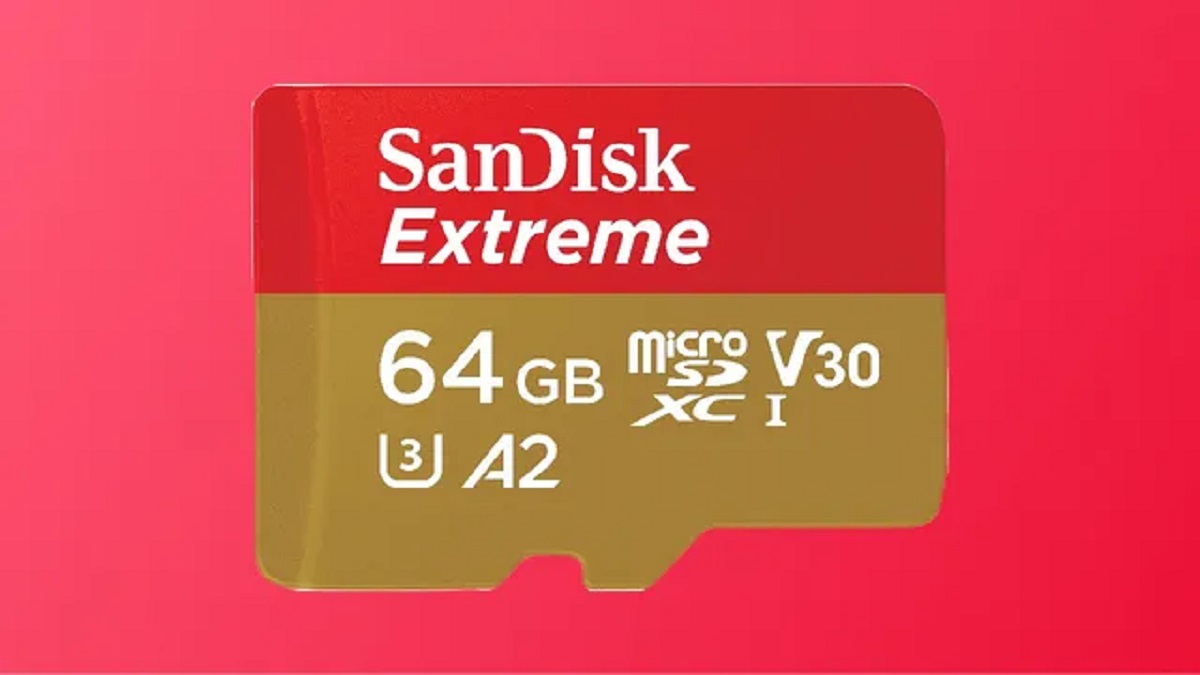
The first step in transferring pictures to an SD card on your Samsung tablet is to connect the SD card to the device. This will allow you to access and transfer files between the tablet and the SD card.
To connect the SD card, locate the SD card slot on your Samsung tablet. The location of the SD card slot may vary depending on the model of your tablet. Refer to the user manual or manufacturer’s website for specific instructions on locating the SD card slot.
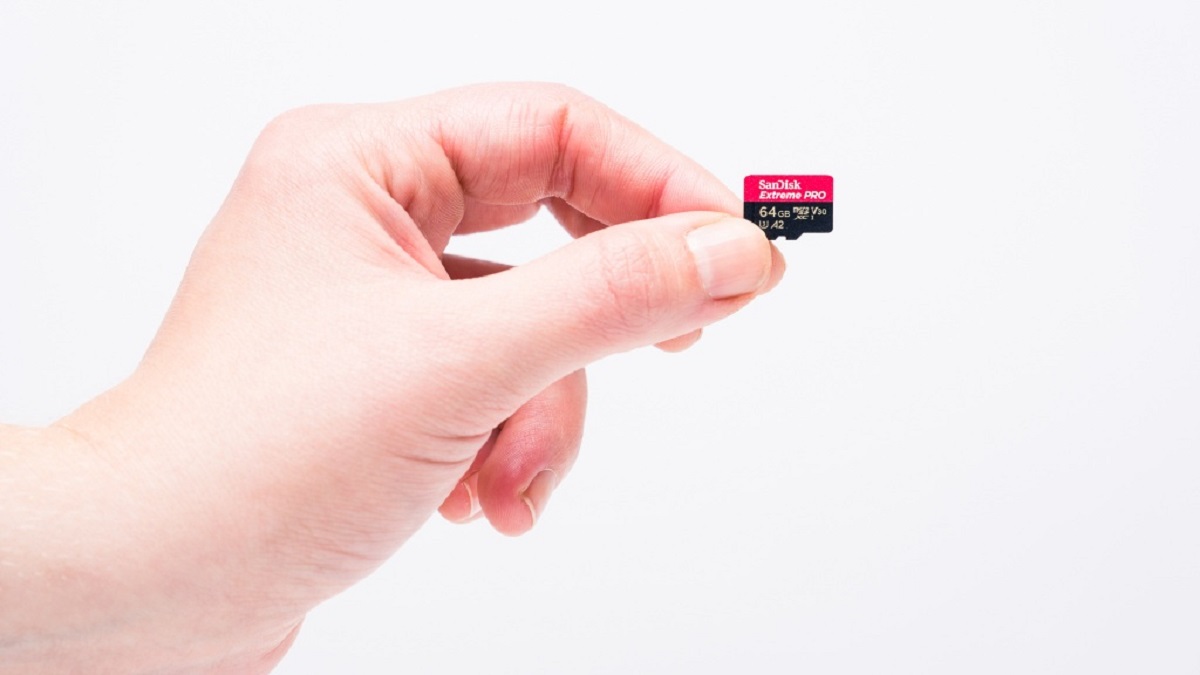
Once you have located the SD card slot, gently insert the SD card into the slot. Make sure the SD card is inserted in the correct orientation to avoid any damage to the card or the tablet.
After inserting the SD card, give it a slight push until you feel it click into place. This ensures a secure connection between the SD card and the tablet.
Once the SD card is securely connected, you should see a notification on your tablet indicating that the SD card has been detected. You may also be prompted to format the SD card if it is brand new or hasn’t been used with your tablet before.
Follow the on-screen prompts to format the SD card if necessary. Formatting the SD card will prepare it for use with your Samsung tablet and ensure compatibility between the two.
Once the SD card is successfully connected and formatted, you can proceed to transfer pictures from your tablet to the SD card. This will free up space on your tablet and provide a convenient way to store and access your pictures.
Finding and opening the Gallery app
Once the SD card is properly connected to your Samsung tablet, the next step is to locate and open the Gallery app. The Gallery app is where all your captured photos and saved images are stored.
To find and open the Gallery app, go to the home screen of your Samsung tablet. Look for the icon that resembles a group of photos or a camera reel. This is the icon for the Gallery app.
Once you have located the Gallery app icon, tap on it to open the app. The Gallery app will load, and you will be greeted with a grid view of all your saved pictures and albums.
Navigate through the Gallery app to find the specific pictures you want to transfer to the SD card. You can scroll through the grid view, or use the search bar at the top to search for specific images or albums.
If you have organized your pictures into albums, you can tap on the album name to view the pictures it contains. This can help you easily locate and select the pictures you wish to transfer.
Once you have found the pictures you want to transfer, tap on them to select them. You can select multiple pictures by tapping and holding on one picture, then tapping on the other pictures you want to include in the selection.
After selecting the pictures, you will see a checkmark or an indication that the pictures are selected. This confirms that the pictures are ready for transfer to the SD card.
Now that you have found and selected the pictures you want to transfer, you can proceed to the next step of moving them to the SD card. This will ensure that your pictures are safely stored on the external storage and free up space on your tablet for more memories.
Selecting pictures to transfer
Once you have opened the Gallery app on your Samsung tablet, it’s time to select the pictures you want to transfer to the SD card. This step allows you to choose specific images from your collection and move them to the external storage.
To select pictures for transfer, start by browsing through the gallery view or the albums to locate the images you want. You can scroll vertically or horizontally, depending on the layout of your gallery view.
Tap on an individual picture to select it. You will see a checkmark or a border around the selected image, indicating that it is ready for transfer. If you want to select multiple pictures, tap and hold on one image to activate the selection mode.
While in the selection mode, you can tap on other pictures to add them to your selection. The selected pictures may have a numerical count displayed to indicate the number of images you have chosen.
If you want to select all the pictures in an album, look for the option to select all or choose multiple pictures. This will automatically mark all the images in the album for transfer.
Take your time to go through your collection and carefully choose the pictures you wish to transfer. It’s a good idea to prioritize the ones that you want to keep on the SD card for easy access or as a backup.
Keep in mind the storage space available on your SD card and ensure that it can accommodate the selected pictures. If necessary, you can transfer the pictures in batches to avoid exceeding the storage capacity of the SD card.
Once you have made your selection, you’re ready to move on to the next step of transferring the chosen pictures to the SD card. This process will securely save your precious memories on the external storage and create more room on your tablet for new captures.
Choosing the “Move to SD card” option
After selecting the pictures you want to transfer in the Gallery app on your Samsung tablet, it’s time to move them to the SD card. To do this, you will need to choose the “Move to SD card” option, which allows you to transfer the selected images from the tablet’s internal storage to the external SD card.
To choose the “Move to SD card” option, start by tapping on the three-dot menu icon or the share icon, depending on the version of the Gallery app you have installed. These icons are usually located in the top-right corner of the screen.
Once the menu or sharing options appear, look for the option that says “Move to SD card” or “Save to SD card.” Tap on this option to initiate the transfer process.
Depending on the number and size of the selected pictures, the transfer process may take some time. You may see a progress bar or a loading indicator during the transfer to keep you informed of the process.
It’s important to note that the “Move to SD card” option is available only if your Samsung tablet supports external storage via an SD card. If your tablet doesn’t have an SD card slot or doesn’t support this feature, you may not see this option in the menu.
Additionally, ensure that your SD card is properly formatted and recognized by the tablet. If you encounter any issues with the transfer or if the “Move to SD card” option is greyed out, try reinserting the SD card or formatting it again, if necessary.
By choosing the “Move to SD card” option, you are effectively transferring the selected pictures from your Samsung tablet’s internal storage to the SD card. This action frees up valuable space on your tablet while securely storing your images on the external storage.
Once the transfer is complete, you can proceed to check the transferred pictures on the SD card to ensure that the process was successful.
Confirming the transfer
After choosing the “Move to SD card” option in the Gallery app on your Samsung tablet, it’s important to confirm that the transfer of your selected pictures was successful. This step ensures that your cherished images are safely stored on the SD card, ready to be accessed whenever you need them.
Once the transfer process is complete, you will usually receive a notification or a pop-up message indicating that the transfer was successful. This notification may also include the number of pictures that were moved to the SD card.
To confirm the transfer, you can do a quick check by navigating to the SD card in your tablet’s file manager app. Look for the folder or directory where the pictures are usually stored on the SD card.
Open the folder and check if the transferred pictures are present. You should see the images you selected in the Gallery app now residing in the SD card’s storage location.
Take a moment to browse through the pictures and verify that all of your selected images transferred successfully. Pay attention to any missing or corrupted files, as these may require further troubleshooting or retrying the transfer process.
If you encounter any issues or notice missing pictures, it’s possible that the transfer was not successful. In such cases, you may need to repeat the transfer process, ensuring that the SD card is properly inserted and recognized by your Samsung tablet.
Once you have confirmed that the transferred pictures are present and intact on the SD card, you can have peace of mind knowing that your memories are securely stored on the external storage. This not only frees up space on your tablet but also provides a reliable backup solution for your precious images.
With the successful confirmation of the transfer, you can now safely eject the SD card from your Samsung tablet, ensuring that it is ready for use in other devices or as a convenient means of transferring files.
Checking the transferred pictures on the SD card
After confirming that the transfer of your selected pictures from the Gallery app to the SD card on your Samsung tablet was successful, it’s important to check the transferred pictures to ensure they are intact and accessible on the external storage.
To check the transferred pictures, start by navigating to the file manager app on your tablet. Locate and open the app that allows you to explore the contents of the SD card.
Once you have opened the file manager, look for the folder or directory where the selected pictures were transferred. This is typically the location where the Gallery app saves pictures on the SD card.
Open the folder and browse through the contents to find the transferred pictures. You should see the images you selected in the Gallery app, now residing on the SD card.
Take a moment to go through the pictures and ensure that they are displaying correctly. Pay attention to any missing images or any files that may appear corrupted or incomplete.
It may also be helpful to open a few of the transferred pictures to verify that they can be viewed without any issues. This will ensure that the pictures were transferred successfully and can be accessed from the SD card.
If you encounter any issues, such as missing or corrupted files, it’s possible that there was an error during the transfer process. In such cases, you may need to repeat the transfer to ensure that all of your selected pictures are properly saved on the SD card.
Once you have confirmed that the transferred pictures on the SD card are intact and accessible, you can have peace of mind knowing that your precious memories are securely stored on the external storage. This not only frees up space on your tablet but also provides a reliable backup for your images.
With the successful confirmation of the transferred pictures on the SD card, you can now safely eject the SD card from your Samsung tablet, ensuring that it is ready to be used in other devices or as a means of sharing files.
Safely ejecting the SD card from the tablet
Once you have checked and confirmed that the pictures have been successfully transferred to the SD card on your Samsung tablet, it is important to safely eject the SD card before physically removing it. This ensures that all data is properly written to the SD card and reduces the risk of data corruption or loss.
To safely eject the SD card, start by closing any apps or files that may be using the SD card. This includes the Gallery app or any file manager apps that may be accessing the SD card’s contents.
Next, locate the notification tray on your tablet’s screen. Swipe down from the top of the screen to access the notification panel. Look for the notification related to the SD card or the option to safely eject it.
Tap on the notification or the option to safely eject the SD card. This will initiate the process of unmounting the SD card from the tablet’s system.
Wait for the tablet to complete the unmounting process. You may see a notification indicating that the SD card can now be safely removed.
Once you have received the notification, carefully remove the SD card from the tablet. Gently push the SD card in until you feel it click, then slowly pull it out of the SD card slot.
It’s important to handle the SD card with care while removing it to avoid any physical damage or accidental data loss.
After removing the SD card from your tablet, you can safely store it or use it in another compatible device. It’s a good practice to keep the SD card in a protective case or sleeve to prevent any scratches or damage when not in use.
Remember, if you want to use the SD card again with your Samsung tablet, insert it securely into the SD card slot, ensuring it is properly aligned and inserted all the way until you feel it click into place.
By safely ejecting the SD card from your Samsung tablet, you ensure that all data transfers are completed, reducing the risk of data loss or corruption. This simple step helps maintain the integrity of your stored pictures and keeps your SD card in good working condition for future use.


