The advent of computers has made it more convenient for everyone to manage daily tasks. Typing has replaced manual writing, and the internet has replaced dictionaries and encyclopedias. Calculators now come built into our devices, and communicating with other people is more efficient than ever. Computers are becoming smaller and thinner over time, but their computing power only increases with every new model. Although computers make life more efficient, with time, they can start to slow down, too. This is where CCleaner comes in.
What Is CCleaner?


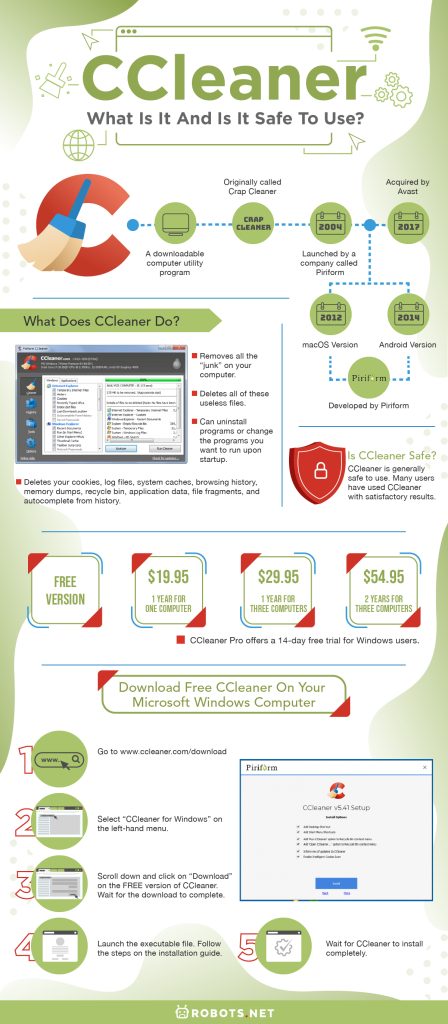
CCleaner is a downloadable computer utility program. Originally called Crap Cleaner, the software shortened its name and now only goes by CCleaner.
It was first launched way back in 2004 by a company called Piriform, which Avast only recently acquired in 2017. The software initially only worked on Microsoft Windows. However, in 2012, Piriform developed and released a CCleaner version for macOS. And, in 2014, the company launched an Android version as well.
What Does CCleaner Do?
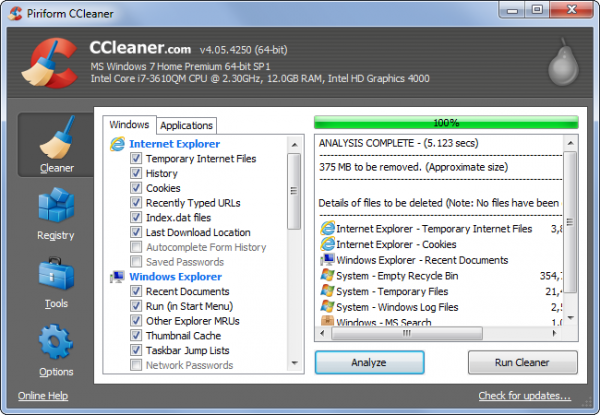

Believe it or not, computers accumulate a lot of junk over time. The programs we download and run sometimes leave small traces like broken shortcuts and temporary files. CCleaner takes care of all that.
CCleaner removes all the “junk” on your computer. Internet browsers like Google Chrome, Microsoft Edge, Mozilla Firefox, Internet Explorer, Safari, and Opera all leave behind unwanted files. Other programs, like Windows Media Player, Microsoft Office, McAfee, Adobe Flash Player, Adobe Acrobat, WinRAR, and WinZip also leave such files on your computer. CCleaner deletes all of these useless files, which makes it possible for your computer to run more smoothly and free up space, too.
CCleaner also deletes your cookies, log files, system caches, browsing history, memory dumps, recycle bin, application data, file fragments, and autocomplete from history. This act further protects your privacy by keeping your identity safe from potential theft. Security and privacy are essential to every computer user nowadays, especially since it is becoming easier for hackers to access your files and personal data. With CCleaner, you can add an extra layer of protection for your computer.
Apart from that, CCleaner can uninstall programs or change the programs you want to run upon startup. The program also comes with a registry cleaner to find and rectify issues in the Windows registry. These include unused registration entries for file extensions as well as any missing references to shared DLLs and application paths. Later versions can also clean out the MFT free space of or a whole drive and delete Windows System Restore points.
Is CCleaner Safe?
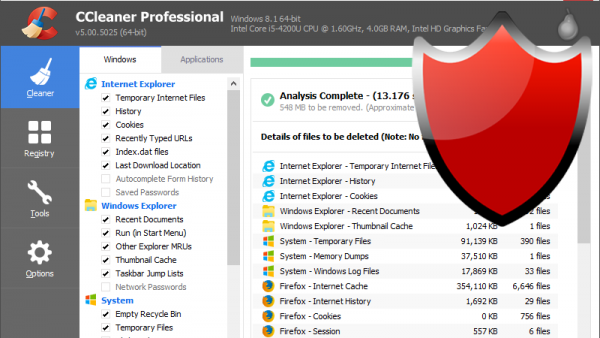

With the bevy of malware programs peddled online to computer users nowadays, it is easy to see why most people balk at the mention of CCleaner and others like it. Viruses and malware destroy data and corrupt computers. They can be difficult to deal with or manage, especially without an antivirus installed.
While it is true that a lot of purported “system cleaners” are actually malware in disguise, it is important to do your research and examine the program you intend to install first. Nowadays, a vast majority of users remain extra cautious of potential malware masquerading as helpful tools and programs.
CCleaner, however, is generally safe to use. It is not some malware or virus pretending to be a system cleaner, though the program has been hacked in the past. Many users have used CCleaner with satisfactory results. As for whether it is the best free PC cleaner, though, remains up for debate.
Is CCleaner Free?
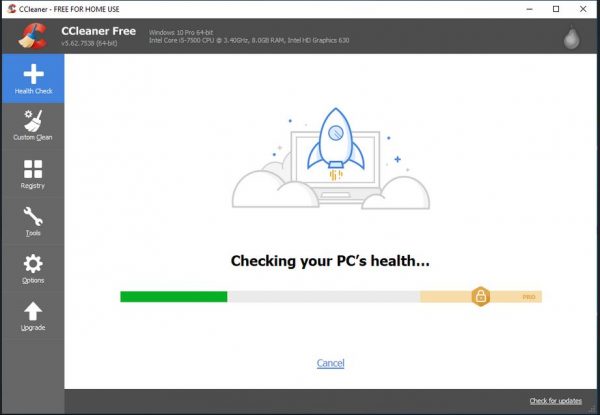

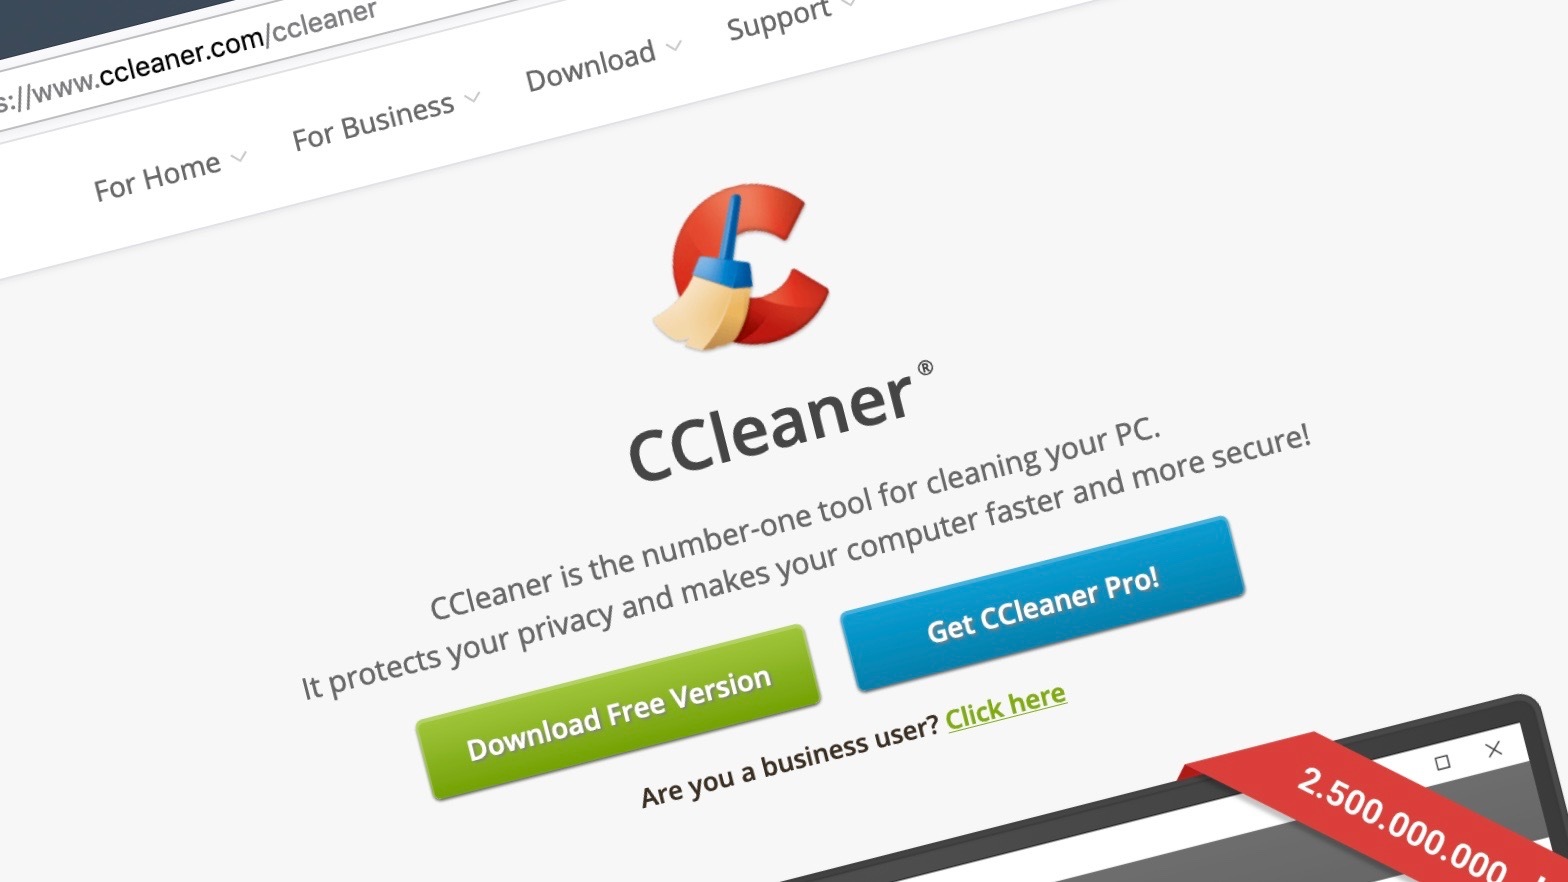
CCleaner comes with both a free version and a paid version. The free version already comes with most of the tools any average computer user will need. The paid or professional version, on the other hand, boasts a few extra bells and whistles. These extra features include real-time monitoring, automatic updates, and scheduled cleaning.
CCleaner Pro has three available plans to choose from. The first plan costs $19.95 and gives you a full year of access to the program for one computer. The second plan costs $29.95 and gives you access to the program for a year for three computers. Finally, at $54.95, the third plan gives you access to the program for two years for three computers.
If you are unsure about the professional version of the system cleaner, you can opt to try it out for free first. CCleaner Pro offers a 14-day free trial for Windows users. After the trial ends, the program will revert back to the free version. Unfortunately, there is no free trial for Mac users as of writing.
Where to Download CCleaner?

Downloading software is something everyone has done at some point in their lives. Whether it is installing an app on your phone or downloading a program on your computer, sourcing tools from the internet is the new way of doing things. Even shopping has largely moved online now.
If you want to download CCleaner, it is essential to do it from the main website and not from third-party sources. Some third parties can come with malicious software, having already been altered in the process. However, if you source it straight from the original website, then you can be certain that it is legitimate.
Here is how to download free CCleaner on your Microsoft Windows computer:
- Go to www.ccleaner.com/download
- Select “CCleaner for Windows” on the left-hand menu.
- Scroll down and click on “Download” on the FREE version of CCleaner.
- Wait for the download to complete
- Launch the executable file.
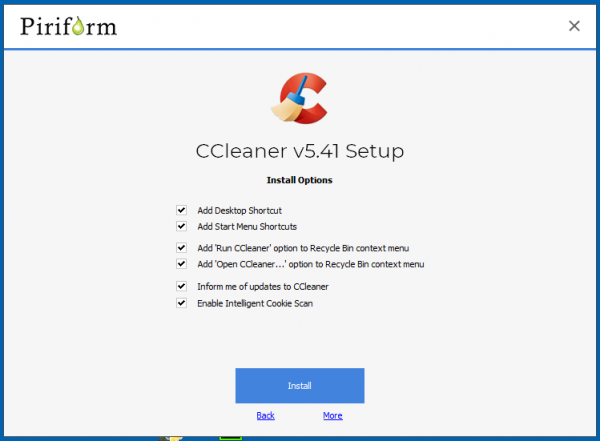
- Follow the steps on the installation guide.
- Wait for CCleaner to install completely.
It is important to note that the latest version of CCleaner (as of writing) requires Windows 10, 8.1, 8, or 7 to work.
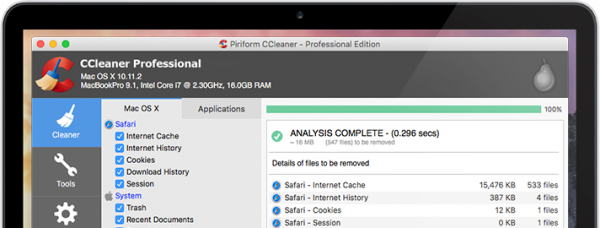
Here is how to download free CCleaner on your Mac computer:

- Go to www.ccleaner.com/download
- Select “CCleaner for Mac” on the left-hand menu
- Scroll down and click on “Download” on the FREE version of CCleaner
- Wait for the download to complete
- Launch the executable file
- Follow the steps on the installation guide
- Wait for CCleaner to install completely
Keep in mind that the latest version of CCleaner (as of writing) requires Apple 64-bit OS X 10.6 to 10.14 Mojave to work.
How to Use CCleaner?
It is one thing to download CCleaner, but using the program is something entirely different. CCleaner is not a software you can just install and open, leaving it to work on its own. While it is true that CCleaner can function in the background, you need to set up a few things first or perform some steps manually for it to work. Depending on what you want to fix or clean up, here is how you can use CCleaner on your computer.
How to Clean Your PC Using CCleaner
Cleaning your computer is a necessary action. Otherwise, you can expect your computer to slow down and even start acting up. It is healthy and generally recommended to clean your computer every now and then to prevent problems from arising.
To clean your PC using CCleaner, perform these steps:
- Launch CCleaner.
- Select the “Cleaner” icon on the left.
- Select the Windows features you wish to clean (click on OK on the dialog boxes that appear after reading the text).
- On the “Applications” tab, select the features or applications you need to clean up.
- Click on the “Analyze” button and wait for CCleaner to examine the features you have selected.
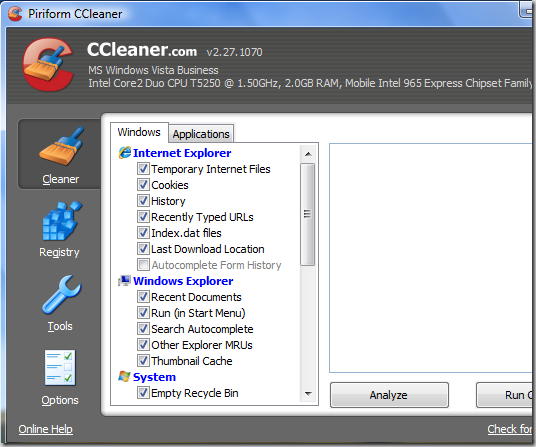

- After analysis, review the files you want to delete
- You can save this list by right-clicking on the text windows and then selecting “Save to text file…”
- Right-click and then select “Clean.”
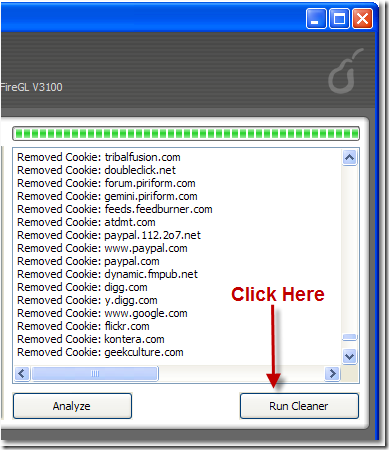

- Click on “Run Cleaner” and then “OK” if you are sure you want to permanently delete the files from your computer
How to Clean Your Browser Using CCleaner
Your browser retains a lot of data and information, from autocomplete to cookies. It even saves passwords. Refraining from cleaning your browser can leave behind a lot of personal and private information on the web — crumbs that hackers can trace back to you. As an extra mode of precaution, it is a good idea to clean your browser completely every once in a while.
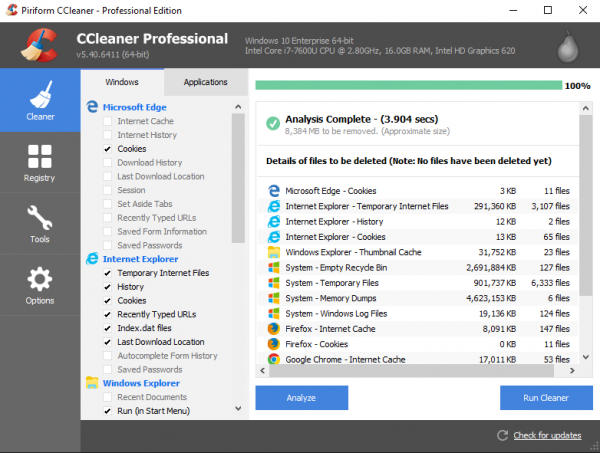

Here is how to clean your internet browser using CCleaner:
- Launch CCleaner.
- Click on the “Cleaner” icon on the left.
- On the “Windows” panel, you will find a list of browsers you can clean (including the browser name and all the data you can clean for each browser).
- Tick on the boxes you want to clean from the list.
- If you want to clean all data for a particular browser, simply tick on the browser icon to select everything at once.
- Alternatively, if you only want to clean the history of a browser, simply tick on the “History” icon under that browser.
- Click on “Run Cleaner.”
How to Clean Your Registry Using CCleaner
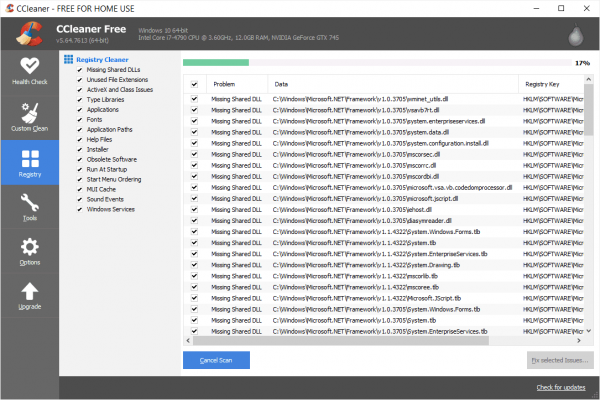

Before cleaning your registry, it is critical to understand that this function is not for everyone. If you have no idea what you are doing, it is best to stay away from registry cleaning. This is because some broken registry items on Windows 10 are necessary for future updates. Deleting them could hinder Windows from updating properly. So, if you have no prior experience or are simply unfamiliar with registries, cleaning it would be ill-advised.
If you wish to proceed, follow these steps to clean your registry using CCleaner:
- Launch CCleaner.
- Click on the “Cleaner” icon on the left.
- Under “Registry Clean,” choose all the items you wish to clean (all items are selected by default).
- If you are a beginner, it is recommended to leave this portion as is.
- Click on “Scan for Issues” and wait for the program to examine the Registry.
- Review the list of issues after scanning. (You can save this by right-clicking on the text windows and clicking “Save to text file…”)
- To exclude an issue, right-click on the issue and choose “Add to Exclude List”
- To fix Registry problems, clickon “Fix selected issues…”
- Click “Yes” to backup your Registry before proceeding.
- At this point, you will see your list of Registry issues and CCleaner’s proposed solutions where you have a few options:
- You can fix all issues at once by clicking “Fix All Selected Issues” then “OK” and “Close” (this is the best option for inexperienced users)
- Alternatively, you can fix the issue one at a time by clicking “Fix Issue” on each problem — this way, you can review the issue and the proposed solution first before committing to it.
How to Uninstall Programs Using CCleaner
Sometimes, you download and install a program, use it for a little while, but then it ends up collecting dust (figuratively) on the corner of your screen. It happens to everyone. Uninstalling unused programs, though, can significantly improve your computer’s performance and speed, as well as free up some space in the process.
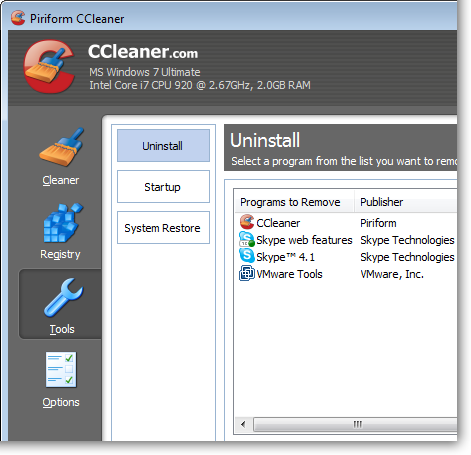

If you want to uninstall programs using CCleaner, follow the steps below:
- Launch CCleaner.
- Click on the “Tools” icon on the left.
- On the “Uninstall” screen, under “Programs to Remove,” choose the program/s you want to uninstall
- Then, perform one of the following options:
- Click on “Run Uninstaller” to launch the program’s uninstaller
- Select “Rename Entry” to change the program’s name (applicable only for this list)
- Click “Delete Entry” to get rid of the program’s uninstall entry (take not that this option does not uninstall the program itself)
How to Wipe Free Disk Space Using CCleaner
Every computer expert knows that deleting a file does not completely get rid of all its accompanying data. While deleting files can give you extra space in your disk drive, you can maximize the space even further by using it to wipe free disk space. There are a couple of methods you can use to wipe free disk space using CCleaner: the automatic method and the manual method.
Here is how to automatically wipe free disk space using CCleaner:
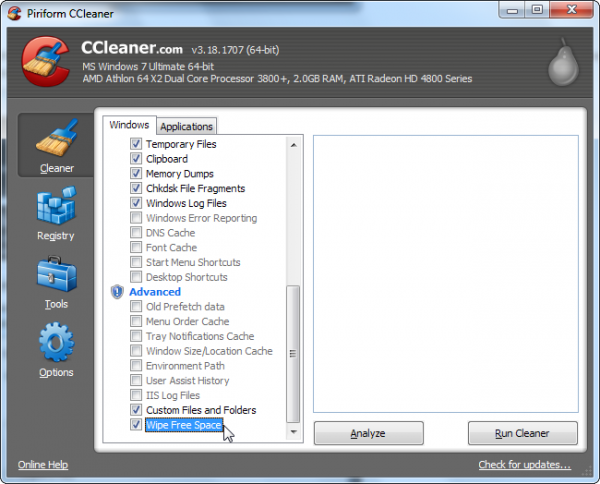

- Launch CCleaner.
- Click the “Cleaner” icon on the left.
- On the “Windows” tab, choose “Wipe Free Space.”
- It a warning prompt appears, click on “OK.”
- Run CCleaner as normal.
Here is how to manually wipe free disk space using CCleaner:
- On CCleaner, select “Tools” and then “Drive Wiper”
- From here, you can select the type of wipe you want:
- Selecting “Free Space Only” will wipe free disk space but leave your normal files as is.
- Choosing “Entire Drive” will delete all of the files you have on your drive and the partition as well (this is not recommended for beginners).
- Choose the security type you prefer (“Simple Overwrite” works for most circumstances).
- CCleaner will prompt you with a warning, click on “OK.”
Weighing Your Options
CCleaner is a great choice for a lot of computer users out there. It is an efficient system cleaner that manages to do as it advertises. Plus, it is completely safe to use, and it also has a free version. For most people, especially those on a tight budget, these qualities in a system cleaner are enough.
On the other hand, some people have started to doubt it, criticizing many aspects of the program. For one thing, critics have noticed that CCleaner tends to run in the background. It keeps asking you to run it or upgrade to its newer version, which 5.45, and some users have said it collects anonymous data and reports it back to the company’s servers. Moreover, it has also been a victim of malware hacking in the past.
When deciding whether to download it on your computer, it is essential to weigh your options first. Look at the pros and cons, as well as possible alternatives to CCleaner. There are a lot of system cleaners out there, each one with features and a price point that might appeal to you. In the end, the choice is ultimately yours to make.
