Introduction
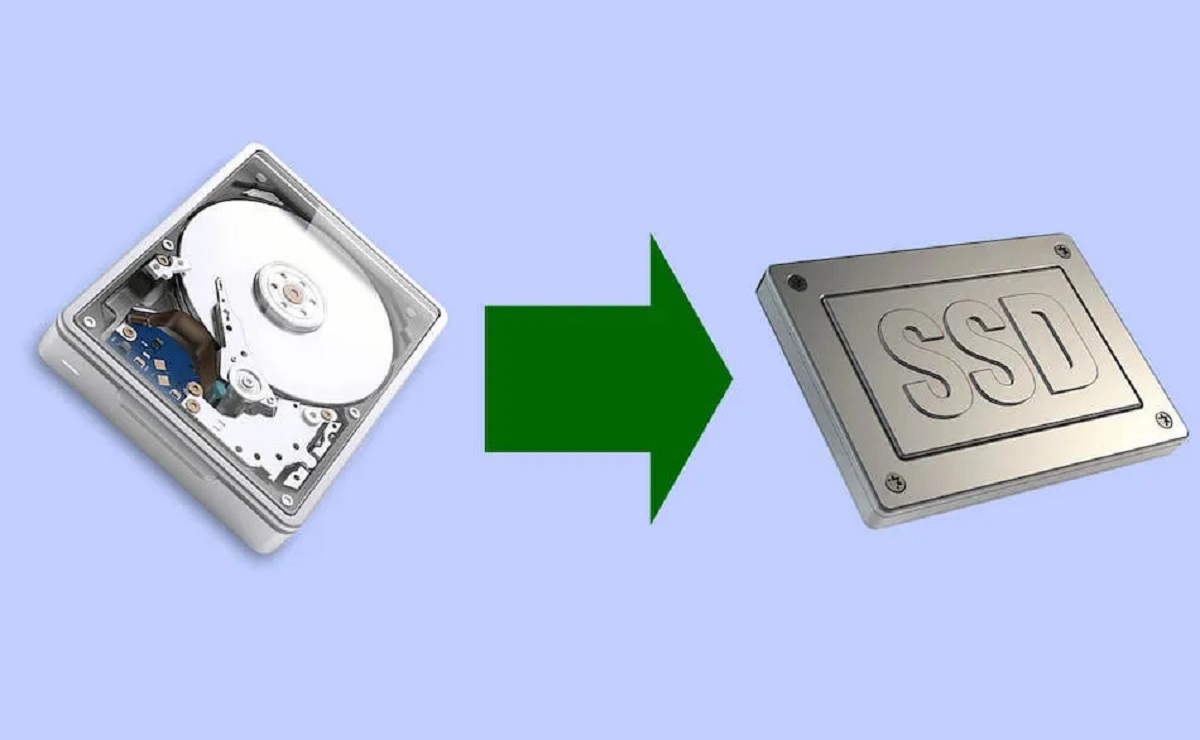
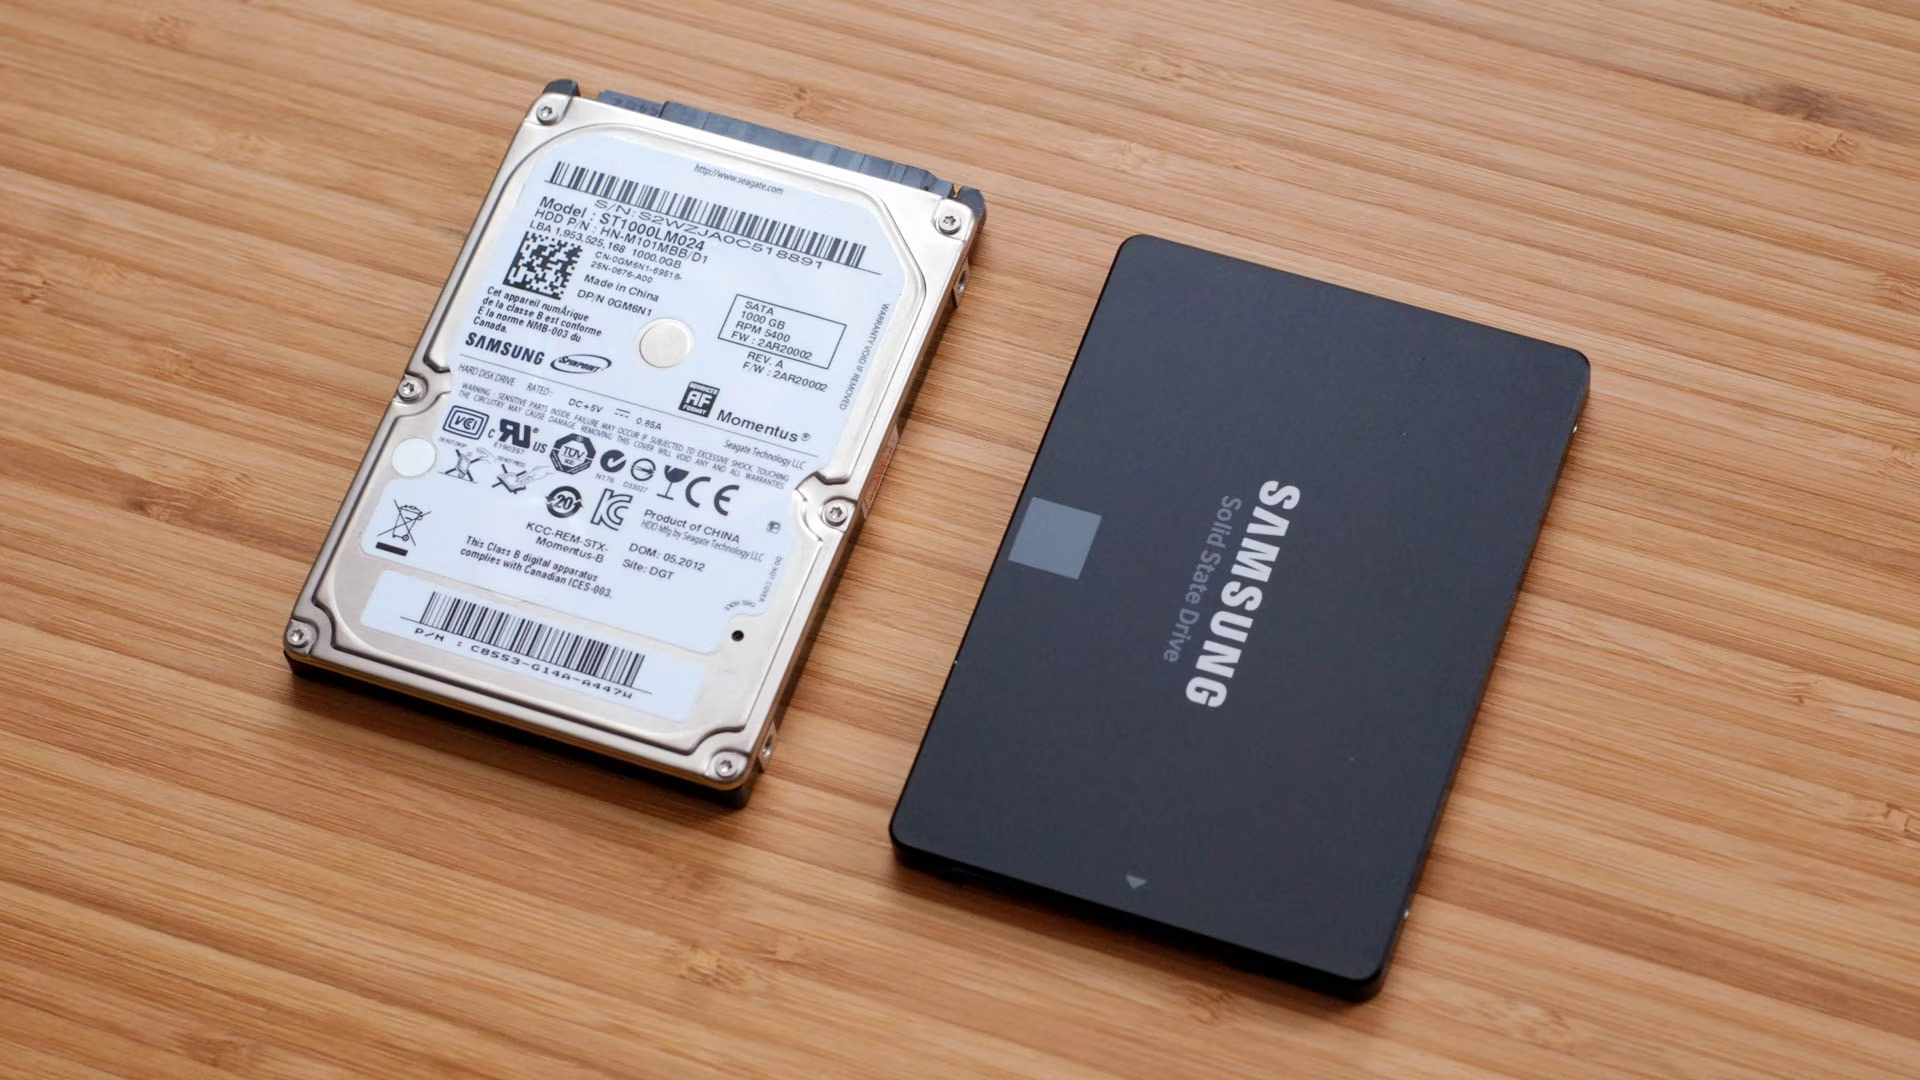
In the digital age, storage space is a prized commodity. As our files, documents, photos, and videos continue to increase in size, traditional hard drives can struggle to keep up with our needs. That’s where Solid-State Drives (SSDs) come in. With their lightning-fast speeds and greater durability, SSDs have become the go-to choice for those seeking improved performance and reliability in their computer systems.
Transferring everything from a traditional hard drive to an SSD is a relatively simple process that can yield significant benefits. Not only does it free up space on your hard drive, but it also allows you to enjoy faster boot times, quicker file access, and overall enhanced system performance.
In this guide, we will walk you through the steps necessary to successfully transfer all your data from a hard drive to an SSD. Whether you’re a tech-savvy individual looking to upgrade your system or a novice seeking a smoother computing experience, this guide will provide you with the knowledge and tools to complete the transfer with ease.
Before we delve into the process, let’s take a closer look at why transferring everything from a hard drive to an SSD can be a game-changer.
Why Transfer Everything from Hard Drive to SSD?
Upgrading to an SSD offers a plethora of advantages over traditional hard drives. Let’s explore why transferring everything from a hard drive to an SSD is a wise decision:
- Speed and Performance: SSDs are known for their lightning-fast read and write speeds. This translates into snappier boot times, reduced application loading times, and a more responsive computing experience overall. Tasks that used to take minutes can now be completed in mere seconds, making your computer feel brand new.
- Reliability and Durability: Unlike hard drives, SSDs have no moving parts, making them less susceptible to mechanical failures. This increased durability ensures that your files and data remain safe and accessible for a longer period.
- Storage Space Optimization: SSDs come in various capacities, and upgrading to a larger one allows you to consolidate your files and eliminate the need for multiple hard drives. This consolidation not only reduces clutter but also simplifies file management and improves efficiency.
- Energy Efficiency: SSDs consume less power than traditional hard drives, leading to lower energy costs and extended battery life for laptops. This not only benefits your wallet but also supports eco-friendly computing practices.
- No Noise: Hard drives produce noise due to their mechanical components. On the other hand, SSDs are silent since they have no moving parts. This results in a quieter computing environment, perfect for those who prefer a peaceful workspace.
Overall, transferring everything from a hard drive to an SSD provides you with a significant performance boost, increased reliability, and a more efficient storage solution. Now that we understand the benefits, let’s move on to what you need to get started with the transfer process.
What You Need to Get Started
Before you embark on the journey of transferring everything from a hard drive to an SSD, there are a few essential things you’ll need to ensure a smooth and successful transfer:
- SSD: Of course, you’ll need a Solid-State Drive (SSD) that matches your storage needs. SSDs come in various capacities, so make sure to choose one that can accommodate all your files and applications.
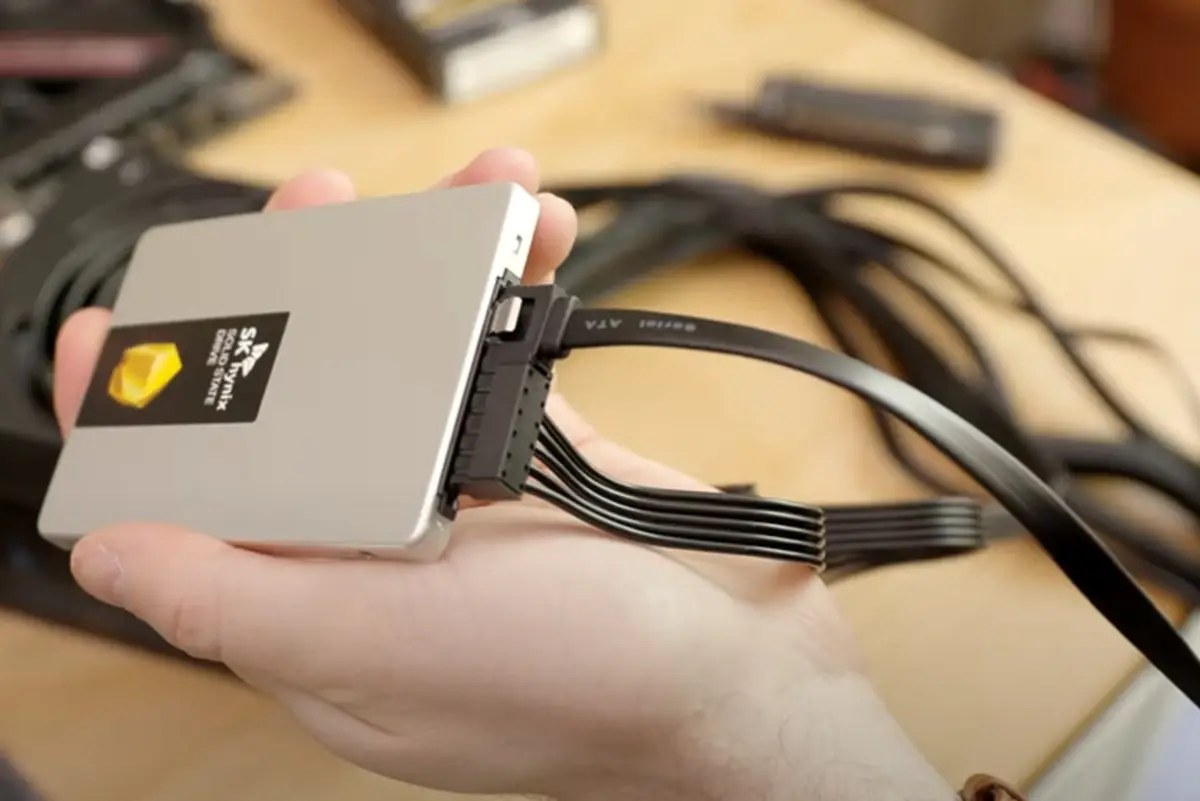
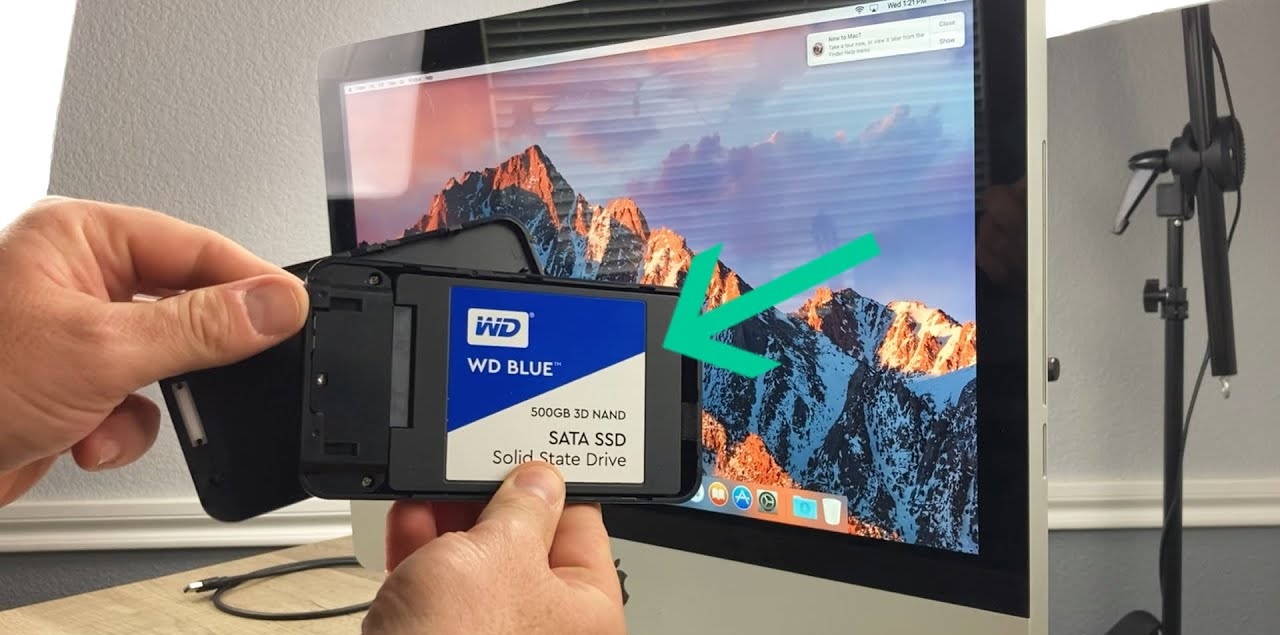
- SATA to USB Adapter: This adapter allows you to connect your new SSD to your computer via USB, making the transfer process easier. It enables you to clone your existing hard drive to the SSD before swapping them out.
- Cloning Software: To transfer everything from your hard drive to the SSD seamlessly, you’ll need cloning software. There are several reliable programs available, such as Acronis True Image, EaseUS Todo Backup, and Macrium Reflect, which allow you to create an exact copy of your hard drive onto the SSD.
- Backup Storage: It’s always recommended to have a backup of your important files before any major changes to your storage system. Ensure you have an external hard drive, cloud storage, or any other backup solution available to keep your data safe in case anything goes wrong during the transfer process.
- Screwdrivers: Depending on your computer model, you may need a screwdriver to open the casing and access the hard drive. Make sure you have the appropriate screwdriver on hand to avoid any delays or difficulties.
- Patience and Time: Transferring everything from a hard drive to an SSD can take some time, depending on the size of your files and the speed of your equipment. Allocate enough time for the process and be patient, as it’s vital to ensure a smooth transition.
Now that you have everything you need, let’s dive into the step-by-step guide for transferring files from a hard drive to an SSD.
Step-by-Step Guide to Transferring Files
Transferring everything from a hard drive to an SSD involves a series of steps. Follow this step-by-step guide to ensure a successful transfer:
- Back Up Your Data: Before you begin, it’s crucial to back up all your important files. This ensures that you have a copy of your data in case anything goes wrong during the transfer process. Use an external hard drive, cloud storage, or any other reliable backup solution.
- Connect the SSD: Connect your new SSD to your computer using the SATA to USB adapter. This allows you to clone your hard drive without physically installing the SSD into your computer just yet.
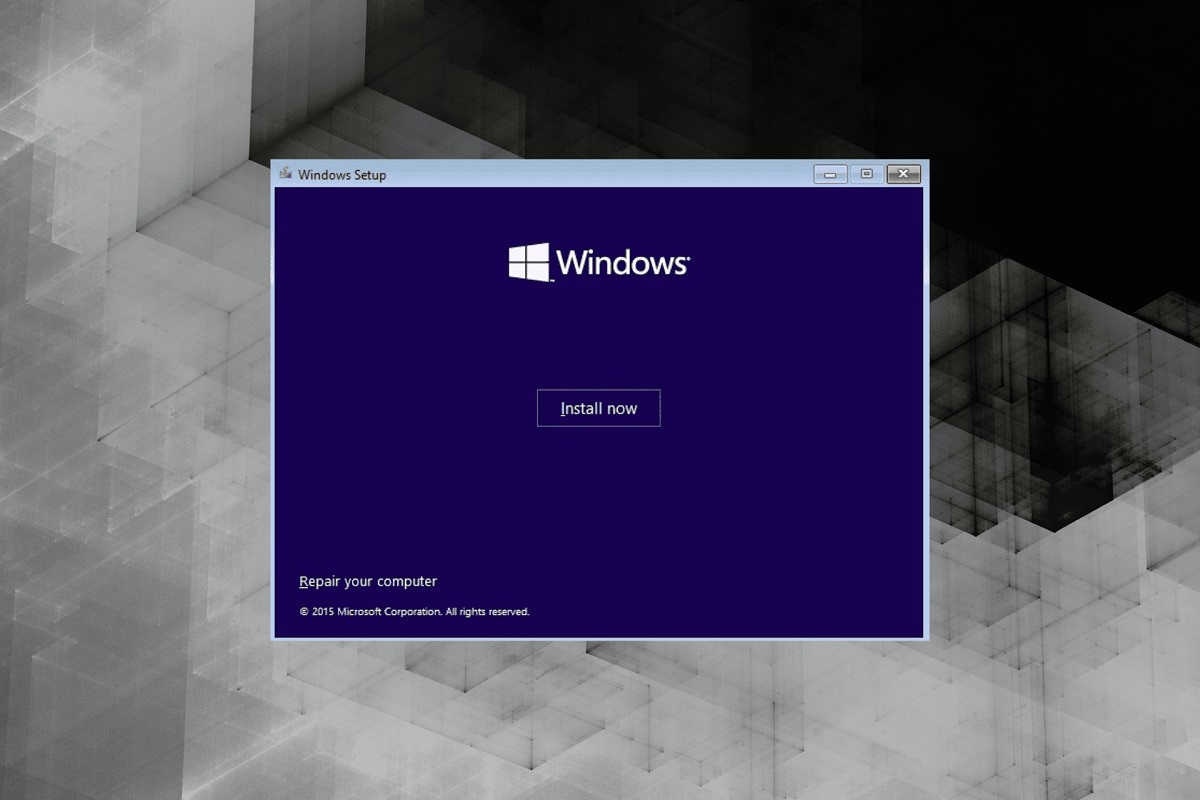
- Install Cloning Software: Install the cloning software of your choice. Open the software and select the option to clone your hard drive. The software will guide you through the process of selecting the source (your hard drive) and the destination (the SSD).
- Clone the Hard Drive: Begin the cloning process. The software will copy all the data, operating system, and files from your hard drive to the SSD. This may take some time depending on the amount of data being transferred.
- Shut Down and Swap Drives: Once the cloning process is complete, shut down your computer. Disconnect the hard drive from your computer and carefully remove it. Then, install the SSD into your computer by connecting it to the appropriate SATA port.
- Boot Up Your Computer: Start your computer and ensure that it recognizes the new SSD. If everything is working correctly, your computer should boot up as usual, but now with the improved speed and performance of the SSD.
- Verify the Transfer: Check that all your files, programs, and settings have been transferred successfully to the SSD. Open various applications and files to ensure everything is functioning as expected.
- Wipe the Old Hard Drive: Once you’ve confirmed the successful transfer, you can wipe the old hard drive to free up space. However, exercise caution and double-check that you have all your important data backed up before erasing anything.
- Enjoy Your Upgraded System: Congratulations! You have successfully transferred everything from your hard drive to an SSD. Enjoy the improved speed and performance of your computer.
With these step-by-step instructions, you can confidently transfer all your files, programs, and operating system from a hard drive to an SSD. Now, let’s move on to transferring the operating system itself.
Transferring the Operating System
Transferring the operating system (OS) is a crucial step in the process of transferring everything from a hard drive to an SSD. Here’s how you can do it:
- Backup Your Important Data: Before you proceed with transferring the OS, it’s vital to back up all your important files and data. This ensures that you have a copy of your data in case anything goes wrong during the transfer process.
- Use OS Migration Software: To transfer the OS, you’ll need to use specialized migration software. There are several reliable options available, such as EaseUS Todo Backup, Acronis True Image, and Macrium Reflect, that provide easy-to-use tools for OS migration.
- Open OS Migration Software: Launch the OS migration software on your computer. Follow the instructions provided by the software to initiate the OS transfer process.
- Select the Source and Destination: In the migration software, select your hard drive as the source (the drive where your OS is currently installed) and the SSD as the destination (the new drive where you want to transfer the OS).
- Start the Migration Process: Begin the migration process by starting the OS transfer. The software will copy the operating system, along with all the necessary files and settings, from the hard drive to the SSD. This process may take some time, so be patient and allow the software to complete the transfer.
- Shutdown and Swap Drives: Once the OS transfer is complete, shut down your computer. Disconnect the hard drive and carefully remove it. Install the SSD in its place by connecting it to the appropriate SATA port.
- Boot Up Your Computer: Power on your computer and ensure that it recognizes the new SSD as the primary boot device. If all goes well, your computer should now boot up using the OS installed on the SSD.
- Verify OS Transfer: Check if everything has been successfully transferred by testing various applications and functionalities. Ensure that your files, programs, and settings are intact and functioning as expected.
- Enjoy the Improved Performance: Congratulations! You have successfully transferred your operating system from a hard drive to an SSD. Enjoy the improved speed, responsiveness, and overall performance of your computer.
By following these steps, you can transfer your operating system to an SSD without any hassle. Now, let’s explore some tips for a smooth transfer process.
Tips for a Smooth Transfer Process
While transferring everything from a hard drive to an SSD is relatively straightforward, there are a few tips you can follow to ensure a smooth and successful transfer:
- Plan Ahead: Before you begin the transfer process, create a checklist of all the necessary steps and ensure you have all the required tools and software readily available. This will prevent unnecessary delays or interruptions during the transfer.
- Clean Up Your Hard Drive: Before cloning, it’s a good idea to clean up your hard drive by removing unnecessary files or programs. This will help reduce the amount of data being transferred and improve the overall efficiency of the process.
- Close Unnecessary Applications: Prior to starting the cloning process, close any unnecessary applications or processes running in the background. This will free up system resources and minimize the chances of conflicts or interruptions during the transfer.
- Ensure Adequate Power Supply: To avoid any power-related issues during the transfer, make sure your computer is connected to a stable power source. Sudden power outages or interruptions can cause data corruption and potentially disrupt the transfer process.
- Check Compatibility: Ensure that the SSD you are using is compatible with your computer’s hardware and operating system. Verify this information by referring to your computer’s documentation or visiting the manufacturer’s website.
- Keep the Original Hard Drive Intact: After completing the transfer, it’s a good practice to keep the original hard drive intact as a backup for some time. This ensures that you have a fallback option in case any unforeseen issues arise with the new SSD.
- Update Drivers and Firmware: After transferring everything to the SSD, consider updating your drivers and firmware to the latest versions. This can help improve compatibility, stability, and overall performance of your system.
- Test and Verify: Once the transfer process is complete, thoroughly test and verify that all your files, applications, and operating system are working correctly on the SSD. This will help identify any potential issues early on and allow you to address them promptly.
- Securely Erase the Old Hard Drive: If you decide to repurpose or dispose of the old hard drive, ensure that you securely erase all the data on it. This can be done using specialized software that overwrites the data multiple times, making it virtually unrecoverable.
By following these tips, you can ensure a smooth and successful transfer of everything from a hard drive to an SSD. Now, let’s discuss some important things to consider before initiating the transfer process.
Important Things to Consider Before Transferring Files
Before you embark on the process of transferring everything from a hard drive to an SSD, there are a few important factors to consider:
- Storage Capacity: Ensure that the capacity of the SSD you choose is sufficient to accommodate all your files, applications, and the operating system. It’s recommended to opt for a slightly larger SSD to allow for future growth.
- Operating System Requirements: Check if your operating system requires any specific settings or drivers to run optimally on an SSD. This information can usually be found on the manufacturer’s website or in the user manual.
- Backup Your Data: As mentioned earlier, it is crucial to back up all your important data before initiating the transfer process. This serves as a safeguard in case anything goes wrong during the transfer or if any files are accidentally lost or corrupted.
- Software Compatibility: Ensure that all the software and applications you use are compatible with the new SSD. Check for any potential issues or incompatibilities that may arise during the transfer process. Visit the software developers’ websites or forums for any specific recommendations or instructions.
- Plan for Downtime: Transferring everything from a hard drive to an SSD requires some downtime for the process to be completed. Plan ahead and allocate sufficient time to complete the transfer without feeling rushed or interrupted.
- Keep Track of License Keys: If you have licensed software installed on your computer, make sure to keep a record of the license keys for future reference. Some software may require reactivation or reinstalling after the transfer process.
- Consider Professional Help: If you feel unsure about the process or lack the technical knowledge, consider seeking professional help. A computer technician or an expert in data transfer can ensure a smooth and hassle-free transition from a hard drive to an SSD.
- Data Recovery Options: Although the transfer process is generally safe, there is always a small risk of data loss. Familiarize yourself with data recovery options, such as specialized software or consulting professional data recovery services, to minimize potential risks and have a contingency plan in place.
- Research and Additional Resources: Take the time to research and read through additional resources, such as guides, tutorials, and forums, to gain a deeper understanding of the transfer process. This can help you troubleshoot issues or answer any specific questions that may arise during the transfer.
Considering these important factors before transferring everything from a hard drive to an SSD will help ensure a smooth and successful transition. Now, let’s wrap up the article.
Conclusion
Transferring everything from a hard drive to an SSD is a worthwhile endeavor that can dramatically improve the performance, speed, and reliability of your computer system. With faster boot times, quicker file access, and increased durability, upgrading to an SSD offers a significant upgrade to your computing experience.
In this comprehensive guide, we’ve walked you through the process of transferring files, including the operating system, from a hard drive to an SSD. We’ve provided step-by-step instructions, highlighted the benefits of SSDs, and shared essential tips to ensure a smooth transfer process.
Remember to back up your data before initiating the transfer, use reliable cloning software, and consider factors such as storage capacity, software compatibility, and the need for professional help. By following these guidelines, you can minimize risks and maximize the benefits of the upgrade.
Whether you’re a tech-savvy individual or a beginner, this guide has equipped you with the knowledge and tools needed to successfully transfer everything from a hard drive to an SSD. Embrace the improved performance, faster load times, and overall enhanced experience that an SSD can bring to your computer system.
Now, it’s time for you to take the leap and unlock the full potential of your computer by transferring everything to an SSD. Enjoy the speed, reliability, and efficiency that come with this upgrade, and embrace a smoother computing experience.