Introduction
Welcome to the guide on how to install an operating system on a solid-state drive (SSD). As technology continues to advance, SSDs have become increasingly popular due to their faster speeds and improved performance compared to traditional hard disk drives (HDDs). In order to leverage the full potential of an SSD, it is essential to install the operating system correctly.
A solid-state drive offers several advantages over a traditional hard drive. It uses flash memory to store data, which results in faster read/write speeds and better overall system responsiveness. By installing your operating system on an SSD, you can experience quicker boot times, faster application launches, and smoother multitasking.
This guide will walk you through the step-by-step process of installing an operating system on your SSD. Whether you’re upgrading an existing system or building a new one from scratch, these instructions will help you make the most out of your solid-state drive. So let’s get started!
Step 1: Choosing an operating system compatible with Solid State Drive
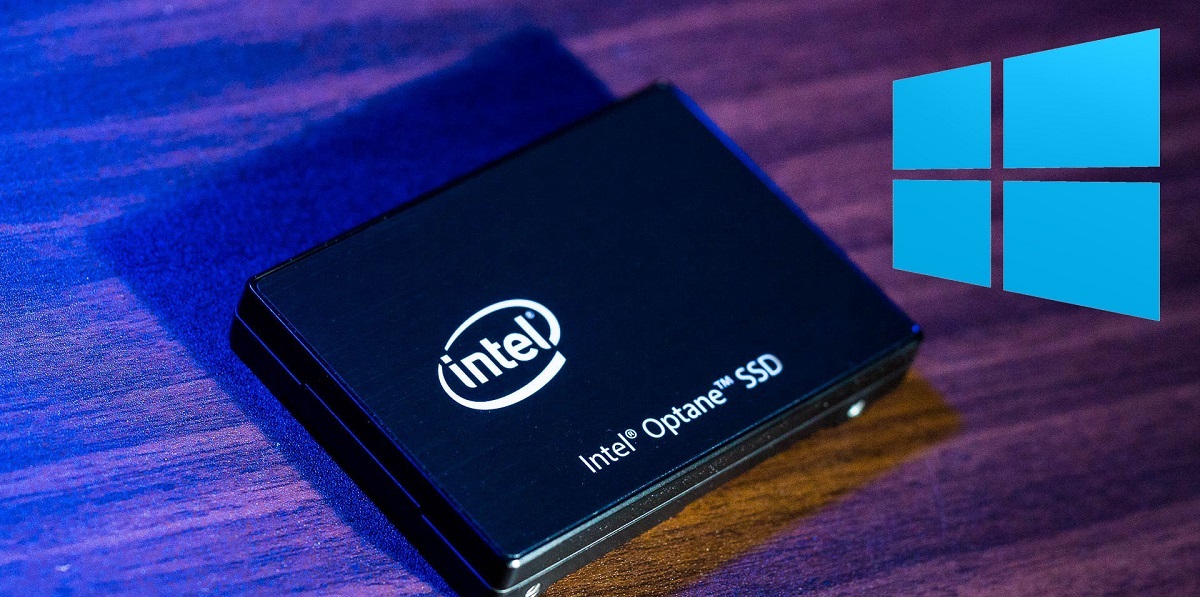
When it comes to installing an operating system on a solid-state drive, it’s important to choose an OS that is compatible with this modern storage technology. Fortunately, most popular operating systems, such as Windows, macOS, and Linux, are compatible with SSDs. However, there are a few key considerations to keep in mind:
- Trim support: Trim is a feature that helps maintain the performance and lifespan of an SSD by optimizing the way data is written and erased. It is important to ensure that your chosen operating system supports Trim functionality. Both Windows and macOS offer built-in Trim support, but for Linux users, it may require enabling or installing additional packages.
- File system compatibility: Different operating systems may have different default file systems. Windows typically uses NTFS, macOS uses APFS (Apple File System), while Linux supports various file systems such as Ext4. Before installing your operating system, make sure that the file system is compatible with your SSD to ensure optimal performance and functionality.
- Hardware requirements: Check the hardware requirements specified by the operating system. SSDs usually have specific system requirements, such as a minimum amount of available storage space and a compatible interface (e.g., SATA or NVMe). Ensure that your chosen operating system is compatible with your SSD’s specifications.
Take the time to research and evaluate the compatibility of different operating systems with your solid-state drive. Consider your personal preferences, technical knowledge, and the specific requirements of your computer setup. By choosing an OS that is fully compatible with your SSD, you can maximize the benefits of your solid-state drive and enjoy optimized performance.
Step 2: Gathering the necessary materials and tools
Before diving into the installation process, it’s crucial to gather all the necessary materials and tools to ensure a smooth and successful installation of your chosen operating system on the solid-state drive. Here are the essential items you’ll need:
- Operating system installation media: Depending on your chosen operating system, you’ll need an installation media such as a DVD or USB drive. This media will contain the necessary files to install the operating system onto your SSD.
- Solid-state drive: Of course, you’ll need the SSD itself. Make sure you have the correct size and interface type that is compatible with your computer. The SSD should also be securely packaged and ready for installation.
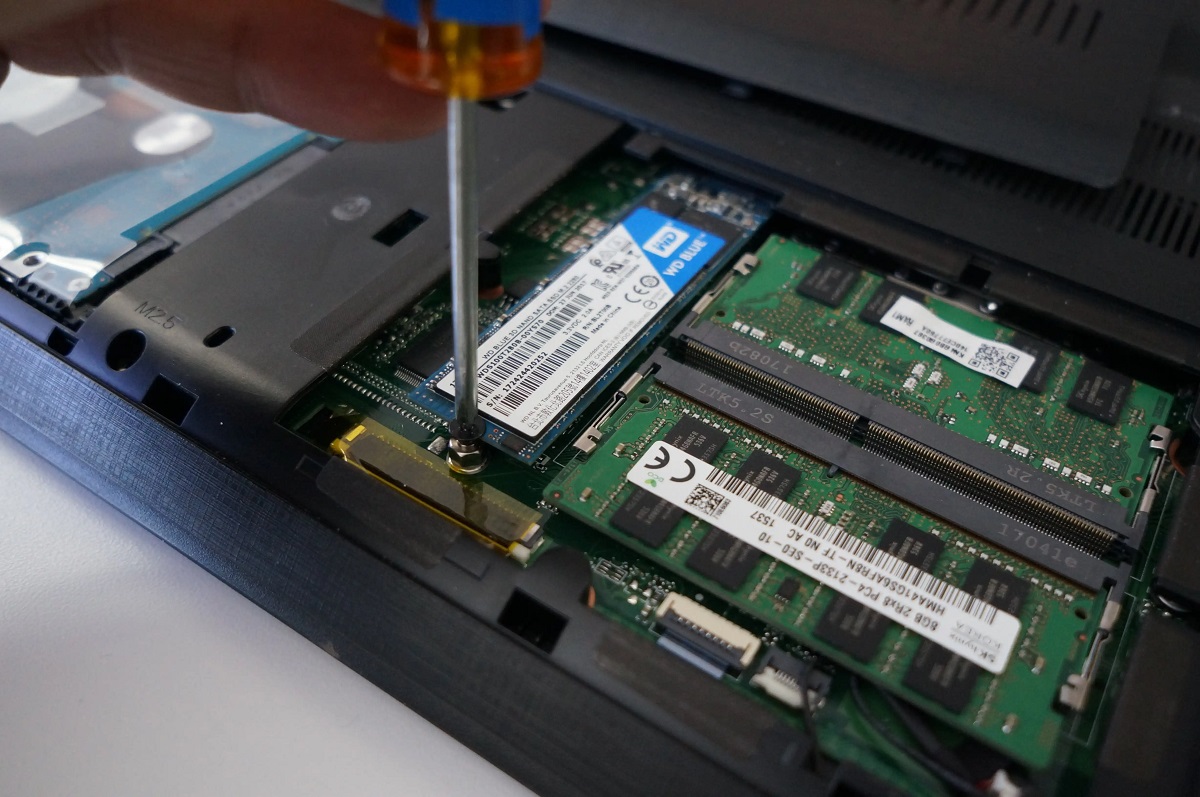
- Screwdriver: In some cases, you may need a screwdriver to remove or install the SSD. This will depend on your computer’s design and whether the SSD is installed in a removable caddy or directly onto the motherboard.
- Data backup: It’s always a good practice to back up your important files and data before installing a new operating system. While it’s not a physical tool, it is crucial for protecting your data in case anything goes wrong during the installation process.
- Internet connection: This may not be a physical tool either, but having a reliable internet connection can be beneficial during the installation process. It allows you to download any necessary updates or drivers for the operating system.
Make sure you have all the required materials and tools readily available before starting the installation process. This will help prevent any unnecessary delays or interruptions. Additionally, it’s a good idea to read through the user manuals or online documentation for both the SSD and the chosen operating system to familiarize yourself with any specific requirements or instructions.
With all the necessary materials at hand, you’re now prepared to move on to the next step: preparing the solid-state drive for installation.
Step 3: Preparing the Solid State Drive for installation
Before installing the operating system on your solid-state drive (SSD), it’s essential to properly prepare the drive to ensure a successful installation and optimal performance. Here are the key steps to follow:
- Backup data: If you’re installing the operating system on a new SSD, you can skip this step. However, if you’re upgrading from an existing drive, it’s important to back up your data to prevent any potential loss during the installation process. Transfer your files to an external storage device or a cloud service.
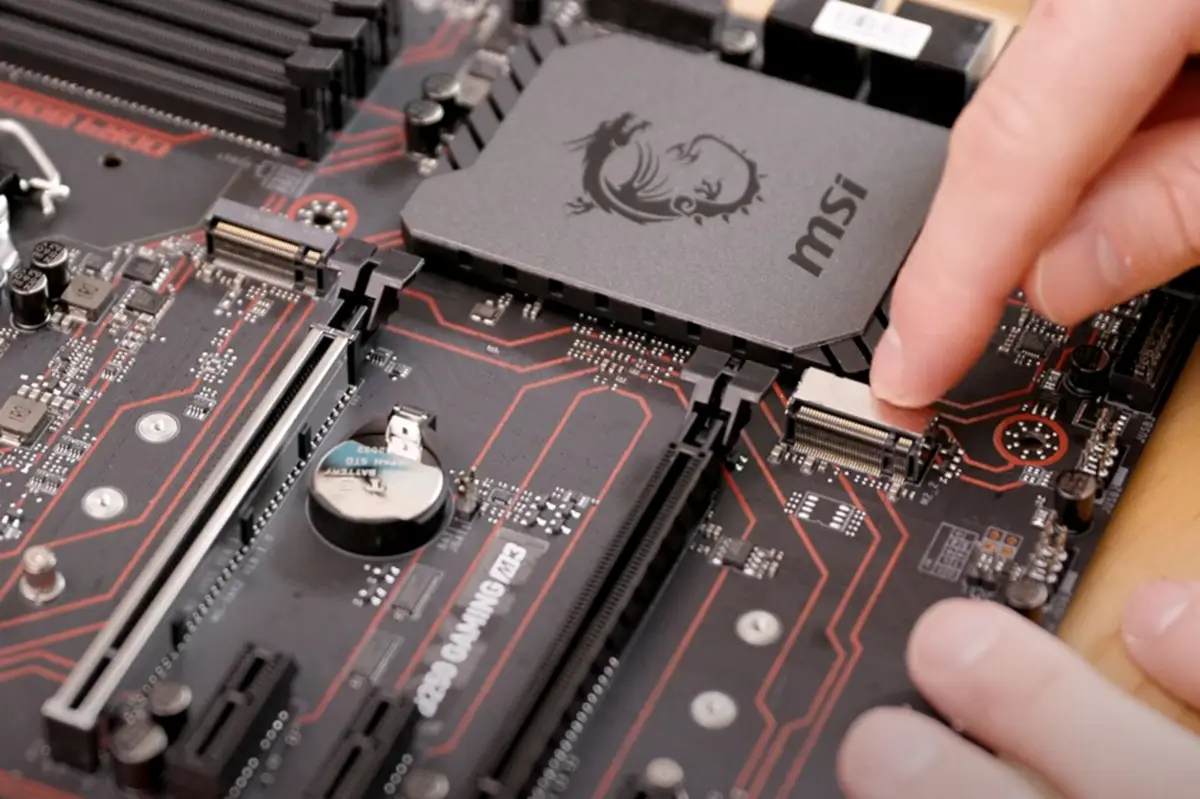
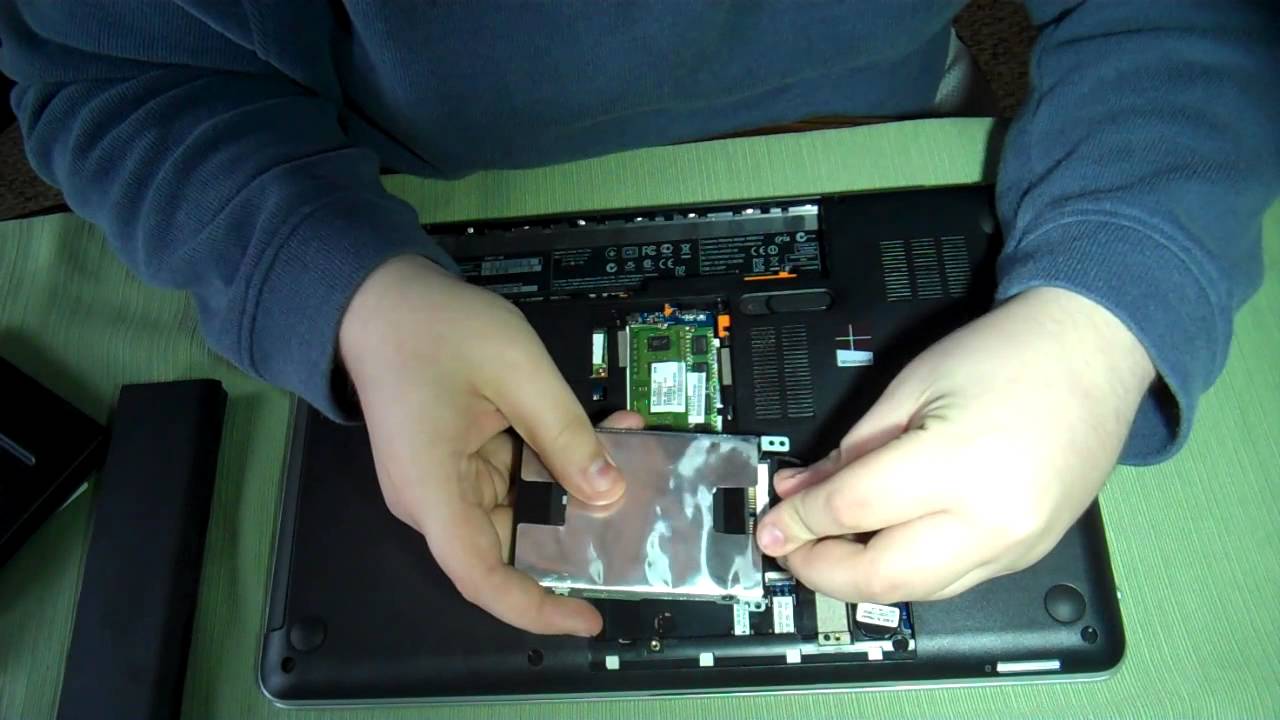
- Connect the SSD: If you’re installing the SSD in a desktop computer, open the case and locate an available SATA or NVMe slot. Carefully connect the SSD, ensuring proper alignment and a secure connection. For laptops, consult the user manual or online resources for instructions on accessing and installing the SSD.
- Partition and format the SSD: Once the SSD is physically connected, you’ll need to partition and format it for use. On most operating systems, this can be done during the installation process. Follow the prompts and create the required partitions, specifying the appropriate file system (e.g., NTFS, APFS, or Ext4) and allocation size.
- Enable Trim: To ensure optimal performance and longevity of the SSD, it’s important to enable Trim support on the operating system. Trim helps to maintain the performance of the SSD by allowing the operating system to inform the drive which blocks of data are no longer needed. Check the documentation or settings of your chosen operating system to enable Trim functionality.
- Update firmware: If your SSD has a firmware update available, it’s recommended to install it before proceeding with the installation. Firmware updates often include bug fixes, performance improvements, and security enhancements. Visit the manufacturer’s website and download the latest firmware for your specific SSD model.
Once you have completed these preparation steps, your solid-state drive is ready to be used for the installation of the operating system. The next step will involve creating a bootable installation media, which will allow you to install the desired operating system onto the SSD. Ensure that you have the required installation media and continue with the installation process.
Step 4: Creating a bootable installation media
In order to install the operating system on your solid-state drive (SSD), you’ll need to create a bootable installation media. This media will allow you to boot into the operating system installation wizard and proceed with the installation process. Here’s how to create a bootable installation media:
- Choose your preferred method: There are several ways to create a bootable installation media, depending on your operating system. For Windows users, you can use the official Windows Media Creation Tool or third-party tools like Rufus or UNetbootin. Mac users can use the built-in Disk Utility to create a bootable USB drive, while Linux users can use tools like UNetbootin or the dd command.
- Download the operating system: Visit the official website of the operating system you wish to install and download the appropriate installation image. Make sure it is compatible with your system architecture and version preference.
- Prepare the USB drive: Insert a blank USB drive into your computer and ensure that there are no important files on it, as the process will erase all existing data. Open the chosen tool and select the USB drive as the target. Follow the tool’s instructions to format the USB drive and make it bootable.
- Load the installation image: Locate the downloaded installation image file on your computer and load it into the bootable USB drive using the chosen tool. This may involve selecting the image file and specifying the target drive.
- Create the bootable media: Begin the process of creating the bootable media by following the instructions provided by the tool. This may involve waiting for the files to be copied onto the USB drive and completing any additional steps specific to the tool you’re using.
Once you have successfully created the bootable installation media, it’s time to move on to the next step: installing the operating system on your solid-state drive. Keep the bootable USB drive handy, as you will need it to boot your computer and begin the installation process.
Step 5: Installing the operating system on the Solid State Drive
Now that you have prepared the bootable installation media, it’s time to install the operating system on your solid-state drive (SSD). Follow these steps to complete the installation:
- Insert the bootable media: Insert the bootable installation media, whether it’s a DVD or a USB drive, into the appropriate port on your computer.
- Boot from the installation media: Restart your computer and enter the BIOS or UEFI settings. Ensure that the installation media is set as the first boot option. Save the changes and exit the BIOS or UEFI settings. Your computer will now boot from the installation media.
- Follow the installation wizard: Once your computer boots from the installation media, you will be presented with the operating system installation wizard. Follow the on-screen prompts, such as selecting the language, keyboard layout, and time zone settings.
- Select the SSD as the installation destination: When prompted to choose the installation location, select your solid-state drive (SSD) as the destination. If you have multiple drives connected, be careful to select the correct one to avoid accidentally installing the operating system on the wrong drive.
- Configure the installation: Customize any additional settings or preferences during the installation process, such as creating user accounts, setting passwords, or choosing optional features. These options may vary depending on the operating system you’re installing.
- Wait for the installation to complete: Sit back and wait for the installation process to complete. This can take some time, so be patient. Your computer may restart several times during the installation process.
- Follow the post-installation instructions: After the installation is finished, follow any post-installation instructions provided by the operating system. This may include setting up initial configurations, installing drivers, or updating the system.
Once the installation process is completed and any necessary post-installation steps are finished, your operating system should be successfully installed on the solid-state drive (SSD). Restart your computer and make sure it boots from the SSD. Enjoy the improved speed and performance of your new operating system on your SSD!
Step 6: Configuring the operating system for optimal performance on a Solid State Drive
After installing the operating system on your solid-state drive (SSD), it’s important to configure the system settings to ensure optimal performance and longevity of the SSD. Follow these steps to configure your operating system:
- Verify Trim support: Confirm that Trim support is enabled on your operating system. This feature helps to optimize the performance and lifespan of your SSD by allowing the system to communicate with the drive and properly manage the storage of data. Depending on the operating system, Trim may be enabled by default or may require manual activation.
- Disable automatic defragmentation: Disable automatic defragmentation on your SSD. Unlike traditional hard disk drives (HDDs), SSDs do not benefit from defragmentation and it can even cause unnecessary wear on the drive. Most modern operating systems automatically detect SSDs and disable defragmentation, but it’s always a good idea to double-check.
- Enable power-saving features: Adjust power-saving settings to optimize your SSD’s performance and power consumption. Most operating systems offer power-saving features that can be configured to balance performance and energy efficiency. Review the power options and adjust them according to your needs.
- Update drivers: Ensure that all your system drivers, including those for the SSD, are up to date. Manufacturers often release driver updates to improve compatibility and performance. Visit the manufacturer’s website or use the built-in driver update tools provided by the operating system to ensure that you have the latest drivers installed.
- Monitor system health: Use monitoring tools to keep an eye on the health and performance of your SSD. Some operating systems provide built-in monitoring tools, while third-party software is also available. Monitor the SSD’s temperature, wear level, and overall health to detect any potential issues early on.
- Regularly update your operating system: Keep your operating system up to date with the latest patches and updates. These updates often include bug fixes, security enhancements, and performance optimizations. Regularly check for and install any available updates to ensure the best possible performance.
By following these configuration steps, you can ensure that your operating system is optimized for your solid-state drive. This will not only enhance the performance of your SSD but also contribute to its longevity and reliability. Enjoy the speed and benefits of your SSD with a properly configured operating system.
Step 7: Finalizing the installation and post-installation steps
After configuring your operating system for optimal performance on your solid-state drive (SSD), there are a few final steps and post-installation tasks to complete. Follow these guidelines to finalize the installation and ensure everything is in order:
- Remove the installation media: If you haven’t already done so, safely remove the bootable installation media from your computer. This ensures that your computer boots directly from the SSD for future startup.
- Install essential software: Install any essential software and programs that you regularly use. This may include productivity tools, antivirus software, web browsers, and media players. Check for the latest versions and download them from official sources.
- Restore your data: If you previously backed up your data, now is the time to restore it to your SSD. Transfer your files and folders from the backup location to the appropriate locations on your SSD. Organize your files and ensure that everything is in its proper place.
- Set up user accounts: Create or log in to your user account(s) on the operating system. Configure your personal settings, such as desktop backgrounds, themes, and preferences. Customize your user environment to suit your needs.
- Update and install additional drivers: Update any additional drivers that are required for specific hardware components or peripherals. Check the manufacturer’s websites or use the built-in driver update tools provided by your operating system to ensure that you have the latest drivers installed.
- Test and troubleshoot: Take some time to test your system and make sure everything is functioning correctly. Ensure that all hardware components, peripherals, and software are working as expected. Troubleshoot any issues that may arise and seek resolutions as necessary.
- Set up automatic backups: Establish a regular backup routine to protect your data and settings. Schedule automatic backups to an external drive or a reliable cloud storage service. This provides an additional layer of data protection and ensures that you can recover your files in case of any unforeseen events.
By completing these final steps and post-installation tasks, you can finalize the installation of your operating system on the solid-state drive. Take the time to personalize your system, install necessary software, and ensure that everything is working smoothly. Enjoy the improved performance and responsiveness that comes with having your OS installed on an SSD.
Conclusion
Congratulations! You have successfully installed an operating system on your solid-state drive (SSD) and optimized it for optimal performance. By following the step-by-step guide in this article, you have harnessed the power of SSD technology to experience faster boot times, improved application launch speeds, and smoother multitasking.
Choosing the right operating system compatible with your SSD, gathering the necessary materials and tools, preparing the SSD, creating a bootable installation media, and installing the OS were all crucial steps to ensure a successful installation. Additionally, configuring the operating system and completing post-installation tasks have further optimized your system for SSD usage and longevity.
Remember to regularly update your operating system and SSD drivers to take advantage of the latest improvements and security patches. Monitor the health of your SSD to ensure early detection of any potential issues. Maintain a backup routine to protect your data and set up automatic backups to safeguard against unexpected data loss.
With your operating system installed on an SSD, you can enjoy faster and more reliable performance for your daily computing tasks. Whether you’re using your computer for work, gaming, or multimedia purposes, the solid-state drive will provide a noticeable improvement in speed and responsiveness.
Thank you for following this guide on installing an operating system on a solid-state drive. We hope this article has been helpful in guiding you through the installation process and optimizing your system. Enjoy your new SSD-powered system and the enhanced computing experience it brings!