Introduction
Welcome to the world of virtualization! In today’s tech landscape, virtual machines have become an indispensable tool for businesses, developers, and even casual users. If you’re new to the concept, you might wonder what exactly a virtual machine is and how it can benefit you.
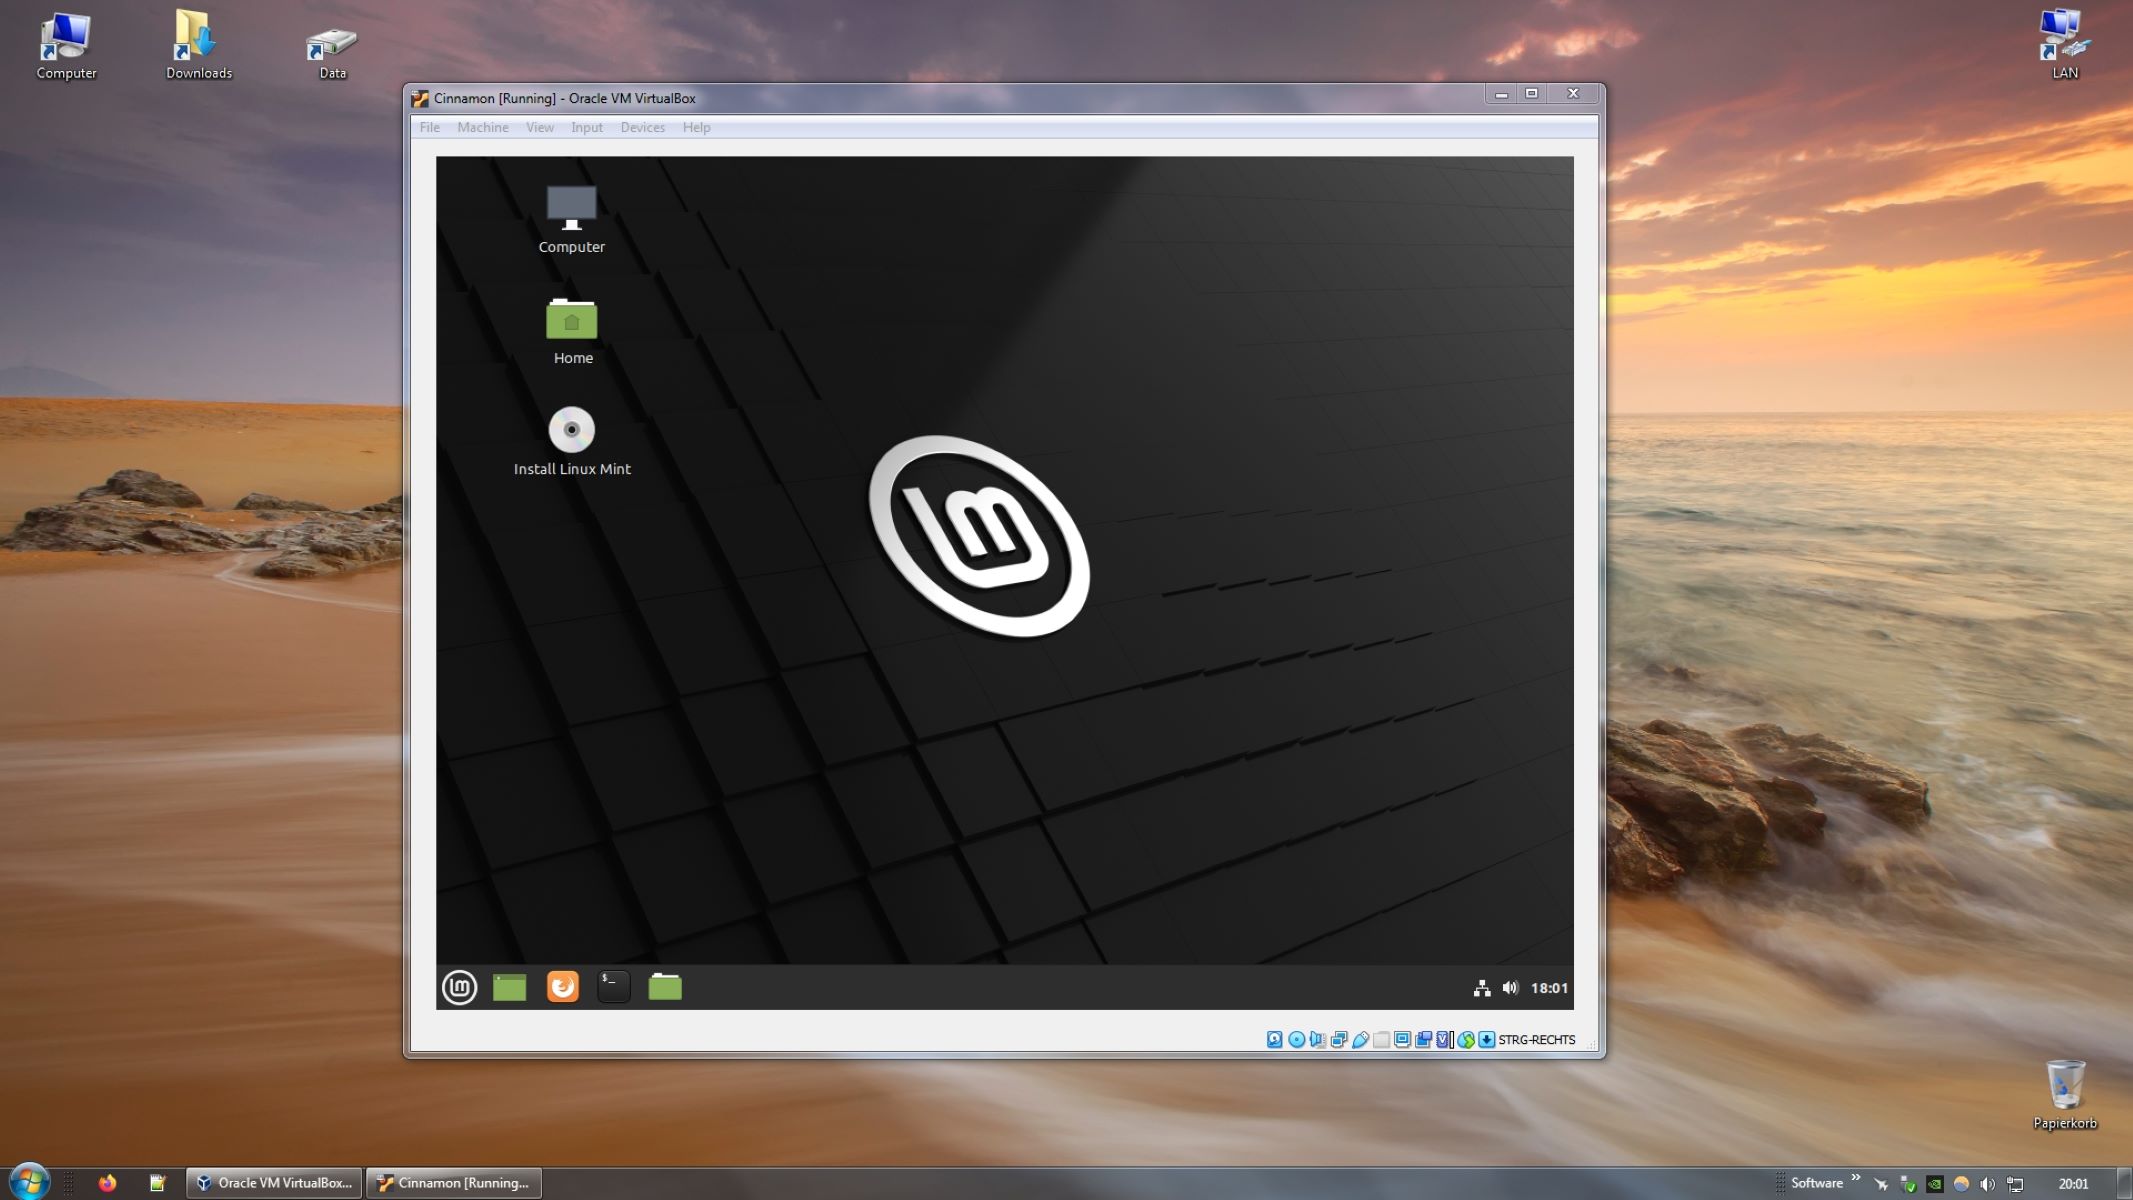
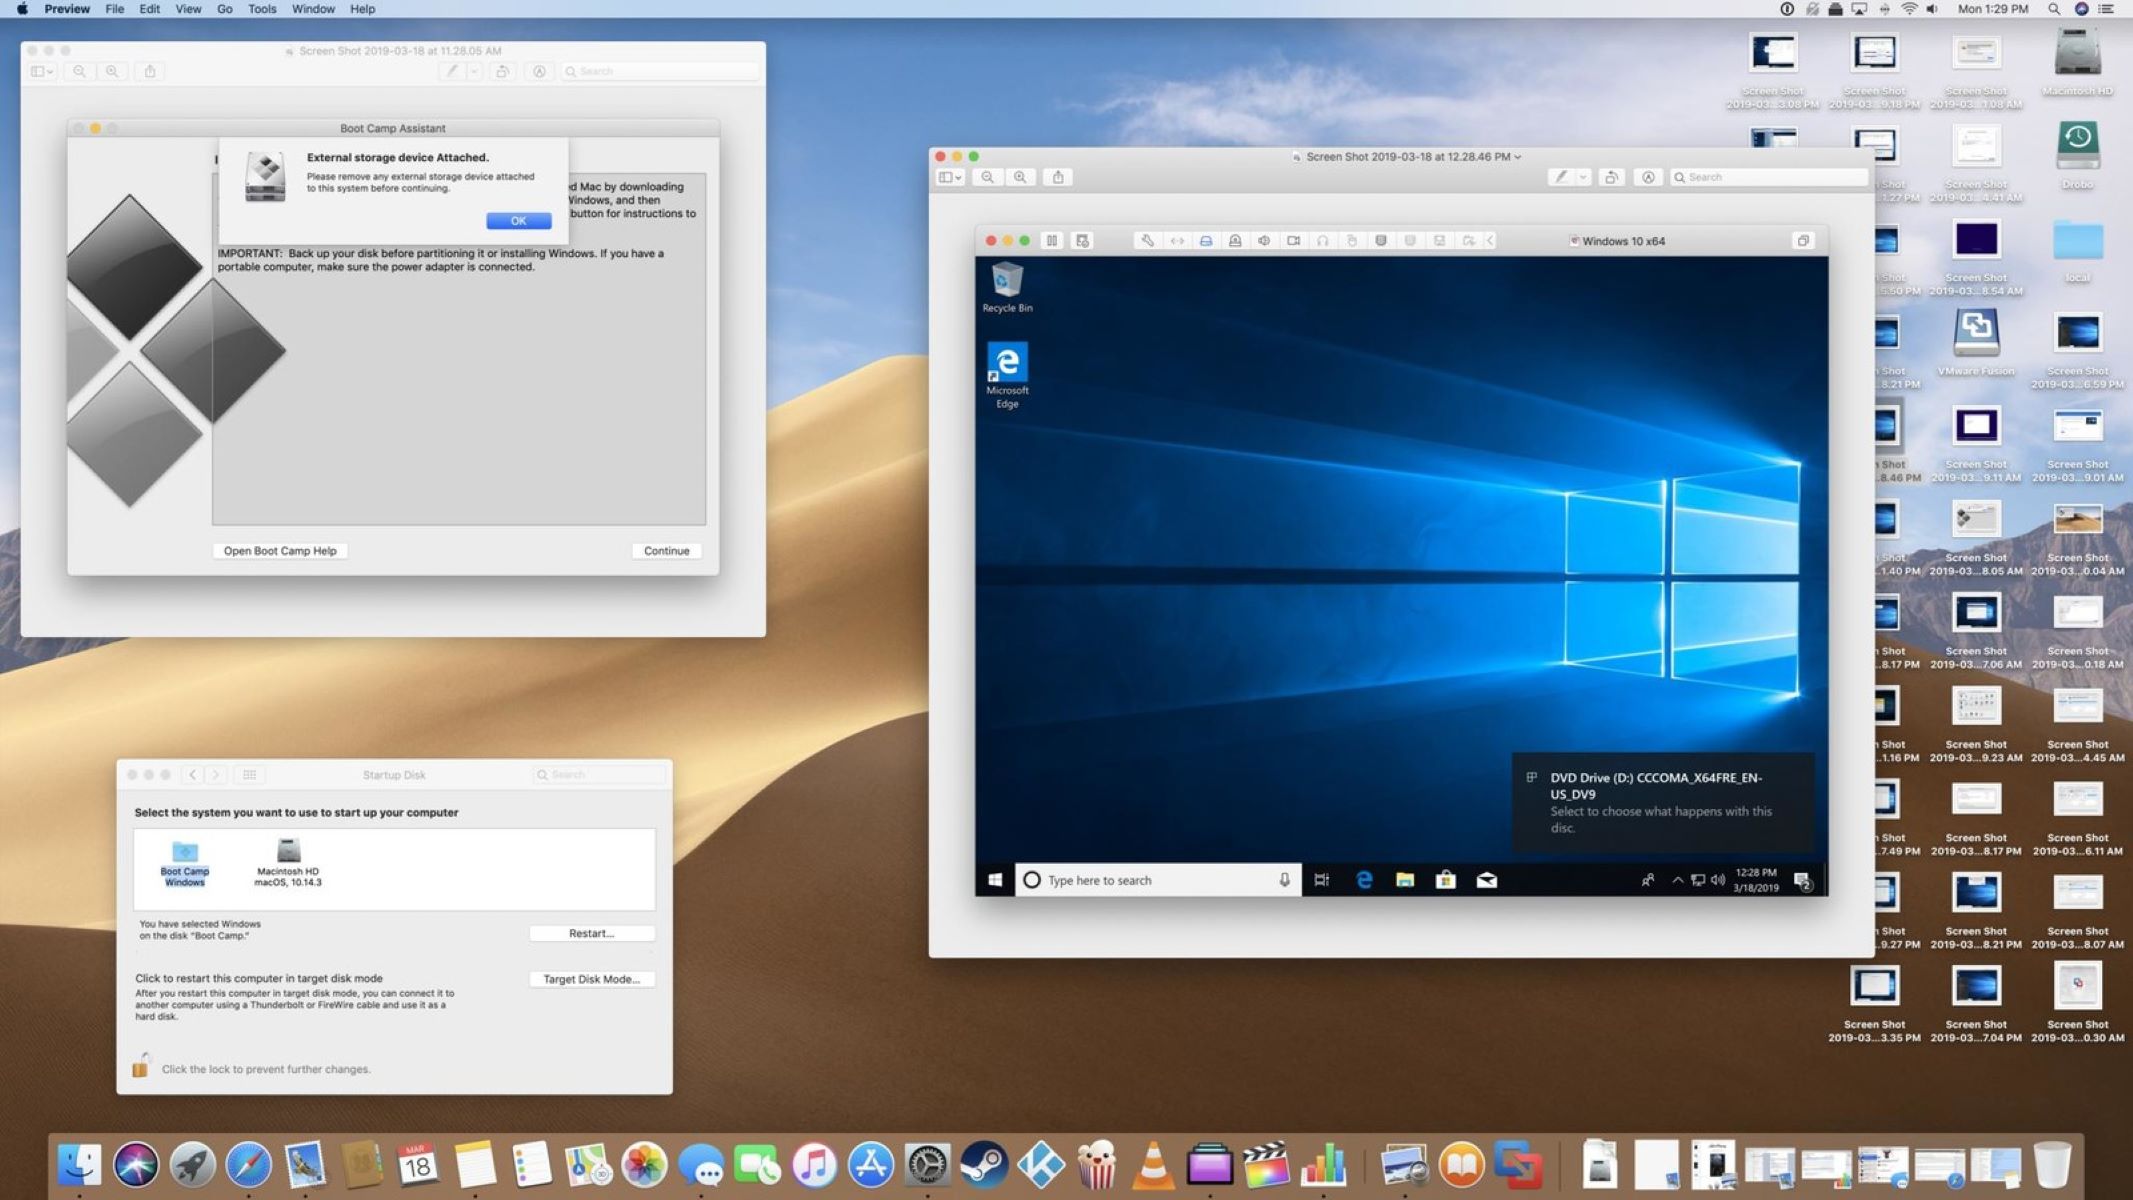
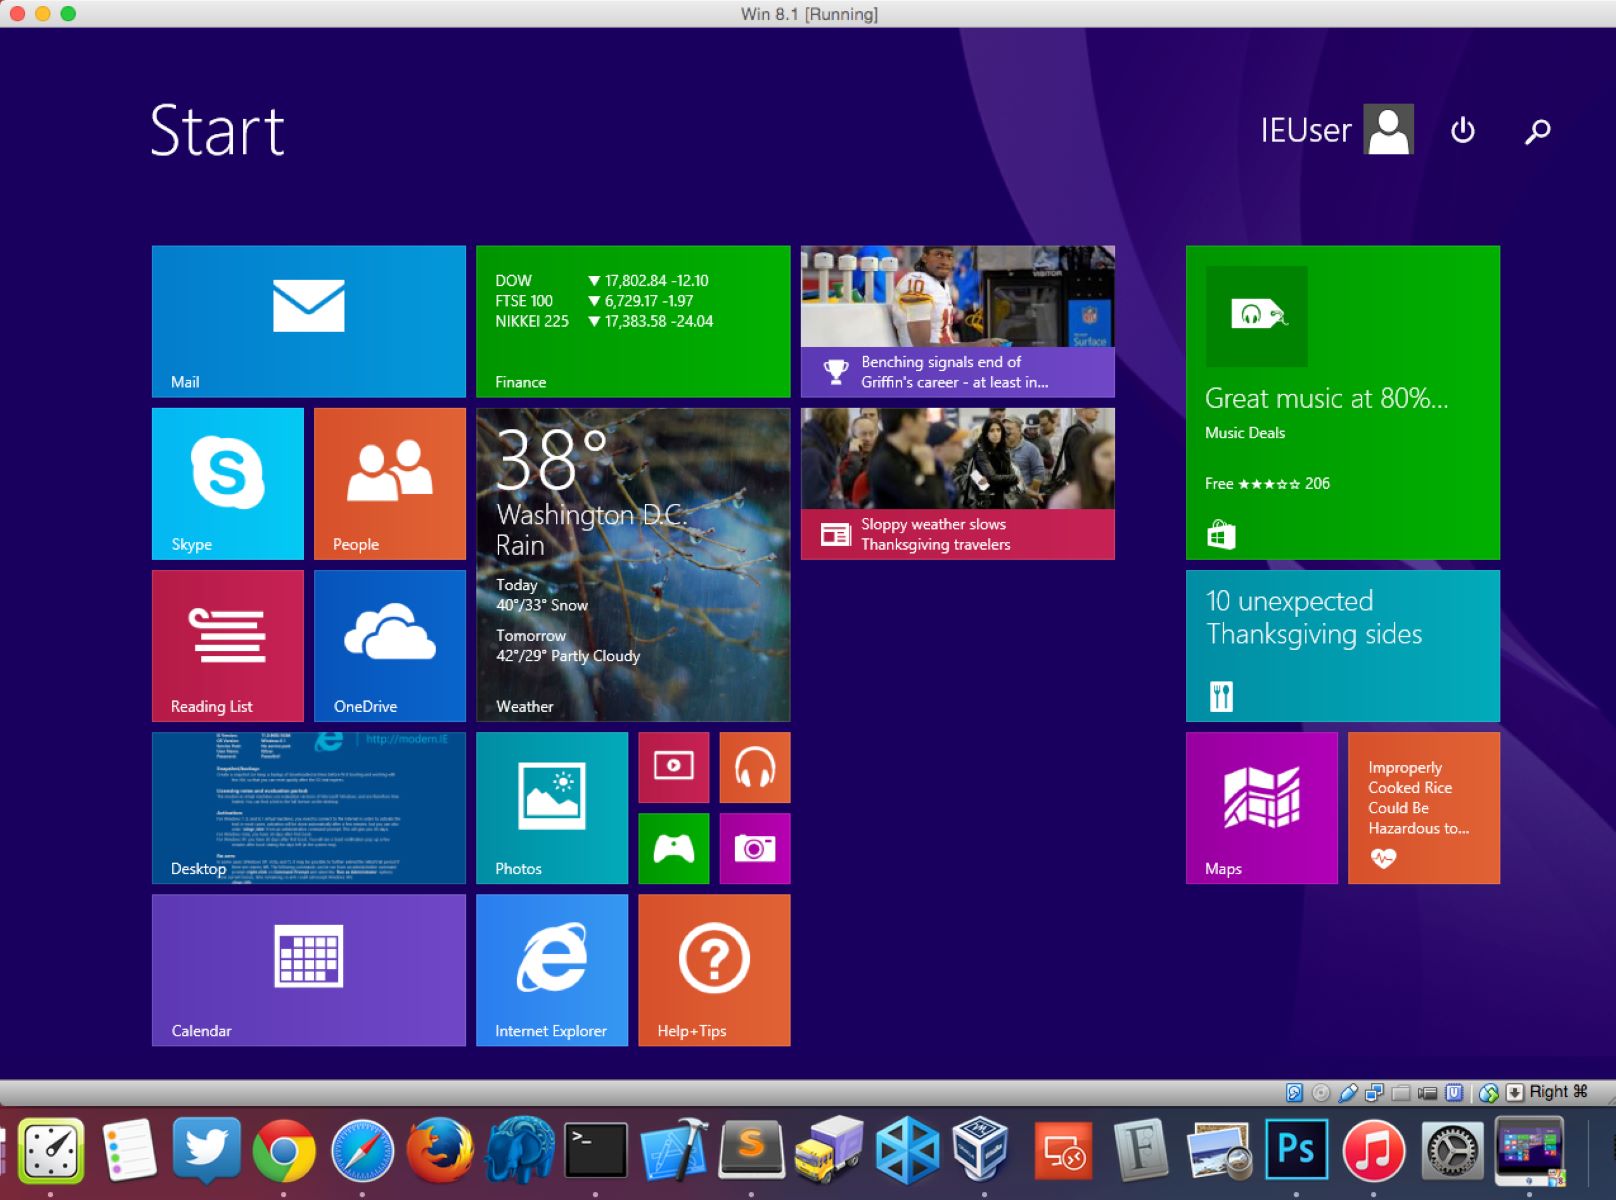
A virtual machine is essentially a software emulation of a physical computer, allowing you to run multiple operating systems on a single machine. In simpler terms, it’s like having a computer within a computer. With a virtual machine, you can effectively create isolated and secure environments that mimic a real computer system, complete with its own resources, such as memory, storage, and network connections.
Now, you might be thinking, “Why would I need a virtual machine on my Windows 7?” Windows 7 is a reliable and popular operating system, but it does have its limitations. By utilizing a virtual machine, you can overcome these limitations and unlock a range of benefits.
Firstly, a virtual machine allows you to experiment with different operating systems and software without affecting your primary Windows 7 installation. Whether you want to test a new version of Windows, try out a different Linux distribution, or explore legacy systems, a virtual machine provides a safe and isolated environment to do so.
Furthermore, virtual machines are an excellent solution for software development and testing. Developers can easily create multiple virtual machines with different configurations, enabling them to test software compatibility across various operating systems and environments. This significantly streamlines the development process and ensures that the software works seamlessly on different platforms.
Additionally, virtual machines simplify the process of running older applications that may not be compatible with Windows 7. By using a virtual machine, you can create a virtualized environment that supports older operating systems, allowing you to run those legacy applications smoothly without the need for complex workarounds.
Now that you have a good understanding of what a virtual machine is and why it’s beneficial, let’s dive into how you can install, set up, and use a virtual machine on your Windows 7 system. By the end of this guide, you’ll be equipped with the knowledge and skills to leverage virtual machines for your specific needs.
What is a Virtual Machine?
At its core, a virtual machine (VM) is a software program that emulates the functionality of a physical computer, enabling you to run multiple operating systems simultaneously on a single machine. It creates a virtualized environment that behaves like a real computer, complete with its own virtualized hardware resources.
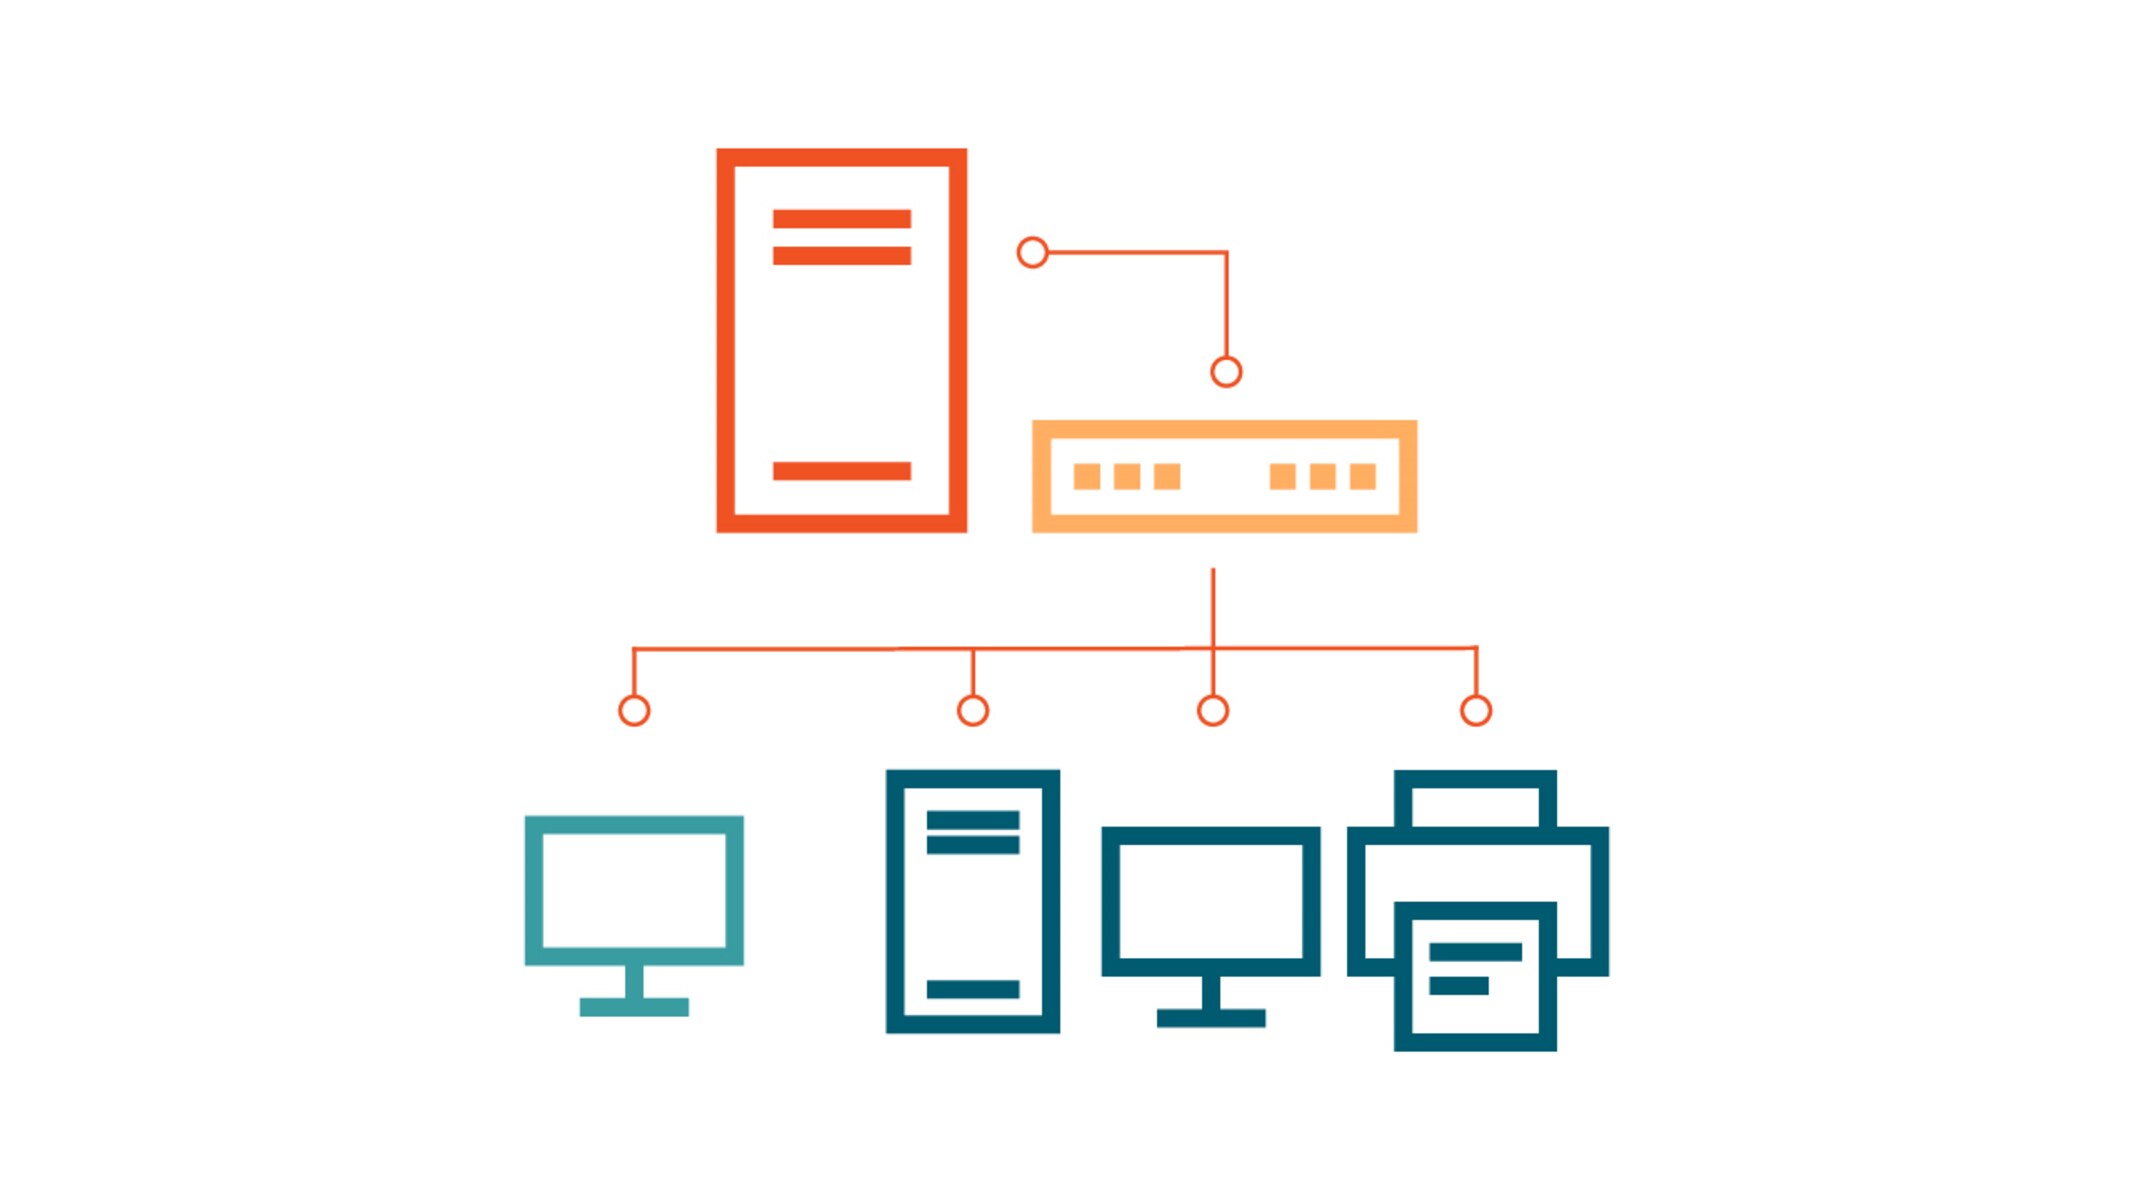
A virtual machine consists of two main components: the host machine and the guest machine. The host machine is your physical computer, which runs the virtualization software, also known as the hypervisor. The hypervisor is responsible for managing the virtual machines and allocating the necessary resources for their smooth operation.
The guest machine, on the other hand, is the virtualized instance of an operating system that is running inside the virtual machine. It runs in isolation from the host machine and operates as a separate entity, with its own virtualized hardware, such as processors, memory, storage, and network interfaces.
By using a virtual machine, you can create multiple independent and isolated operating system environments, each running its own applications and software. This isolation ensures that changes made within one virtual machine do not affect the others or the host machine, providing a secure and stable environment.
Virtual machines offer several advantages, making them a highly versatile and valuable tool in many scenarios. Here are some of the key benefits:
- Consolidation: With virtual machines, you can run multiple operating systems on a single physical machine, reducing the need for additional hardware and optimizing resource utilization.
- Flexibility: Virtual machines allow you to quickly create, replicate, and deploy instances of operating systems, making it easy to scale your environment as needed.
- Isolation: Each virtual machine operates independently, providing a contained environment that isolates applications and processes from one another. This isolation ensures that a failure or security breach in one virtual machine does not impact others.
- Testing and Development: Virtual machines are ideal for software development and testing, as they enable developers to create different environments for testing software compatibility, debugging, and experimentation.
- Migration and Backup: Virtual machines can be easily migrated between physical machines, allowing for quick hardware upgrades or replacements. Additionally, VM snapshots can be used for efficient backup and disaster recovery.
Now that you have a solid understanding of what a virtual machine is and the benefits it offers, let’s explore how you can install and set up a virtual machine on your Windows 7 system.
Why use a Virtual Machine on Windows 7?
While Windows 7 is a stable and popular operating system, there are several compelling reasons why you might want to utilize a virtual machine on your Windows 7 system.
1. Software Testing and Development: Virtual machines provide an ideal platform for developers to test their software across different operating systems, versions, and configurations. By setting up virtual machines with various environments, developers can ensure that their software works seamlessly for a wider audience without the need for dedicated physical hardware.
2. Legacy Application Support: If you rely on older applications that are not compatible with Windows 7, a virtual machine can come to the rescue. By creating a virtualized environment that supports older operating systems, you can run legacy applications without the hassle of dual-booting or maintaining a separate physical machine.
3. Secure Browsing and Isolated Environments: Virtual machines allow you to create secure sandboxes for browsing the web or testing suspicious files. By using a separate virtual machine exclusively for these activities, you can protect your main Windows 7 environment from potential malware or other security threats.
4. System Maintenance and Updates: When performing critical system maintenance or updates on your Windows 7 system, a virtual machine can act as a backup or test environment. You can take snapshots of your virtual machine before making any changes, allowing for easy rollback if something goes wrong.
5. Operating System and Software Exploration: With a virtual machine, you can explore and experiment with different operating systems and software without impacting your primary Windows 7 installation. Whether you want to try out Linux distributions, test beta versions of Windows, or experiment with unfamiliar software, a virtual machine provides a safe and isolated environment.
6. Training and Education: Virtual machines are invaluable for educational purposes, as they enable students to practice using different operating systems and software without the need for physical hardware. It allows for hands-on learning and experimentation, providing a realistic environment for training and skill development.
By leveraging virtual machines on your Windows 7 system, you can unlock a whole new level of flexibility, security, and productivity. Now, let’s dive into the installation and setup process to get you started with virtual machines on Windows 7.
Installing a Virtual Machine on Windows 7
Before you can begin using a virtual machine on your Windows 7 system, you need to install virtualization software. There are several popular options available, but we’ll focus on two widely-used virtualization platforms: Oracle VM VirtualBox and VMware Workstation.
1. Oracle VM VirtualBox:
Oracle VM VirtualBox is a free and open-source virtualization platform that provides comprehensive features and flexibility. To install VirtualBox, follow these steps:
- Visit the Oracle VM VirtualBox website (https://www.virtualbox.org) and download the latest version compatible with Windows 7.
- Once the installer is downloaded, double-click on it to start the installation process.
- Follow the on-screen instructions, selecting the desired installation folder and any additional components or features you wish to install.
- After the installation is complete, launch VirtualBox from the Start menu.
2. VMware Workstation:
VMware Workstation is a robust virtualization platform that offers advanced features for professional users. Note that VMware Workstation is a paid software, but it provides a free trial period. To install VMware Workstation, follow these steps:
- Go to the VMware website (https://www.vmware.com) and download the latest version of VMware Workstation compatible with Windows 7.
- Open the downloaded installer and follow the on-screen instructions to install the software.
- During the installation, you may be prompted to enter a license key or choose the trial option.
- Once the installation is complete, launch VMware Workstation from the Start menu.
Now that you have installed the virtualization software, you are ready to start creating and running virtual machines on your Windows 7 system. In the next section, we will explore how to set up a virtual machine and configure it to your specific needs.
Setting up a Virtual Machine on Windows 7
Now that you have installed virtualization software on your Windows 7 system, it’s time to set up your first virtual machine. The steps involved in setting up a virtual machine may vary slightly depending on the virtualization platform you are using, but the general process remains the same.
1. Launching the Virtualization Software:
Open the virtualization software you installed, such as Oracle VM VirtualBox or VMware Workstation, from the Start menu or desktop shortcut.
2. Creating a New Virtual Machine:
Click on the “New” or “Create New Virtual Machine” button to start the virtual machine creation process. You will be guided through a series of steps to configure the virtual machine.
3. Selecting the Operating System:
Choose the operating system or ISO file you want to install on the virtual machine. If the operating system is not listed, select the option that corresponds to the closest match.
4. Allocating Resources:
Allocate resources such as memory (RAM), CPU cores, and hard disk size for the virtual machine. Consider the specifications of your host system and the requirements of the operating system you are installing.
5. Configuring Network Settings:
Choose the network settings for your virtual machine. You can select between NAT (Network Address Translation), Bridged, or Host-only network settings, depending on your networking needs.
6. Adjusting Additional Settings:
Modify any additional settings, such as display resolution, shared folders, and virtual machine hardware settings, if needed.
7. Completing the Virtual Machine Creation:
Review the summary of your virtual machine settings and click “Create” or “Finish” to complete the creation process. The virtual machine will now appear in the virtualization software’s interface.
8. Installing the Operating System:
Now that you have created your virtual machine, you need to install the operating system. Select the virtual machine from the interface and click on the “Start” or “Power On” button. The virtual machine will start, and you can follow the on-screen instructions to install the desired operating system.
Congratulations! You have successfully set up a virtual machine on your Windows 7 system. In the next section, we will explore how to configure and run a virtual machine to optimize its performance and usability.
Configuring and Running a Virtual Machine on Windows 7
After setting up your virtual machine on Windows 7, it’s important to configure it properly to ensure optimal performance and usability. Let’s explore the key steps involved in configuring and running a virtual machine.
1. Installing Guest Additions/Tools:
Guest Additions (in Oracle VM VirtualBox) or Tools (in VMware Workstation) are software packages that enhance the performance and functionality of the virtual machine. It’s highly recommended to install these packages within the guest operating system to enable features like better screen resolution, shared folders, drag-and-drop functionality, and seamless mouse integration.
2. Adjusting Hardware Settings:
Navigate to the virtual machine settings in your virtualization software and fine-tune the hardware settings according to your needs. You can allocate more memory, adjust processor settings, configure network adapters, and modify display settings. These adjustments will help optimize the performance of your virtual machine.
3. Managing Snapshots:
Virtualization software allows you to take snapshots of your virtual machine at various stages. Snapshots capture the entire state of the virtual machine at a specific point in time, allowing you to revert back to that state if needed. This feature is particularly helpful when testing new software or performing system updates, as you can easily roll back in case of any issues.
4. Configuring Networking:
Proper networking configuration is crucial for your virtual machine to communicate with the host machine and other network devices. Depending on your networking requirements, you can choose between different network modes offered by the virtualization software, such as Bridged, NAT, or Host-only. Ensure that the virtual machine has access to the internet and local network resources as needed.
5. Managing Virtual Machine Power States:
You can start, shut down, save, and restore the virtual machine using the controls provided by the virtualization software. It’s important to properly shut down the virtual machine when you’re done using it to ensure data integrity and preserve the state of the virtual machine.
6. Monitoring Performance:
Virtualization software often provides built-in performance monitoring tools that allow you to monitor resource usage, such as CPU, memory, disk, and network metrics. Monitoring these metrics can help you identify any performance bottlenecks or resource constraints, allowing you to make necessary adjustments to ensure optimum performance.
By properly configuring and running your virtual machine on Windows 7, you can maximize its performance, functionality, and security. In the next section, we will explore how to utilize multiple virtual machines simultaneously on your Windows 7 system.
Using Multiple Virtual Machines on Windows 7
One of the key advantages of virtualization is the ability to run multiple virtual machines (VMs) on a single Windows 7 system. This opens up a world of possibilities for various scenarios, including software development, testing, server virtualization, and more. Here’s how you can effectively utilize multiple virtual machines on your Windows 7 system:
1. Allocating Resources:
Before launching multiple VMs, it’s important to consider the resources available on your host system. Ensure that you have sufficient memory, CPU cores, and disk space to accommodate the combined requirements of all the VMs. Adjust the resource allocations for each VM accordingly, making sure they do not exceed the physical capacity of your host system.
2. Managing Virtual Machine Settings:
Each virtual machine can have its own settings and configurations, such as network adapters, shared folders, and hardware specifications. It’s crucial to carefully configure and manage these settings to avoid conflicts or resource contention between VMs. Allocate unique IP addresses, configure networking appropriately, and assign different virtual disk locations to prevent any unintentional overlapping or interference.
3. Utilizing Virtual Machine Templates:
If you need to create multiple similar virtual machines, consider using virtual machine templates. Templates serve as preconfigured models that can be cloned or duplicated to quickly create new VMs with identical settings. This enables faster deployment and ensures consistency across multiple virtual machines.
4. Managing Virtual Machine Snapshots:
When working with multiple VMs, snapshot management becomes crucial. Take snapshots of each VM before making significant changes or updates. This allows you to quickly revert to a previous state if anything goes wrong during the testing or development process.
5. Network Configuration:
Each virtual machine can be connected to different networking modes. Consider the networking requirements of each VM and configure them accordingly. You can choose to give each VM its own unique IP address on the network by using bridged mode or isolate VMs using host-only or internal networks.
6. Organizing and Naming Conventions:
As you work with multiple VMs, it’s important to establish clear naming conventions and organize them effectively. Give each VM a unique and descriptive name to easily identify and differentiate between them. Utilize folders or tags within the virtualization software to categorize and group related VMs.
By effectively utilizing multiple virtual machines on your Windows 7 system, you can increase productivity, optimize resource allocation, and streamline various tasks. In the next section, we will explore how to troubleshoot common virtual machine issues that you may encounter on Windows 7.
Troubleshooting Virtual Machine Issues on Windows 7
While virtual machines offer numerous benefits, you may encounter occasional issues that can affect their performance and functionality. Here are some common virtual machine issues on Windows 7 and how to troubleshoot them:
1. Slow Performance:
If your virtual machine is running sluggishly, check if you have allocated enough resources such as memory and CPU cores. Increase the resource allocation if necessary. Also, ensure that your computer meets the recommended hardware requirements to run virtualization software smoothly.
2. Network Connectivity Problems:
If your virtual machine is having trouble connecting to the network, verify that the virtual machine is configured with the correct network settings. Check if the network adapter is enabled and if the virtual machine is connected to the appropriate network mode (e.g., NAT, Bridged, or Host-only).
3. Incompatibility Issues:
If you encounter compatibility problems with an operating system or software running on your virtual machine, ensure that you have installed the latest updates and patches. Additionally, check if there are any specific compatibility settings or configurations required for the application or OS in the virtual machine.
4. Data Loss or Corruption:
To prevent data loss or corruption, it’s important to back up your virtual machines regularly. You can create snapshots or use backup software to safeguard your virtual machine’s data. Additionally, ensure that the virtual machine’s virtual hard disk is set to a sufficient size to accommodate the data it needs to store.
5. Integration Issues:
If you are experiencing problems with features like shared folders, copy-paste functionality, or seamless mouse integration, ensure that you have installed the appropriate guest additions/tools specific to your virtualization software. These tools help enhance integration between the host and guest operating systems.
6. Error Messages or Crashes:
If you encounter error messages or crashes in your virtual machine, investigate the error message or code to identify the root cause. Check the virtual machine’s event logs for any pertinent information. Also, consider updating your virtualization software to the latest version or rolling back to a stable release if you suspect a software-specific issue.
7. Insufficient Disk Space:
If you are running out of disk space on the host system, you may experience issues with your virtual machines. Regularly monitor the disk space utilization on your host and ensure that you have enough space to accommodate the virtual machine files, including virtual hard disks and snapshots.
By troubleshooting these common virtual machine issues on Windows 7, you can ensure that your virtualization environment remains stable, secure, and productive. In the next section, we will wrap up this guide with a summary of the key points discussed.
Conclusion
Virtual machines have revolutionized the way we utilize and interact with computer systems. By emulating the functionality of a physical computer, virtualization software enables us to run multiple operating systems and software applications on a single Windows 7 system.
In this guide, we explored the concept of virtual machines and discussed their numerous benefits. We learned how virtual machines provide a safe and isolated environment for testing software, running legacy applications, and exploring different operating systems. We also saw how virtual machines can enhance security, simplify system maintenance, and facilitate software development and training.
We discussed the process of installing virtualization software such as Oracle VM VirtualBox and VMware Workstation on Windows 7. We then delved into the steps involved in setting up a virtual machine, configuring its settings, and installing the desired operating system within it.
Furthermore, we explored the effective utilization of multiple virtual machines on a Windows 7 system, including resource allocation, network configuration, and snapshot management. We also examined common troubleshooting techniques for addressing issues such as performance, network connectivity, compatibility, data loss, and error messages.
By following the guidelines and best practices outlined in this guide, you can harness the power of virtual machines on your Windows 7 system and unlock a new level of versatility, security, and productivity.
Remember to keep your virtualization software up to date, allocate resources properly, and regularly back up your virtual machine data to ensure a smooth and reliable virtualization experience.
Now that you have a solid foundation in using virtual machines on Windows 7, go ahead and explore the vast possibilities they offer. Whether you’re a developer, a learner, or a tech enthusiast, virtual machines can be an invaluable tool in your technological journey. Enjoy the benefits and happy virtualization!


