Introduction
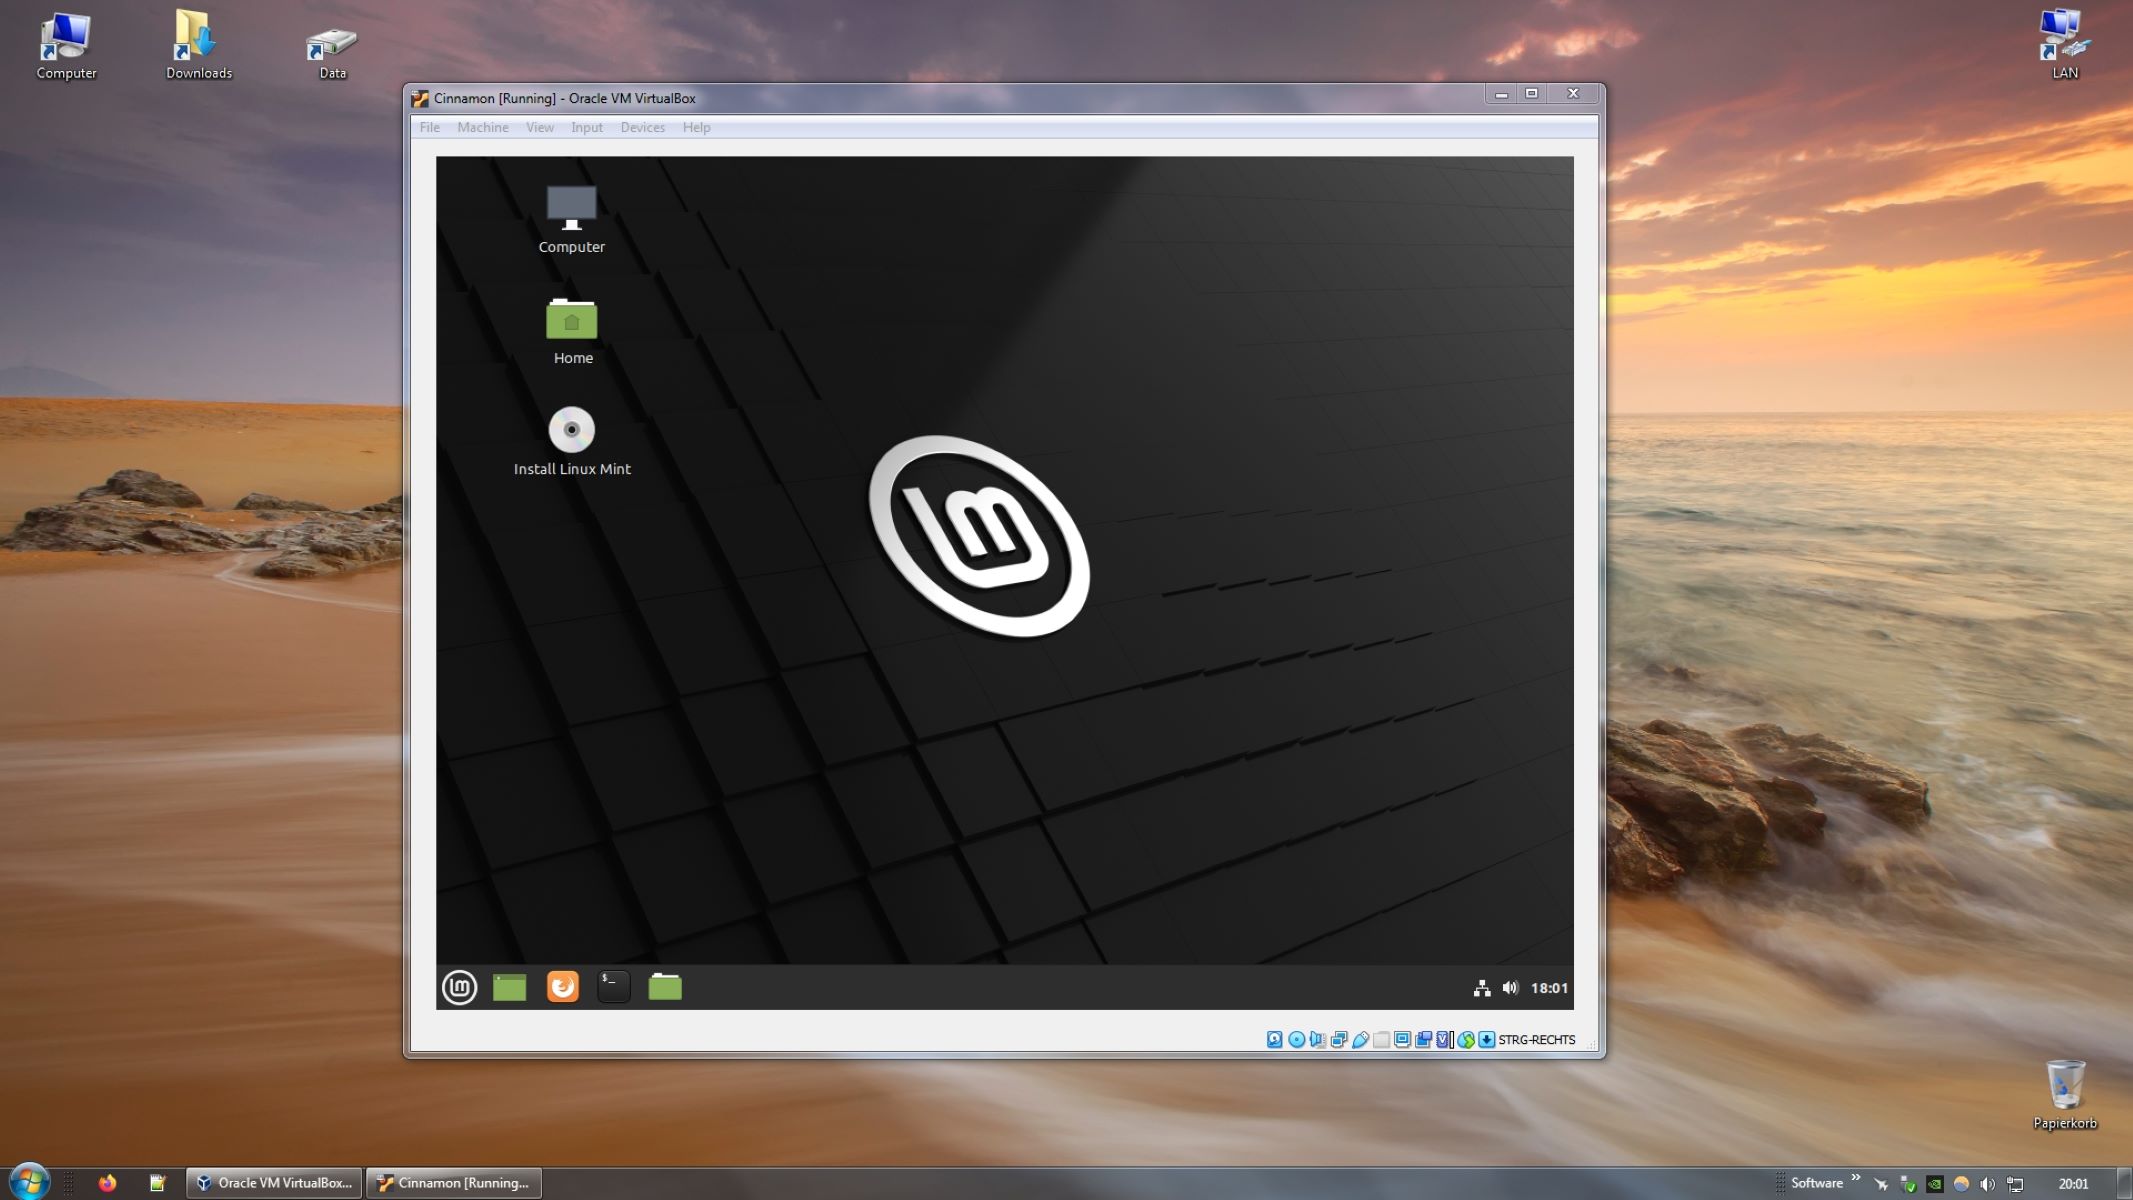
A virtual machine (VM) is a software emulation of a computer system that allows you to run multiple operating systems on a single physical machine. Installing Windows 7 on a virtual machine provides the flexibility to test applications, perform software development, or run legacy programs without the need for dedicated hardware. Whether you are a developer, IT professional, or simply curious about Windows 7, setting up a virtual machine is a straightforward and convenient process.
In this guide, we will walk you through the step-by-step process of installing Windows 7 on a virtual machine. We will assume that you already have a basic understanding of virtualization and have chosen a virtual machine software to work with. There are several reliable options available, such as Oracle VM VirtualBox, VMware Workstation, and Microsoft Hyper-V. You can choose the one that best suits your needs and preferences.
By following this guide, you will be able to create a virtual machine, configure its settings, and install Windows 7 on it. We will also provide optional steps to install virtual machine tools, which enhance the integration and performance of the virtual machine. With the ability to take snapshots and easily clone virtual machines, you can experiment, troubleshoot, and explore Windows 7 in a safe and controlled environment.
It is worth noting that the steps outlined in this guide are specific to installing Windows 7 on a virtual machine. If you are looking to install a different operating system, the general process might vary, but the principles discussed here can still be applied.
Before proceeding with the installation, ensure that you have a valid Windows 7 license or access to an installation ISO or disc. This will be required during the setup process to validate your copy of Windows 7. With that said, let’s dive into the step-by-step installation process and get Windows 7 up and running on your virtual machine!
Step 1: Download and Install a Virtual Machine Software
The first step in installing Windows 7 on a virtual machine is to download and install a virtual machine software. As mentioned earlier, there are several popular options available, such as Oracle VM VirtualBox, VMware Workstation, and Microsoft Hyper-V. Choose the software that suits your needs and follow these general steps:
- Visit the official website of the virtual machine software you have chosen.
- Navigate to the download section and locate the appropriate version for your operating system.
- Click the download button to start downloading the installation file.
- Once the download is complete, locate the installation file and double-click on it to begin the installation process.
- Follow the on-screen instructions provided by the installer to install the virtual machine software.
- After the installation is complete, launch the virtual machine software.
Each virtual machine software has its own unique installation process, so make sure to carefully follow the instructions provided by the software’s installer. If you encounter any issues during the installation, refer to the software’s documentation or online support resources for troubleshooting assistance.
Installing a virtual machine software allows you to create and manage virtual machines on your computer. It provides a platform for running multiple operating systems simultaneously, including Windows 7. Once the virtual machine software is installed and running, you can proceed to the next step of obtaining a Windows 7 installation ISO or disc.
Step 2: Obtain a Windows 7 Installation ISO or Disc
In order to install Windows 7 on your virtual machine, you will need a valid Windows 7 installation ISO file or a physical installation disc. Here are the two main methods of obtaining the Windows 7 installation media:
- Download an ISO: If you don’t have a Windows 7 installation disc, you can download the ISO file from a trusted source. Visit the official Microsoft website or use other reputable sources that offer Windows 7 ISO downloads. Make sure to download the version that matches your product key or desired edition of Windows 7.
- Use a Physical Disc: If you have a Windows 7 installation disc, insert it into your computer’s optical drive. You can then proceed to the next step without the need to download an ISO file.
It is important to note that you must have a valid Windows 7 license key to activate and use the operating system. Without a valid key, you will not be able to complete the installation process or activate Windows 7 on your virtual machine.
Once you have obtained the Windows 7 installation media, make sure to keep it in a safe location for future use. If you are using a downloaded ISO file, it is recommended to verify its integrity by comparing its checksum with the checksum provided by the source you downloaded it from. This ensures that the file has not been tampered with and is authentic.
With the Windows 7 installation media ready, you are now one step closer to installing Windows 7 on your virtual machine. In the next step, we will guide you through the process of creating a new virtual machine in your chosen virtual machine software.
Step 3: Create a New Virtual Machine
Now that you have obtained the Windows 7 installation media, it’s time to create a new virtual machine in your chosen virtual machine software. Follow these steps to create a new virtual machine:
- Launch your virtual machine software.
- Click on the “New” or “Create New Virtual Machine” option to start the virtual machine creation process.
- Choose a name for your virtual machine. This can be anything you prefer, as it is for your reference only.
- Select the operating system type and version. In this case, choose “Windows” as the operating system type and select “Windows 7” as the version.
- Allocate the desired amount of RAM (memory) to the virtual machine. It is recommended to allocate at least 2GB of RAM for smooth performance, but you can adjust it based on your system’s resources.
- Create a new virtual hard disk or use an existing one. The virtual hard disk acts as the storage for the virtual machine, simulating the physical hard drive of a real computer. Follow the instructions provided by the virtual machine software to create or attach a virtual hard disk.
- Choose the virtual disk format. It is usually recommended to select the default format provided by the software.
- Specify the storage size for the virtual disk. The size will depend on your requirements and the amount of disk space you want to allocate to the virtual machine. It is recommended to allocate at least 20-30GB for Windows 7.
- Complete the virtual machine creation process by reviewing the settings and clicking “Finish” or “Create” to create the virtual machine.
Once the virtual machine is created, you will see it listed in the virtual machine software’s interface. Congratulations! You have now successfully created a new virtual machine ready to install Windows 7. In the next step, we will guide you through the process of configuring the virtual machine settings in preparation for the installation.
Step 4: Configure Virtual Machine Settings
After creating a new virtual machine, it’s important to configure its settings to ensure optimal performance and compatibility. Follow these steps to configure the virtual machine settings:
- Select the virtual machine from the list in your virtual machine software’s interface.
- Click on the “Settings” or “Preferences” option to access the virtual machine settings.
- Adjust the virtual machine’s hardware settings as needed. This includes settings such as the number of processors, display resolution, network adapter configuration, and more. Refer to the virtual machine software’s documentation for detailed information on each setting.
- In the “Storage” or “Media” section, attach the Windows 7 installation ISO file or select the physical disc drive where the installation disc is inserted. This will allow the virtual machine to access the installation media during the installation process.
- Configure the boot order of the virtual machine to ensure that it boots from the Windows 7 installation media. Set the virtual machine to boot from the attached ISO file or disc drive first.
- Review other settings, such as audio, USB device support, shared folders, and clipboard integration, and customize them based on your preferences and requirements.
- Save the virtual machine settings and exit the settings dialog.
Configuring the virtual machine settings correctly is crucial to ensure a smooth and trouble-free installation of Windows 7. Take some time to review and adjust the settings based on your needs. Once the settings are configured to your satisfaction, you’re ready to move on to the next step: mounting the Windows 7 ISO or inserting the installation disc into the virtual machine.
Step 5: Mount the Windows 7 ISO or Insert the Disc
With the virtual machine settings configured, it’s time to mount the Windows 7 ISO file or insert the installation disc into the virtual machine. Follow these steps to properly mount the ISO or insert the disc:
- Make sure the virtual machine is powered off or in a powered-off state.
- Access the virtual machine settings by selecting the virtual machine from the list in your virtual machine software’s interface and clicking on “Settings” or “Preferences”.
- Navigate to the “Storage” or “Media” section of the virtual machine settings.
- If you have the Windows 7 installation ISO file, click on the “Add” or “Attach” button and browse to the location where the ISO file is stored on your computer. Select the ISO file and click “OK” to attach it to the virtual machine.
- If you have the Windows 7 installation disc, make sure your computer’s optical drive is selected in the virtual machine settings. You may need to adjust the settings to map the physical drive to the virtual machine.
- Save the virtual machine settings and exit the settings dialog.
Once the Windows 7 ISO file is attached or the disc drive is mapped to the virtual machine, you can proceed to the next step: installing Windows 7 on the virtual machine. The mounted ISO file or inserted disc will serve as the installation media for the Windows 7 installation process.
Note that if you are using a physical installation disc, the virtual machine may prompt you to press any key to boot from the disc when you power it on. Keep an eye out for this prompt and press a key on your keyboard to start the installation process.
Now that you have successfully mounted the Windows 7 ISO or inserted the installation disc into the virtual machine, you are ready to move on to the next step: installing Windows 7 on the virtual machine.
Step 6: Install Windows 7 on the Virtual Machine
Now that you have properly mounted the Windows 7 ISO file or inserted the installation disc, it’s time to install Windows 7 on the virtual machine. Follow these steps to perform the installation:
- Power on the virtual machine. If you are using a physical installation disc, make sure to press any key when prompted to boot from the disc.
- During the boot process, the virtual machine will load the Windows 7 installation files from the mounted ISO or the installation disc.
- Once the Windows 7 installation files are loaded, you will be presented with the Windows installation wizard. Follow the on-screen instructions to proceed with the installation.
- Select the desired language, time and currency format, and keyboard layout when prompted.
- Click “Install Now” to begin the installation process.
- Read and accept the terms of the license agreement.
- Choose the installation type. If you are installing Windows 7 on a clean virtual machine with no previous operating system, select “Custom (advanced)”. If you are upgrading an existing operating system, choose the appropriate option.
- Select the virtual hard drive where you want to install Windows 7. If you have created multiple virtual hard drives, ensure you select the correct one.
- Follow the on-screen prompts to complete the installation process. Windows 7 will copy files, install features and updates, and configure the system settings.
- Once the installation is complete, the virtual machine will reboot. Make sure to remove the installation disc or unmount the ISO file to prevent the virtual machine from booting back into the installation process.
During the installation process, your virtual machine may restart several times. This is normal and part of the Windows 7 installation procedure. Ensure that you do not interfere with the installation process during these restarts.
Once the installation is complete and the virtual machine has booted into the newly installed Windows 7 operating system, you can proceed to the next step: completing the initial Windows setup.
Step 7: Complete Windows Setup
After successfully installing Windows 7 on the virtual machine, there are a few additional steps to complete the initial Windows setup. Follow these steps to finalize the setup:
- Choose your desired settings for personalization. This includes selecting a computer name, setting up a user account, and choosing a password. You can also customize the color scheme and desktop background.
- Configure your network settings. If you are connected to the internet, Windows 7 may prompt you to select your network type (e.g., Home, Work, or Public). Choose the appropriate option based on your network environment.
- Windows 7 will automatically detect and install drivers for most common hardware devices. However, you may need to install additional drivers for specific hardware components such as graphics cards, network adapters, or sound cards. Refer to the documentation of your virtual machine software for instructions on how to install additional drivers.
- Enable Windows Update. It is essential to keep your virtual machine up to date with the latest security patches and software updates. Go to the Control Panel, navigate to Windows Update, and configure the settings to ensure automatic updates are enabled.
- Install essential software and applications. Depending on your needs, you may want to install additional software on the virtual machine, such as web browsers, productivity tools, or development environments. Install the necessary software to enhance the functionality of your Windows 7 virtual machine.
- Configure any additional settings or preferences according to your needs. This can include customizing the desktop layout, adjusting power settings, configuring display resolution, and more.
- Take a snapshot of the virtual machine (if supported by your virtual machine software). Creating a snapshot is like taking a system backup that allows you to revert back to a previous state if needed.
By completing these setup steps, you have successfully configured and customized your Windows 7 virtual machine. It is now ready for use according to your specific requirements. Take advantage of the flexibility and convenience of a virtual machine to explore Windows 7, test applications, or perform any necessary tasks without affecting your primary operating system.
Next, we will discuss an optional step: installing virtual machine tools that can further enhance the performance and integration of your virtual machine. Though not necessary, installing these tools can significantly improve the overall experience of using Windows 7 on a virtual machine.
Step 8: Install Virtual Machine Tools (Optional)
Installing virtual machine tools is an optional step but highly recommended to enhance the performance and integration of your Windows 7 virtual machine. Virtual machine tools provide additional functionality and improved compatibility between the virtual machine and the host operating system. Follow these steps to install virtual machine tools in your chosen virtual machine software:
- Make sure your Windows 7 virtual machine is running.
- Navigate to the virtual machine software’s menu and look for an option related to “Install/Update Tools,” “Guest Additions,” or a similar name. The exact name and location of this option may vary depending on the virtual machine software you are using.
- Click on the appropriate menu option to start the installation process.
- A virtual CD/DVD drive will be mounted inside the virtual machine, containing the necessary files for installing the virtual machine tools.
- Open the File Explorer in the virtual machine and navigate to the virtual CD/DVD drive.
- Run the installation file or executable provided by the virtual machine tools.
- Follow the on-screen instructions to complete the installation of the virtual machine tools.
- Restart the virtual machine after the installation is complete.
Once the virtual machine tools are installed and the virtual machine is restarted, you will benefit from enhanced features, such as improved display resolution, smooth mouse integration, shared clipboard functionality, and better overall performance within the virtual machine.
The installation process for virtual machine tools may vary slightly depending on the software you are using. If you encounter any issues during the installation or have specific questions, refer to the documentation or help resources provided by the virtual machine software.
With the virtual machine tools installed, your virtual machine experience will be more seamless and efficient. Enjoy the enhanced integration and performance while you explore and use Windows 7 on your virtual machine.
Congratulations! You have successfully completed the installation of Windows 7 on a virtual machine and optionally installed virtual machine tools. You are now ready to take full advantage of the flexibility and benefits that a virtual machine provides.
Conclusion
Installing Windows 7 on a virtual machine opens up a world of possibilities for testing, development, and exploration. By following the step-by-step guide outlined in this article, you have successfully created a virtual machine, configured its settings, installed Windows 7, and optionally installed virtual machine tools.
Using a virtual machine software of your choice, you can now run Windows 7 alongside your existing operating system, without the need for dedicated hardware. This allows you to test software compatibility, experiment with different configurations, or run legacy applications that require Windows 7.
Remember to keep your Windows 7 installation ISO or disc in a safe place for future use. You will also need a valid Windows 7 license key to activate the operating system on your virtual machine.
Throughout the installation process, ensure you allocate sufficient resources, such as RAM and storage, to the virtual machine to ensure smooth performance. Take advantage of the customization options available in your virtual machine software to tailor the virtual machine to your specific needs.
In addition, consider regularly updating your virtual machine by enabling automatic updates and keeping the operating system and software up to date. This helps ensure a secure and stable environment while using Windows 7 on the virtual machine.
With a virtual machine, you can easily take snapshots, clone virtual machines, and experiment without any impact on your primary operating system. Enjoy the benefits of virtualization as you explore and utilize Windows 7 on your virtual machine.
Now that you have completed the installation of Windows 7 on a virtual machine, it’s time to dive into the world of possibilities that this setup offers. Whether you are a developer, IT professional, or a curious user, Windows 7 on a virtual machine provides a flexible and convenient solution for your computing needs.


