Introduction
When it comes to managing your virtual machines, flexibility and efficiency are key. If you are using Microsoft Hyper-V, you may find yourself in a situation where you need to move a virtual machine to a different host. Whether you are upgrading your hardware, consolidating your infrastructure, or simply reorganizing your data center, moving a Hyper-V virtual machine to another host can be a seamless process when done correctly.
In this guide, we will walk you through the step-by-step process of moving a Hyper-V virtual machine to another host. We will cover the necessary prerequisites, as well as the exact steps you need to follow to ensure a successful migration. By the end of this guide, you will have the knowledge to confidently transfer your virtual machines to a new host without any data loss or disruptions.
Please note that this guide assumes you have a basic understanding of Hyper-V and are familiar with the concepts of virtual machine management. If you are new to Hyper-V, we recommend familiarizing yourself with the basics before attempting to move a virtual machine.
Now, let’s dive into the prerequisites you need to ensure a smooth migration.
Prerequisites
Before you start moving a Hyper-V virtual machine to another host, there are several prerequisites that need to be met. These include:
- Access to both the source and destination hosts: Ensure that you have administrative access to both the source host (where the virtual machine is currently running) and the destination host (where you want to move the virtual machine).
- Compatible Hyper-V versions: Make sure that both the source and destination hosts are running compatible versions of Hyper-V. If there is a version mismatch, you may need to upgrade or downgrade one of the hosts before proceeding with the migration.
- Sufficient storage space: Ensure that the destination host has enough storage space to accommodate the virtual machine and its associated files. It is recommended to have at least the same amount of free space on the destination host as the virtual machine’s current size.
- Network connectivity: Make sure that there is a stable network connection between the source and destination hosts. This is necessary to transfer the virtual machine files during the migration process.
- Proper permissions: Ensure that you have the necessary permissions to export, import, and configure virtual machines. This typically involves having administrative privileges on both hosts.
- Backup of the virtual machine: Before proceeding with the migration, it is recommended to create a backup of the virtual machine and its associated files. This will serve as a safety net in case anything goes wrong during the migration process.
By ensuring that these prerequisites are met, you can minimize the likelihood of encountering any issues or setbacks during the migration process. Once you have confirmed that everything is in order, you can proceed to the next steps, which involve exporting the virtual machine from the source host and importing it to the destination host.
Step 1: Exporting the Virtual Machine
The first step in moving a Hyper-V virtual machine to another host is to export the virtual machine from the source host. Follow these steps to complete the export:
- Open Hyper-V Manager: Launch the Hyper-V Manager on the source host.
- Select the Virtual Machine: Locate the virtual machine that you want to move in the virtual machine list.
- Right-click on the Virtual Machine: Right-click on the virtual machine and select “Export”.
- Select the Export Location: Choose a suitable location to save the exported virtual machine files. It is recommended to use a network share or an external storage device for this purpose.
- Start the Export: Click “Export” to start the export process. The virtual machine’s files, including its configuration settings, virtual hard disks, and snapshots, will be exported to the specified location.
- Monitor the Export Progress: Monitor the export progress in the Hyper-V Manager. Depending on the size of the virtual machine, the export process may take some time to complete.
- Verify the Export: Once the export is finished, verify that all files related to the virtual machine have been successfully exported to the specified location.
By following these steps, you will have effectively exported the virtual machine from the source host. Next, you will need to copy the exported files to the destination host in order to proceed with the migration process.
Step 2: Copying the Exported Files
After exporting the Hyper-V virtual machine from the source host, the next step is to copy the exported files to the destination host. Follow these steps to complete the file transfer:
- Access the Exported Files: Locate the folder where the virtual machine files were exported to on the source host.
- Copy the Files: Copy the entire folder containing the exported files to a location accessible on the destination host. You can use various methods for file transfer, such as a network share, external storage device, or file transfer protocols like FTP or SCP.
- Ensure Integrity: Verify the integrity of the copied files to ensure that no corruption or data loss occurred during the transfer process. This step is crucial for maintaining the integrity of the virtual machine.
It’s important to note that the size of the exported files can vary depending on the size of the virtual machine and its associated resources. Therefore, the file transfer process may take some time to complete, especially if you are transferring over a network connection.
Once you have successfully copied the exported files to the destination host, you are ready to proceed with the next step, which involves importing the virtual machine to the new host.
Step 3: Importing the Virtual Machine
Once you have successfully copied the exported files to the destination host, it’s time to import the virtual machine. Follow these steps to complete the import process:
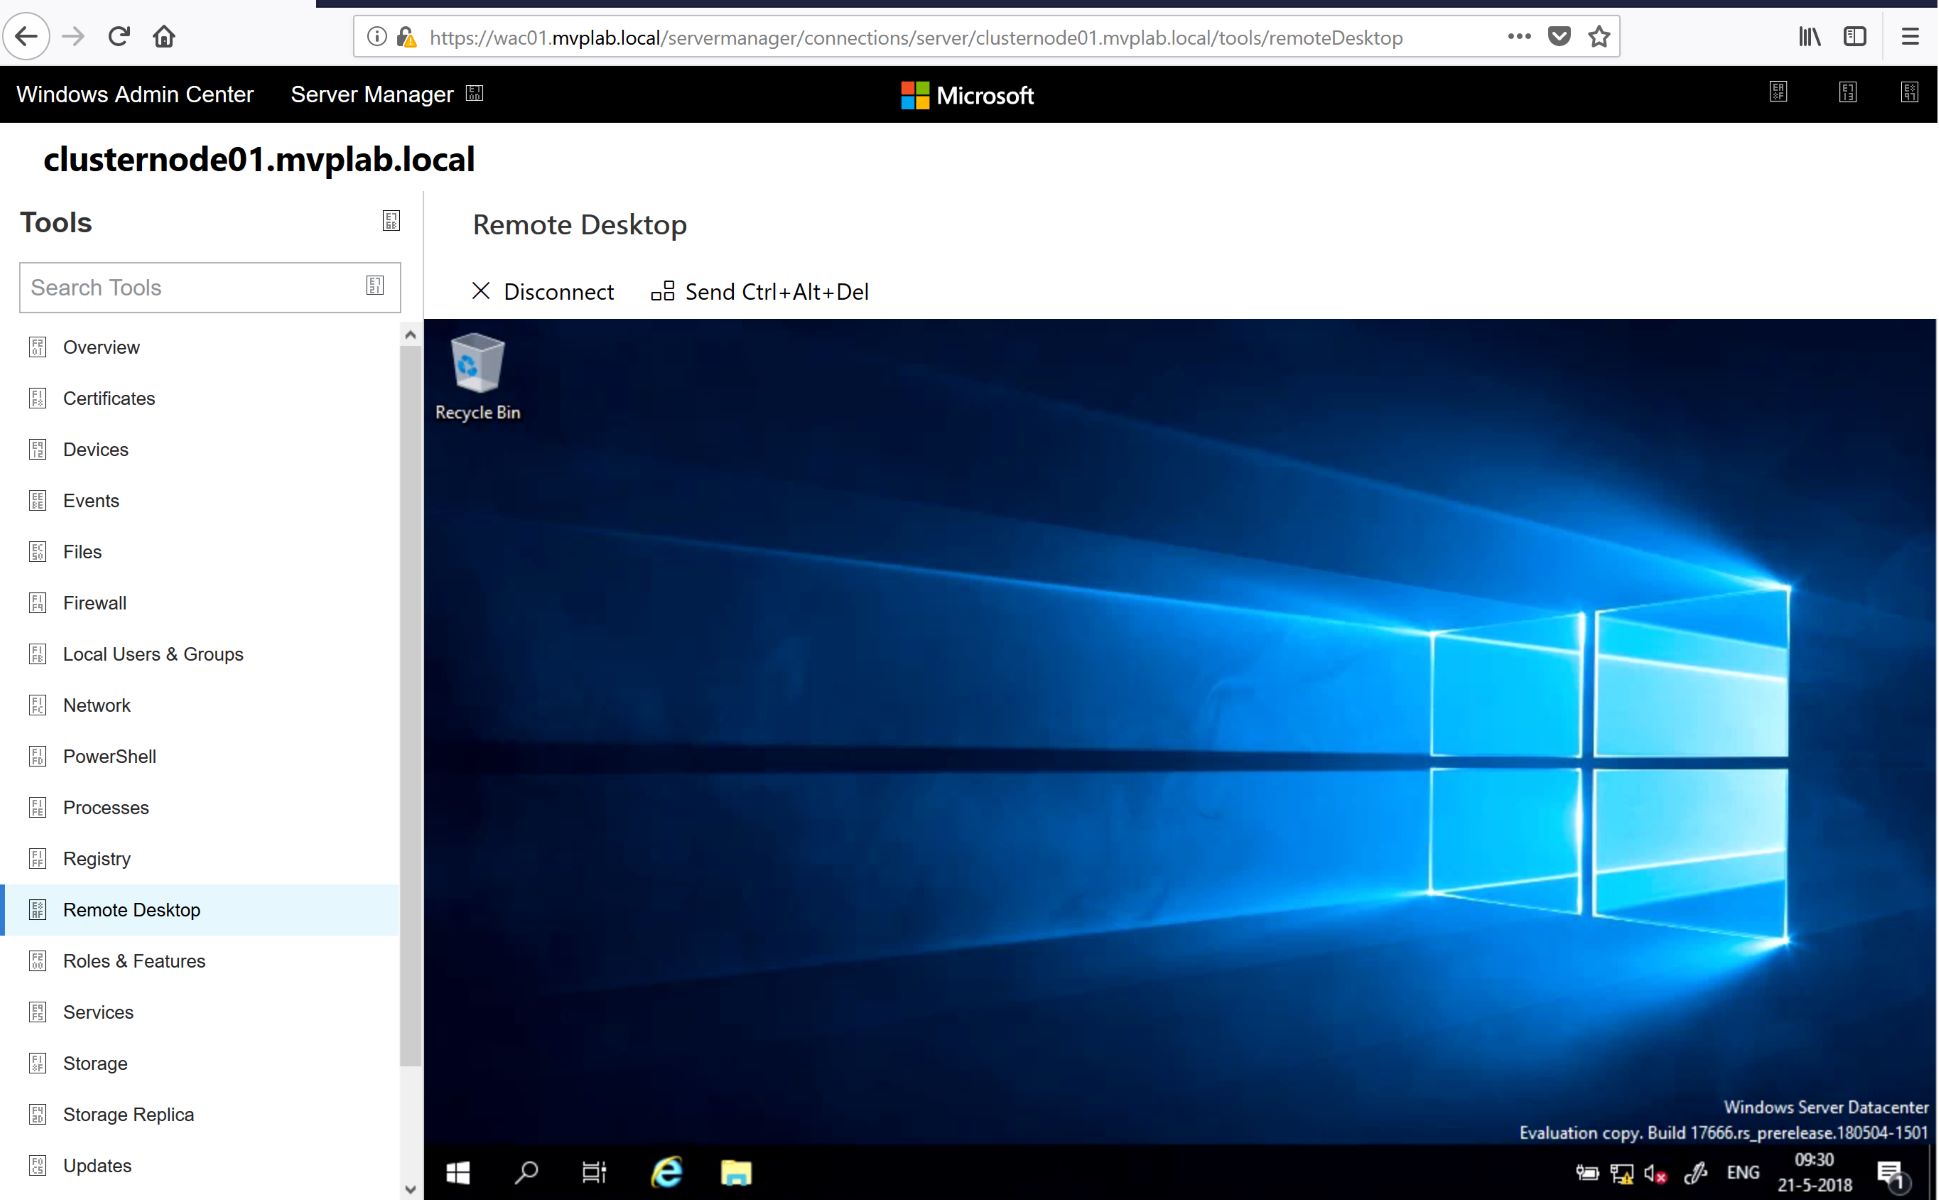
- Open Hyper-V Manager: Launch the Hyper-V Manager on the destination host.
- Navigate to “Import Virtual Machine”: Right-click on the destination host and select “Import Virtual Machine” from the context menu. This will open the Import Virtual Machine Wizard.
- Select the Import Source: Choose the option “Import virtual machine…”. Click “Next” to proceed.
- Choose the Virtual Machine Folder: Specify the folder location where you transferred the exported virtual machine files. Click “Next” to continue.
- Select the Virtual Machine to Import: Choose the virtual machine that you want to import from the list of available virtual machines. Click “Next” to proceed.
- Choose the Import Type: Select the desired import type based on your requirements. You can choose to import the virtual machine with or without the virtual machine’s snapshots. Click “Next” to continue.
- Specify the Location: Determine the location for storing the imported virtual machine’s files. You can choose to use the default location or specify a custom location. Click “Next” to proceed.
- Import Summary: Review the import settings and verify that everything is in order. Click “Finish” to start the import process.
- Monitor the Import Progress: Monitor the import progress as the necessary files and configurations are copied to the destination host. The time required for this process may vary depending on the size of the virtual machine and the performance of the host.
- Verify Successful Import: Once the import is complete, ensure that the virtual machine appears in the Hyper-V Manager on the destination host. Check its settings and configurations to confirm a successful import.
With the completion of the import process, you have successfully imported the Hyper-V virtual machine to the new host. However, there are a few more steps to perform to ensure that the virtual machine is properly configured on the new host. These steps will be covered in the next section.
Step 4: Configuring the Virtual Machine on the New Host
After successfully importing the Hyper-V virtual machine to the new host, the next step is to configure it to ensure proper functionality. Follow these steps to configure the virtual machine on the new host:
- Select the Imported Virtual Machine: In the Hyper-V Manager on the destination host, locate the imported virtual machine in the virtual machine list.
- Review and Update Settings: Right-click on the virtual machine and select “Settings”. Review the settings to ensure they are appropriate for the new host environment. Make any necessary changes, such as modifying the virtual network adapters, adjusting memory allocation, or modifying storage settings.
- Verify Integration Services: Check if the Integration Services are installed and up to date. Integration Services include drivers and services that improve the performance and functionality of the virtual machine. If needed, update the Integration Services by selecting “Insert Integration Services Setup Disk” from the Action menu.
- Adjust Virtual Machine Resources: Allocate CPU and memory resources to the virtual machine based on the host’s capabilities and workload requirements. You can modify these settings in the virtual machine’s properties.
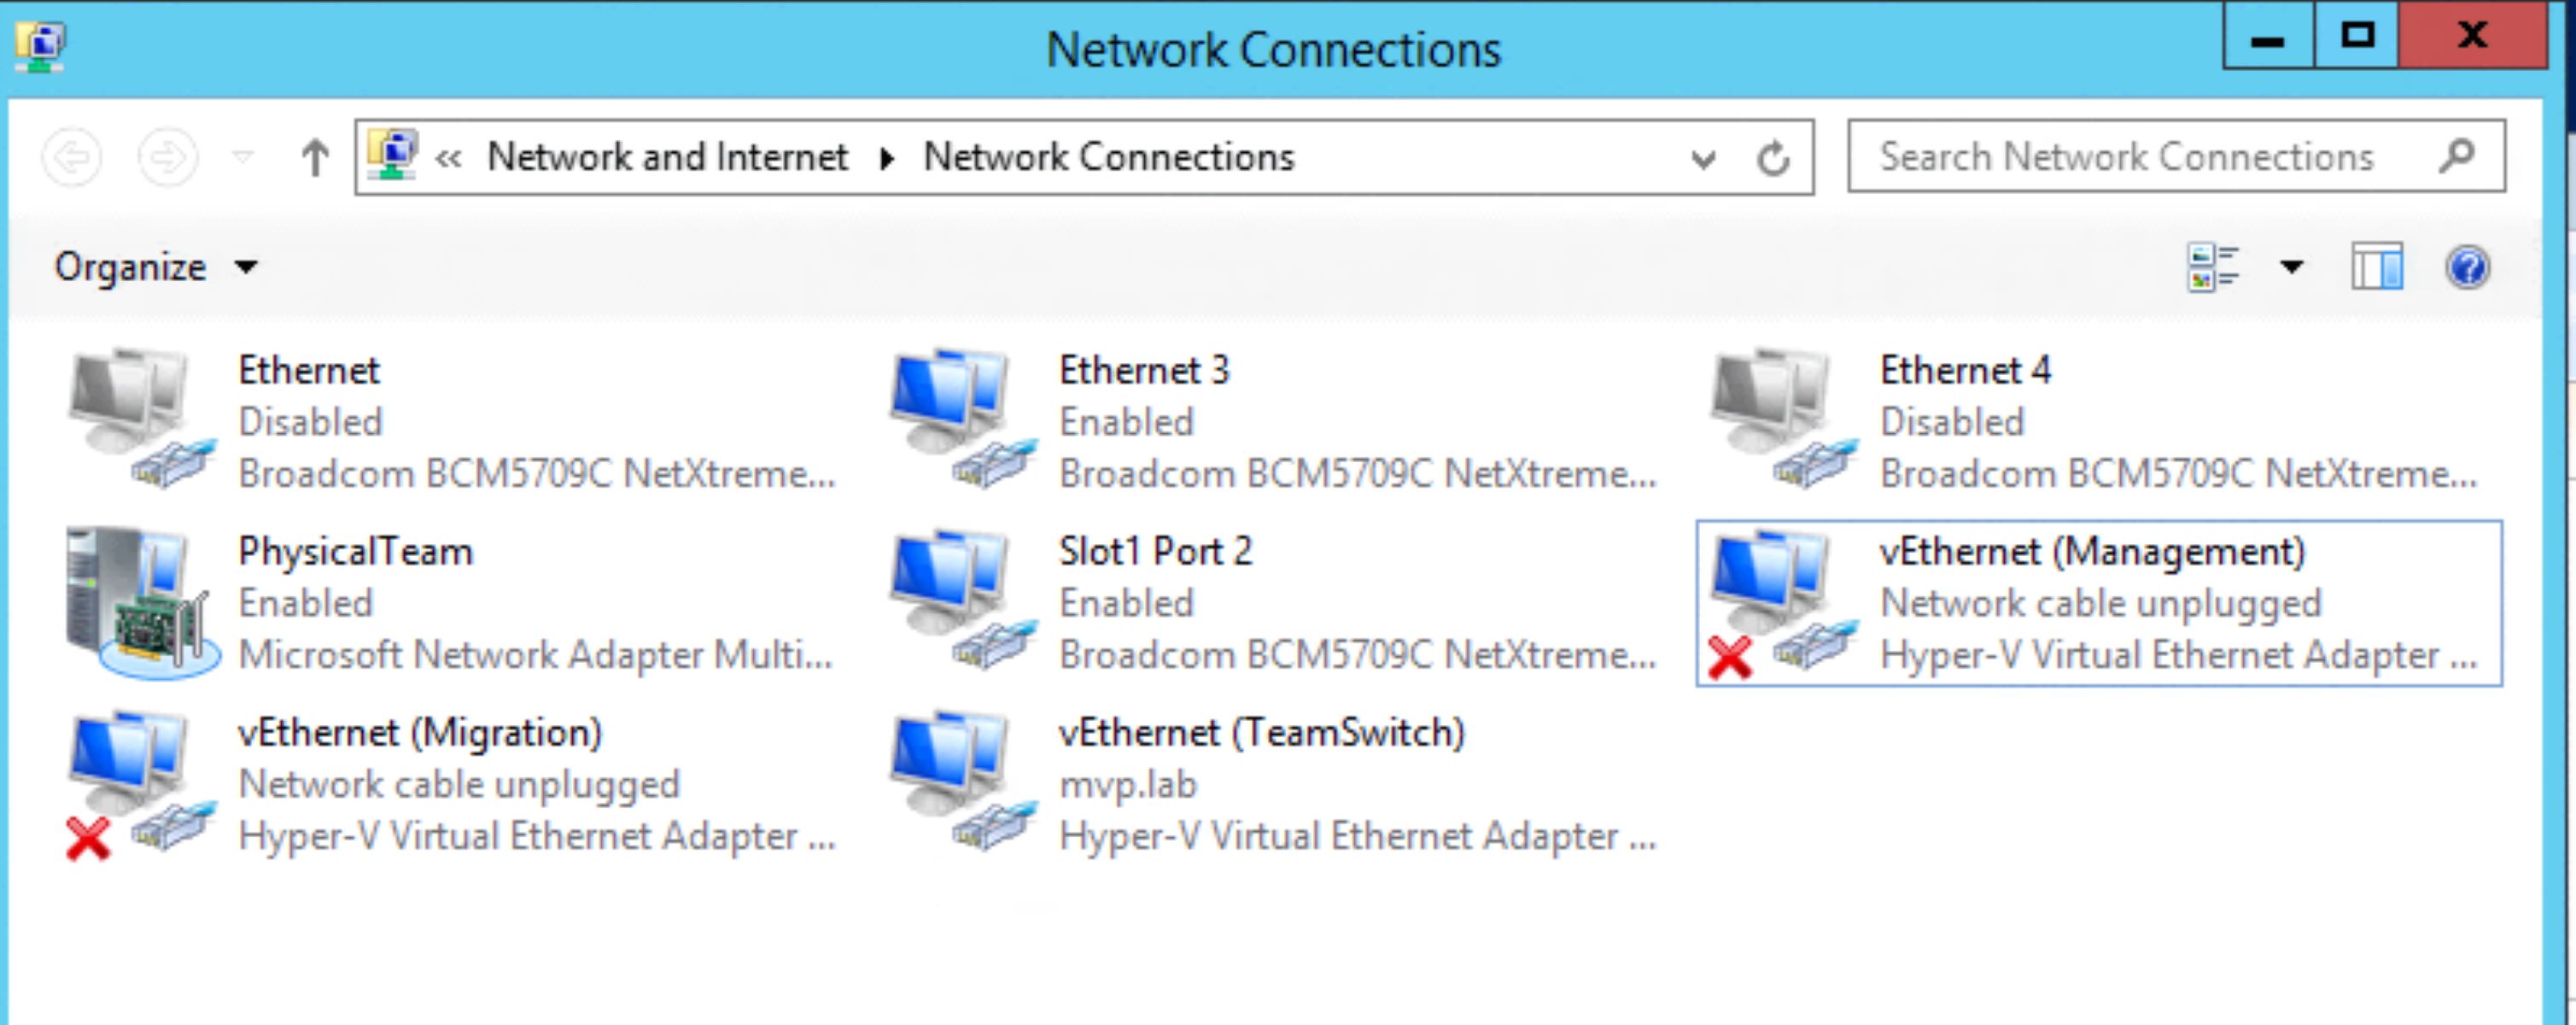
- Configure Networking: Verify that the virtual machine is connected to the appropriate virtual networks on the new host. If necessary, add or remove virtual network adapters to ensure proper connectivity.
- Verify Storage Configuration: Check the virtual machine’s storage configuration to ensure that virtual hard disks are pointing to the correct locations and are properly sized.
- Other Configurations: Depending on your specific setup and requirements, you may need to configure additional settings such as startup order, guest OS settings, or security configurations.
- Save and Apply Changes: After making any necessary configurations, click “Apply” and “OK” to save the changes and update the virtual machine’s configuration on the new host.
By following these steps, you will have successfully configured the virtual machine on the new host. The final step is to verify the successful migration and ensure that the virtual machine is running smoothly on its new host.
Step 5: Verifying Successful Migration
After completing the configuration of the virtual machine on the new host, it’s important to verify that the migration was successful and the virtual machine is functioning properly. Follow these steps to verify the successful migration:
- Start the Virtual Machine: Start the virtual machine on the new host and ensure that it boots up without any issues.
- Check Connectivity: Verify that the virtual machine has network connectivity by accessing websites, pinging other machines on the network, or accessing shared resources.
- Monitor Performance: Keep an eye on the performance of the virtual machine to ensure that it is operating at expected levels. Monitor CPU usage, memory usage, and disk I/O to ensure everything is functioning optimally.
- Test Functionality: Test various functions and applications running inside the virtual machine to ensure that they are working as expected. This can include running software, accessing databases, or performing specific tasks that the virtual machine is intended for.
- Verify Integration Components: Check that any Integration Components specific to the guest operating system are installed and functioning correctly. These components help improve performance, interaction, and functionality between the host and guest systems.
- Perform System Updates: It’s recommended to check for and install any available updates for the guest operating system, as well as updates specific to Hyper-V, to ensure the latest security patches and optimizations are in place.
- Test Automation and Management Tools: If you have any automation or management tools in place for the virtual machine, such as backup solutions or monitoring agents, test their functionality on the new host to ensure they continue to work seamlessly.
- Document the Migration: Keep a record of the migration process, including any configuration changes made on the new host or additional steps taken to ensure the virtual machine is operating correctly.
By following these steps and carefully verifying the functionality of the virtual machine on the new host, you can have confidence in the successful migration. If any issues arise during the verification process, refer to backups or consult with technical support to address and resolve them.
Conclusion
Moving a Hyper-V virtual machine to another host can seem like a daunting task, but by following the steps outlined in this guide, you can successfully migrate your virtual machines without any disruptions or data loss.
We started by ensuring that the necessary prerequisites are met, such as having access to both the source and destination hosts, compatible Hyper-V versions, sufficient storage space, network connectivity, proper permissions, and a backup of the virtual machine.
Next, we walked through the step-by-step process of exporting the virtual machine from the source host, copying the exported files to the destination host, and importing the virtual machine to the new host.
Once the virtual machine was imported, we discussed the importance of configuring it on the new host, including reviewing and updating settings, verifying integration services, adjusting resources, configuring networking, and verifying storage configuration.
Finally, we highlighted the significance of verifying the successful migration by starting the virtual machine, checking connectivity and performance, testing functionality and integration components, performing system updates, and testing automation and management tools.
By diligently following these steps and conducting thorough verifications, you can ensure a smooth and successful migration of your Hyper-V virtual machines to another host.
Remember to document the migration process and any changes made on the new host for future reference. Additionally, keep in mind that specific scenarios and requirements may vary, so it’s always important to consult official documentation or seek assistance from technical support if needed.
With this guide, you have gained the knowledge to confidently move your Hyper-V virtual machines to a new host, empowering you to efficiently manage your virtual infrastructure and adapt to changing needs.