Introduction
Virtual machines have become an invaluable tool for many computer users, allowing them to run multiple operating systems and software setups on a single machine. However, there may come a time when you need to remove a virtual machine from your Mac for various reasons, such as freeing up disk space or cleaning up your system. In this guide, we will explore several methods to help you remove a virtual machine from your Mac effectively.
By removing a virtual machine, you can reclaim valuable storage space and optimize the performance of your Mac. Whether you have been using VirtualBox, VMware Fusion, or Parallels Desktop, we have you covered with step-by-step instructions on how to remove virtual machines using each of these popular virtualization programs. Additionally, we will also discuss the manual deletion method for those who prefer a more hands-on approach.
It is important to note that removing a virtual machine will permanently delete all the associated files and data within it. Make sure to back up any important files or applications before proceeding with the removal process. Once you have backed up your data, you can confidently follow the instructions provided in this guide to remove the virtual machine safely.
Whether you are a seasoned tech enthusiast or just starting with virtual machines, this guide will walk you through the various methods, ensuring you have a seamless experience when it comes to removing virtual machines from your Mac. So, let’s get started with the first method, which involves removing a virtual machine using VirtualBox.
Method 1: Removing Virtual Machine Using VirtualBox
VirtualBox is a popular open-source virtualization software that allows you to run virtual machines on your Mac. If you have been using VirtualBox and want to remove a virtual machine, follow these steps:
1. Launch VirtualBox on your Mac.
2. In the VirtualBox Manager window, locate the virtual machine you want to remove from the list of available machines.
3. Right-click on the virtual machine and select “Remove” from the context menu. Alternatively, you can select the virtual machine and click on the “Machine” menu at the top, then choose “Remove” from the dropdown.
4. A confirmation dialog box will appear. Click “Delete” to permanently remove the virtual machine and all associated files. Note that this action cannot be undone, so make sure you have backed up any important data.
5. VirtualBox will now remove the virtual machine from your system. The process may take some time, depending on the size and complexity of the virtual machine.
By following these steps, you can easily remove a virtual machine using VirtualBox. This method ensures that all the virtual machine files, including the virtual hard drive and other configurations, are deleted from your Mac’s storage.
Removing unwanted virtual machines from VirtualBox not only frees up disk space but also helps maintain a cleaner and more organized virtual environment. Once you have successfully removed the virtual machine using VirtualBox, you can proceed to the next method if you have been using VMware Fusion for your virtualization needs.
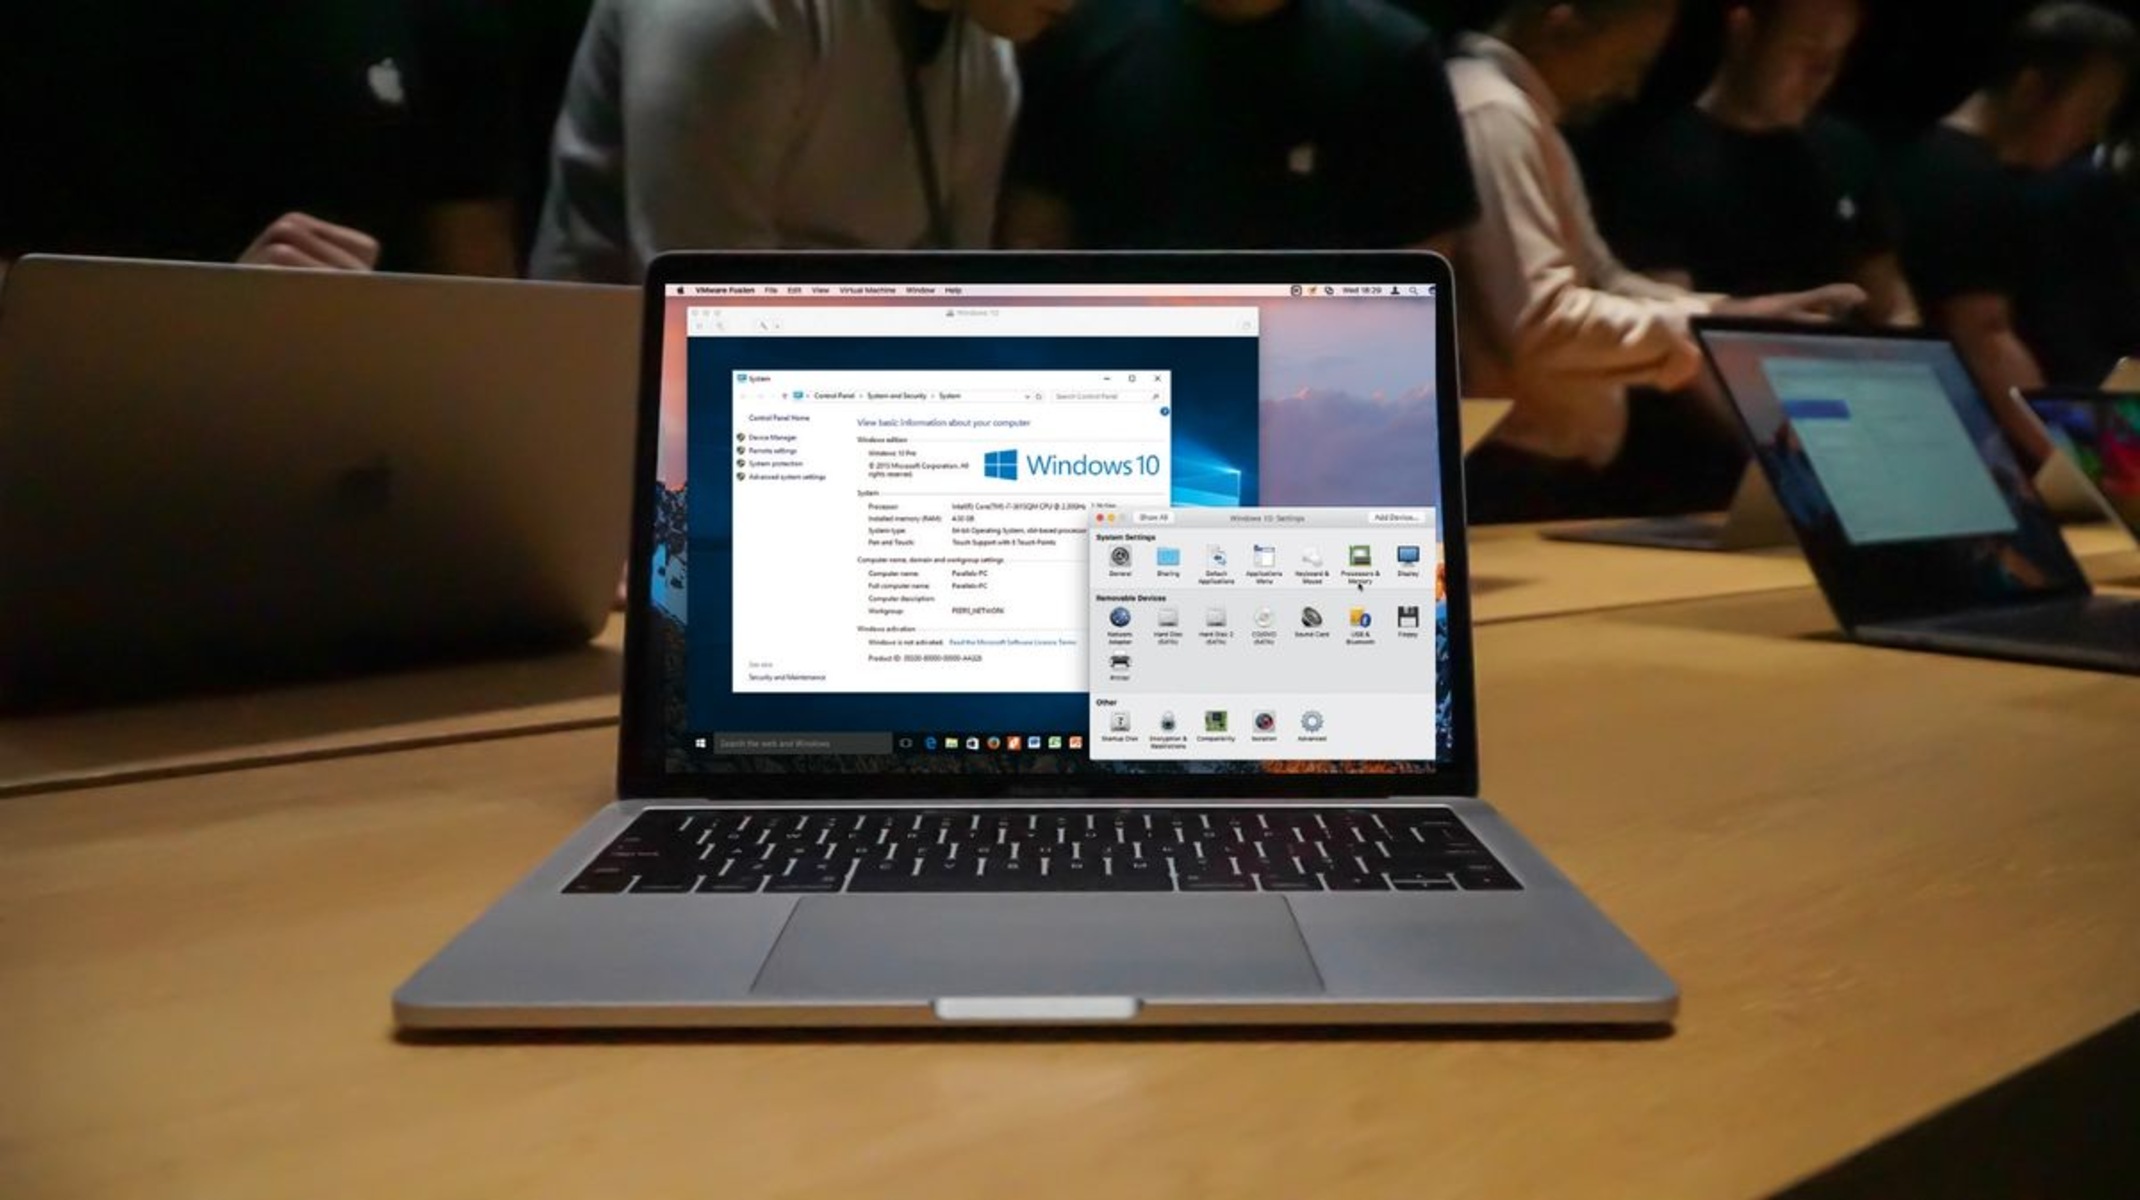
Method 2: Removing Virtual Machine Using VMware Fusion
VMware Fusion is another popular virtualization software that allows Mac users to run virtual machines. If you have been using VMware Fusion and want to remove a virtual machine, follow these steps:
1. Launch VMware Fusion on your Mac.
2. From the Virtual Machine Library, locate the virtual machine you want to remove and select it.
3. Click on the “Virtual Machine” menu at the top and choose “Delete” from the dropdown menu. Alternatively, you can right-click on the virtual machine and select “Delete” from the context menu.
4. A confirmation dialog box will appear, informing you that the action will permanently delete the virtual machine and its associated files. Make sure to back up any important data before proceeding. Click on “Delete” to continue.
5. VMware Fusion will now remove the virtual machine and all related files from your Mac. The time taken for this process depends on the size and complexity of the virtual machine.
By following these steps, you can easily remove a virtual machine using VMware Fusion. Rest assured that all the virtual machine files, including the virtual hard drive and other configurations, will be permanently deleted from your Mac’s storage.
Removing unnecessary virtual machines using VMware Fusion not only helps optimize disk space but also improves the performance of your Mac. Once you have successfully removed the virtual machine using VMware Fusion, you can proceed to the next method if you have been using Parallels Desktop for your virtualization needs.
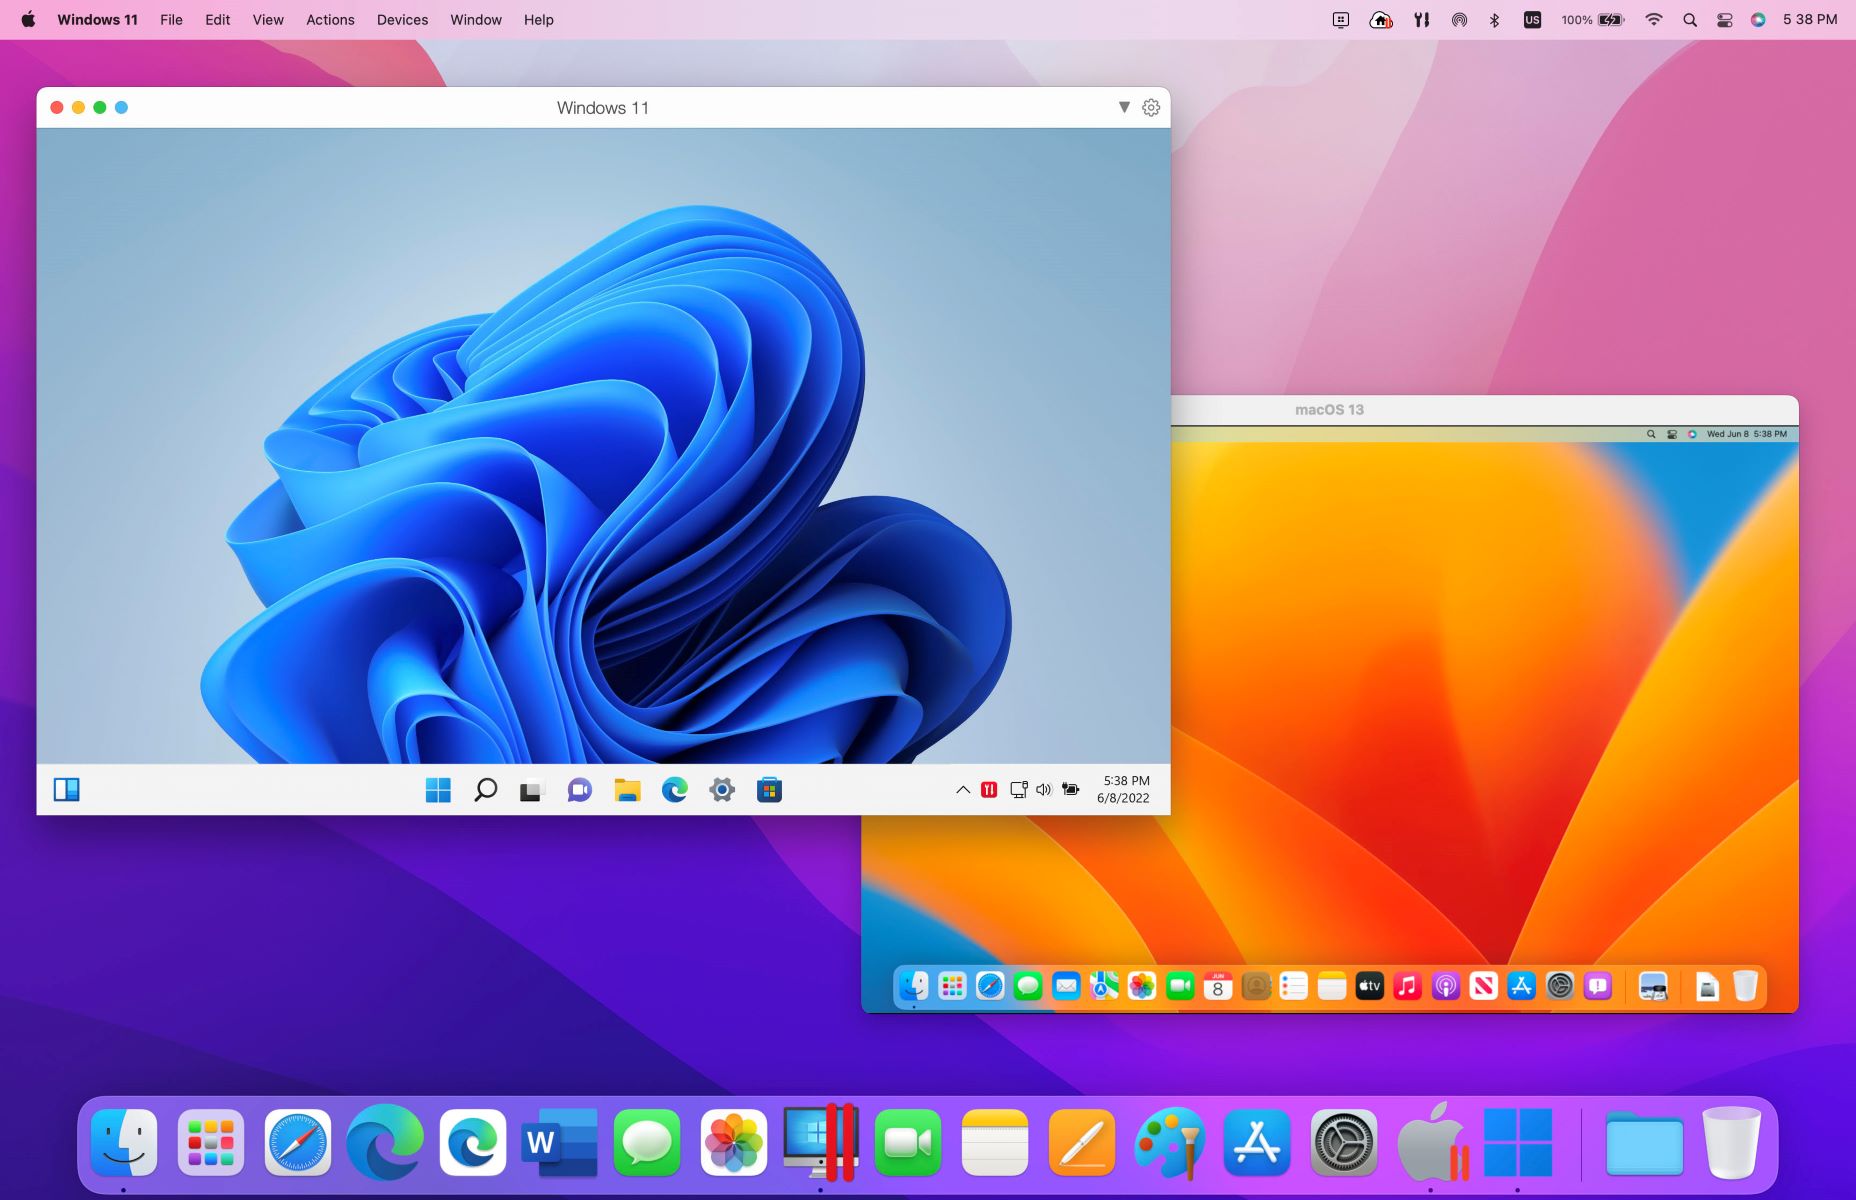
Method 3: Removing Virtual Machine Using Parallels Desktop
Parallels Desktop is a popular virtualization software that allows Mac users to run virtual machines. If you have been using Parallels Desktop and want to remove a virtual machine, follow these steps:
1. Open Parallels Desktop on your Mac.
2. From the virtual machines list, locate the virtual machine you want to remove and select it.
3. Click on the “Virtual Machine” menu at the top and choose “Remove” from the options. Alternatively, you can right-click on the virtual machine and select “Remove” from the context menu.
4. A confirmation dialog box will appear, asking if you want to keep or remove the virtual machine’s files. Select “Remove” to delete the virtual machine and all its associated files from your Mac. Make sure you have backed up any important data before proceeding.
5. Parallels Desktop will now remove the virtual machine from your Mac. The time taken for this process depends on the size and complexity of the virtual machine.
By following these steps, you can easily remove a virtual machine using Parallels Desktop. All the virtual machine files, including the virtual hard drive and other configurations, will be permanently deleted from your Mac’s storage.
Removing unnecessary virtual machines using Parallels Desktop not only helps free up disk space but also improves the performance and organization of your virtual environment. Once you have successfully removed the virtual machine using Parallels Desktop, you can proceed to the next method if you prefer manually deleting the virtual machine files.
Method 4: Deleting the Virtual Machine Files Manually
If you prefer a more hands-on approach or if you’re unable to remove the virtual machine using the virtualization software’s built-in options, you can delete the virtual machine files manually. Here’s how:
1. Open Finder on your Mac and navigate to the location where the virtual machine files are stored. The default location is usually in the “Documents” folder under a subfolder of the virtualization software you were using (e.g., VirtualBox, VMware Fusion, Parallels Desktop).
2. Locate the folder corresponding to the virtual machine you want to remove and select it.
3. Right-click on the folder and choose “Move to Trash” from the context menu. Alternatively, you can drag the folder to the Trash icon on your Dock or use the keyboard shortcut Command + Delete.
4. Empty the Trash by right-clicking on the Trash icon and selecting “Empty Trash” from the menu. Confirm the action in the prompt that appears.
By following these steps, you manually delete the virtual machine files, ensuring that they are permanently removed from your Mac’s storage. It’s worth noting that when deleting the virtual machine files manually, you won’t have access to any built-in cleanup features that the virtualization software may provide.
Deleting virtual machine files manually can be useful in cases where the virtual machine is corrupted or the virtualization software isn’t functioning correctly. However, make sure to double-check that you’re deleting the correct files to avoid accidentally deleting important data.
Now that you’re familiar with the manual deletion method, you can choose the most suitable method for removing virtual machines from your Mac based on your preferences and requirements.
Conclusion
In this guide, we have explored several methods to help you remove virtual machines from your Mac effectively. Whether you were using VirtualBox, VMware Fusion, or Parallels Desktop, we provided step-by-step instructions on how to remove virtual machines using each of these popular virtualization programs. Additionally, we discussed the manual deletion method for those who prefer a more hands-on approach.
By removing virtual machines, you can reclaim valuable storage space and optimize the performance of your Mac. Whether you’re looking to free up disk space or simply clean up your system, these methods will guide you through the process.
Remember to back up any important files or applications before proceeding with the removal process. Removing virtual machines will permanently delete all associated files and data within them. It’s essential to ensure that you have saved all necessary data before proceeding.
We covered how to remove virtual machines using VirtualBox, VMware Fusion, Parallels Desktop, and manual deletion. Each method has its advantages, and you can choose the one that best suits your needs and preferences.
Removing unnecessary virtual machines not only helps optimize disk space but also improves the performance and organization of your virtual environment. By following the instructions outlined in this guide, you can confidently remove virtual machines from your Mac.
Virtual machines have revolutionized the way we use computers, allowing us to run multiple operating systems and software configurations in a single machine. Being able to efficiently manage and remove virtual machines is a valuable skill for any tech-savvy individual.
Now, armed with the knowledge and methods provided in this guide, you can confidently remove virtual machines from your Mac and maintain a clean and organized system. Whether you choose to use VirtualBox, VMware Fusion, Parallels Desktop, or the manual deletion method, rest assured that you’re taking the necessary steps to optimize your Mac’s performance and storage space.