Introduction
VM Workstation is a powerful virtualization software used by many professionals and enthusiasts to create and run virtual machines on their computers. However, there may be situations where you find yourself needing to uninstall VM Workstation. Whether it’s due to a need for a different virtualization solution, a need for more disk space, or simply a desire to clean up your system, uninstalling VM Workstation can be a straightforward process.
In this article, we will explore the common reasons why someone might need to uninstall VM Workstation, the potential issues that may arise during the uninstallation process, and the steps you can take to ensure a successful uninstallation. We will also provide some troubleshooting tips to help you overcome any problems that may occur along the way.
It’s worth noting that the process of uninstalling VM Workstation may vary slightly depending on the version of the software and the operating system you are using. However, the overall concepts and steps discussed in this article should apply to most scenarios. Always be sure to refer to the official documentation of VM Workstation and your operating system for specific instructions if needed.
Now, let’s dive into the common reasons why you might need to uninstall VM Workstation and the potential issues you may encounter during the uninstallation process.
Common Reasons for Uninstalling VM Workstation
There can be several reasons why you might need to uninstall VM Workstation from your computer. Let’s explore some of the most common ones:
- Switching to a Different Virtualization Solution: Technology is constantly evolving, and you may find that another virtualization software better suits your needs. Whether it’s for compatibility reasons, advanced features, or improved performance, some users opt to switch to a different virtualization solution and therefore need to uninstall VM Workstation.
- Reclaiming Disk Space: Virtual machines can take up a significant amount of disk space, especially if you have multiple VMs or large disk images. If you find that your hard drive is running low on storage capacity, uninstalling VM Workstation and deleting unnecessary virtual machines can free up valuable disk space.
- Migrating to a Different Operating System: If you’re planning on transitioning to a different operating system, you may no longer require VM Workstation. For example, if you’re moving from Windows to macOS, you might opt for a virtualization software that is specifically designed for macOS.
- Reinstalling or Upgrading VM Workstation: Sometimes, uninstalling VM Workstation is necessary to resolve issues related to the software itself. If you’re experiencing problems or conflicts with your current installation, uninstalling VM Workstation and then reinstalling or upgrading to the latest version can often resolve these issues.
- System Cleanup and Maintenance: As part of regular system maintenance, you may decide to clean up unnecessary applications and files to optimize the performance of your computer. Uninstalling VM Workstation can be part of that process, especially if you no longer use it or have found alternative solutions.
These are just a few examples of the common reasons why someone might need to uninstall VM Workstation. Each individual’s circumstances will vary, but understanding these common motivations can help you determine whether uninstalling VM Workstation is the right decision for you.
Now that we’ve discussed the common reasons for uninstalling VM Workstation, let’s move on to exploring the potential issues that can arise during the uninstallation process.
Potential Issues with Uninstalling VM Workstation
While uninstalling VM Workstation is typically a straightforward process, there are a few potential issues that you may encounter. Being aware of these issues can help you navigate the uninstallation process more effectively. Here are some of the common challenges you might face:
- Incomplete Uninstallation: In some cases, the uninstallation process may not remove all traces of VM Workstation from your system. This can happen if there are leftover files or registry entries that weren’t removed during the uninstallation. To ensure a clean uninstallation, it’s important to be thorough and follow the proper steps.
- Uninstallation Errors: Occasionally, you may encounter errors or issues when attempting to uninstall VM Workstation. These can be caused by various factors, such as conflicts with other software, incorrect permissions, or system errors. Troubleshooting these errors may require some technical knowledge, but there are often known solutions available.
- Impact on Virtual Machines: Uninstalling VM Workstation doesn’t automatically uninstall your virtual machines. If you have important virtual machines that you want to keep, you’ll need to manually back them up or migrate them to another virtualization software before uninstalling VM Workstation. Failure to do so can result in data loss.
- Compatibility Issues: Before uninstalling VM Workstation, it’s essential to ensure that any other virtualization software you plan to use is compatible with your operating system and the virtual machine files you have. Not all virtualization software supports the same file formats, so it’s important to do your research and plan accordingly.
- License Activation: If you’re uninstalling VM Workstation because you no longer need it, keep in mind that some licenses are tied to the specific hardware or system configuration. If you plan on reinstalling VM Workstation on another computer or in the future, you may need to follow specific steps to release or transfer the license.
While these potential issues may seem daunting, they can often be overcome with careful planning, following the proper procedures, and seeking assistance when needed. Now that we’ve discussed the potential challenges you might face, let’s move on to the steps involved in uninstalling VM Workstation.
Steps to Uninstall VM Workstation
Uninstalling VM Workstation requires following a series of steps to ensure a clean removal. While the specific steps may vary slightly depending on the version of VM Workstation and your operating system, the following general steps will guide you through the uninstallation process:
- Close VM Workstation: Before uninstalling VM Workstation, make sure to close all virtual machines and exit the VM Workstation application. This will prevent any potential conflicts or issues during the uninstallation process.
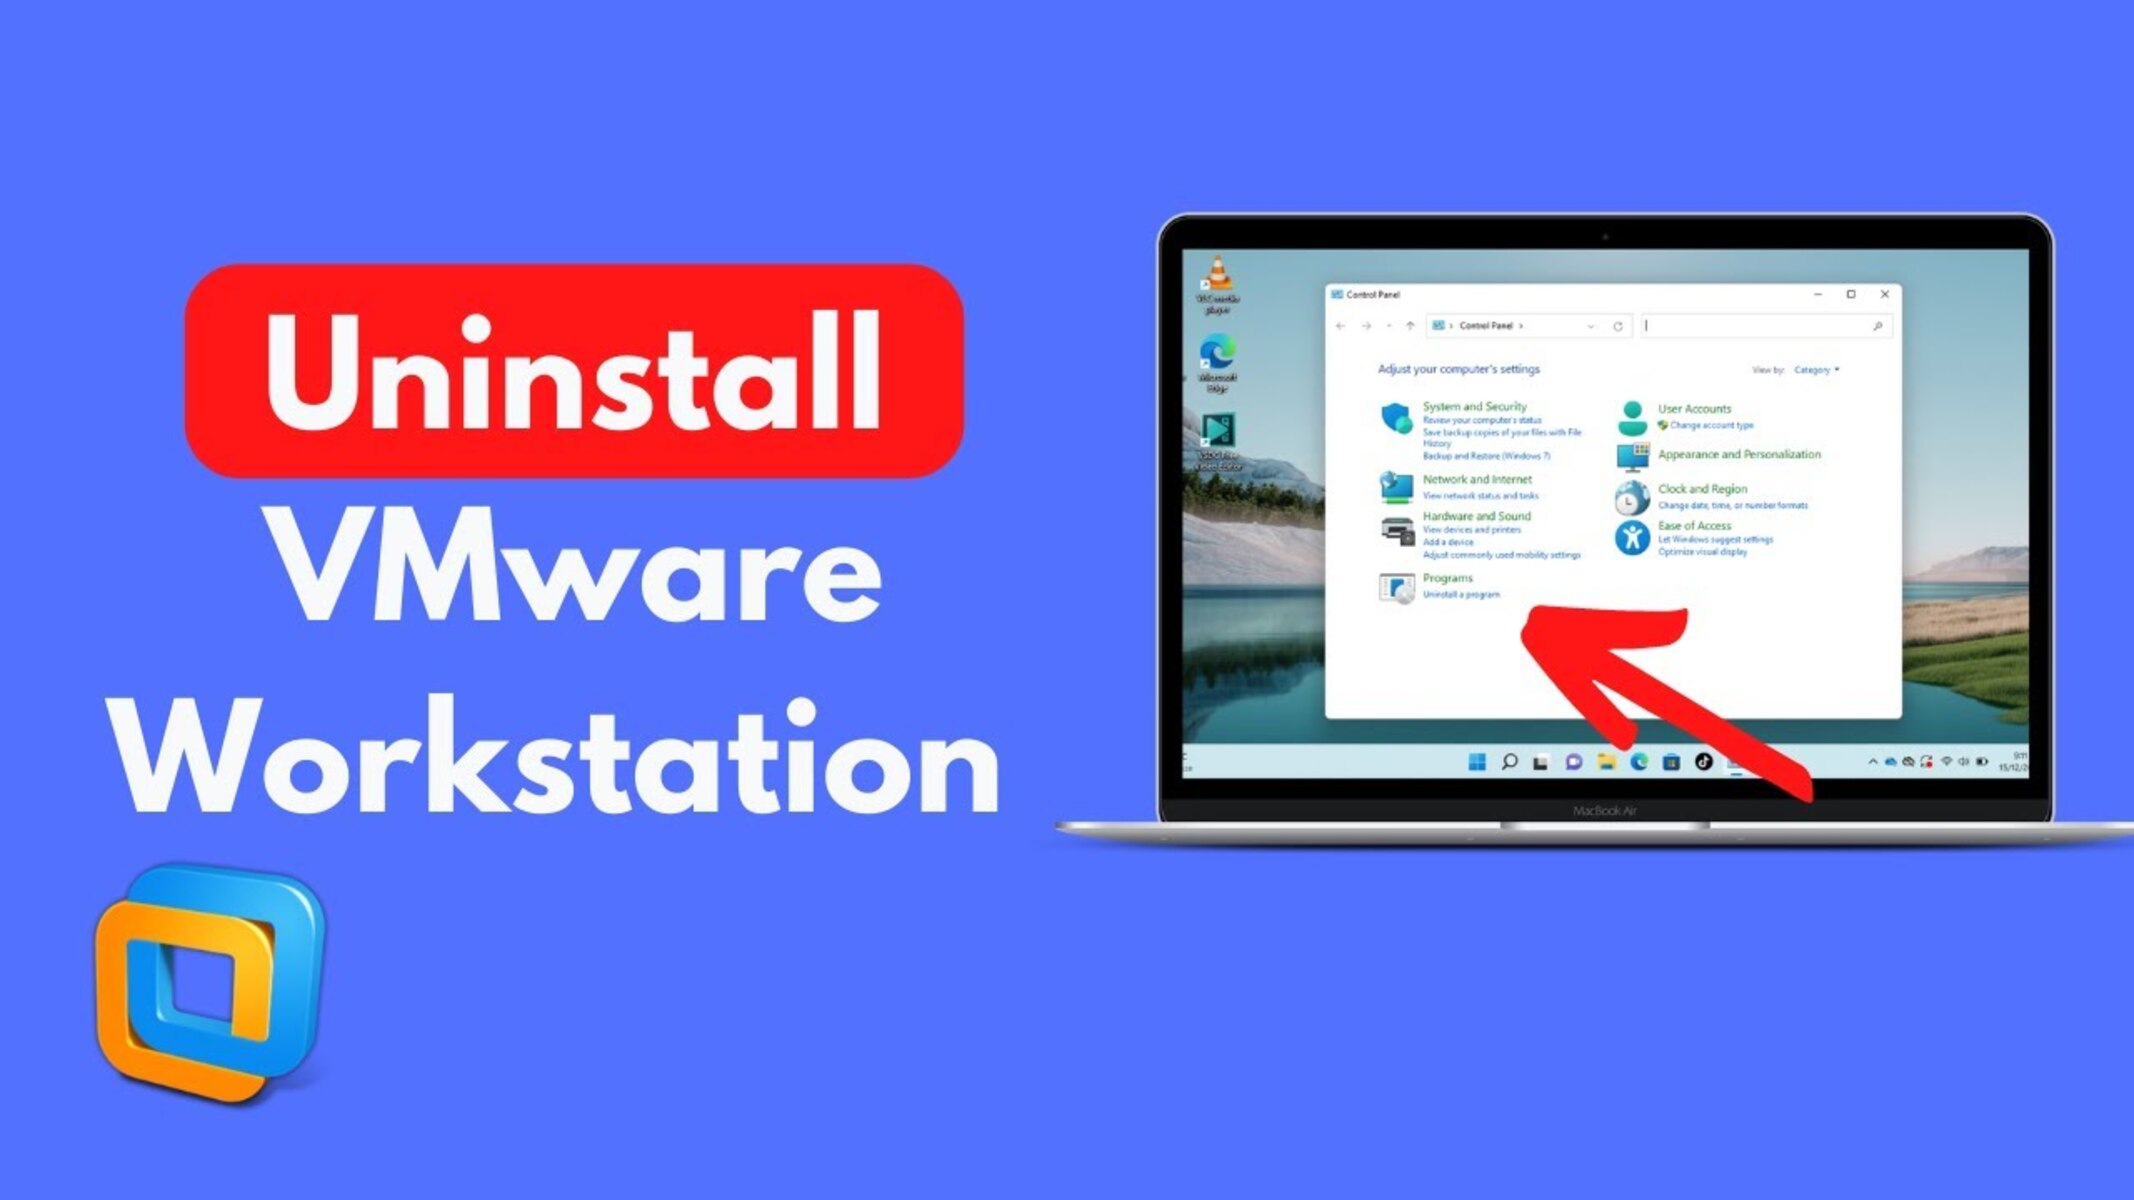
- Access the Control Panel: On Windows, open the Control Panel by clicking on the Start menu, searching for “Control Panel,” and selecting it from the search results. On macOS, go to the Applications folder and locate the VM Workstation application.
- Uninstall VM Workstation: In the Control Panel or Applications folder, locate the VM Workstation application and select the option to uninstall it. Follow the prompts and instructions provided by the uninstaller to complete the process. Note that on macOS, you can sometimes uninstall applications by dragging them to the Trash.
- Remove Remaining Files: After the uninstallation, it’s essential to check for any remaining files or folders related to VM Workstation. These can often be found in the installation directory, user folders, and temporary folders. Delete any remnants manually to ensure a thorough removal.
- Clean the Registry (Windows): On Windows, you may also need to clean the registry to remove any VM Workstation entries. This step requires caution and technical knowledge, as modifying the registry incorrectly can cause system issues. Consider using a trusted registry cleaner tool or seek assistance if you’re uncertain.
- Restart the Computer: To complete the uninstallation process and ensure that any remaining components are removed from memory, restart your computer. This will also help refresh your system settings.
- Verify Uninstallation: After restarting your computer, double-check that VM Workstation is no longer present by searching for it in the installed programs list or applications folder. Additionally, ensure that any virtual machine files have been securely backed up or migrated to another virtualization software if needed.
Following these steps should generally result in a successful uninstallation of VM Workstation from your computer. However, if you encounter any issues along the way, don’t hesitate to refer to the official documentation for your particular version of VM Workstation or seek assistance from the community or technical support.
Now that we’ve discussed the steps involved in uninstalling VM Workstation, let’s move on to the troubleshooting section, where we’ll explore how to overcome any potential problems that may arise during the uninstallation process.
Troubleshooting Uninstallation Problems
While uninstalling VM Workstation is typically a straightforward process, there may be instances where you encounter issues or face difficulties. Here are some common problems that users may experience during the uninstallation process and potential troubleshooting steps:
- Uninstaller Not Working: If the built-in uninstaller fails to work or encounters errors, you can try using third-party uninstaller software to remove VM Workstation. These tools are designed to clean up stubborn or problematic installations and can help ensure a complete removal.
- Permissions Errors: If you receive permission errors during the uninstallation process, it’s important to run the uninstaller with administrative privileges. Right-click on the installer and select the option to run as an administrator. This will grant the necessary permissions to uninstall VM Workstation.
- Locked Files: Sometimes, certain files or processes related to VM Workstation can be locked or in use, preventing the uninstallation process from completing. To overcome this, you can try restarting your computer and then immediately initiating the uninstallation process before any other programs or processes have a chance to lock the files.
- Incomplete Removal: If you suspect that not all VM Workstation components were removed during the uninstallation process, you can manually search for any remaining files, folders, or registry entries. Be cautious when modifying the registry and only remove entries related to VM Workstation to avoid affecting other applications or system settings.
- System Restore: In rare cases, if all else fails, you may need to consider using the System Restore feature available on Windows or similar rollback options on other operating systems. This will revert your computer to a previous state before VM Workstation was installed, effectively removing it from the system.
- Support and Community Forums: If you’re unable to resolve the uninstallation issues on your own, reach out to the official VM Workstation support team or consult user forums and communities. They can provide guidance, troubleshooting steps, or alternate solutions based on their experiences.
Remember to always proceed with caution when troubleshooting uninstallation problems and ensure that you have proper backups of your virtual machines and important data before making any changes to your system.
Now that we’ve discussed the troubleshooting steps, let’s conclude the article with a brief summary of the key points discussed.
Conclusion
Uninstalling VM Workstation can be necessary for various reasons, such as switching to a different virtualization solution, reclaiming disk space, or resolving technical issues. While the process is generally straightforward, there are potential challenges that you may encounter, including incomplete removal, uninstallation errors, and compatibility issues.
By following the steps outlined in this article, you can ensure a clean and successful uninstallation of VM Workstation. Remember to close all virtual machines, access the Control Panel or Applications folder, uninstall VM Workstation, remove any remaining files, clean the registry (Windows), restart the computer, and verify the uninstallation.
If you encounter any issues during the uninstallation process, such as a malfunctioning uninstaller or permission errors, consider using third-party uninstaller software or running the uninstaller as an administrator. Additionally, be cautious when modifying the registry and seek assistance from official support or community forums if needed.
Uninstalling VM Workstation can provide you with a fresh start, free up disk space, and allow you to explore alternative virtualization solutions. Remember to back up or migrate your virtual machines before uninstalling VM Workstation to avoid data loss.
We hope this article has provided you with the necessary guidance to successfully uninstall VM Workstation from your computer. Should you encounter any issues along the way, don’t hesitate to seek support and explore the available resources. Happy computing!


