Introduction
Welcome to this guide on how to run a VMware image in VMware Workstation. VMware Workstation is a powerful virtualization program that allows users to run multiple operating systems on a single computer. It provides a seamless and efficient way to test and deploy various software applications and configurations.
Running a VMware image in VMware Workstation offers several advantages. Firstly, it allows you to create a virtual environment that closely mimics a real computer system, enabling you to test different software configurations and settings without impacting your primary computer. This can be particularly useful for software developers, IT professionals, and individuals who need to test applications in different operating systems or network environments.
In this guide, we will walk you through the step-by-step process of running a VMware image in VMware Workstation. Regardless of whether you have a pre-configured VMware image or you are starting with a virtual machine template, this guide will help you navigate the setup process effortlessly.
We will cover how to download the VMware image, launch VMware Workstation, create a new virtual machine, configure the virtual machine settings, import the VMware image, and power on the virtual machine. Additionally, we will provide troubleshooting tips for common issues you may encounter along the way.
Before we proceed, it’s important to note that running a VMware image in VMware Workstation requires having the VMware Workstation software installed on your computer. Ensure that you have the necessary system requirements and a valid license for VMware Workstation before proceeding with the steps outlined in this guide.
Now that we have the groundwork covered, let’s dive into the step-by-step process of running a VMware image in VMware Workstation.
Step 1: Download the VMware Image
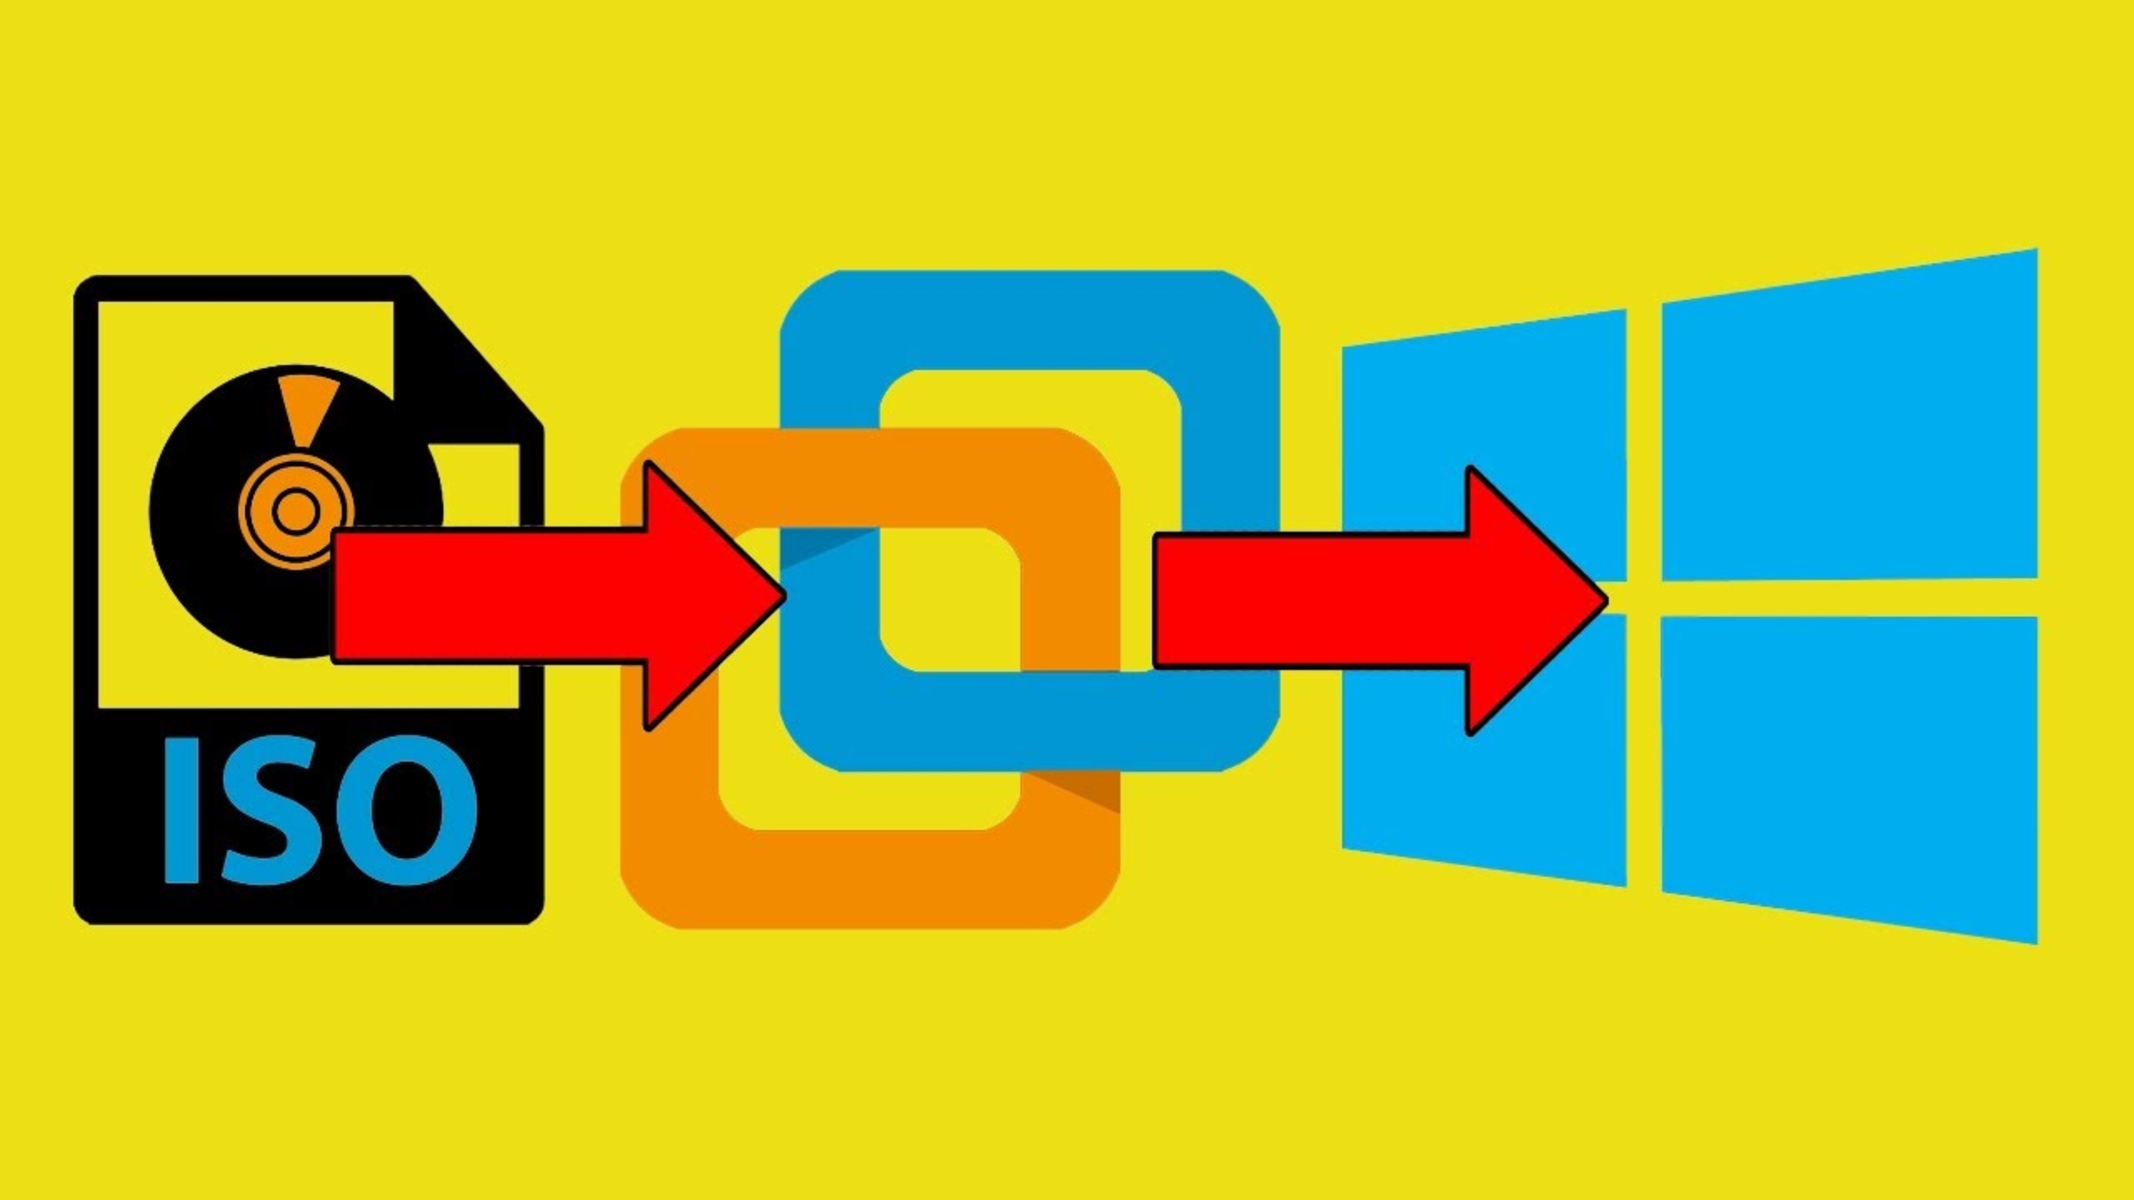
The first step in running a VMware image in VMware Workstation is to download the VMware image file. A VMware image file is a virtual machine template that contains a pre-configured operating system along with any necessary software or configurations.
You have several options for obtaining a VMware image. You can either download it from a reliable source or create your own using the VMware Workstation software. If you choose to download a VMware image, make sure it is compatible with your version of VMware Workstation and the operating system you intend to run.
To download a VMware image, follow these steps:
- Identify a trusted source for VMware images. There are various websites and online communities dedicated to sharing virtual machine templates.
- Search for the specific VMware image you need. Specify the operating system and any additional software requirements.
- Once you find the desired VMware image, click on the download link or button provided.
- Ensure that you have enough disk space on your computer to accommodate the VMware image file. VMware images can be quite large, ranging from a few gigabytes to several dozen gigabytes.
- Wait for the VMware image file to download completely. The time required for the download will depend on your internet connection speed and the size of the file.
Once the VMware image file has been downloaded, you are now ready to proceed to the next step: launching VMware Workstation.
Step 2: Launch VMware Workstation
After downloading the VMware image, the next step is to launch VMware Workstation on your computer. VMware Workstation is a desktop virtualization software that allows you to create and run virtual machines.
Here’s how you can launch VMware Workstation:
- Locate the VMware Workstation icon on your desktop or in the system tray. Alternatively, you can use the Windows search feature to find and open VMware Workstation.
- Double-click on the VMware Workstation icon to launch the program.
- Wait for VMware Workstation to initialize and load. This may take a few moments, especially if it’s the first time you’re running the program.
- Once VMware Workstation is fully launched, you’ll be presented with a welcome screen or the main interface, depending on your configuration or previous usage.
It’s important to ensure that you have the latest version of VMware Workstation installed on your computer. This will help ensure compatibility with the VMware image you downloaded and provide access to the latest features and bug fixes.
If you haven’t installed VMware Workstation yet, you can download it from the official VMware website and follow the installation instructions provided. Make sure to choose the correct version for your operating system.
By launching VMware Workstation, you’re now ready to move on to the next step and start creating a new virtual machine to run the downloaded VMware image.
Step 3: Creating a New Virtual Machine
Once VMware Workstation is launched, the next step is to create a new virtual machine to run the downloaded VMware image. A virtual machine acts as a software container that emulates a physical computer system and allows you to install and run different operating systems.
Follow these steps to create a new virtual machine:
- Click on the “Create a New Virtual Machine” button or navigate to “File” > “New Virtual Machine” in the VMware Workstation interface. This will open the New Virtual Machine Wizard.
- Choose the option to create a custom virtual machine and click “Next”. This will allow you to customize the virtual machine settings based on your requirements.
- Select the guest operating system that matches the operating system of the VMware image you downloaded. If the specific operating system isn’t listed, choose the closest match or select “Other” and specify the details manually.
- Specify the location where you want to store the virtual machine files. Choose a location with sufficient disk space and click “Next”.
- Configure the hardware specifications for the virtual machine, such as the number of processors, amount of RAM, disk size, and network adapters. These settings should align with the requirements of the downloaded VMware image.
- Review the summary of the virtual machine configuration and click “Finish” to create the virtual machine.
Once the virtual machine is created, you’ll have a blank canvas ready to be populated with the contents of the downloaded VMware image. In the next step, we’ll explore how to configure the virtual machine settings to prepare for importing the VMware image.
Step 4: Configuring Virtual Machine Settings
After creating the new virtual machine, the next step is to configure its settings to ensure compatibility with the downloaded VMware image and optimize its performance. Configuring the virtual machine settings involves adjusting various parameters, such as hardware specifications, network settings, and storage options.
Follow these steps to configure the virtual machine settings:
- Select the newly created virtual machine from the VMware Workstation interface.
- Click on the “Edit virtual machine settings” option or navigate to “VM” > “Settings” to open the Virtual Machine Settings window.
- In the Hardware tab, review and adjust the settings for the virtual machine’s processors, memory, and other hardware components. Make sure they align with the requirements of the downloaded VMware image.
- Configure the networking settings to enable internet connectivity or set up a specific network environment if required by the VMware image.
- Adjust the storage settings to allocate enough disk space for the virtual machine’s hard drive. You can choose to use a new virtual disk, an existing disk, or a disk image file.
- Explore other options in the settings window, such as display, USB, sound, and shared folders, depending on your specific needs and the requirements of the VMware image.
- Review the settings and click “OK” to save the changes and close the Virtual Machine Settings window.
By configuring the virtual machine settings, you are ensuring that the virtual machine is properly set up to accommodate the downloaded VMware image. Once the settings are configured, you are now ready to move on to the next step: importing the VMware image into the virtual machine.
Step 5: Importing the VMware Image
With the virtual machine created and its settings configured, the next step is to import the downloaded VMware image into the virtual machine. Importing the VMware image involves attaching the image file to the virtual machine and initializing its contents.
Follow these steps to import the VMware image:
- Ensure that the virtual machine is powered off. If it is powered on, shut it down before proceeding.
- In the VMware Workstation interface, select the virtual machine you created.
- Click on the “Power on this virtual machine” button or navigate to “VM” > “Power” > “Power On” to start the virtual machine.
- Once the virtual machine is powered on, select “VM” from the menu bar and choose “Removable Devices” > “CD/DVD (IDE)” > “Settings”.
- In the settings window, choose the option to use an ISO image file and browse to the location where you downloaded the VMware image file.
- Select the VMware image file and click “OK” to attach it to the virtual machine.
- Return to the virtual machine window and follow the instructions provided by the operating system within the VMware image to complete the initialization process.
- Allow the VMware image to boot up, install any necessary drivers or software, and proceed with the initial setup.
By importing the VMware image into the virtual machine, you are integrating the downloaded image file into the virtual environment. The initialization process will vary depending on the operating system within the VMware image, so make sure to follow the instructions provided by the image.
Once the VMware image is successfully imported and initialized, you can proceed to the next step: powering on the virtual machine and exploring its contents.
Step 6: Powering On the Virtual Machine
After importing the VMware image and completing the initialization process, the next step is to power on the virtual machine. Powering on the virtual machine will boot up the operating system within the VMware image and allow you to interact with the virtual environment.
Follow these steps to power on the virtual machine:
- In the VMware Workstation interface, select the virtual machine that has the imported VMware image.
- Click on the “Power on this virtual machine” button or navigate to “VM” > “Power” > “Power On”.
- Wait for the virtual machine to boot up. This may take some time, depending on the resources allocated to the virtual machine and the performance of your computer.
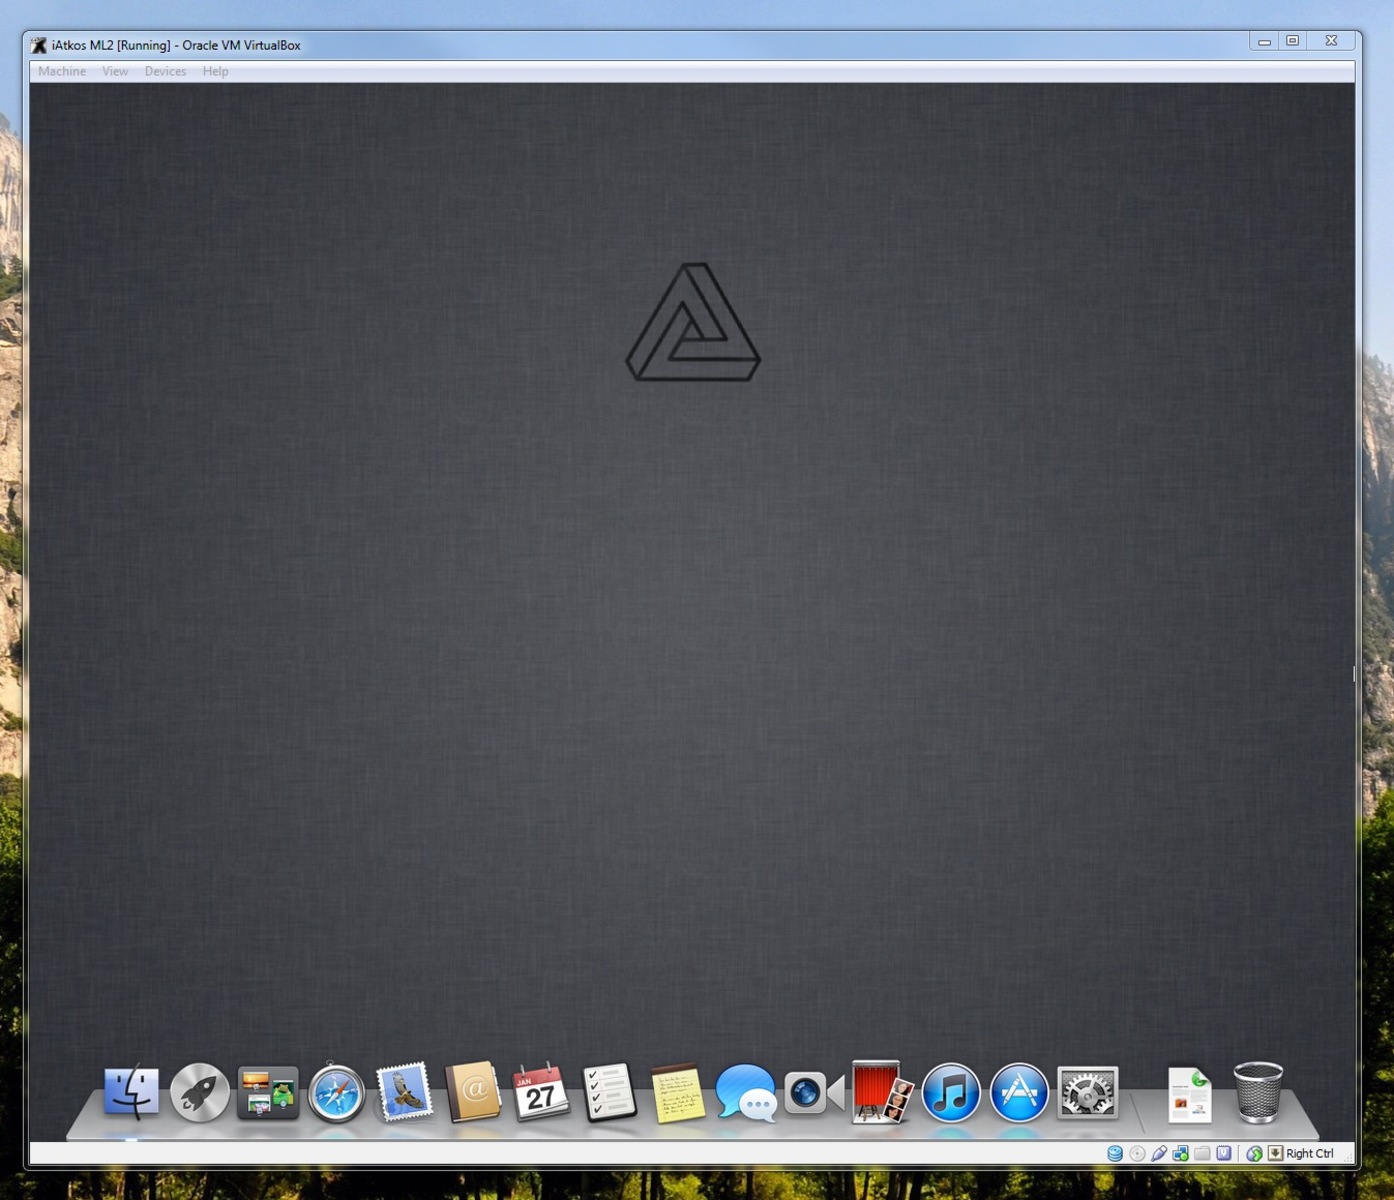
- Once the virtual machine has started, you’ll see the operating system’s desktop or login screen within the VMware Workstation window.
At this point, you can now interact with the virtual machine just like using a regular computer. You can install software, browse the internet, access files, and perform any tasks relevant to the operating system within the VMware image.
You can also customize the display settings of the virtual machine, such as the screen resolution, display mode, and other visual preferences, to ensure a comfortable and seamless experience.
Remember that the virtual machine operates independently from your host computer’s operating system. Any changes made within the virtual machine, such as installing or uninstalling software, will not affect your host computer.
In the next step, we’ll provide some troubleshooting tips for common issues that you may encounter during the VMware image import or virtual machine power-on process.
Step 7: Troubleshooting Common Issues
While importing and powering on a virtual machine with a VMware image is usually a straightforward process, you may encounter some common issues along the way. These issues can range from compatibility errors to configuration problems. Fortunately, there are some troubleshooting steps you can take to resolve these issues.
Here are some common issues and their possible solutions:
- Compatibility Issue: Ensure that the VMware image you downloaded is compatible with your version of VMware Workstation. If there is an incompatibility, find an appropriate version of the VMware image compatible with your software.
- Insufficient Resources: If the virtual machine fails to power on or experiences slow performance, check if your computer meets the minimum system requirements for the VMware image. Allocate more resources, such as processors and memory, to the virtual machine if needed.
- Network Connectivity: If the virtual machine does not have internet access, check the network settings of both the virtual machine and the host computer. Ensure that the correct network adapter is selected and consider troubleshooting connectivity issues in the host environment.
- Integration Tools: Install or update VMware Tools within the virtual machine to enhance its performance and improve integration between the guest operating system and the host computer. VMware Tools provide features like screen resolution adjustment, shared folders, and better mouse integration.
- Error Messages: Pay attention to any error messages or prompts that appear during the import or power-on process. Research the error message online or consult the VMware Workstation documentation for specific troubleshooting steps related to the error.
If you encounter an issue that is not mentioned in this guide or cannot resolve a problem on your own, consult the VMware Workstation user manual, visit the VMware support website, or seek assistance from the VMware community forums.
Remember, troubleshooting issues during the import and power-on process is part of the learning experience. With patience and persistence, you’ll be able to overcome any obstacles and successfully run your VMware image in VMware Workstation.
Conclusion
Congratulations! You have successfully learned how to run a VMware image in VMware Workstation. By following the step-by-step process outlined in this guide, you can create a virtual environment that allows you to test and deploy various operating systems and software configurations without impacting your primary computer.
We started by downloading the VMware image from a trusted source and then launched VMware Workstation on our computer. From there, we created a new virtual machine and configured its settings to match the requirements of the VMware image. Afterward, we imported the VMware image into the virtual machine, ensuring a seamless integration of the image’s contents.
Once the image was imported, we powered on the virtual machine and explored its contents within the VMware Workstation window. We also provided troubleshooting tips for common issues that may arise during the import and power-on process, helping you overcome any obstacles you may encounter along the way.
Keep in mind that running a VMware image in VMware Workstation opens up a world of possibilities for software developers, IT professionals, and individuals who need to test applications in different operating systems or network environments. Whether you’re seeking to test new software configurations, perform compatibility checks, or simply explore different operating systems, VMware Workstation offers a flexible and efficient solution.
Remember to stay up-to-date with the latest version of VMware Workstation and ensure compatibility between the VMware image and your software. Continuously learning and exploring the features of VMware Workstation will enhance your virtualization experience and allow you to make the most of this powerful tool.
Now that you are equipped with the knowledge to run a VMware image in VMware Workstation, go ahead and start exploring the possibilities that virtualization offers. Have fun testing, deploying, and experimenting with different operating systems and software configurations!


