Introduction
Are you looking to boost the performance of your Z820 Workstation? Overclocking might just be the solution you need. By pushing your workstation’s hardware beyond its factory settings, you can squeeze out extra power for demanding tasks like gaming, graphic design, and video editing. In this guide, we will explore the world of overclocking and provide you with a step-by-step walkthrough on how to overclock your Z820 Workstation effectively and safely.
Overclocking is a technique used to increase the clock speed of your computer’s components, primarily the CPU and GPU. The clock speed, measured in gigahertz (GHz), determines how many calculations a processor can perform per second. By overclocking, you can unlock the full potential of your CPU and achieve higher performance levels.
The Z820 Workstation is a highly capable machine designed for professional users who demand exceptional power and reliability. However, even with its impressive specifications, there may be times when its stock performance isn’t enough for your specific needs. That’s where overclocking comes in handy.
Before we dive into the intricacies of overclocking, it’s important to note that this process carries some risks. Overclocking generates additional heat and stress on your components, which can lead to instability or even permanent damage if not done properly. Therefore, it is crucial to follow the precautions outlined in this guide to minimize the risks and ensure a successful overclocking experience.
In this guide, we will cover the necessary precautions you should take before overclocking, provide a step-by-step guide for overclocking the Z820 Workstation, discuss the importance of choosing the right cooling solution, and outline the testing and stability checks you should conduct. Additionally, we will address common troubleshooting issues and weigh the benefits and drawbacks of overclocking.
By following our comprehensive guide, you will have the knowledge and confidence to overclock your Z820 Workstation and unlock its full potential. So, let’s begin the journey to unleash the untapped power of your workstation.
What is Overclocking?
Overclocking is the process of increasing the clock speed of a computer’s components, most commonly the CPU (Central Processing Unit) and GPU (Graphics Processing Unit). The clock speed is measured in gigahertz (GHz) and determines how many calculations a processor can perform per second. By increasing the clock speed, you can achieve higher performance levels in tasks that require intensive processing power, such as gaming, rendering, and video editing.
When you purchase a computer or workstation, the components come with preset clock speeds determined by the manufacturer. These speeds are set to achieve optimal performance while maintaining stability. However, for those who require more power or want to push their system to its limits, overclocking offers a way to achieve higher performance levels.
By increasing the clock speed, you effectively make the processor perform more calculations per second. This results in faster data processing and improved overall system performance. Overclocking can offer a noticeable boost in performance, especially in tasks that are heavily dependent on the CPU or GPU, such as gaming or video editing.
It’s important to note that overclocking comes with some risks. When you increase the clock speed, you also increase the heat generated by the processor. This additional heat can cause instability and potentially damage the component if not properly managed. Therefore, it is crucial to ensure that your system has adequate cooling in place to dissipate the extra heat generated during overclocking.
Furthermore, overclocking may void your warranty, as it involves altering the factory settings of your components. It is essential to check your warranty terms and understand the potential consequences before proceeding with overclocking.
It is worth mentioning that not all computer components can be overclocked. Some processors and graphics cards are locked, meaning they have restrictions that prevent users from altering their clock speeds. Before attempting to overclock, ensure that your Z820 Workstation offers the capability to do so.
In the next section, we will dive into the specific steps and precautions you should take when overclocking your Z820 Workstation. By following this guide and understanding the risks involved, you will be well-equipped to embark on your overclocking journey and harness the additional power of your workstation.
Can the Z820 Workstation be Overclocked?
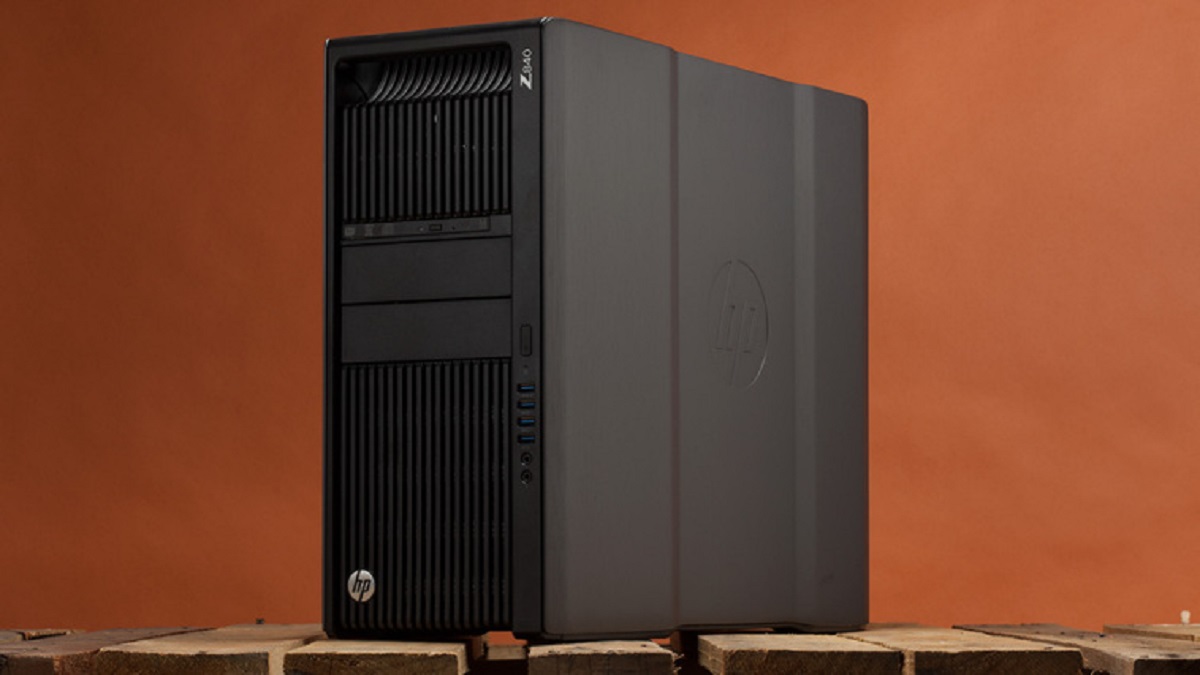
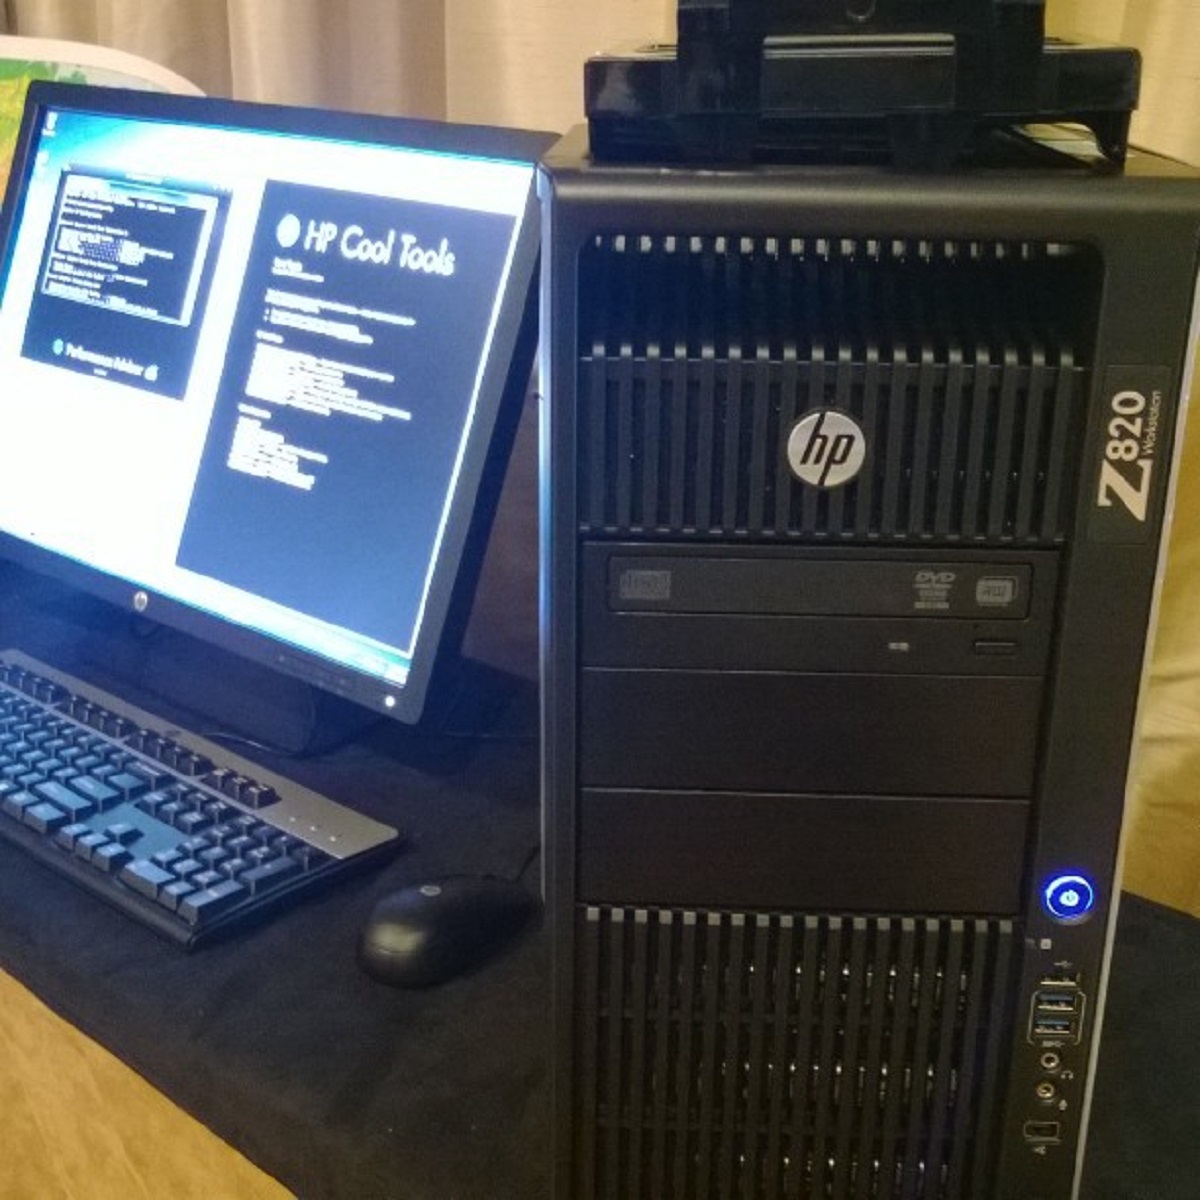
The Z820 Workstation is a powerful and highly capable machine designed for professional use. It comes equipped with top-of-the-line components and advanced features to deliver exceptional performance. However, when it comes to overclocking, there are certain considerations to keep in mind.
The Z820 Workstation features a wide range of processors, including models from Intel’s Xeon E5-2600 v2 series. These processors offer excellent performance and are generally not unlocked, meaning they have restrictions imposed by the manufacturer that prevent users from altering their clock speeds. This means that the level of overclocking you can achieve on a Z820 Workstation may be limited compared to consumer-grade processors that are designed to be overclocked.
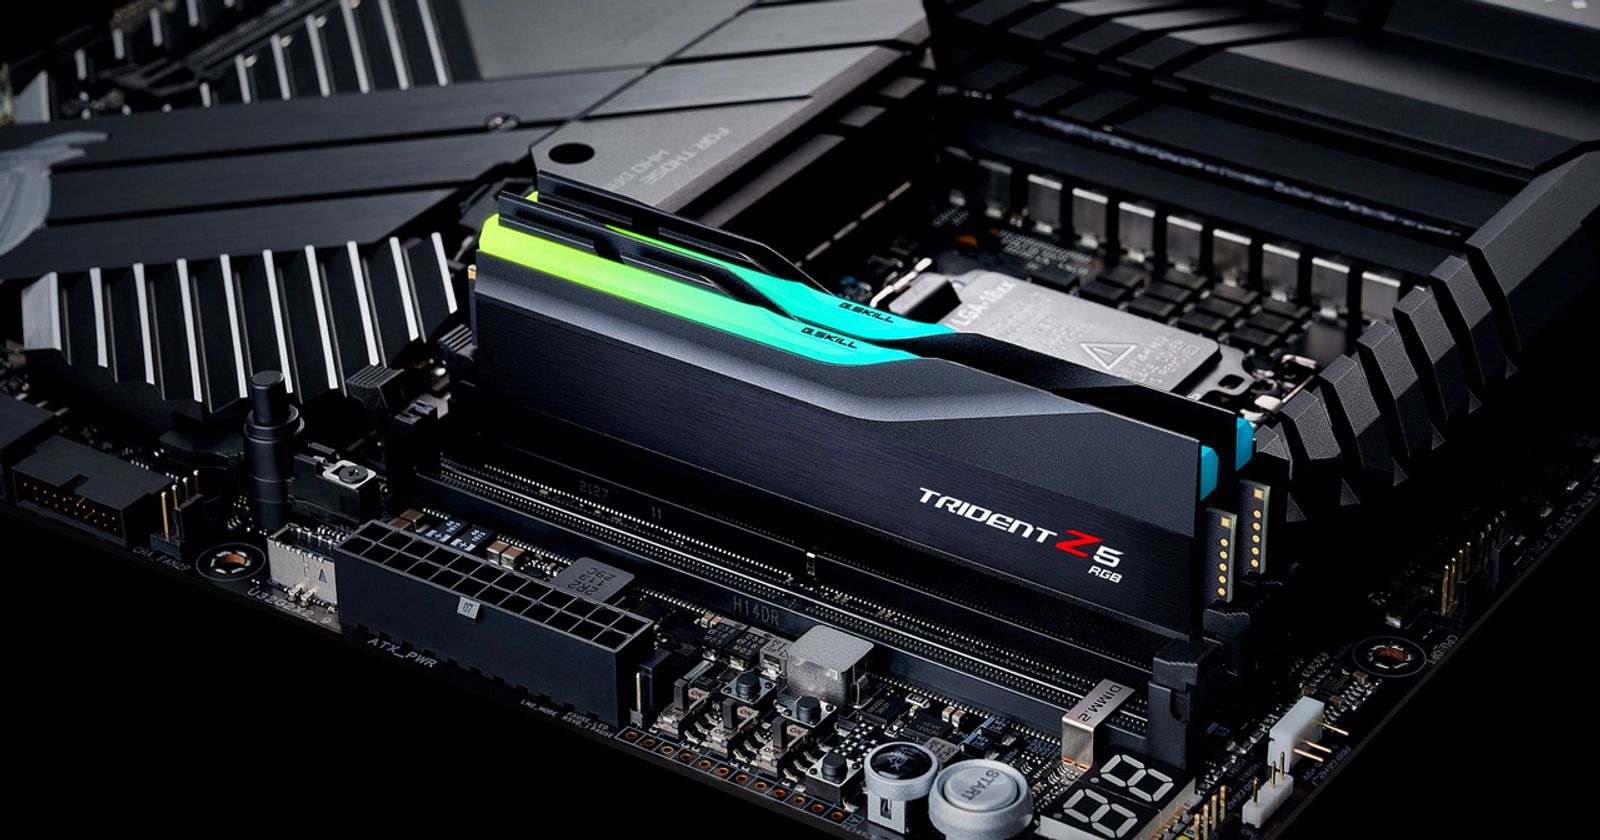
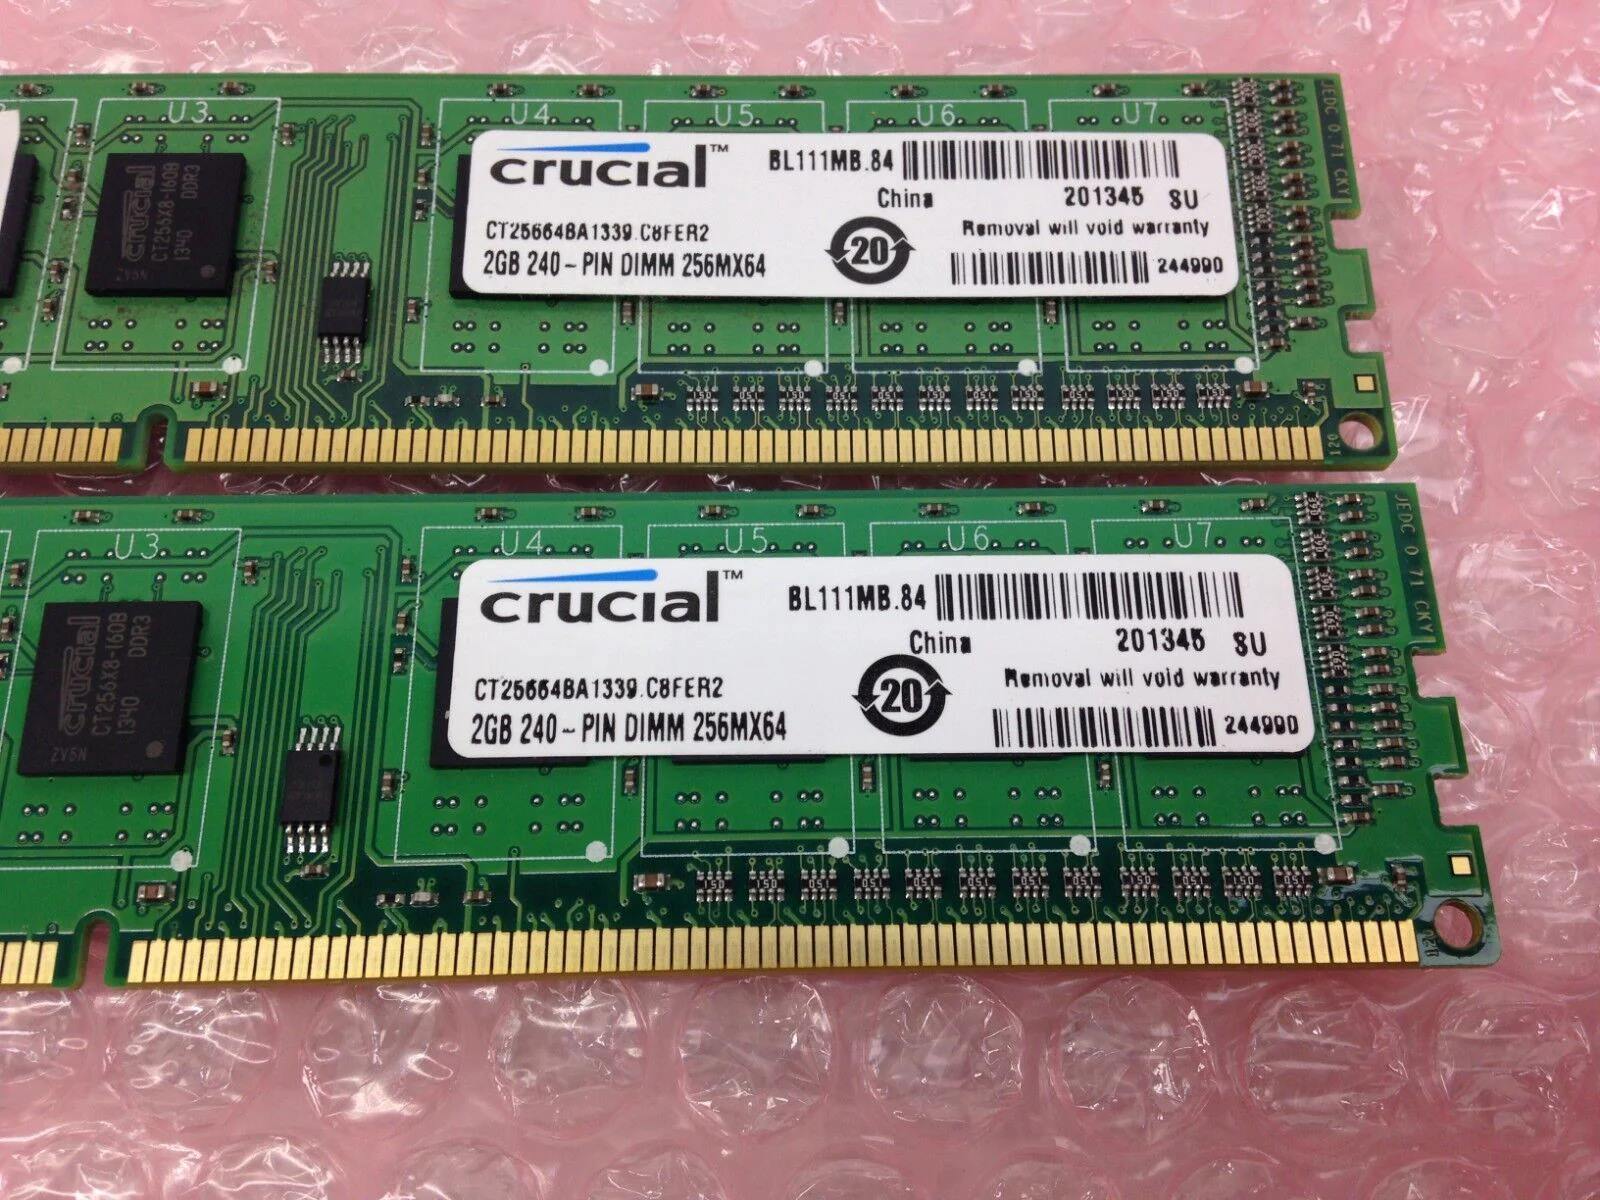
However, while the CPUs in the Z820 Workstation may not be unlocked, there are still some aspects of the system that can be adjusted for improved performance. For instance, you can tweak the memory settings, adjust the power settings, and optimize the cooling solution to maximize the performance of the existing components.
It’s also worth noting that overclocking a workstation is not always necessary or recommended for everyone. The Z820 Workstation is already a powerful machine capable of handling demanding tasks without overclocking. If your workload primarily consists of professional applications that do not benefit significantly from increased clock speeds, it may be more beneficial to focus on other aspects of optimization, such as optimizing software configurations or upgrading specific components.
Ultimately, the decision to overclock your Z820 Workstation depends on your specific requirements and the nature of your tasks. If you are working on tasks that would benefit from increased clock speeds and have experience with overclocking, you may consider pushing the limits of your system. However, if stability and reliability are crucial to your work, it may be best to stick with the stock settings of your workstation.
In the next section, we will discuss the precautions you need to take before proceeding with overclocking to ensure the safety and stability of your system. By following these precautions and understanding the limitations of overclocking on a Z820 Workstation, you can make an informed decision on whether overclocking is the right option for you.
Precautions before Overclocking the Z820 Workstation
Before embarking on your overclocking journey with the Z820 Workstation, it is crucial to take certain precautions to ensure the safety and stability of your system. Overclocking introduces additional stress and heat to your hardware, which, if not managed properly, can result in instability or even permanent damage. Here are some precautions to consider before overclocking your Z820 Workstation:
1. Research and Understand: Before attempting to overclock your Z820 Workstation, make sure to thoroughly research the overclocking process, especially for the specific components of your workstation. Understand the potential risks involved, the limitations of your hardware, and the recommended settings for optimal performance.
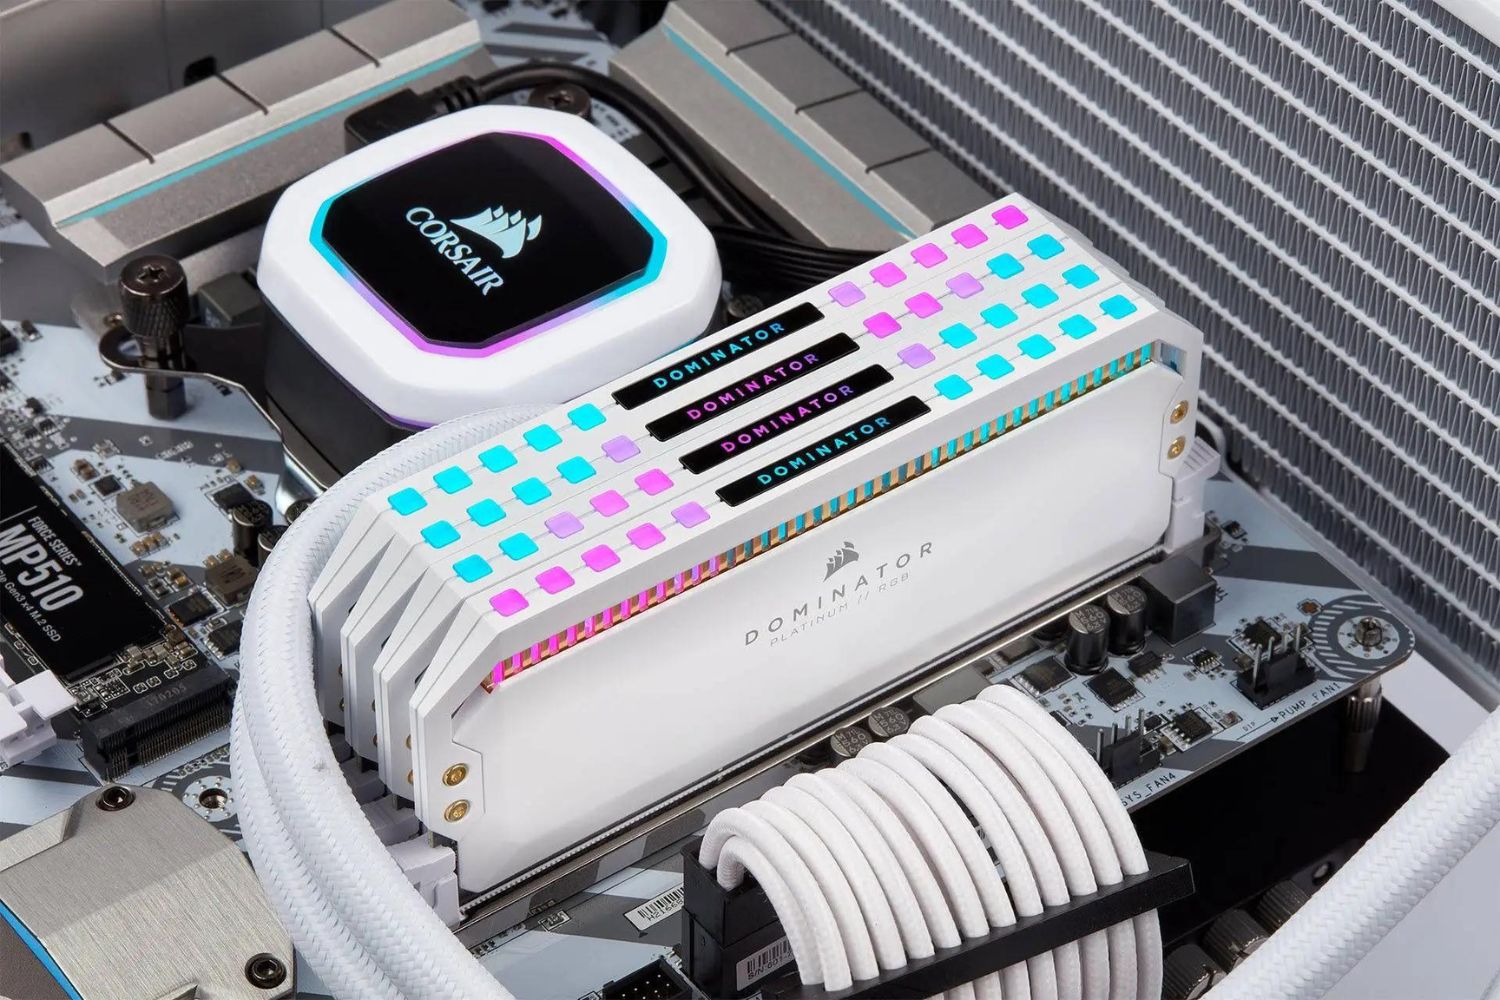
2. Ensure Proper Cooling: Overclocking generates additional heat, so it’s crucial to have effective cooling solutions in place to prevent overheating. Invest in high-quality air or liquid cooling systems to maintain optimal temperatures. Ensure proper airflow in your workstation’s case by cleaning dust filters, organizing cables, and placing fans strategically.
3. Check Power Supply Unit (PSU) Capacity: Overclocking can increase power consumption, so ensure that your power supply unit can handle the increased load. Invest in a high-quality PSU with sufficient wattage to comfortably handle the overclocked components without straining or overheating.
4. Update BIOS and Drivers: Make sure your Z820 Workstation has the latest BIOS version and up-to-date drivers for your components. BIOS updates can often include performance optimizations and improved stability for overclocking. Check the manufacturer’s website for any updates specific to overclocking support.
5. Monitor System Temperatures: Use software utilities to monitor the temperatures of your CPU, GPU, and other components during stress tests. Keep an eye on the temperature readings to ensure they remain within safe limits. If temperatures rise too high, consider adjusting the overclocked settings or upgrading your cooling solution.
6. Start with Conservative Overclocking: When first starting to overclock, take a conservative approach by gradually increasing the clock speeds. Test the stability of your system after each increment and monitor for any signs of instability or overheating. This approach allows you to fine-tune the performance while minimizing the risks.
7. Backup Important Data: It’s always a good idea to back up your important data before attempting any significant changes to your system. While the risk may be minimal, there’s always a chance of instability or system failures during overclocking. Having a backup ensures that you can recover your data if any issues arise.
By following these precautions, you can significantly reduce the risks associated with overclocking and ensure a smoother and safer overclocking experience with your Z820 Workstation. In the next section, we will provide a step-by-step guide to overclocking your Z820 Workstation, equipping you with the knowledge to extract optimal performance from your system while maintaining its stability.
Step-by-Step Guide to Overclocking the Z820 Workstation
Now that you have taken the necessary precautions, it’s time to dive into the process of overclocking your Z820 Workstation. Follow this step-by-step guide to maximize the performance of your system:
1. Research Compatibility: Before starting, ensure that your Z820 Workstation’s CPU or GPU is capable of being overclocked. Check the specifications and documentation provided by the manufacturer to determine if your specific model supports overclocking.
2. Access the BIOS: Restart your Z820 Workstation and press the designated key (usually Del, F1, or F2) repeatedly to enter the BIOS setup. Each motherboard manufacturer may have a different key, so consult the documentation or look for on-screen prompts during bootup.
3. Enable Overclocking Options: Inside the BIOS, look for options related to overclocking. These may be labeled as “CPU overclocking,” “CPU frequency,” or similar. Enable these options to unlock overclocking capabilities.
4. Adjust Frequency and Voltage Settings: Within the overclocking options, you will find settings for adjusting the CPU and memory frequencies, as well as voltage settings. Increase these settings in small increments to avoid stability issues. Keep an eye on system temperatures to ensure they remain within safe limits.
5. Save and Exit: Once you have adjusted the overclocking settings, save your changes and exit the BIOS. The system will reboot with the new settings in place.
6. Stress Test and Monitor: After booting into the operating system, use stress testing software like Prime95 or AIDA64 to verify the stability of your overclocked settings. Monitor the system temperatures and ensure they stay within acceptable ranges.
7. Fine-Tune and Repeat: If your system passes the stress tests without issues, you can further fine-tune the overclocking settings. Incrementally increase the frequency and voltage, repeat the stress testing, and monitor for any instability or excessive temperatures. Adjust as necessary to find the optimal balance between performance and stability.
8. Document and Keep Track: As you experiment with overclocking settings, keep a record of the changes you make. This documentation will serve as a reference and help you identify stable settings in case you need to revert to a previous configuration.
9. Maintain Regular Monitoring and Maintenance: After successfully overclocking your Z820 Workstation, continue to monitor system temperatures and ensure that the overclocked settings remain stable. Regularly clean dust from the cooling components and periodically check for BIOS updates or new drivers that may improve stability or offer additional overclocking features.
By following this step-by-step guide and approaching the overclocking process with caution and patience, you can unlock the full potential of your Z820 Workstation and enjoy improved performance in your demanding tasks. In the next section, we will discuss the importance of choosing the right cooling solution for your overclocked system.
Choosing the Right Cooling Solution
One of the crucial factors to consider when overclocking your Z820 Workstation is the cooling solution. Overclocking generates additional heat, so ensuring efficient cooling is vital for maintaining system stability and preventing hardware damage. Here are some considerations for choosing the right cooling solution for your overclocked system:
1. Air Cooling: Air cooling is the most common and affordable cooling solution. It utilizes a combination of heatsinks and fans to dissipate heat from the CPU and other components. When choosing an air cooler, look for models with a high cooling capacity and low noise levels. Consider factors such as the size of the heatsink, the number of heat pipes, and the fan speed to ensure optimal cooling performance.
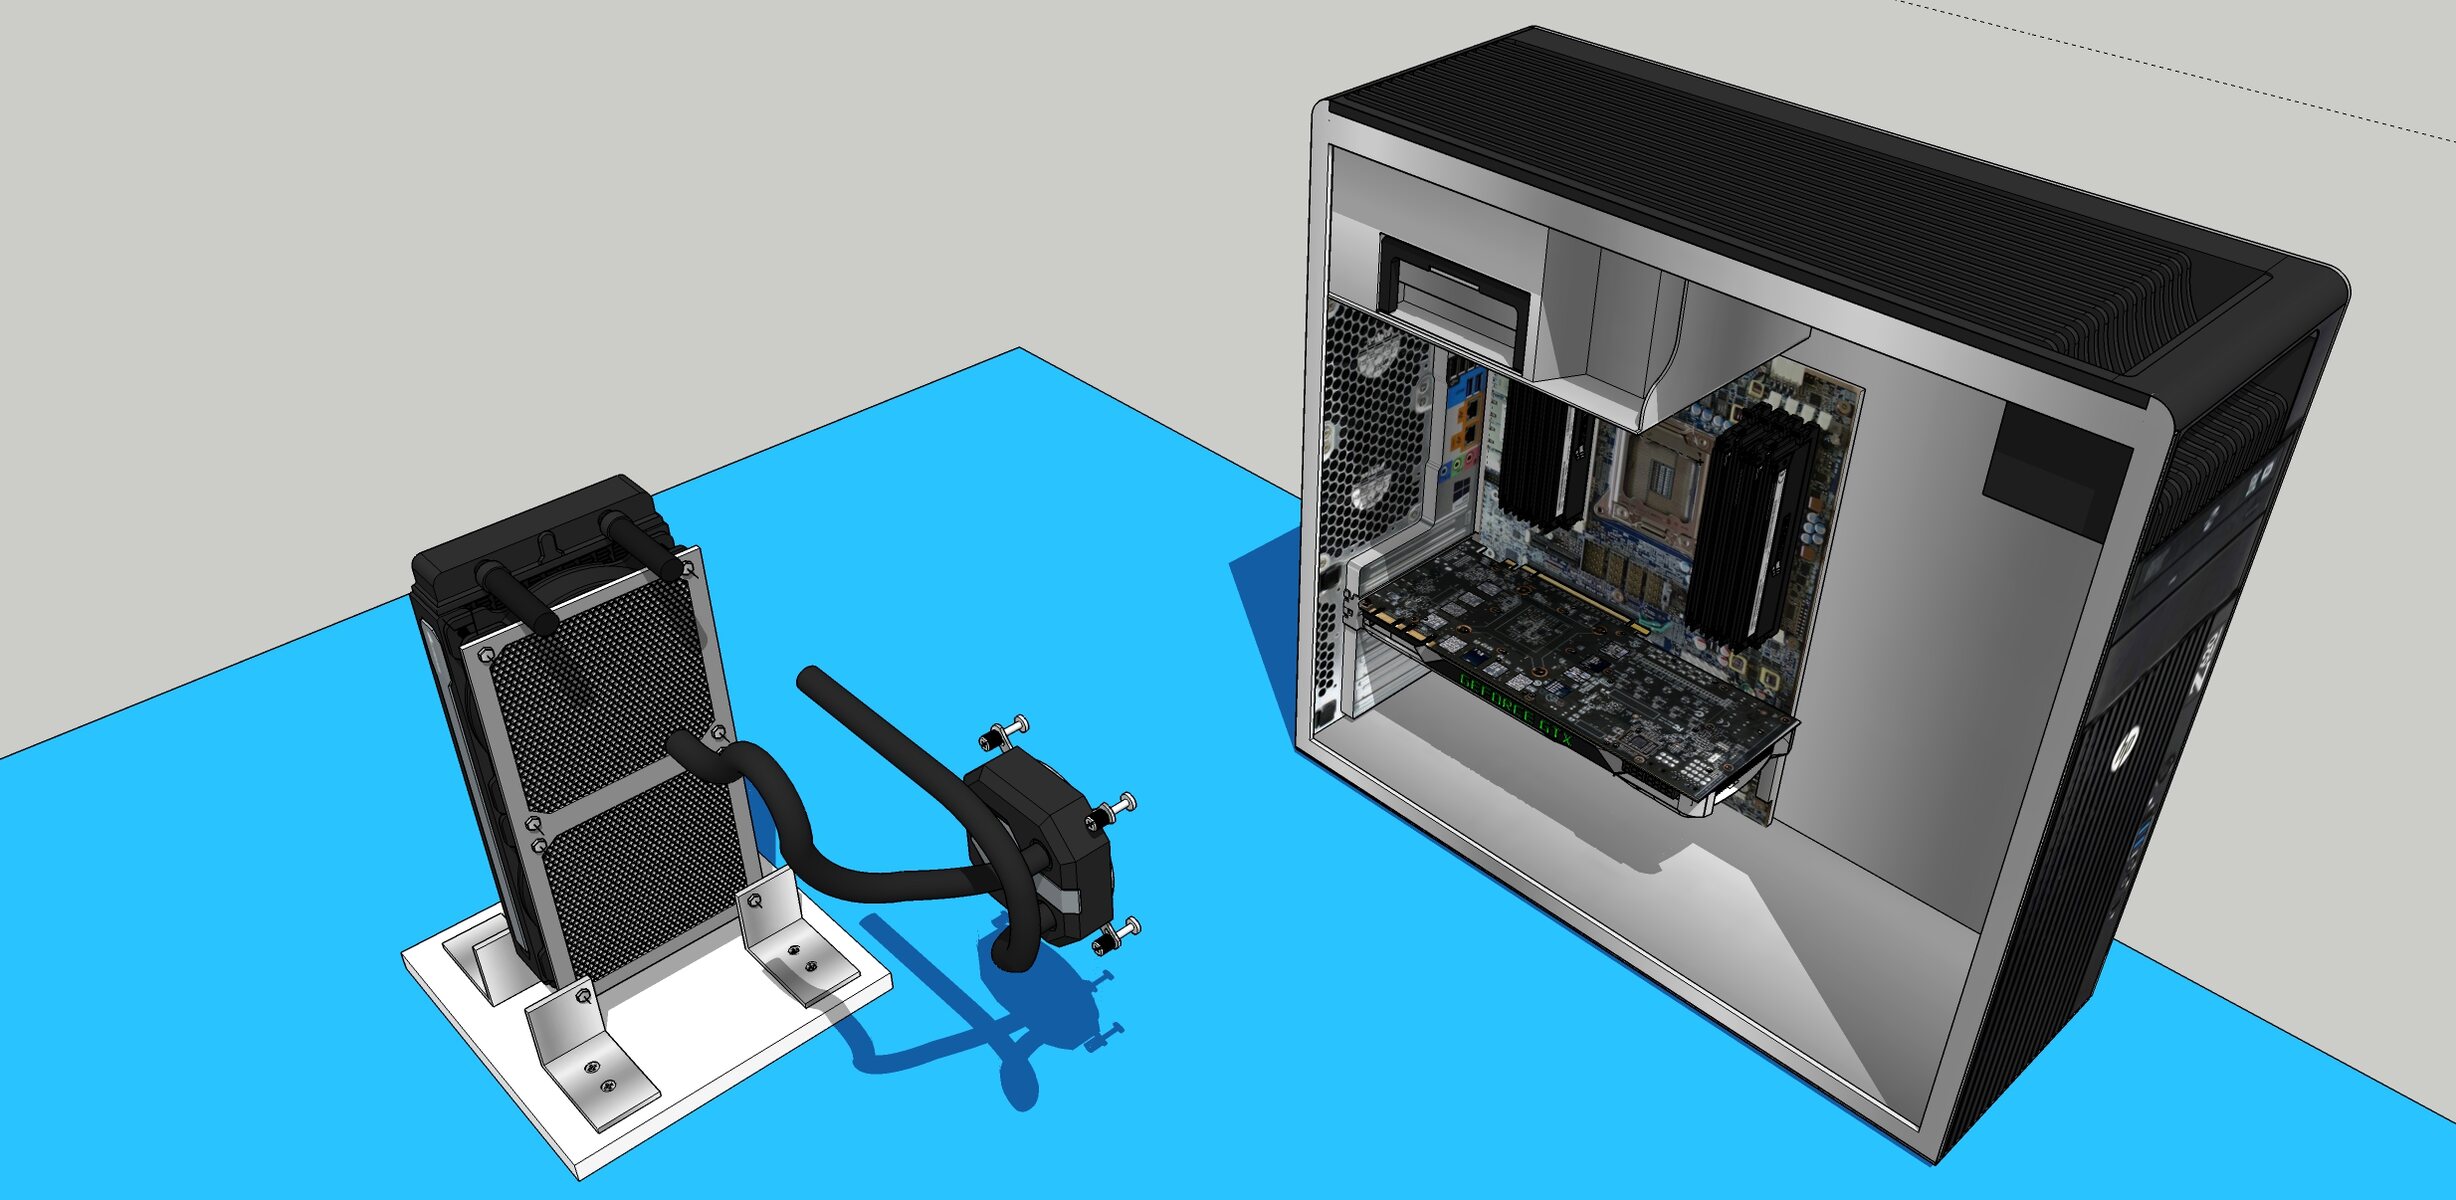
2. Liquid Cooling: Liquid cooling, also known as water cooling, is a more advanced option that offers superior cooling performance. It consists of a radiator, water or coolant-filled tubes, a pump, and a water block to cool the CPU or GPU. Liquid cooling provides better temperature control and can handle higher overclocks. However, it is more expensive and requires careful installation and maintenance.
3. CPU Cooler Clearance: When choosing a cooling solution, ensure that there is sufficient clearance within your workstation’s case to accommodate the chosen cooler. Check the specifications of both the cooler and your case to avoid any compatibility issues.
4. Adequate Airflow: Regardless of the cooling solution you choose, it is important to ensure proper airflow within your Z820 Workstation’s case. This includes using appropriately placed case fans to move air efficiently and managing cable clutter that obstructs airflow. Proper airflow helps in preventing heat buildup and maintaining a stable operating temperature.
5. Consider Overclocking Goals: The intensity of your overclocking will determine the level of cooling required. If you plan to push your Z820 Workstation to its limits with aggressive overclocking, consider investing in a high-performance cooling solution to handle the additional heat generated.
6. Budget and Noise Level: Cooling solutions come in a range of prices, so it’s important to consider your budget. While high-end liquid cooling may offer superior performance, it can be costly. Assess your needs and strike a balance between cooling performance, budget, and noise levels, as some cooling solutions can produce considerable noise.
Remember that the cooling solution you choose should align with your overclocking goals, the specific components being overclocked, and the thermal requirements of your Z820 Workstation. Proper cooling not only ensures system stability but also prolongs the lifespan of your hardware.
In the next section, we will discuss the importance of testing and performing stability checks after overclocking your Z820 Workstation to ensure optimal performance and reliability.
Testing and Stability Checks
After overclocking your Z820 Workstation, it is essential to perform thorough testing and stability checks to ensure that your system can handle the increased clock speeds without encountering stability issues. Proper testing not only ensures a stable and reliable system but also helps identify any potential issues before they cause major problems. Here are some important testing and stability checks to consider:
1. Stress Testing Software: Utilize stress testing software like Prime95 or AIDA64 to put your system under heavy load and simulate demanding workloads. These programs push the CPU and other components to their limits, helping to identify any instability or overheating issues.
2. Monitor System Temperatures and Voltages: Use monitoring software to track the temperatures of your CPU, GPU, and other critical components during stress testing. Ensure that the temperatures stay within safe limits to prevent overheating. Similarly, monitor the voltage levels to ensure they are stable and do not fluctuate excessively.
3. Test Stability over Extended Periods: Run stress tests for an extended period, preferably for several hours or overnight, to ensure that the system remains stable even under prolonged heavy loads. Some stability issues may only manifest after extended periods of usage, so testing for a longer duration provides a more accurate assessment.
4. Observe System Performance: While stress testing, observe the overall performance of your system. Check for any abnormal behavior, such as frequent crashes, system freezes, or significant performance degradation. These issues can indicate instability and should be addressed before they cause further problems.
5. Tweak and Fine-Tune: If instability or overheating occurs during stress testing, it may be necessary to fine-tune your overclocking settings. Adjust the frequencies, voltages, or cooling solutions to find a balance between performance and stability. Make incremental changes and retest to ensure the system remains stable.
6. Document Stable Settings: Once you have identified stable settings during stress testing, document them for future reference. This documentation will be invaluable if you need to revert to a stable configuration or share your overclocking settings with others.
It is important to recognize the iterative nature of the testing and stability process. Overclocking is an ongoing experience, and periodic retesting is necessary when making changes to your system or updating drivers. Additionally, as your Z820 Workstation ages, the stability and performance of your overclocked settings may change, requiring further adjustments and testing.
By meticulously testing and performing stability checks, you can ensure that your Z820 Workstation operates reliably and efficiently at its overclocked settings. In the next section, we will address some common troubleshooting issues that may arise during the overclocking process and provide helpful solutions to resolve them.
Troubleshooting Common Issues
During the overclocking process, you may encounter some common issues that can hinder stability and performance. Identifying and resolving these issues is essential for a successful overclocking experience on your Z820 Workstation. Here are some troubleshooting tips for common issues that may arise:
1. Instability or System Crashes: If your system becomes unstable or crashes frequently after overclocking, it is likely due to unstable settings. Try reducing the overclocked frequencies or voltages to more conservative levels. Alternatively, increase the voltages slightly to provide more stability, while ensuring the temperatures are within acceptable limits.
2. Overheating: Overclocking can generate additional heat, and insufficient cooling can lead to overheating. If your system temperatures are too high, ensure that your cooling solution is properly installed and functioning correctly. Consider using more powerful fans or upgrading to a better cooling solution if necessary. Proper airflow within the case is also crucial, so check for any obstructions or cable clutter that may impede airflow.
3. BSOD (Blue Screen of Death) Errors: If you encounter BSOD errors after overclocking, it indicates an unstable system. These errors are typically accompanied by error codes that can help identify the specific issue. Try reducing the overclocked frequencies or adjusting the voltages within stable ranges to resolve these errors.
4. GPU Artifacts or Display Issues: Overclocking the GPU involves increasing clock speeds, which can lead to visual artifacts or display issues. If you notice artifacts, graphical glitches, or display instability, consider lowering the GPU clock speeds slightly. It may also be helpful to update your GPU drivers to the latest version, as driver updates often include performance improvements and bug fixes.
5. Memory Errors: Overclocking the memory may result in memory errors, causing system instability or crashes. Check the timings and voltages of your memory modules and ensure they are within the manufacturer’s recommended specifications. If errors persist, consider reducing the memory overclock or increasing the memory voltage slightly.
6. BIOS and Driver Updates: Outdated BIOS versions or incompatible drivers can cause stability issues when overclocking. Regularly check for BIOS updates on the manufacturer’s website and update your graphics card drivers to the latest version. These updates often address performance and stability improvements for overclocked systems.
Remember that troubleshooting overclocking issues requires patience and a systematic approach. Make one adjustment at a time, test for stability, and observe the system’s behavior before making further changes. Keep track of the adjustments you make, as it will help you identify the cause of any issues and revert to stable configurations if necessary.
If you encounter persistent stability issues or are unable to resolve the problems on your own, reaching out to overclocking communities or seeking assistance from technical experts can provide valuable insights and guidance to troubleshoot and resolve complex issues.
In the next section, we will explore the benefits and drawbacks of overclocking your Z820 Workstation, helping you weigh the decision and make an informed choice.
Benefits and Drawbacks of Overclocking
Overclocking your Z820 Workstation comes with its own set of benefits and drawbacks. Understanding these can help you make an informed decision about whether overclocking is the right choice for you and your specific requirements. Let’s explore the benefits and drawbacks of overclocking:
Benefits:
- Increased Performance: The primary benefit of overclocking is the potential for increased performance. By pushing your CPU and GPU beyond their factory settings, you can achieve higher clock speeds and improved performance in tasks that require intensive processing power, such as gaming, video editing, and 3D rendering.
- Cost Savings: Overclocking allows you to extract more performance from your existing hardware without having to invest in expensive upgrades. This can be beneficial for individuals and professionals looking to enhance their workstation’s capabilities without breaking the bank.
- Customization and Optimization: Overclocking provides the flexibility to fine-tune the performance of your Z820 Workstation according to your specific needs. You can optimize your system for specific applications or tasks, tailoring it to deliver the best performance in your area of focus.
- Extended Lifespan: Overclocking often involves stress testing, which helps identify stability issues before they become major problems. By pushing your system to its limits and ensuring stability under heavy workloads, you can increase its lifespan by identifying and resolving potential issues early on.
Drawbacks:
- Risk of Instability and Damage: Overclocking carries the risk of instability, crashes, and potential damage to your components if not done properly. Improper cooling or voltage settings can lead to overheating, reduced lifespan, or even permanent damage to your Z820 Workstation’s hardware.
- Voiding Warranty: Overclocking often voids the warranty provided by the manufacturer. Altering the factory settings of your components can lead to warranty claims being rejected, leaving you responsible for any repairs or replacements that may be needed.
- Increased Power Consumption: Overclocking typically requires higher voltages, resulting in increased power consumption. This can lead to higher electricity bills over time and also necessitate the use of a more robust power supply unit (PSU).
- No Guarantee of Significant Performance Gains: Not all applications or tasks benefit equally from overclocking. Some software may not utilize the increased clock speeds efficiently, resulting in minimal performance gains. It’s important to consider whether the tasks you perform can benefit significantly from overclocking before proceeding.
Before deciding to overclock your Z820 Workstation, carefully weigh the benefits and drawbacks to determine if overclocking aligns with your goals and requirements. If you prioritize stability, longevity, and maintaining a valid warranty, then sticking with the stock settings may be the better choice. However, if you seek enhanced performance and have the necessary knowledge and experience, overclocking can unlock the full potential of your Z820 Workstation.
In the concluding section, we will summarize the key points covered in this guide and offer some final thoughts on overclocking the Z820 Workstation.
Conclusion
Overclocking your Z820 Workstation can be an enticing option to unlock additional performance and optimize your system for demanding tasks. However, it requires careful consideration and adherence to safety precautions to avoid potential risks and ensure a stable and reliable system.
Throughout this guide, we have explored the world of overclocking and provided a step-by-step walkthrough to overclock your Z820 Workstation effectively and safely. We discussed the concept of overclocking, its benefits, and drawbacks, as well as the importance of choosing the right cooling solution and performing thorough testing and stability checks.
It is essential to understand that overclocking may not be necessary or suitable for everyone. The Z820 Workstation already offers impressive performance out of the box, and overclocking should only be pursued if your specific tasks and applications will benefit significantly from increased clock speeds.
Before embarking on the overclocking journey, thoroughly research and assess your hardware’s overclocking capabilities. Take precautions to ensure proper cooling and power supply, and regularly monitor system temperatures and stability. Additionally, always remember that overclocking has its risks, including voiding warranties and potential hardware damage.
By following the guidelines and precautions outlined in this guide, you can make informed decisions and safely overclock your Z820 Workstation, unlocking its full potential for better performance and productivity.
Whether you choose to overclock or stick with stock settings, remember to regularly update drivers, maintain proper cooling, and perform routine maintenance to keep your Z820 Workstation running smoothly.
Ultimately, the decision to overclock your Z820 Workstation lies in your hands. Consider your specific needs, the potential benefits, and the risks involved before proceeding. With the right mindset and knowledge, overclocking can be a rewarding experience, pushing your workstation to new levels of performance.
Now that you have gained insights into overclocking the Z820 Workstation, the choice is yours. Evaluate your requirements, weigh the pros and cons, and embark on your overclocking journey with confidence. Good luck!