Introduction
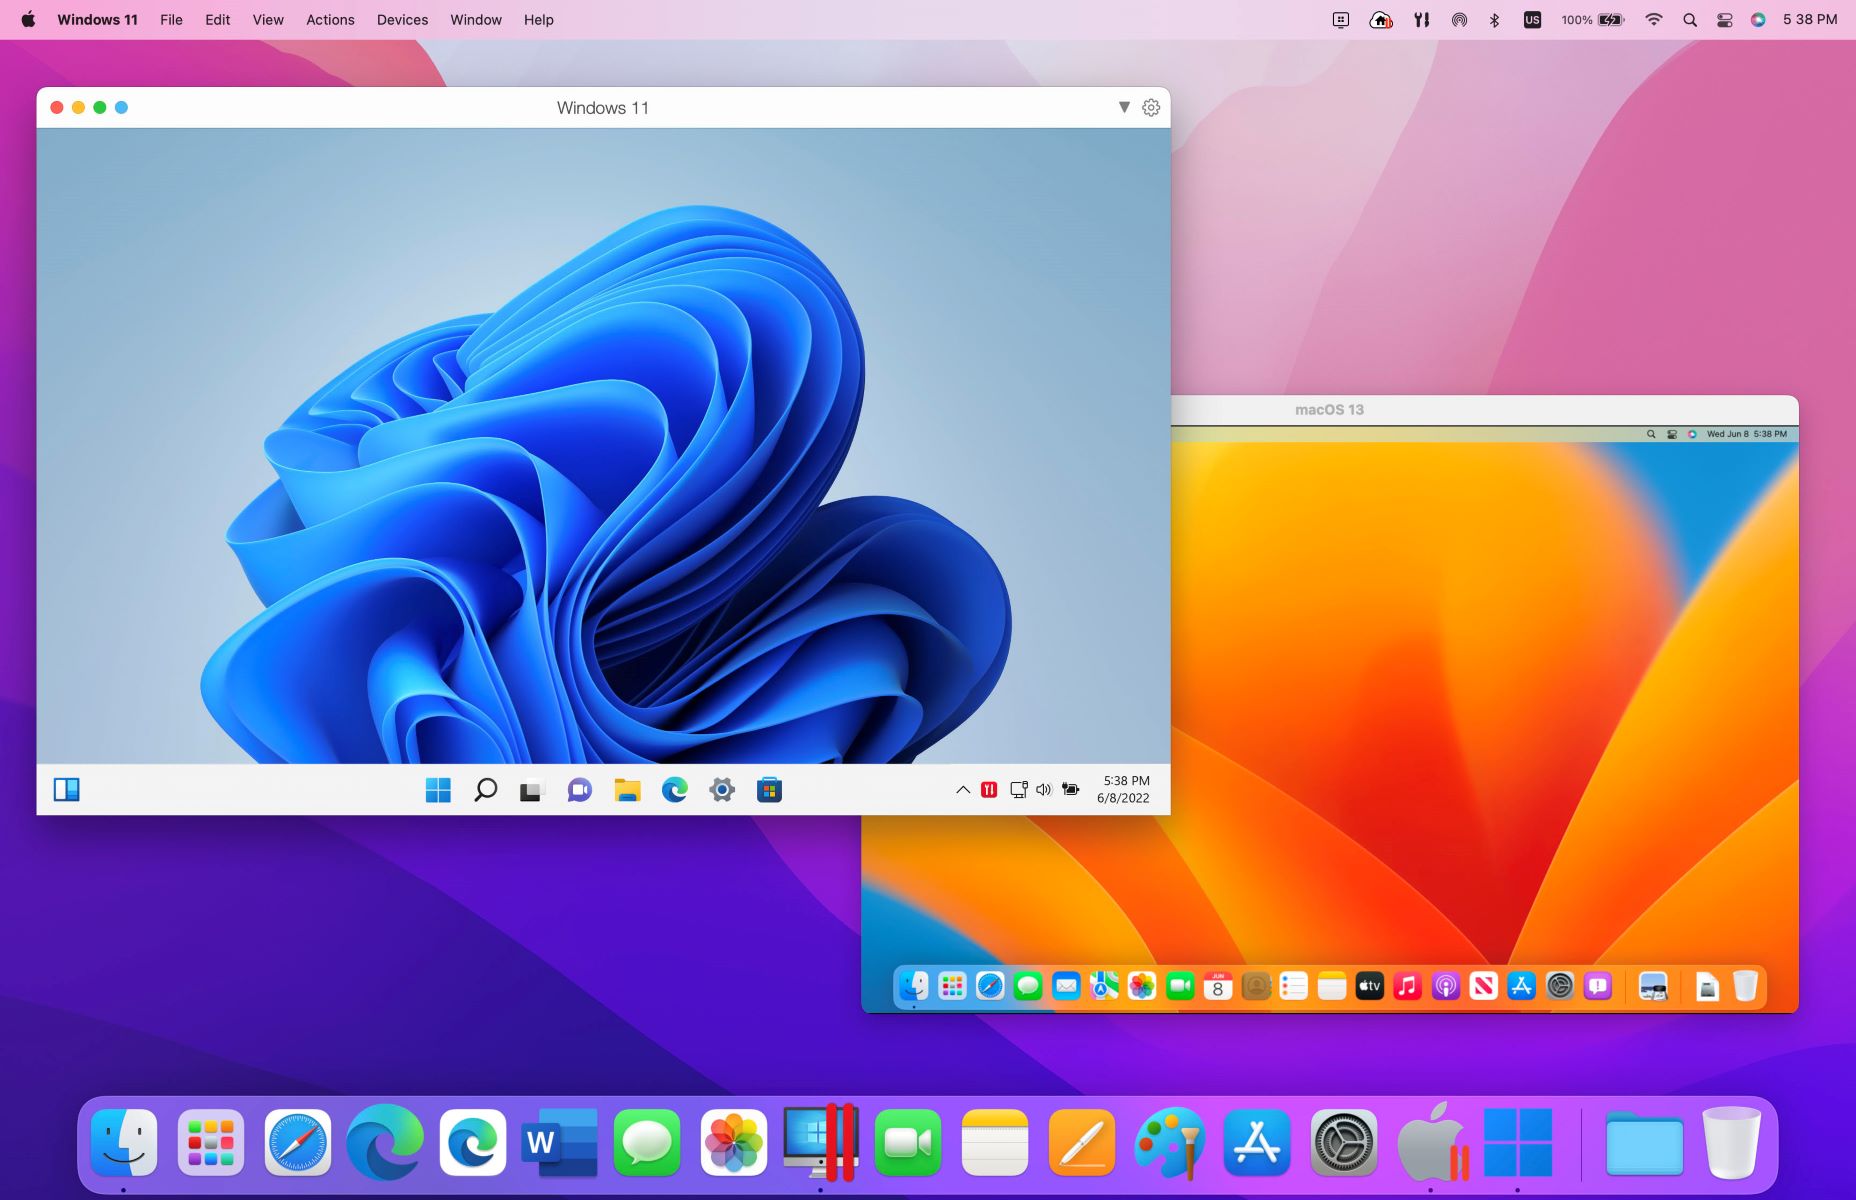
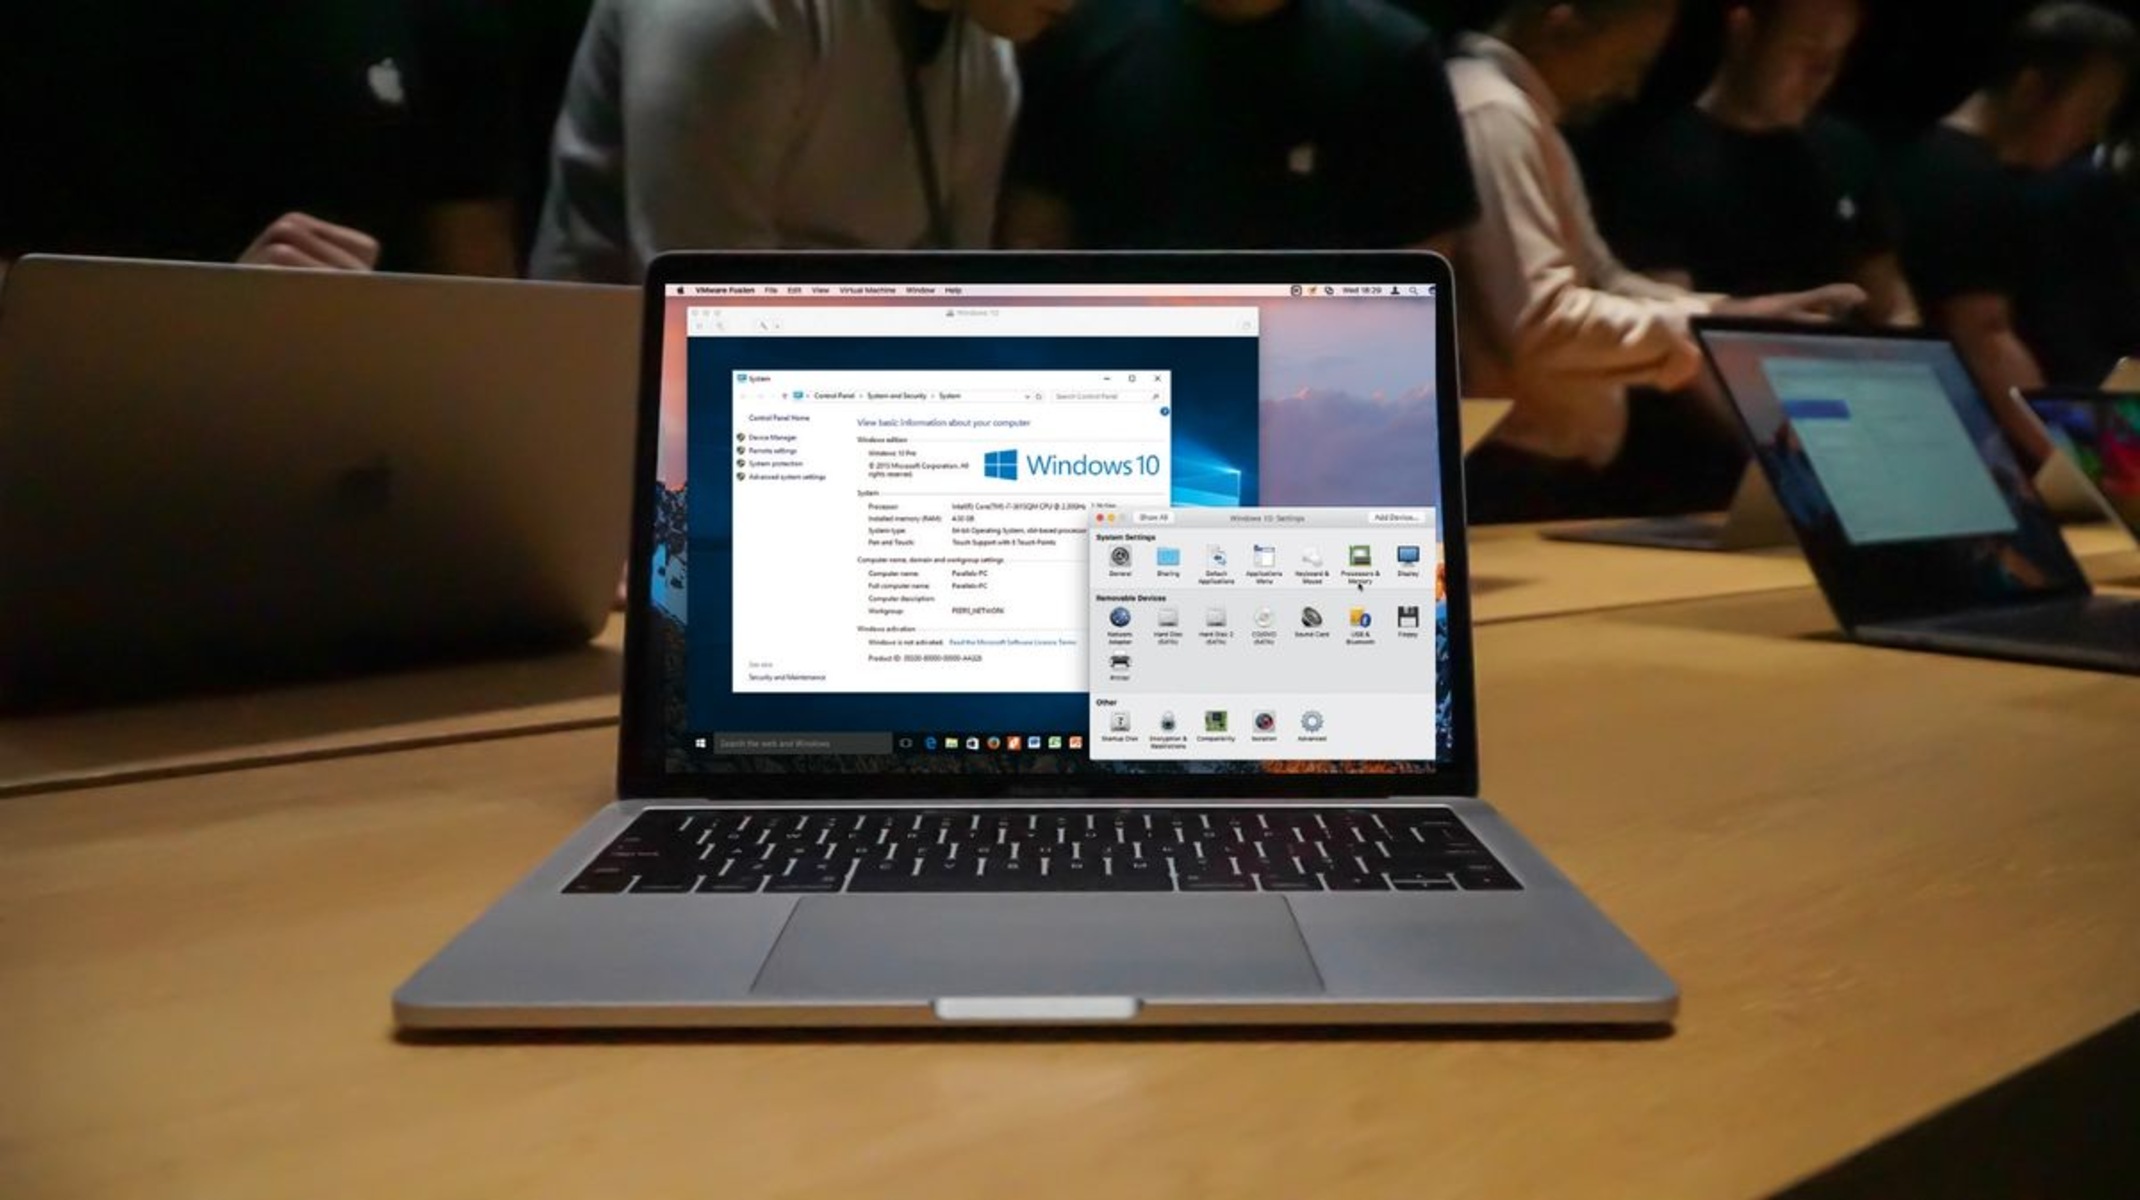
Welcome to the world of VMware Fusion, a powerful virtualization software that allows you to run multiple operating systems on your Mac computer simultaneously. Whether you’re a developer, designer, or IT professional, VMware Fusion offers a seamless experience for managing virtual machines.
However, there may come a time when you no longer need a virtual machine and wish to delete it to free up resources and declutter your workspace. In this guide, we’ll walk you through the step-by-step process of deleting a virtual machine in VMware Fusion.
By removing a virtual machine, you can reclaim valuable disk space and optimize performance. It’s important to note that deleting a virtual machine will permanently remove all associated files, so be sure to back up any important data beforehand.
Whether you’re a seasoned user or new to the world of VMware Fusion, this guide will provide you with the necessary instructions to delete a virtual machine with ease. So let’s dive in and learn how to delete a virtual machine in VMware Fusion!
Step 1: Opening VMware Fusion
The first step in deleting a virtual machine in VMware Fusion is to open the VMware Fusion application on your Mac computer. Locate the VMware Fusion icon in your Applications folder or click on it in your Dock if you have it pinned.
Once you’ve launched VMware Fusion, you’ll be greeted with the main interface that displays a list of virtual machines you have created. These virtual machines represent individual instances of operating systems that you can run on your Mac.
Take a moment to familiarize yourself with the VMware Fusion interface. You will see the virtual machines listed in a sidebar on the left side of the window. Each virtual machine will have its name, along with some basic information such as the operating system it is running and its current power state.
Now that you have VMware Fusion open and are ready to delete a virtual machine, let’s move on to the next step.
Step 2: Selecting the Virtual Machine to Delete
Once you have VMware Fusion open, the next step in deleting a virtual machine is to select the virtual machine you wish to remove. Look through the list of virtual machines in the sidebar and identify the one you want to delete.
To select the virtual machine, simply click on its name in the sidebar. This will highlight the virtual machine and display more details about it in the main area of the VMware Fusion window. Take a moment to verify that you have selected the correct virtual machine before proceeding.
If you’re unsure which virtual machine to delete, you can review the details displayed in the sidebar. This includes information such as the operating system, disk size, and power state. Additionally, you can hover over a virtual machine to see a tooltip displaying additional details.
It’s important to note that once you delete a virtual machine, it cannot be recovered unless you have a backup. Make sure you have selected the correct virtual machine and have backed up any important data before proceeding.
Now that you have selected the virtual machine you wish to delete, let’s move on to the next step and learn how to delete it from VMware Fusion.
Step 3: Deleting the Virtual Machine
Now that you’ve selected the virtual machine you want to delete, it’s time to proceed with the deletion process in VMware Fusion. Follow the steps below to remove the virtual machine from your system:
- Right-click on the selected virtual machine in the sidebar. This will open a contextual menu with various options.
- From the contextual menu, click on the “Remove” or “Delete” option. This action will initiate the deletion process.
- A confirmation dialog box will appear, asking you to confirm the deletion of the virtual machine. Take a moment to review the information and ensure that you have selected the correct virtual machine for deletion.
- If you’re certain about deleting the virtual machine, click on the “Delete” or “OK” button in the confirmation dialog box. VMware Fusion will then begin the process of deleting the virtual machine and its associated files.
- Depending on the size of the virtual machine and the performance of your system, the deletion process may take some time. Be patient and allow VMware Fusion to complete the deletion process.
- Once the deletion process is finished, you will no longer see the virtual machine listed in the sidebar of VMware Fusion. The virtual machine and its files have been permanently removed from your system.
It’s important to note that deleting a virtual machine will permanently remove all associated files, including the virtual disk, snapshots, and configuration settings. Therefore, it’s crucial to ensure that you have backed up any necessary data before deleting the virtual machine.
Congratulations! You have successfully deleted the virtual machine from VMware Fusion. Now, let’s wrap up this guide by confirming the deletion in the next step.
Step 4: Confirming the Deletion
After the deletion process is completed, it’s essential to confirm that the virtual machine has been successfully deleted from VMware Fusion. Follow the steps below to verify the deletion:
- Take a look at the sidebar in VMware Fusion. The virtual machine you deleted should no longer be listed there.
- Verify that the associated files of the virtual machine, such as the virtual disk (.vmdk) and any snapshots, have also been removed from the disk storage location.
- Alternatively, you can navigate to the disk storage location manually and ensure that no files related to the deleted virtual machine are present.
If you have confirmed that the virtual machine and its associated files have been successfully deleted, congratulations! You have successfully removed the virtual machine from VMware Fusion.
Deleting unnecessary virtual machines not only helps free up valuable disk space but also streamlines your virtual environment, improving performance and resource utilization. As a best practice, regularly evaluate your virtual machines and remove any you no longer need to maintain an efficient virtualization workflow.
Remember, before deleting a virtual machine, always make sure to back up any important data to ensure it is not lost during the deletion process.
With this final step, you have completed the process of deleting a virtual machine in VMware Fusion. You are now ready to manage your virtual environment efficiently and enjoy the benefits of an optimized system.
Conclusion
Deleting a virtual machine in VMware Fusion is a straightforward process that allows you to free up disk space and optimize your virtual environment. By following the steps outlined in this guide, you can successfully remove unwanted virtual machines from VMware Fusion.
In this guide, we covered the essential steps for deleting a virtual machine in VMware Fusion. We started by opening the VMware Fusion application and selecting the virtual machine to delete. We then walked through the deletion process, including confirming the deletion and verifying its completion.
Remember, when deleting a virtual machine, it’s crucial to double-check that you have selected the correct one and have backed up any important data beforehand. Once a virtual machine is deleted, its associated files, including the virtual disk and snapshots, cannot be recovered unless you have a backup.
Regularly reviewing and deleting unnecessary virtual machines helps to improve the performance and efficiency of your virtual environment. It frees up valuable resources and reduces clutter, allowing you to focus on the virtual machines that are truly essential for your work or projects.
Now that you have completed this guide, you have the knowledge and skills to confidently delete virtual machines in VMware Fusion. Use this ability to maintain an organized and optimized virtualization workflow.
Thank you for following along with this guide, and we hope it has been helpful to you. Happy virtualization!