Introduction
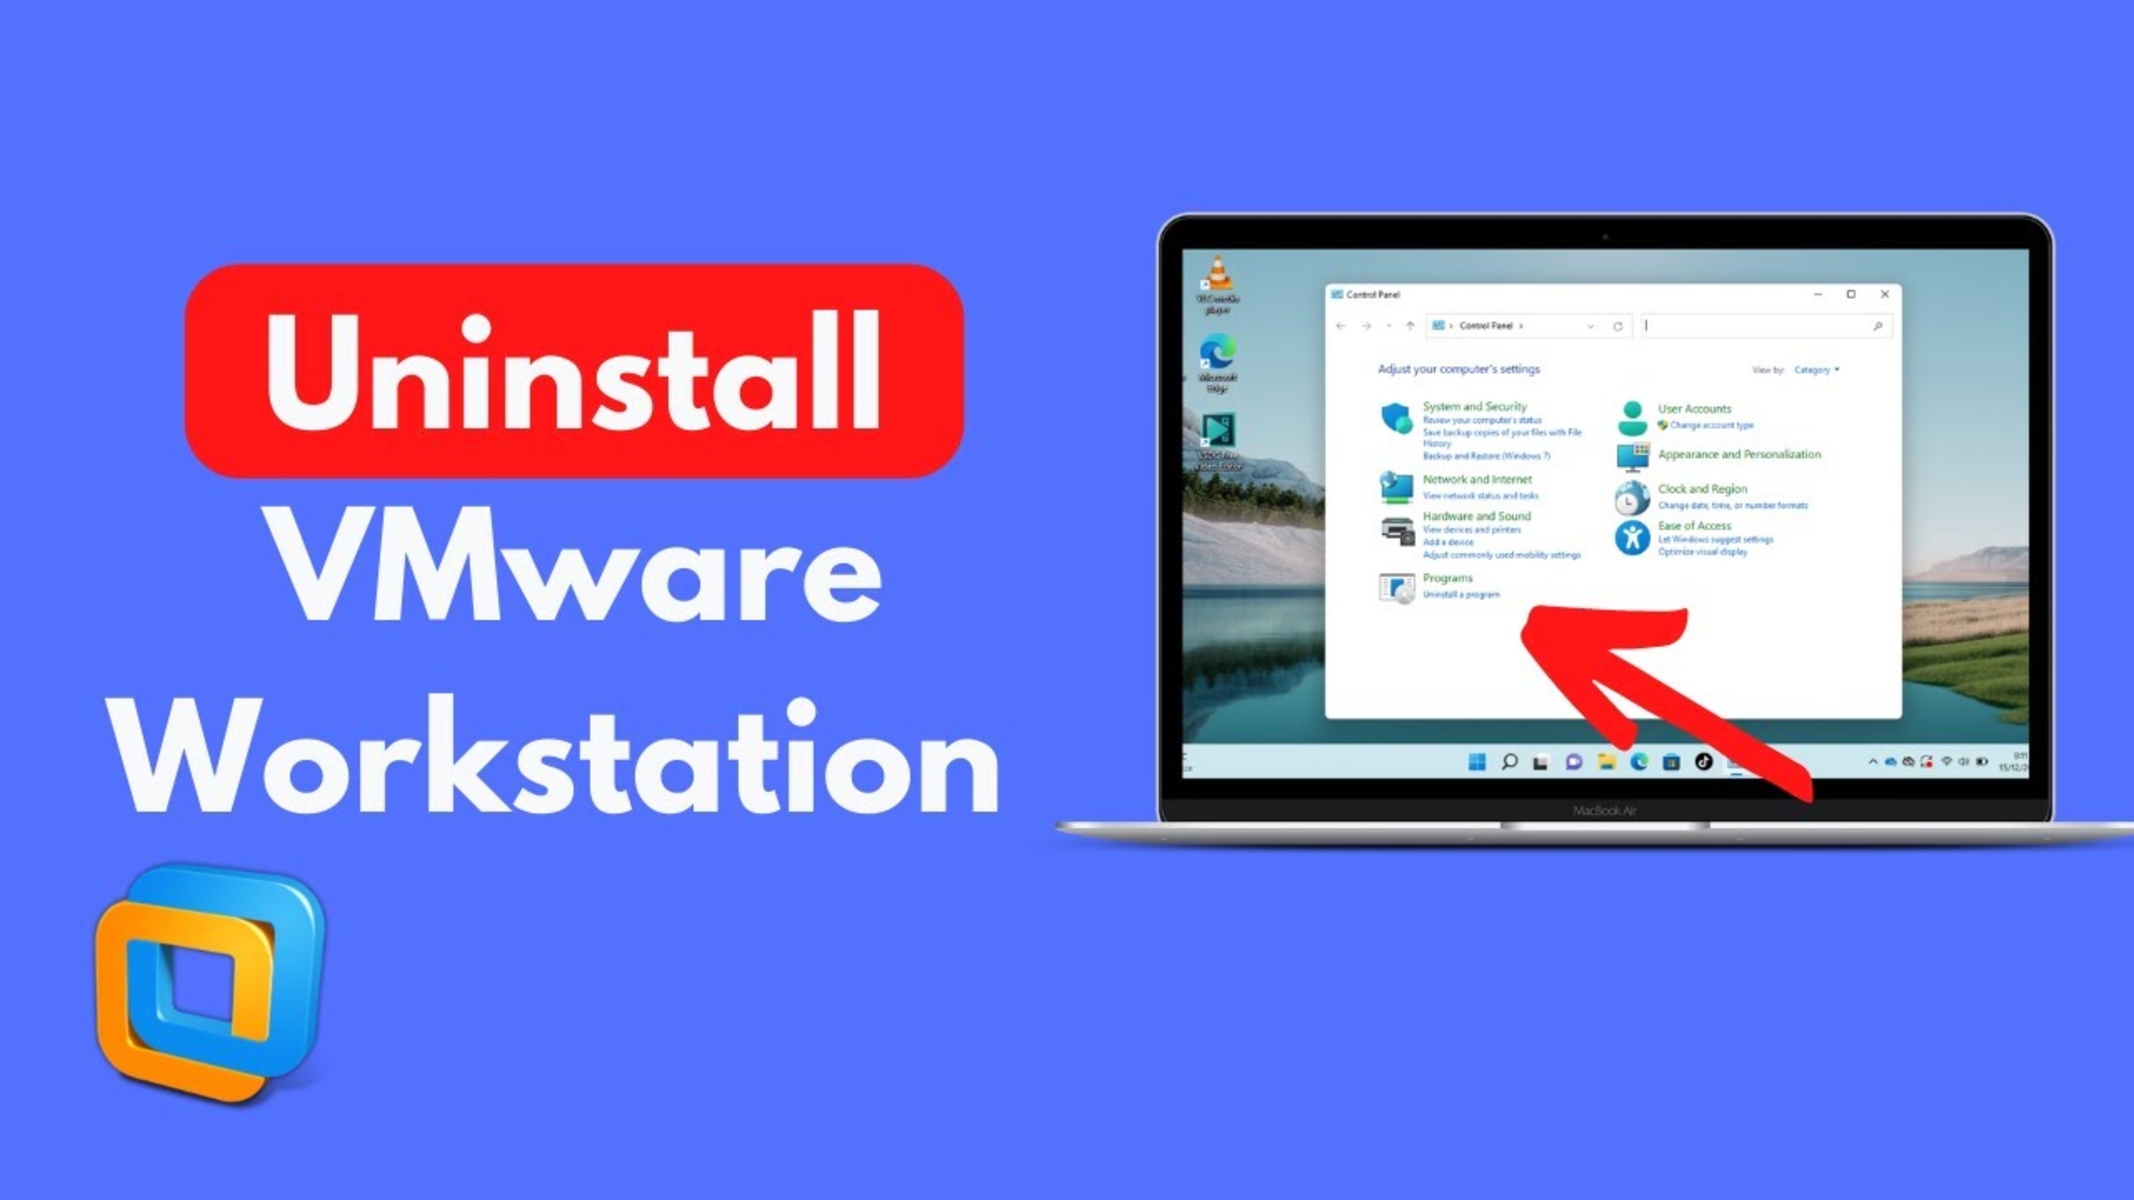
Welcome to this guide on how to delete a virtual machine in VMware Workstation. VMware Workstation is a powerful software application that allows you to create and manage virtual machines on your computer. Virtual machines are isolated environments that can run various operating systems and applications, making it convenient for developers, testers, and IT professionals.
Deleting a virtual machine is a common task when you no longer need it or want to free up disk space. However, it’s important to note that deleting a virtual machine is irreversible. Once deleted, you cannot recover it, so make sure to backup any important files or data before proceeding with the deletion process.
In this guide, we will walk you through the steps to delete a virtual machine in VMware Workstation. We will start by opening the VMware Workstation software and ensuring that the virtual machine is powered off. Then, we will select the virtual machine and access its settings to delete the corresponding files. Finally, we will confirm the deletion to complete the process.
Whether you’re a beginner or an experienced user, this guide is designed to help you navigate the process smoothly. So let’s dive in and start deleting virtual machines in VMware Workstation!
Step 1: Open VMware Workstation
The first step in deleting a virtual machine in VMware Workstation is to open the software. If you have VMware Workstation already installed on your computer, you can find it in your applications or programs list. Simply locate the VMware Workstation icon and double-click to launch the program.
Once VMware Workstation is open, you will see the main interface, which displays any existing virtual machines that you have created. Each virtual machine is represented by an icon, showing its name and status. If you have multiple virtual machines, scroll through the list to find the one you wish to delete.
If you do not have VMware Workstation installed on your computer, you can download it from the VMware website. The software is available for both Windows and macOS operating systems.
Upon opening VMware Workstation, you may be prompted to log in with your VMware account credentials. If you have an account, enter your username and password to proceed. If you do not have an account, you can create one for free by clicking on the “Create an Account” link.
Once logged in, you will have access to all the features and functionalities of VMware Workstation, including the ability to manage and delete virtual machines.
Now that you have successfully opened VMware Workstation, you are ready to move on to the next step: powering off the virtual machine you wish to delete.
Step 2: Power off the virtual machine
Before you can delete a virtual machine in VMware Workstation, you need to ensure that it is powered off. This step is crucial to prevent any data loss or interruptions during the deletion process.
To power off a virtual machine, locate the virtual machine icon in the VMware Workstation interface. If the virtual machine is currently powered on, you will see a green power button next to the icon. Click on the power button to initiate the shutdown process.
Alternatively, you can right-click on the virtual machine icon and select the “Power” option from the context menu. In the submenu, choose “Power Off” to shut down the virtual machine.
Once the power off process is initiated, VMware Workstation will send a shutdown signal to the running virtual machine’s operating system. The virtual machine will go through the standard shutdown process and power off gracefully.
It’s important to note that forcibly shutting down a virtual machine without properly shutting down the operating system can lead to data corruption or other issues. Therefore, always make sure to follow the proper shutdown procedure.
Depending on the size and complexity of the virtual machine, the shutdown process may take a few seconds to a few minutes. Once the virtual machine is successfully powered off, the green power button will be replaced with a grey power button in the VMware Workstation interface.
Now that the virtual machine is powered off, you can proceed to the next step: selecting the virtual machine to delete.
Step 3: Select the virtual machine
After powering off the virtual machine in VMware Workstation, the next step is to select the virtual machine you wish to delete. By selecting the specific virtual machine, you can access its settings and perform the deletion process.
In the VMware Workstation interface, browse through the list of virtual machines displayed. Look for the icon or name of the virtual machine you want to delete.
To select the virtual machine, simply click on its icon or name. The selected virtual machine will be highlighted or have a border surrounding it, indicating that it is currently selected.
If you have multiple virtual machines and are unsure which one to delete, you can check the virtual machine’s details, such as its name, operating system, and storage location, to ensure you are selecting the correct one.
In some cases, you may have folders or groups to organize your virtual machines within VMware Workstation. If your virtual machine is located within a folder or group, you may need to navigate through the folder structure to access the desired virtual machine. Simply click on the folder or expand the group to reveal its contents, and then select the virtual machine within.
By selecting the virtual machine, you are now ready to proceed to the next step: opening the virtual machine settings to begin the deletion process.
Step 4: Open the Virtual Machine settings
Once you have selected the virtual machine you want to delete in VMware Workstation, the next step is to open the virtual machine settings. The settings allow you to customize various aspects of the virtual machine, including its hardware configuration, network settings, and more.
To open the virtual machine settings, there are a couple of methods you can use:
1. Right-click on the selected virtual machine icon and choose “Settings” from the context menu. This will open the settings window specific to the virtual machine.
2. Alternatively, you can navigate to the “VM” menu at the top of the VMware Workstation interface and click on “Settings”. This will open the settings window for the currently selected virtual machine.
Once the virtual machine settings window is open, you will see a range of tabs and options that you can modify. These settings control different aspects of the virtual machine, including its hardware, memory, storage, and more.
For the purpose of deleting the virtual machine, we will focus on the “Options” tab within the settings. This tab contains important configuration settings and advanced options for the virtual machine.
Within the “Options” tab, look for the “General” or “Advanced” settings. In this section, you may find an option to delete the virtual machine files or remove the virtual machine from VMware Workstation. The specific wording and location of this option may vary based on the version of VMware Workstation you are using.
Now that you have opened the virtual machine settings, you are ready to proceed to the next step: deleting the virtual machine files.
Step 5: Delete the virtual machine files
Once you have opened the virtual machine settings in VMware Workstation, the next step is to delete the actual virtual machine files. This step ensures that all associated files, including the virtual hard drive, configuration files, and snapshots, are removed from your system.
In the virtual machine settings window, navigate to the “General” or “Advanced” settings section. Look for an option that allows you to delete the virtual machine files or remove the virtual machine from VMware Workstation.
If you see an option to delete the virtual machine files, click on it. A confirmation dialog may appear, warning you that the deletion is irreversible. Make sure to review the warning and double-check that you have backed up any important files or data associated with the virtual machine.
If there isn’t a specific option to delete the virtual machine files, you can manually delete them from your computer’s file system. To do this, navigate to the location where the virtual machine files are stored. By default, VMware Workstation saves virtual machine files in a specific directory.
Locate the directory corresponding to the virtual machine you want to delete and delete all the files and folders within it. This may include the virtual machine’s .vmx and .vmdk files, as well as any snapshot files if applicable.
It is important to note that deleting the virtual machine files without going through the proper deletion process in VMware Workstation can cause issues and potentially leave orphaned files on your computer. Therefore, it is recommended to use the built-in deletion options whenever possible.
Now that you have successfully deleted the virtual machine files, it’s time to proceed to the final step: confirming the deletion of the virtual machine.
Step 6: Confirm deletion of virtual machine
After deleting the virtual machine files in VMware Workstation, the final step is to confirm the deletion of the virtual machine. This step ensures that you are intentionally removing the virtual machine and that it cannot be recovered.
If you have used the specific option to delete the virtual machine files within the virtual machine settings, you may see a confirmation prompt after clicking on it. This prompt typically asks you to confirm that you want to delete the virtual machine and its associated files.
Review the confirmation prompt carefully and make sure that you have selected the correct virtual machine for deletion. Once confirmed, the deletion process will begin, and VMware Workstation will permanently remove the virtual machine and its files from your system.
Alternatively, if you have manually deleted the virtual machine files from your computer’s file system, there may not be a confirmation step within VMware Workstation. However, it is still important to double-check that you have successfully deleted the virtual machine files and that there are no remnants left behind.
After confirming the deletion or manually verifying the deletion of the virtual machine files, you can close the virtual machine settings window in VMware Workstation. The deleted virtual machine will no longer appear in the list of virtual machines within the software.
It’s worth noting that deleting a virtual machine is a permanent action, and you will not be able to recover it unless you have made backups of the virtual machine files.
With the confirmation of the deletion, you have successfully completed the process of deleting a virtual machine in VMware Workstation.
Conclusion
Congratulations! You have successfully learned how to delete a virtual machine in VMware Workstation. Deleting a virtual machine is a straightforward process that involves a few essential steps to ensure proper removal.
Throughout this guide, we covered the steps from opening VMware Workstation to confirming the deletion of the virtual machine. By following these steps, you can effectively remove virtual machines that are no longer needed, freeing up disk space and improving the overall performance of your system.
Remember, it is crucial to exercise caution when deleting virtual machines, as the process is irreversible. Always back up any important files or data associated with the virtual machine before initiating the deletion process.
By familiarizing yourself with VMware Workstation’s interface and understanding the steps involved in deleting a virtual machine, you have acquired a valuable skill for managing your virtual infrastructure.
We hope this guide has been helpful and that you now feel confident in your ability to delete virtual machines in VMware Workstation. Whether you are a beginner or an experienced user, managing virtual machines is an essential aspect of working with virtualization technology.
Thank you for reading, and happy virtual machine management!


