Introduction
VMware Workstation is a popular software used for virtualization on the Windows operating system. It allows users to run multiple operating systems simultaneously on a single computer, making it a valuable tool for developers, testers, and IT professionals. However, there may come a time when you need to uninstall VMware Workstation from your Windows 7 system.
Uninstalling VMware Workstation can be a straightforward process if you follow the right steps. In this article, we will guide you through the process of uninstalling VMware Workstation on a Windows 7 system, ensuring a seamless removal of the software and its associated files.
Before we dive into the uninstallation process, it’s important to note that removing VMware Workstation will also remove any virtual machines and files associated with the application. Therefore, it’s crucial to back up any important data or virtual machines before proceeding with the uninstallation.
Now, let’s get started with the step-by-step guide to uninstall VMware Workstation on Windows 7.
Step 1: Close VMware Workstation
Before uninstalling VMware Workstation, it is essential to ensure that the application is not running in the background. Closing VMware Workstation will prevent any conflicts or errors during the uninstallation process. Here’s how you can close VMware Workstation:
- Check the System Tray: Look for the VMware Workstation icon in the system tray, located at the bottom-right corner of the screen. If you see the icon, right-click on it, and select “Exit” or “Close”. This action will close the application.
- Use the Task Manager: Alternatively, you can use the Task Manager to force-close VMware Workstation. To open the Task Manager, press the Ctrl + Shift + Esc keys simultaneously. In the Task Manager window, navigate to the “Processes” tab and locate any processes associated with VMware Workstation. Select the processes and click on the “End Task” button to close them.
- Restart your computer: If you are unable to close VMware Workstation using the previous methods, restart your computer. This will ensure that any running processes related to VMware Workstation are terminated.
Once you have successfully closed VMware Workstation, you are ready to proceed to the next step of the uninstallation process. It is vital to close the application to avoid any conflicts and ensure a smooth uninstallation.
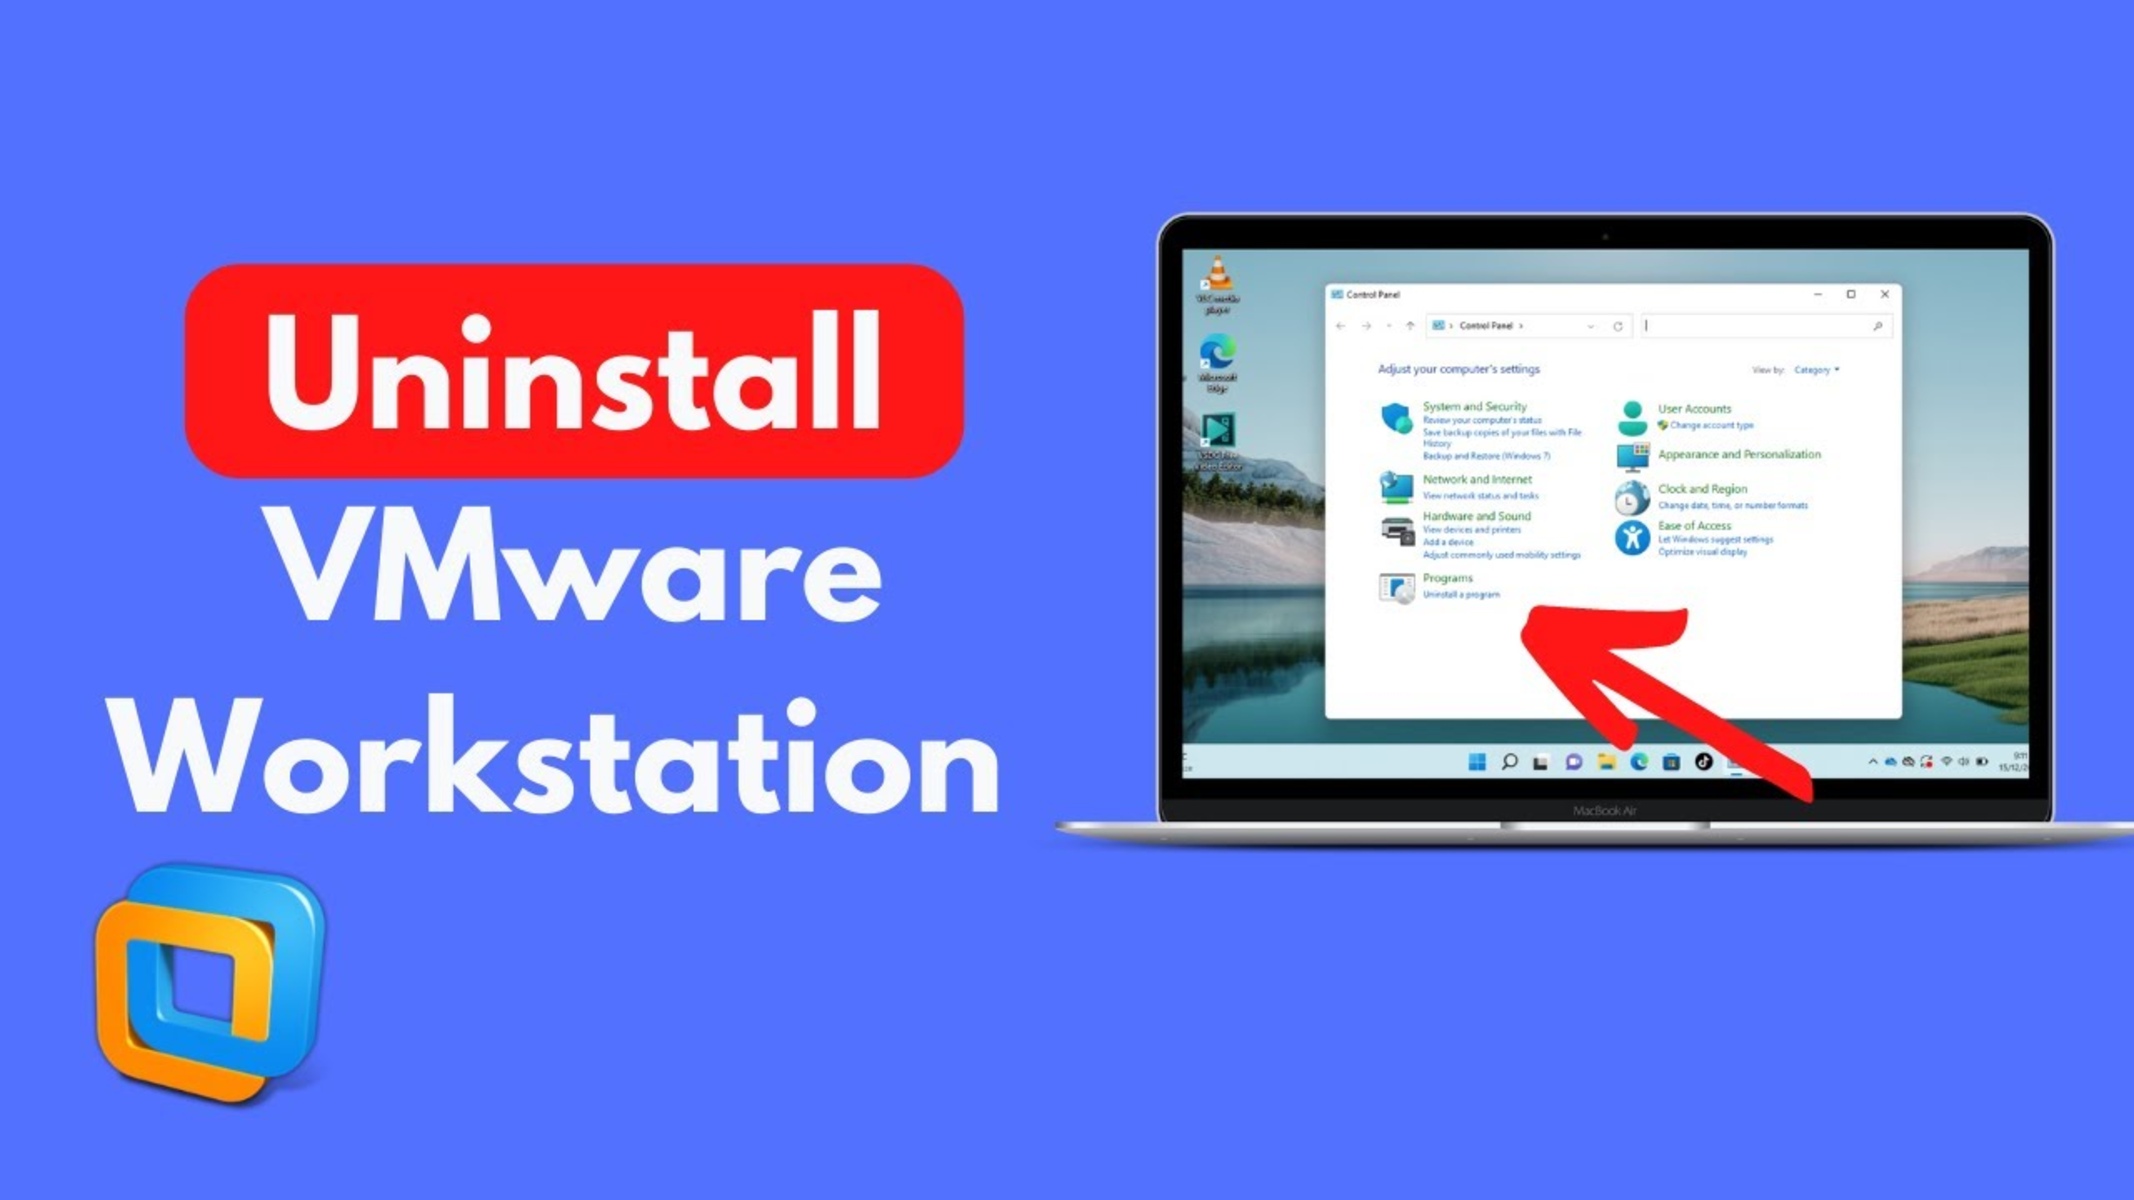
Step 2: Uninstall Using Control Panel
To uninstall VMware Workstation on Windows 7, the most common method is to use the Control Panel. The Control Panel allows you to manage and remove installed applications on your computer. Here’s how you can uninstall VMware Workstation using the Control Panel:
- Open the Control Panel: Click on the “Start” button, then navigate to the “Control Panel” option. Alternatively, you can search for “Control Panel” in the Windows search bar and select the corresponding result.
- Access the “Programs and Features” section: In the Control Panel window, locate and click on the “Programs” or “Programs and Features” option. This will open a list of the installed programs on your computer.
- Find VMware Workstation: Scroll through the list of installed programs and locate “VMware Workstation”. Click on it to select it.
- Uninstall VMware Workstation: With VMware Workstation selected, click on the “Uninstall” or “Change” button at the top of the Programs and Features window. Follow the on-screen prompts to proceed with the uninstallation process.
- Confirm the uninstallation: You may be prompted to confirm the uninstallation of VMware Workstation. Click “Yes” or “OK” to confirm and initiate the uninstallation process.
- Wait for the uninstallation to complete: The uninstallation process may take a few moments to complete. Once finished, you will receive a notification indicating that VMware Workstation has been successfully removed.
After following these steps, VMware Workstation should be completely uninstalled from your Windows 7 system. However, keep in mind that the uninstallation process may vary slightly depending on your specific system configuration.
Next, we will cover the steps to remove any remaining VMware files and folders to ensure a clean uninstallation of the software.
Step 3: Remove VMware Files and Folders
After uninstalling VMware Workstation using the Control Panel, there may still be some residual files and folders left on your system. To ensure a complete removal of VMware Workstation, it is essential to manually delete these remaining files and folders. Here’s how you can remove VMware files and folders:
- Open File Explorer: Right-click on the “Start” button and select “File Explorer” from the context menu. Alternatively, you can press the Windows + E keys simultaneously to open File Explorer.
- Navigate to the VMware installation directory: In File Explorer, navigate to the directory where VMware Workstation was installed. The default installation location is typically “C:\Program Files (x86)\VMware\VMware Workstation”.
- Delete the VMware folder: Select the VMware folder, right-click on it, and choose “Delete” from the context menu. Confirm the deletion if prompted.
- Clean up the VMware Workstation data folder: In File Explorer, go to the following location: “C:\Users\[your_username]\Documents\Virtual Machines”. Delete any folders or files associated with VMware Workstation. Note that removing the virtual machine files is optional, as it depends on whether you want to keep or completely remove them.
- Empty the Recycle Bin: After deleting the VMware files and folders, remember to empty the Recycle Bin to permanently remove them from your system.
By following these steps, you should have successfully removed all remaining VMware files and folders from your Windows 7 system. This ensures a clean uninstallation of VMware Workstation and frees up any occupied disk space.
Now that you have removed the files and folders associated with VMware Workstation, you may choose to proceed to the optional step of editing the registry. This step can help clean up any leftover registry entries related to the software.
Step 4: Edit the Registry (Optional)
Note: Editing the registry is an advanced task and should be performed with caution. It is recommended to create a backup of your registry before proceeding with this step. If you are not comfortable with editing the registry, it is best to skip this step.
If you want to ensure a thorough clean-up of VMware Workstation from your Windows 7 system, you can consider editing the registry to remove any leftover entries. Here is how you can edit the registry (optional):
- Open the Registry Editor: Press the Windows + R keys simultaneously to open the Run dialog box. Type “regedit” and hit Enter to open the Registry Editor.
- Navigate to the VMware Workstation registry entries: In the Registry Editor, navigate to the following location:
HKEY_LOCAL_MACHINE\SOFTWARE\VMware\VMware Workstation. - Delete the VMware Workstation registry keys: Right-click on the “VMware Workstation” folder and select “Delete” from the context menu. Confirm the deletion if prompted.
- Close the Registry Editor: After deleting the registry keys, close the Registry Editor to save the changes.
Editing the registry allows you to remove any remaining VMware Workstation registry entries. However, it should be done with caution, as making incorrect changes to the registry can cause system instability or other issues.
It is worth noting that if you have multiple VMware products installed, editing the registry to remove VMware Workstation entries may also affect other VMware applications. If you are unsure or have multiple VMware products installed, it is recommended to consult official VMware documentation or seek professional assistance.
With the completion of this optional step, you have finished the main steps to uninstall VMware Workstation on Windows 7.
Step 5: Clean Up Temporary Files
After uninstalling VMware Workstation and removing associated files and registry entries, it is a good practice to clean up any temporary files that may have been generated during the installation or use of the software. Cleaning up temporary files can help free up disk space and improve system performance. Here’s how you can clean up temporary files on your Windows 7 system:
- Open the Disk Cleanup utility: Click on the “Start” button and type “Disk Cleanup” in the search bar. Select the “Disk Cleanup” application from the search results.
- Select the appropriate drive: In the Disk Cleanup window, you will be prompted to select a drive. Choose the drive where your Windows 7 operating system is installed (typically the “C:” drive) and click “OK”.
- Choose the files to clean: In the “Disk Cleanup” tab, you will see a list of file categories that can be cleaned up. Select the categories you want to clean by checking the corresponding checkboxes. These categories may include “Temporary files”, “Temporary Internet Files”, and other options to remove unnecessary files.
- Start the cleanup process: Once you have selected the desired categories, click the “OK” button to start the cleanup process. A confirmation prompt may appear; click “Delete Files” to proceed.
- Wait for the cleanup to complete: The Disk Cleanup utility will analyze the selected categories and remove the temporary files accordingly. This process may take some time to complete, so be patient and let it finish.
Once the cleanup process is complete, you have successfully removed temporary files associated with VMware Workstation and other unnecessary system files. This helps optimize your system’s performance and frees up valuable disk space.
It is worth noting that you can periodically perform disk cleanup to ensure your system remains clean and optimized. Consider scheduling regular cleanups or performing them manually whenever you feel it is necessary.
With the completion of the disk cleanup process, you have now completed all the necessary steps to uninstall VMware Workstation and clean up temporary files on your Windows 7 system.
Conclusion
Uninstalling VMware Workstation from your Windows 7 system can be a straightforward process if you follow the right steps. By closing VMware Workstation, uninstalling it using the Control Panel, removing associated files and folders, optionally editing the registry, and cleaning up temporary files, you can ensure a thorough removal of the software.
It’s important to note that before uninstalling VMware Workstation, it’s essential to back up any important data or virtual machines associated with the application. Additionally, editing the registry should be approached with caution, and if you are not comfortable with it, it is best to skip that step or seek professional assistance.
By following the step-by-step guide outlined in this article, you can successfully uninstall VMware Workstation on your Windows 7 system and free up valuable disk space. Removing unnecessary software and associated files can improve system performance and ensure a clean and optimized computer.
Remember that the specific steps and procedures may vary slightly depending on your system configuration, and it is advisable to consult official VMware documentation or seek professional assistance if you encounter any issues or have specific requirements.
We hope this guide has been helpful in assisting you with the uninstallation process of VMware Workstation on Windows 7. With a clean uninstallation, you can now make way for new software or explore alternative virtualization solutions that better meet your needs.