Introduction
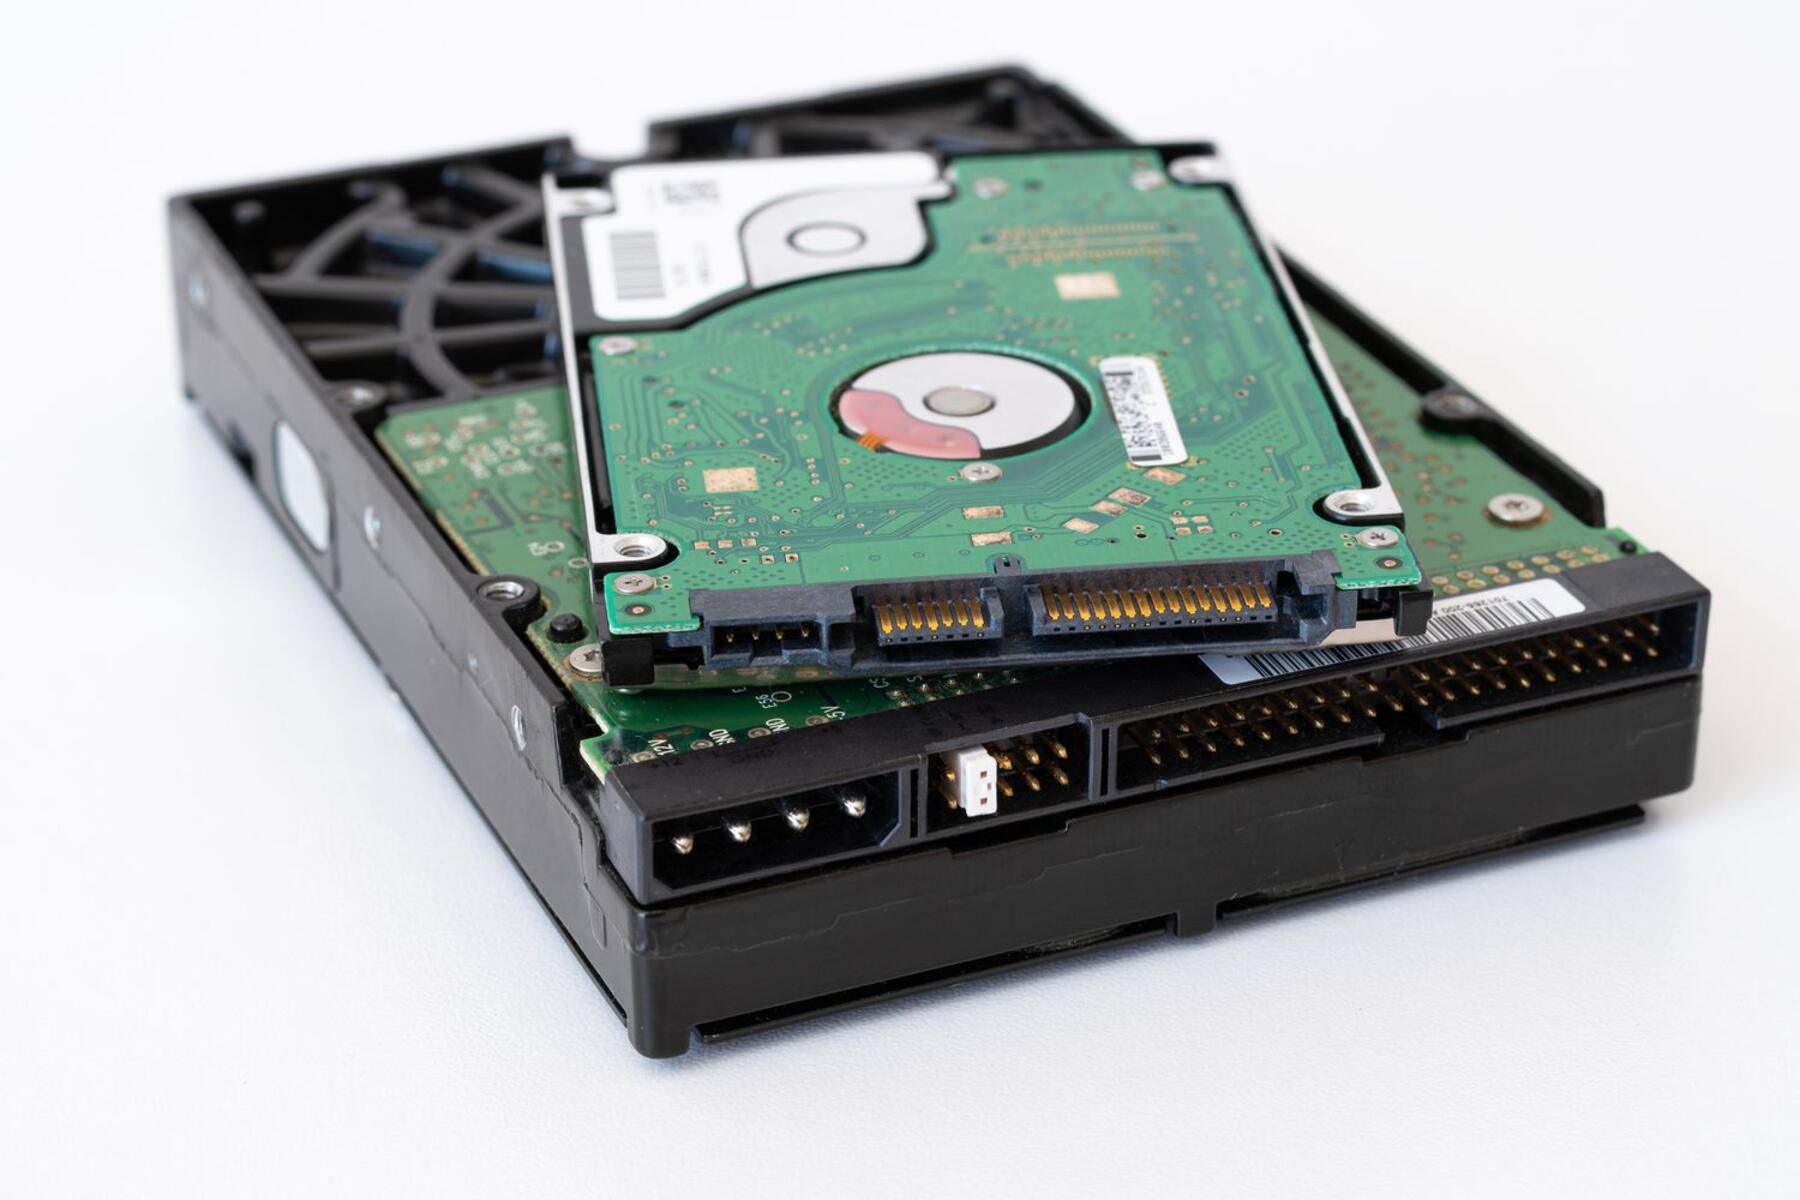
Welcome to the world of virtualization! VMware Workstation is a powerful software that allows you to create and run multiple virtual machines on a single physical computer. One of the key features of VMware Workstation is the ability to access and use external hard drives (HDDs) within your virtual machines.
Whether you need to access data stored on an external HDD, perform disk-intensive tasks, or simply replicate a physical machine into a virtual one, VMware Workstation provides various methods to connect and utilize HDDs. In this article, we will explore different approaches to access HDDs in VMware Workstation.
Before diving into the different methods, it is important to note that each method has its own advantages and considerations. Therefore, it is crucial to choose the appropriate method based on your specific requirements and the compatibility of your hardware.
In this guide, we will walk you through four different methods to access HDDs in VMware Workstation. These methods include:
- Adding a Hard Disk Directly to a Virtual Machine
- Using a Raw Disk Mapping (RDM)
- Using a Virtual Disk (VMDK)
- Using the VMware Virtual Disk Development Kit (VDDK)
Let’s explore each method in detail and understand how to utilize them effectively to access and utilize HDDs in VMware Workstation.
Prerequisites
Before you can start accessing HDDs in VMware Workstation, you will need to ensure that you have the following prerequisites:
- VMware Workstation: Make sure you have VMware Workstation installed on your computer. This software enables you to create and manage virtual machines.
- Physical Hard Disk: You need to have a physical hard disk that you want to access within your virtual machine. This can be an internal hard disk or an external hard drive connected to your computer.
- Virtual Machine: Create a virtual machine in VMware Workstation to which you want to connect the HDD. Make sure your virtual machine is powered off before proceeding with the next steps.
- Administrator Privileges: Ensure that you have administrator privileges on your computer. This is required to make changes to the virtual machine settings and the physical hardware configuration.
- Compatibility Check: Verify that your computer hardware and virtual machine are compatible for accessing and using the HDD. Refer to the VMware Workstation Documentation or their website for compatibility details.
- Careful Considerations: It’s important to note that accessing and using an HDD within a virtual machine can have potential risks, such as data corruption or loss. Ensure that you have a proper backup of your HDD before proceeding with any method.
Once you have fulfilled the above prerequisites, you are ready to explore the different methods to access HDDs in VMware Workstation. Each method offers its own advantages and considerations, so choose the method that best suits your needs and requirements. Let’s move on to the next section to learn how you can add a hard disk directly to a virtual machine.
Method 1: Adding a Hard Disk Directly to a Virtual Machine
One of the simplest ways to access an HDD in VMware Workstation is by adding the physical hard disk directly to a virtual machine. Follow the steps below to add an HDD directly to your virtual machine:
- Ensure that your virtual machine is powered off in VMware Workstation.
- Open the settings of the virtual machine by selecting it and clicking on “Edit virtual machine settings.”
- In the Hardware tab, click on “Add” to add a new device to the virtual machine.
- Select “Hard Disk” from the list of hardware types and click “Next.”
- Choose “Use a physical disk (for advanced users)” and click “Next.”
- Select the physical hard disk that you want to add to the virtual machine from the list of available disks. You can identify the disk based on its model, capacity, or other identifiers. Click “Next” to proceed.
- Review the disk details and click “Next” to confirm the selection.
- Specify the virtual disk file (.vmdk) location where the virtual machine will store the data. You can choose to store the file with the virtual machine or in a different location. Click “Next” when you’re done.
- Review the summary and click “Finish” to complete the process.
Once you have added the hard disk to the virtual machine, you can power on the virtual machine and access the HDD just like any other storage device within the virtual environment. The physical hard disk will be recognized as a new virtual disk within the virtual machine, enabling you to perform operations and access data as needed.
It’s important to note that adding a hard disk directly to a virtual machine is a straightforward method but requires caution. Ensure that you are not accessing the same hard disk simultaneously from both the host machine and the virtual machine, as it can lead to data corruption or conflicts. Also, keep in mind that the physical hard disk will be exclusively used by the virtual machine and won’t be accessible by the host machine until it is removed from the virtual machine settings.
Now that you know how to add a hard disk directly to a virtual machine, let’s explore another method using Raw Disk Mapping (RDM) to access an HDD in VMware Workstation.
Method 2: Using a Raw Disk Mapping (RDM)
Another method to access an HDD in VMware Workstation is by using a Raw Disk Mapping (RDM). Raw Disk Mapping allows you to directly map the physical hard disk to your virtual machine, providing low-level access to the disk. Follow the steps below to use Raw Disk Mapping:
- Ensure that your virtual machine is powered off in VMware Workstation.
- Open the settings of the virtual machine by selecting it and clicking on “Edit virtual machine settings.”
- In the Hardware tab, click on “Add” to add a new device to the virtual machine.
- Select “Hard Disk” from the list of hardware types and click “Next.”
- Choose “Use an existing virtual disk” and click “Next.”
- Select “Use a physical disk (for advanced users)” and click “Next.”
- Choose the physical hard disk that you want to map to the virtual machine from the list of available disks. Click “Next” to proceed.
- Review the disk details and click “Next” to confirm the selection.
- Specify the virtual disk file (.vmdk) location where the virtual machine will store the VMFS metadata. You can choose to store the file with the virtual machine or in a different location. Click “Next” when you’re done.
- Review the summary and click “Finish” to complete the process.
Once you have completed these steps, the physical hard disk will be mapped to the virtual machine as a separate SCSI device. The virtual machine will have direct access to the disk, allowing you to perform operations and access data as needed.
It’s important to note that using Raw Disk Mapping requires advanced knowledge and understanding of the underlying hardware and storage systems. It is recommended to have a backup of your data before proceeding with this method, as any changes made to the disk within the virtual machine can affect the data on the physical disk.
Now that you know how to use Raw Disk Mapping to access an HDD in VMware Workstation, let’s explore another method using a Virtual Disk (VMDK).
Method 3: Using a Virtual Disk (VMDK)
Using a Virtual Disk (VMDK) is another reliable method to access an HDD in VMware Workstation. In this method, you create a virtual disk that acts as a container for the data on the physical hard disk. Follow the steps below to use a Virtual Disk:
- Ensure that your virtual machine is powered off in VMware Workstation.
- Open the settings of the virtual machine by selecting it and clicking on “Edit virtual machine settings.”
- In the Hardware tab, click on “Add” to add a new device to the virtual machine.
- Select “Hard Disk” from the list of hardware types and click “Next.”
- Choose “Create a new virtual disk” and click “Next.”
- Select the disk type, either “IDE” or “SCSI,” and click “Next.”
- Choose the disk size, either by specifying a specific size or using the maximum capacity of the physical hard disk. Click “Next” to proceed.
- Specify the virtual disk file (.vmdk) location where the virtual machine will store the data. You can choose to store the file with the virtual machine or in a different location. Click “Next” when you’re done.
- Review the summary and click “Finish” to complete the process.
- Once the virtual disk is created, you can power on the virtual machine and access the HDD through the virtual disk. The virtual disk will contain all the data from the physical hard disk, allowing you to perform operations and access files as if they were on a regular disk within the virtual machine.
Using a Virtual Disk provides flexibility and ease of use as it encapsulates the physical hard disk into a virtual disk format. It also allows for easy portability and management of the data within the virtual machine.
It’s important to note that using a Virtual Disk creates a separate copy of the data from the physical hard disk. Any changes made within the virtual machine will not affect the original data. However, it is always recommended to have a backup of your data before proceeding with any modifications.
Now that you know how to use a Virtual Disk to access an HDD in VMware Workstation, let’s explore another method using the VMware Virtual Disk Development Kit (VDDK).
Method 4: Using the VMware Virtual Disk Development Kit (VDDK)
If you require advanced features and fine-grained control over accessing an HDD in VMware Workstation, using the VMware Virtual Disk Development Kit (VDDK) is a powerful option. The VDDK provides a set of APIs that allow developers to create custom applications to access and manipulate virtual disk files. Follow the steps below to use the VDDK:
- Download and install the VMware Virtual Disk Development Kit (VDDK) from the official VMware website. The VDDK is available for multiple platforms and offers different versions, so make sure to choose the appropriate one for your operating system.
- Create a custom application using the VDDK APIs that can access and interact with the virtual disk within your virtual machine. The VDDK offers various functionalities to read, write, and manipulate the virtual disk data, giving you complete control over the HDD.
- Compile and build the application according to your requirements and platform specifications.
Using the VDDK requires extensive programming knowledge and familiarity with the VDDK APIs. It is primarily designed for software developers and advanced users who need fine-grained control and customization options when accessing an HDD in VMware Workstation. The VDDK offers a powerful toolkit to create unique and specialized solutions tailored to your specific needs.
It’s important to note that using the VDDK requires careful consideration and adherence to the VMware guidelines and best practices. Make sure to thoroughly test your custom application and handle the virtual disk files with caution to prevent data corruption or loss.
Now that you have learned about using the VMware Virtual Disk Development Kit (VDDK) to access an HDD in VMware Workstation, you are equipped with a powerful tool to create custom applications and advanced solutions.
Conclusion
Accessing and utilizing external HDDs within VMware Workstation opens up a world of possibilities for data management, replication, and virtualization. In this article, we explored four different methods to access HDDs in VMware Workstation: adding a hard disk directly to a virtual machine, using a Raw Disk Mapping (RDM), leveraging a Virtual Disk (VMDK), and utilizing the VMware Virtual Disk Development Kit (VDDK).
Each method offers its own advantages and considerations, providing you with options based on your specific needs and hardware compatibility. Adding a hard disk directly to a virtual machine is a straightforward approach, while Raw Disk Mapping (RDM) provides low-level access to the physical disk. Using a Virtual Disk (VMDK) encapsulates the data in a virtual disk format, and the VMware Virtual Disk Development Kit (VDDK) offers advanced capabilities for software developers.
Before implementing any of these methods, it is essential to understand the potential risks and take adequate precautions. Always back up your data before making any changes, and ensure compatibility between your hardware and VMware Workstation version.
Remember that accessing an HDD within a virtual machine requires careful management to avoid data corruption, conflicts, or data loss. It’s important to use these methods responsibly and with caution.
Now that you are familiar with different methods to access HDDs in VMware Workstation, you can choose the most suitable approach based on your requirements. Enjoy the flexibility and convenience of accessing and utilizing your HDDs within virtual machines, and harness the power of VMware Workstation for your data management needs.


