Introduction
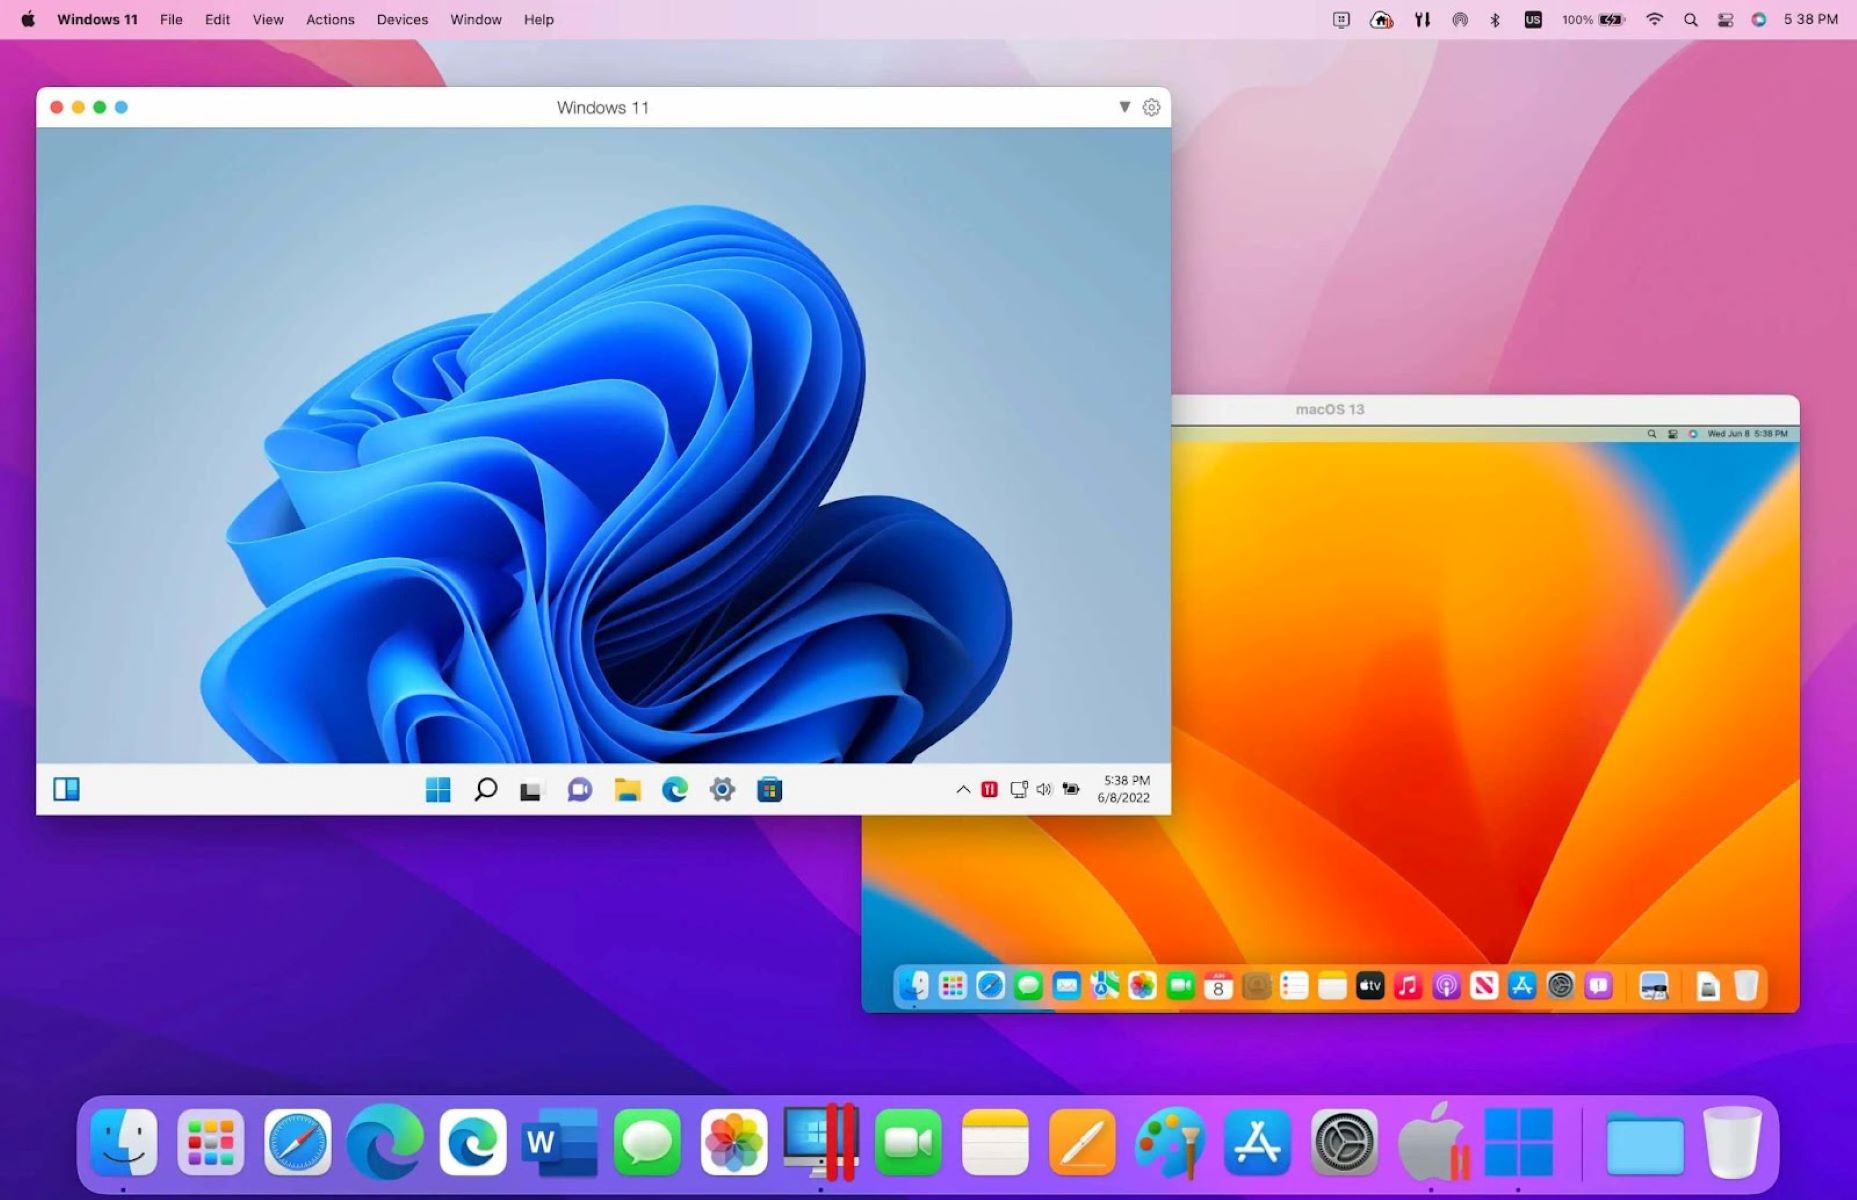
In today’s digital age, virtualization plays a vital role in the world of computing. It enables users to create virtual machines that run multiple operating systems simultaneously on a single physical machine. One such virtualization software is VMware Workstation, which allows users to create and manage virtual machines with ease.
Hyper-V, on the other hand, is a hypervisor developed by Microsoft that enables users to run virtual machines on Windows systems. By combining the power of VMware Workstation and Hyper-V, users can have the flexibility to create and manage virtual machines within their virtual environment.
Installing Hyper-V in VMware Workstation can be advantageous in several ways. It allows users to run virtual machines with Hyper-V functionality, such as hardware-assisted virtualization and nested virtualization. Moreover, it provides the ability to develop and test applications in a Hyper-V environment without the need for separate physical machines.
In this step-by-step guide, we will walk you through the process of installing Hyper-V in VMware Workstation. We will cover the necessary prerequisites and provide detailed instructions on each step. By the end of this guide, you will have a fully-functional Hyper-V environment integrated within VMware Workstation, ready to take advantage of the benefits it offers.
Prerequisites
Before proceeding with the installation of Hyper-V in VMware Workstation, there are a few prerequisites that need to be met. Ensuring that these requirements are fulfilled will help in a smooth installation and seamless running of the virtual machines. Here are the prerequisites:
- VMware Workstation: You need to have VMware Workstation installed on your system. It is a powerful virtualization software that enables the creation and management of virtual machines. Make sure you have the latest version of VMware Workstation downloaded and installed on your system.
- Hardware Support: Ensure that your computer’s processor supports virtualization and has it enabled in the BIOS settings. This is necessary for running virtual machines and Hyper-V environments within VMware Workstation. Refer to your computer’s documentation or consult your manufacturer’s website for instructions on enabling virtualization.
- Operating System: Ensure that you are using a compatible operating system. VMware Workstation supports a wide range of operating systems, including Windows, Linux, and macOS. Check the VMware website for the specific compatibility details for your operating system.
- System Requirements: Ensure that your system meets the minimum requirements for running VMware Workstation smoothly. This includes having sufficient RAM, storage space, and processor power to handle virtual machines. Refer to the VMware Workstation documentation for the specific system requirements.
- Administrator Access: You will need administrative access to your computer to install and configure VMware Workstation and Hyper-V. Make sure you have the necessary privileges before proceeding with the installation.
By fulfilling these prerequisites, you can ensure a hassle-free installation of Hyper-V in VMware Workstation. Once you have checked off all the requirements, you are ready to move on to the next steps of the installation process.
Step 1: Download VMware Workstation
The first step in installing Hyper-V in VMware Workstation is to download the latest version of VMware Workstation from the official website. Follow the steps below to download the software:
- Open your preferred web browser and navigate to the VMware website.
- Go to the Downloads section and search for VMware Workstation.
- Click on the Download button for the latest version of VMware Workstation compatible with your operating system.
- Choose the appropriate installer based on your system architecture (32-bit or 64-bit).
- Wait for the download to complete. The file size may vary depending on the version of VMware Workstation and your internet connection speed.
Once the download is finished, you are ready to proceed to the next step – installation. Keep the downloaded installer file handy as you will need it in the upcoming steps.
Downloading the latest version of VMware Workstation ensures that you have the most up-to-date features and bug fixes, providing a smoother and more stable environment for creating and managing virtual machines. It is always recommended to use the latest version of VMware Workstation to take full advantage of its capabilities.
Step 2: Install VMware Workstation
After downloading the VMware Workstation installer, you are now ready to install the software on your system. Follow the steps below to install VMware Workstation:
- Locate the downloaded installer file on your computer.
- Double-click on the installer file to run it. If prompted by the User Account Control (UAC), click “Yes” to allow the installer to make changes to your system.
- The installer will display the welcome screen. Click on the “Next” button to proceed.
- Read and accept the End User License Agreement (EULA). Check the box that confirms your acceptance and click “Next”.
- Choose the installation location for VMware Workstation. You can either accept the default location or specify a different one. Click “Next” to continue.
- Select the additional components you want to install. You can choose to install VMware Player as well, which allows you to run pre-built virtual machines. Click “Next” to proceed.
- Review the installation settings and click “Install” to begin the installation process.
- Wait for the installation to complete. This may take a few minutes, so be patient.
- Once the installation is finished, click on the “Finish” button to exit the installer.
Congratulations! You have successfully installed VMware Workstation on your system. Now, you can move on to the next steps to set up and configure Hyper-V within VMware Workstation. Having VMware Workstation installed provides a powerful platform for creating, managing, and running virtual machines, giving you the flexibility to experiment and test different operating systems and applications.
Step 3: Create a New Virtual Machine
Now that you have VMware Workstation installed, it’s time to create a new virtual machine where you will install the Hyper-V environment. Follow the steps below to create a new virtual machine:
- Launch VMware Workstation from the Start menu or desktop shortcut.
- On the home screen, click on “Create a New Virtual Machine”.
- The New Virtual Machine Wizard will open. Choose “Typical” configuration and click “Next”.
- Select the installation media for the operating system. You can choose to install from an ISO file, physical CD/DVD drive, or a network installation. Click “Next” to continue.
- Specify the operating system you will be installing in the virtual machine. Choose from the options provided or click “Other” if your operating system is not listed.
- Provide a name for your virtual machine. You can choose any name that is meaningful to you.
- Choose the location where you want to store the virtual machine files. You can keep the default location or specify a different one.
- Specify the disk capacity for the virtual machine. You can choose to allocate a fixed amount of disk space or use dynamic allocation.
- Customize the hardware settings for the virtual machine, such as the number of processors, amount of RAM, and network configuration.
- Review the summary of the virtual machine configuration and click “Finish” to create the virtual machine.
You have now successfully created a new virtual machine in VMware Workstation. This virtual machine will serve as the platform where you will install the Hyper-V environment. In the next steps, we will configure the virtual machine settings and install the guest operating system.
Step 4: Configure Virtual Machine Settings
Once you have created the virtual machine, it’s important to configure its settings to ensure optimal performance and compatibility. Follow the steps below to configure the virtual machine settings in VMware Workstation:
- Make sure the virtual machine is powered off. If it is running, shut it down before proceeding.
- Select the virtual machine from the VMware Workstation home screen or the left-hand side pane.
- Click on “Edit virtual machine settings” to open the virtual machine settings window.
- In the Hardware tab, you can customize various aspects of the virtual machine, such as the number of processors, memory allocation, network adapter settings, and storage configuration.
- Adjust the allocated memory to meet the requirements of your planned workload. Ensure that you leave enough memory for both the guest operating system and the Hyper-V environment.
- Under the Options tab, you can further customize the virtual machine settings, including power management, shared folders, and display preferences.
- Enable the necessary options for your desired configuration, such as enabling shared folders for easy file sharing between the virtual machine and the host system.
- Review all the settings and make any necessary adjustments to suit your needs.
- Once you have configured all the settings, click on “OK” to save the changes and close the virtual machine settings window.
By properly configuring the virtual machine settings, you can optimize its performance, allocate resources efficiently, and ensure compatibility with the Hyper-V environment. Taking the time to adjust these settings to your specific requirements will contribute to a smooth and efficient virtualization experience.
Step 5: Install a Guest Operating System in the Virtual Machine
With the virtual machine settings configured, it’s time to install the guest operating system within the virtual machine. Follow the steps below to install the operating system:
- Ensure that the installation media for the guest operating system (such as an ISO file or physical disc) is readily available.
- Power on the virtual machine in VMware Workstation.
- The virtual machine will boot up and display the VMware BIOS screen.
- When prompted, select the installation media you prepared for the guest operating system.
- Follow the on-screen instructions to complete the installation of the operating system.
- During the installation process, you may need to provide information such as language preferences, license agreements, and partitioning options.
- Once the installation is complete, the virtual machine will reboot.
- Follow any additional prompts to finalize the setup of the guest operating system.
- After the setup is complete, you will have a fully functional guest operating system running within the virtual machine.
Installing a guest operating system within the virtual machine allows you to run different operating systems on the same physical machine. This can be incredibly useful for testing applications, experimenting with different software configurations, or running legacy operating systems. By leveraging the virtualization capabilities of VMware Workstation, you can easily switch between multiple guest operating systems without the need for separate physical machines.
Step 6: Enable Nested Virtualization
Nested virtualization is a crucial step in enabling Hyper-V within a virtual machine running on VMware Workstation. By enabling nested virtualization, you’re allowing the virtual machine to run its own virtualization environment, such as Hyper-V. Follow the steps below to enable nested virtualization:
- Ensure that the virtual machine is powered off. If it’s running, shut it down before proceeding.
- Open the virtual machine settings window in VMware Workstation by selecting the virtual machine and clicking on “Edit virtual machine settings”.
- Go to the Options tab, and select “CPU/MMU Virtualization” from the left-hand side panel.
- Check the box next to “Enable CPU/MMU Virtualization”. This enables the virtual machine to use hardware-assisted virtualization.
- Click on “OK” to save the changes and close the virtual machine settings window.
Enabling nested virtualization allows the virtual machine to take advantage of hardware virtualization features, such as Intel VT-x or AMD-V. These features are necessary for running Hypervisors like Hyper-V within the virtual machine.
It’s important to note that nested virtualization requires that your computer’s processor and BIOS support these hardware virtualization features. Additionally, ensure that your version of VMware Workstation supports nested virtualization. Check the VMware website or documentation for specific compatibility details.
With nested virtualization enabled, you are one step closer to running Hyper-V within your virtual machine. The next step is to enable Hyper-V itself within the virtual machine, which we will cover in the next section.
Step 7: Enable Hyper-V in the Virtual Machine
Now that nested virtualization is enabled within the virtual machine, it’s time to enable Hyper-V itself. Follow the steps below to enable Hyper-V in the virtual machine running on VMware Workstation:
- Power on the virtual machine in VMware Workstation.
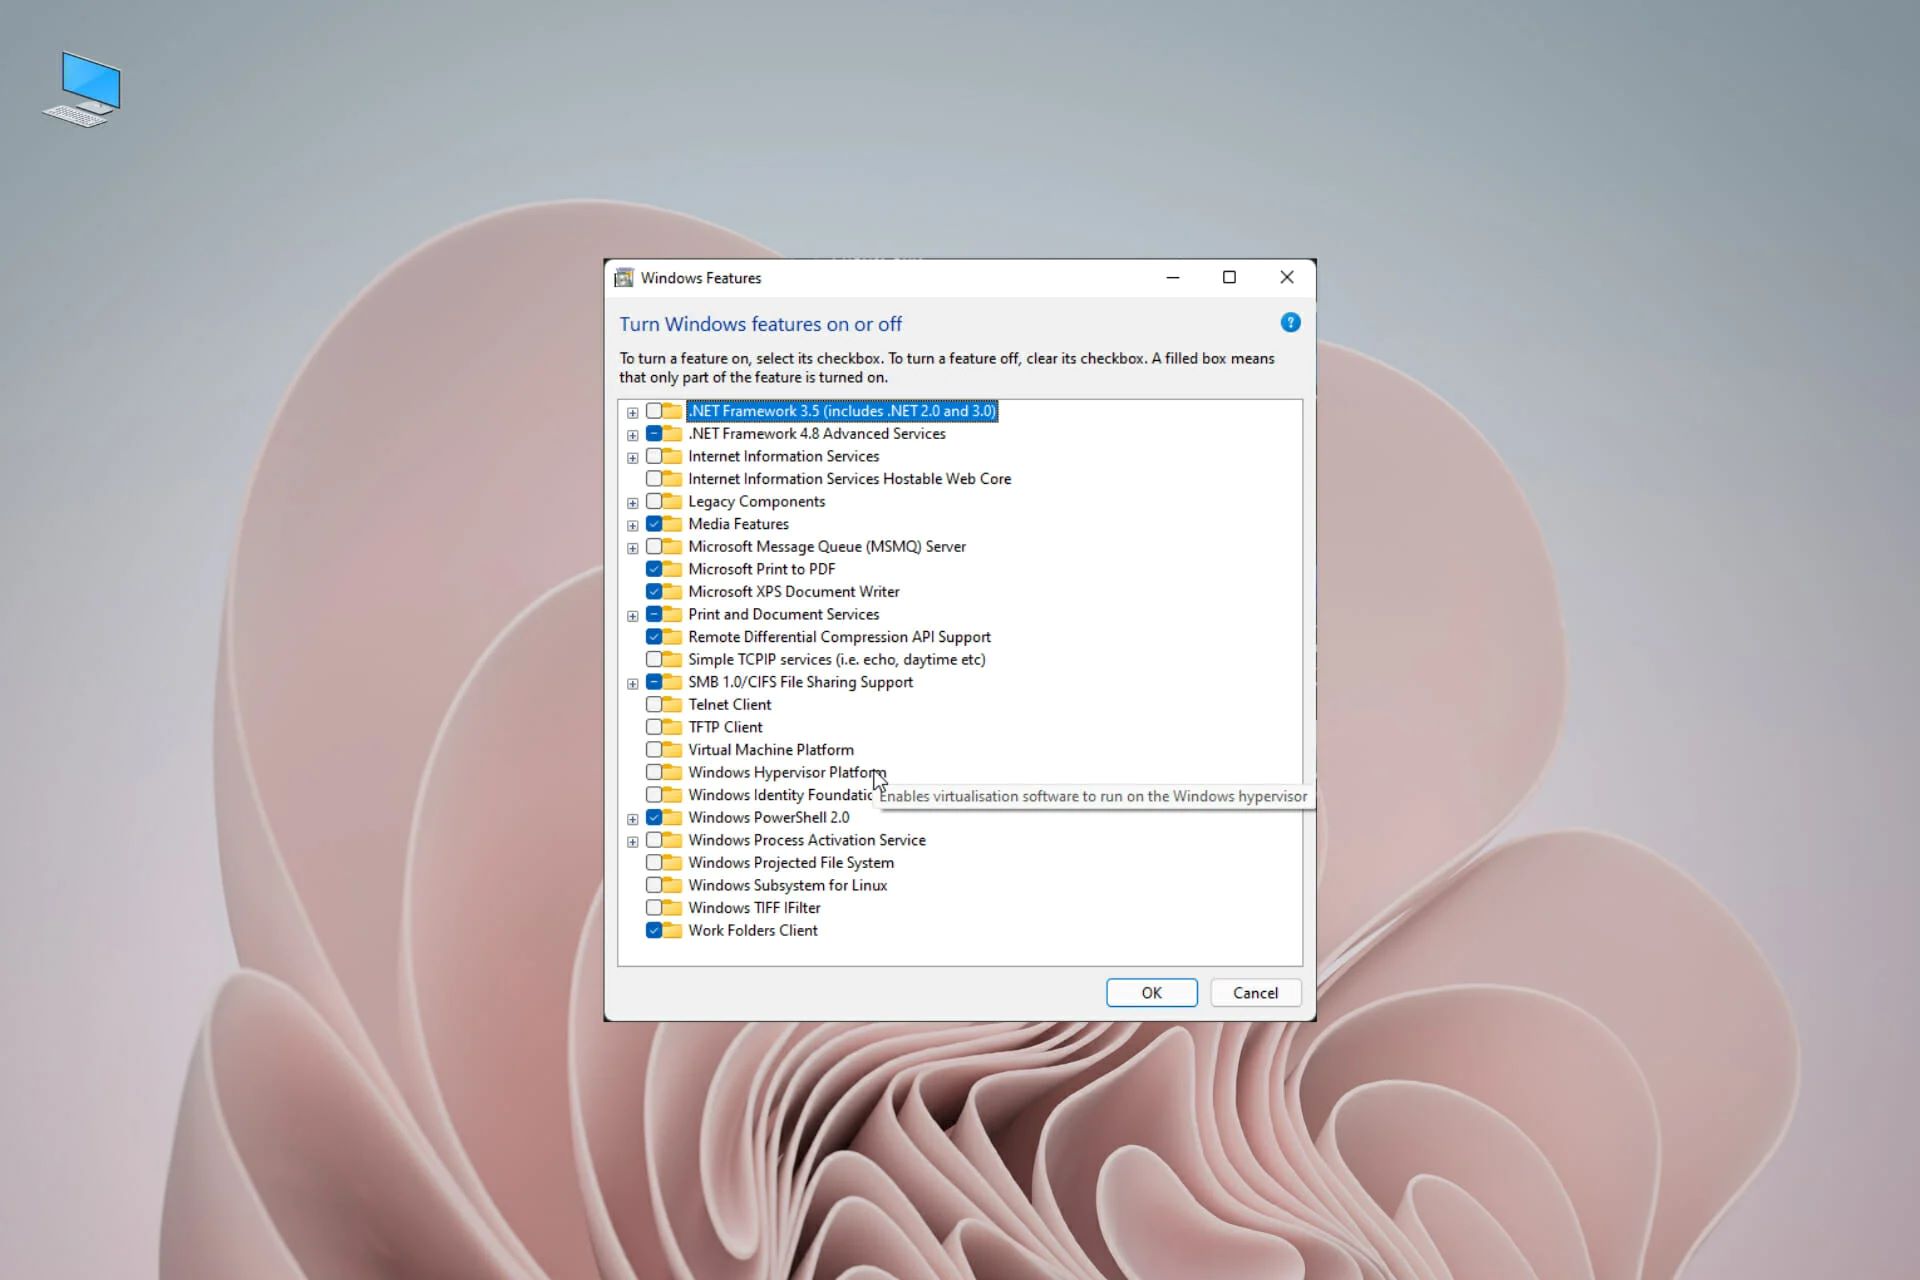
- Once the virtual machine is fully booted, open the start menu and search for “Windows Features.”
- Click on “Turn Windows features on or off” from the search results. This will open the Windows Features dialog.
- In the Windows Features dialog, scroll down and locate “Hyper-V”. Check the box next to it to enable the feature.
- You may be prompted to download additional files or restart the virtual machine to complete the Hyper-V installation. Follow the on-screen instructions to proceed.
- After the installation and any necessary restarts, Hyper-V will be enabled within the virtual machine.
Enabling Hyper-V within the virtual machine allows you to run and manage virtual machines with the Hyper-V hypervisor. You can take advantage of the features and functionalities provided by Hyper-V, such as hardware-assisted virtualization, virtual networking, and advanced management tools.
It’s important to note that enabling Hyper-V within a virtual machine may impact the performance of other virtualization software or virtual machines running in VMware Workstation. Ensure that you have allocated sufficient resources, such as CPU cores and memory, to the virtual machine to handle the additional workload of Hyper-V.
With Hyper-V enabled in the virtual machine, you have successfully integrated a Hyper-V environment within VMware Workstation. The next step is to verify the successful installation of Hyper-V, which we will cover in the following section.
Step 8: Verify Hyper-V Installation
After enabling Hyper-V in the virtual machine, it’s important to verify that the installation was successful and that Hyper-V is functioning properly. Follow the steps below to verify the Hyper-V installation:
- Power on the virtual machine in VMware Workstation.
- Once the virtual machine is fully booted, open the start menu and search for “Hyper-V Manager.”
- Click on “Hyper-V Manager” from the search results to launch the Hyper-V Manager console.
- In the Hyper-V Manager console, you should see your local machine listed under the “Hyper-V Manager” node.
- Expand the local machine and navigate to the “Virtual Machines” node. Here, you should see the virtual machine you created.
- Right-click on the virtual machine and select “Start” to power it on.
- After the virtual machine has started, you can further test its functionality by creating and launching additional virtual machines within the Hyper-V environment.
Verifying the successful installation of Hyper-V involves ensuring that the Hyper-V Manager console is accessible and that virtual machines can be created, powered on, and managed within the Hyper-V environment. If you encounter any issues or error messages, double-check your configuration settings and ensure that the necessary virtualization features are enabled within your system’s BIOS settings.
With Hyper-V successfully verified and functional within the virtual machine, you can now start leveraging the power and capabilities of Hyper-V to run multiple virtual machines, isolate workloads, and utilize advanced networking and management features.
Conclusion
In this comprehensive guide, we walked you through the step-by-step process of installing Hyper-V in VMware Workstation. By following these steps, you have successfully integrated a Hyper-V environment within your virtual machine, enabling you to take advantage of its powerful virtualization capabilities.
We started by ensuring that you have the necessary prerequisites in place, including having VMware Workstation installed, hardware support for virtualization, and the appropriate operating system. Once these prerequisites were met, we proceeded with the installation of VMware Workstation itself. With VMware Workstation installed, we then created a new virtual machine and configured its settings to meet our requirements.
Next, we installed a guest operating system within the virtual machine, providing a platform to run Hyper-V. We then enabled nested virtualization, allowing the virtual machine to run its own virtualization environment. Finally, we enabled Hyper-V within the virtual machine, verifying its installation and functionality.
By successfully integrating Hyper-V within VMware Workstation, you now have the flexibility to run multiple virtual machines, experiment with different operating systems, and explore the advanced features and functionalities offered by Hyper-V. Whether you are a developer, IT professional, or simply curious about virtualization technology, this guide has equipped you with the knowledge to harness the power of Hyper-V within VMware Workstation.
Remember to regularly update your virtualization software and guest operating systems to ensure you have the latest features, bug fixes, and security patches. Stay curious, continue exploring, and make the most of the virtualization capabilities at your fingertips.