Introduction
Welcome to this guide on how to import a virtual machine into VMware Workstation. Whether you’re a software developer, IT professional, or simply an enthusiast, importing a virtual machine can be an essential task when setting up a new environment or migrating existing systems.
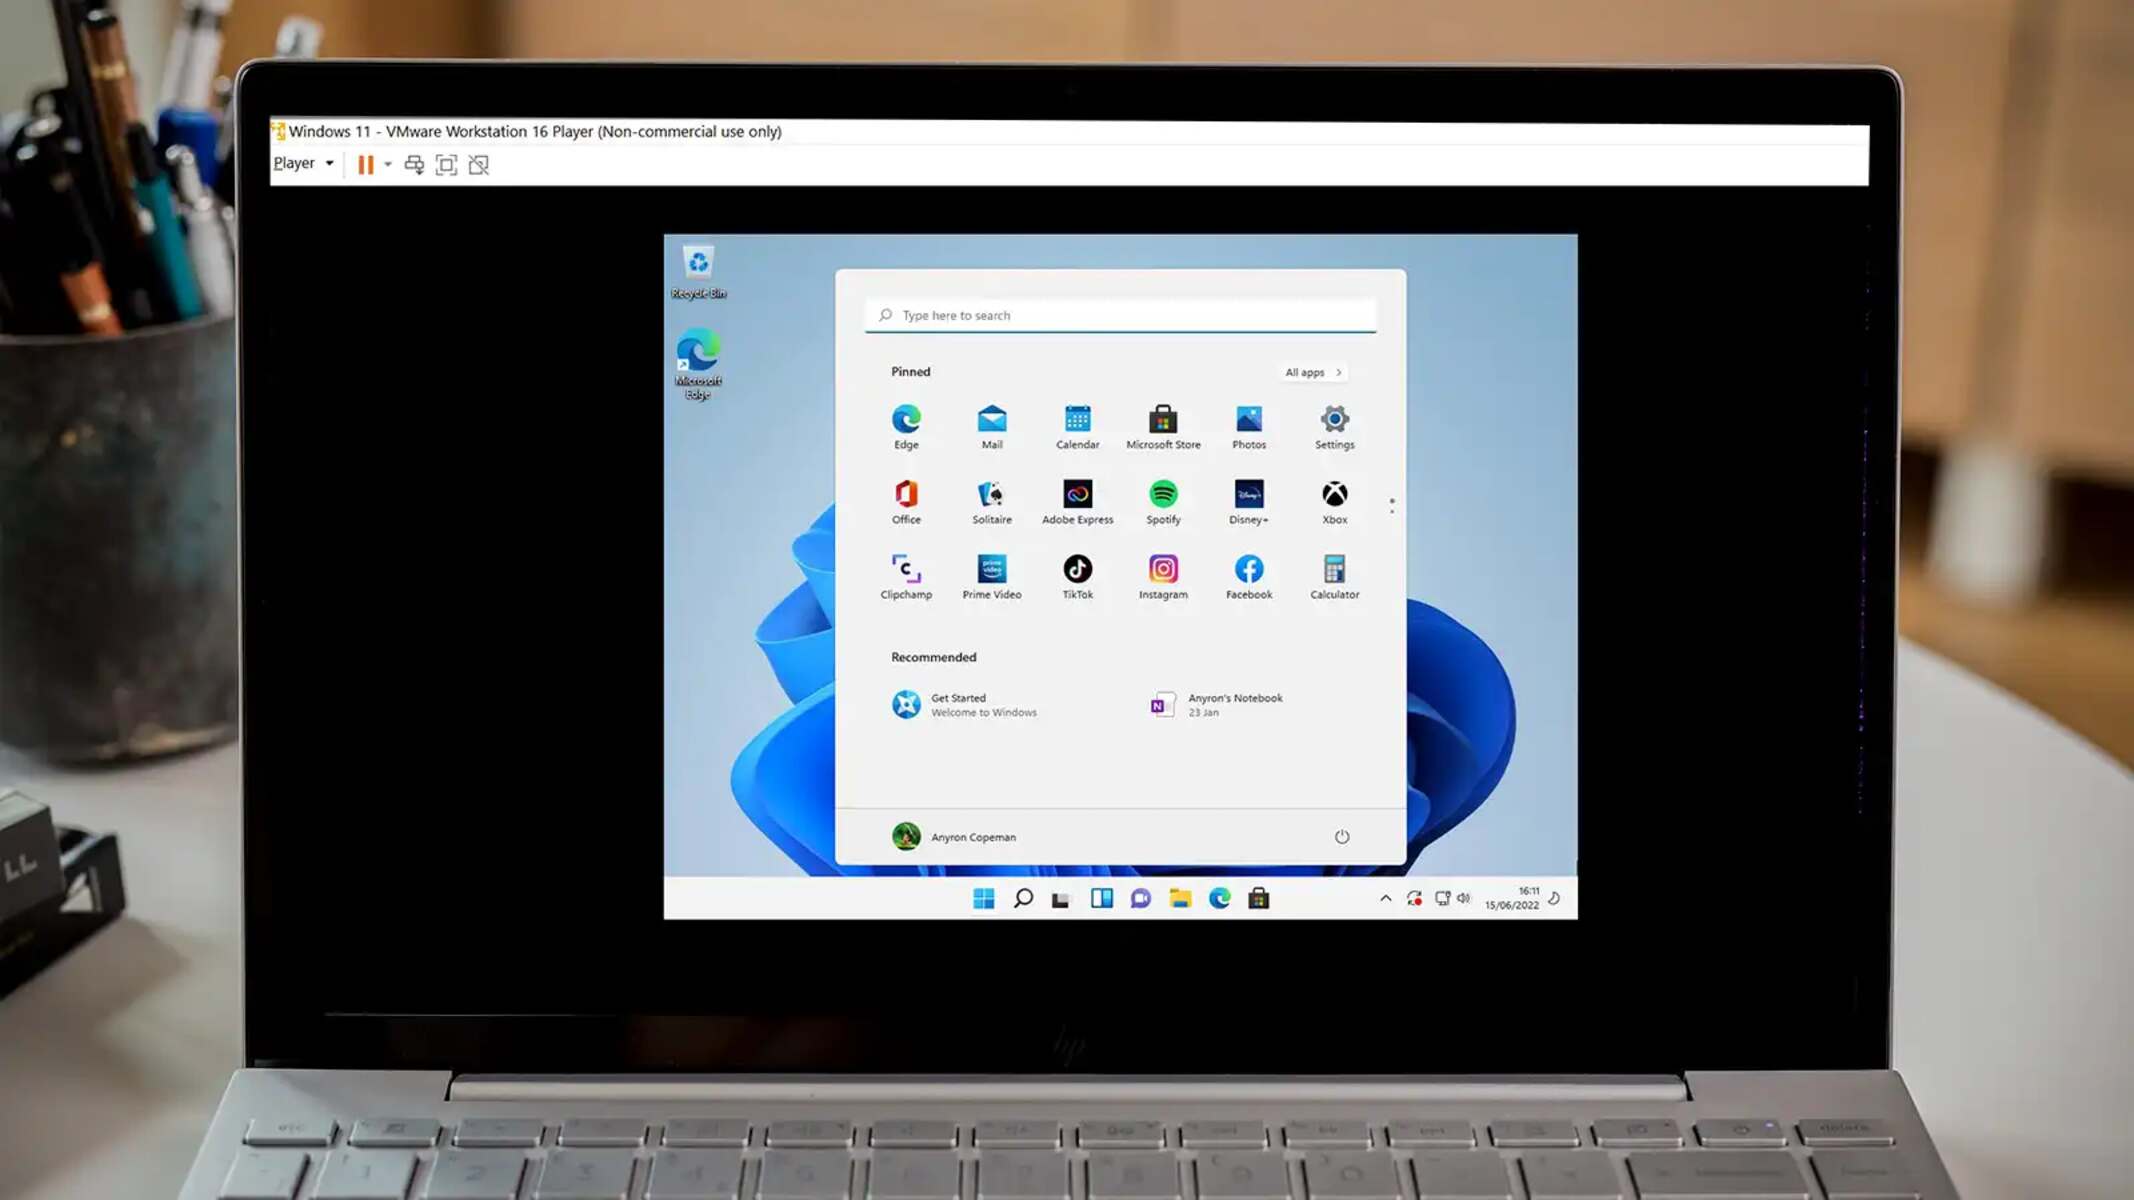
VMware Workstation is a powerful virtualization platform that allows you to run multiple operating systems on a single physical machine. It provides a seamless and secure way to create, deploy, and manage virtual machines. Importing a virtual machine into VMware Workstation is a straightforward process that can be completed in just a few simple steps.
In this guide, we will walk you through the process of importing a virtual machine into VMware Workstation and configuring its settings. Whether you have an existing virtual machine in a different virtualization platform or have downloaded a pre-built virtual machine from the internet, this guide will help you bring it into VMware Workstation and get it up and running quickly.
Before we begin, make sure you have VMware Workstation installed on your system. You can download the latest version from the official VMware website. Additionally, ensure that you have the necessary permissions to import virtual machines and access the required files.
Throughout this guide, we will cover the entire process of importing a virtual machine, including exporting the virtual machine from its current platform, importing it into VMware Workstation, configuring the necessary settings, and troubleshooting any common issues that may arise along the way.
By the end of this guide, you will have a comprehensive understanding of how to import a virtual machine into VMware Workstation, enabling you to harness the power of virtualization and take full advantage of the features and capabilities provided by this robust platform.
Prerequisites
Before you begin the process of importing a virtual machine into VMware Workstation, there are a few prerequisites that you need to ensure are in place. Taking care of these requirements beforehand will help ensure a smooth and successful import of your virtual machine.
Here are the prerequisites you should consider:
- VMware Workstation: Make sure you have VMware Workstation installed on your system. You can download the latest version from the official VMware website. Ensure that you have the appropriate license or trial version to use all the features.
- Virtual Machine Export: If you have an existing virtual machine in another virtualization platform, such as VirtualBox or Hyper-V, you will need to export it before importing it into VMware Workstation. Refer to the documentation of your current virtualization platform for instructions on how to export a virtual machine.
- Virtual Machine Files: Ensure that you have all the required files of the virtual machine you want to import. These typically include the virtual machine’s disk image file, configuration file, and any additional files or snapshots associated with it. Consolidate all the necessary files into a single folder for easy access during the import process.
- System Requirements: Verify that your system meets the minimum requirements to run VMware Workstation and the imported virtual machine. These requirements typically include a compatible processor (Intel VT-x or AMD-V), sufficient RAM, and available disk space for the virtual machine files.
- Administrator Privileges: To perform the necessary actions during the import process, ensure that you have administrative privileges on your system. This will allow you to make changes to system settings, import the virtual machine, and configure its settings without any restrictions.
By ensuring that these prerequisites are met, you will have a solid foundation for a successful import of your virtual machine into VMware Workstation. Once you have everything in order, you can proceed to the next steps in the process.
Step 1: Export the Virtual Machine
The first step in the process of importing a virtual machine into VMware Workstation is to export it from its current virtualization platform. This step is necessary if you have an existing virtual machine in a different virtualization software, such as VirtualBox or Hyper-V.
To export the virtual machine, follow these steps:
- Shutdown the Virtual Machine: Ensure that the virtual machine is powered off and not in a suspended state. This will prevent any potential data loss or corruption during the export process.
- Open the Virtualization Software: Launch the virtualization software (e.g., VirtualBox, Hyper-V) that currently hosts the virtual machine. Locate the virtual machine in the software’s interface.
- Export the Virtual Machine: In the virtualization software, select the virtual machine you want to export. Look for an option or menu item that allows you to export or export the virtual machine. Click on it to initiate the export process.
- Choose Export Location: Specify the destination folder or location where you want to save the exported virtual machine. It is recommended to select a location with sufficient disk space and easy accessibility.
- Start the Export: Begin the export process by clicking on the export button or confirming the export action. Depending on the size of the virtual machine and the performance of your system, this process may take some time to complete.
- Verify Export Completion: Once the export process finishes, verify that all the necessary files of the virtual machine have been successfully exported. Ensure that the exported files include the virtual machine’s disk image file, configuration file, and any additional files or snapshots.
With the virtual machine successfully exported from the current virtualization software, you now have the necessary files to proceed with the import process into VMware Workstation. Remember to keep these exported files organized and easily accessible for the next steps.
Step 2: Import the Virtual Machine into VMware Workstation
Once you have successfully exported the virtual machine from its current virtualization platform, it’s time to import it into VMware Workstation. VMware Workstation provides a simple and intuitive process for importing virtual machines.
To import the virtual machine, follow these steps:
- Launch VMware Workstation: Open VMware Workstation on your computer. If you haven’t installed it yet, make sure to download and install it from the official VMware website.
- Select “Open a Virtual Machine”: In the VMware Workstation interface, click on “Open a Virtual Machine” or select the option to open an existing virtual machine from the File menu.
- Navigate to the Exported Virtual Machine: Browse the file explorer window to locate the folder where you exported the virtual machine files in step 1. Select the virtual machine’s configuration file or the main file of the exported virtual machine.
- Click “Open” to Import: Once you have selected the virtual machine’s file, click on the “Open” button to initiate the import process.
- Review Import Settings: VMware Workstation may display a prompt or dialog box asking you to review the import settings. Familiarize yourself with the options provided and make any necessary modifications based on your preferences or requirements.
- Confirm the Import: After reviewing and adjusting the import settings, click on the “Import” or “Finish” button to start the import process. VMware Workstation will begin importing the virtual machine into its environment.
- Monitor the Import Progress: Depending on the size of the virtual machine and the performance of your system, the import process may take some time. Monitor the progress of the import using the progress bar or status indicators provided by VMware Workstation.
- Verify Successful Import: Once the import process is completed, VMware Workstation will display a success message. Verify that the imported virtual machine appears in the VMware Workstation interface and that all the necessary files are present and intact.
With the virtual machine successfully imported into VMware Workstation, you are now ready to proceed with configuring its settings to ensure optimal performance and usability.
Step 3: Configure the Virtual Machine Settings
After importing the virtual machine into VMware Workstation, it’s important to configure its settings to ensure optimal performance and compatibility. VMware Workstation offers a range of options and settings that can be customized according to your specific requirements.
To configure the virtual machine settings, follow these steps:
- Select the Virtual Machine: In the VMware Workstation interface, locate the imported virtual machine that you want to configure. Click on its name to select it.
- Access the Virtual Machine Settings: Once the virtual machine is selected, go to the “Edit” menu and choose “Virtual Machine Settings” or right-click on the virtual machine and select “Settings”. This will open the settings window for the selected virtual machine.
- Modify General Settings: In the settings window, you can modify the general settings of the virtual machine, such as the virtual machine name, operating system type, and the amount of allocated memory and CPU resources.
- Configure Network Settings: If your virtual machine requires network connectivity, go to the “Network Adapter” settings and select the appropriate networking mode, such as bridged, NAT, or host-only. Adjust any additional network settings based on your network configuration.
- Manage Storage Settings: In the “Hard Disk” settings, you can resize the virtual hard disk, add additional virtual hard disks, or attach existing virtual disks. You can also adjust the storage controller type and configure any storage-related advanced options.
- Customize Hardware Settings: VMware Workstation allows you to customize various hardware settings of the virtual machine, such as the display resolution, graphics memory, sound card, USB support, and more. Modify these settings as per your requirements.
- Adjust Advanced Options: If you are an advanced user, you can explore the advanced options section to fine-tune specific settings related to virtual hardware, power management, resource allocation, and other advanced features.
- Save and Apply the Settings: Once you have made the necessary configuration changes, click on the “OK” or “Apply” button to save and apply the settings to the virtual machine.
By configuring the virtual machine settings, you can optimize its performance, allocate resources appropriately, and ensure compatibility with the host system and other virtual machines. Take your time to explore and adjust the settings based on your specific needs.
Step 4: Power On the Virtual Machine
Once you have successfully imported the virtual machine into VMware Workstation and configured its settings, it’s time to power it on. Powering on the virtual machine will start the operating system and allow you to interact with it.
To power on the virtual machine, follow these steps:
- Select the Virtual Machine: In the VMware Workstation interface, locate the imported virtual machine that you want to power on. Click on its name to select it.
- Click on the “Power On” Button: Once the virtual machine is selected, click on the “Power On” button in the toolbar of VMware Workstation. Alternatively, you can go to the “VM” menu and select the “Power” option, then choose “Power On”.
- Observe the Power On Process: VMware Workstation will initiate the power on process for the virtual machine. You will see the virtual machine’s console window, which displays the boot process and initial startup activities.
- Interact with the Virtual Machine: Once the virtual machine has powered on and completed the boot process, you can interact with it as you would with a physical computer. Use your mouse and keyboard to navigate within the virtual machine’s operating system.
- Install VMware Tools (Optional): In order to enhance the performance and improve the integration between the virtual machine and the host system, you may choose to install VMware Tools. VMware Tools provides drivers and utilities that optimize the virtual machine’s performance and enable seamless integration with the host system.
- Shut Down the Virtual Machine: When you are done using the virtual machine, make sure to properly shut it down from within the operating system. This will ensure that all changes and data are saved correctly before powering off the virtual machine.
Powering on the virtual machine is the final step to get it up and running in VMware Workstation. You can now utilize the virtual machine to install software, test applications, simulate network environments, or perform any other tasks for which the virtual machine was created.
Step 5: Troubleshooting Common Issues
While importing and configuring a virtual machine in VMware Workstation is usually a smooth process, there might be instances where you encounter problems or face common issues. Understanding how to troubleshoot these problems can help you resolve them quickly and get your virtual machine up and running.
Here are some common issues you might encounter and troubleshooting tips:
1. Incompatible Hardware: If the virtual machine fails to power on or encounters hardware-related errors, ensure that your system meets the required hardware specifications for VMware Workstation. Check if your processor supports virtualization technology (Intel VT-x or AMD-V) and that it is enabled in the BIOS settings.
2. Missing or Corrupt Files: If the virtual machine fails to import or cannot find files, double-check that you have exported and located all the necessary virtual machine files. Ensure that the file paths specified in the virtual machine settings are correct, and that the exported files are not damaged or corrupted.
3. Network Connectivity Issues: If the virtual machine does not have network connectivity, verify that the correct network adapter type is selected in the virtual machine settings (bridged, NAT, or host-only). Check if your host machine has a working network connection and that firewall settings are not blocking network access.
4. Insufficient Resources: If the virtual machine is running slowly or is unable to allocate sufficient resources, adjust the resource settings in the virtual machine’s configuration. Increase the amount of allocated memory or adjust CPU settings to ensure that the virtual machine has enough resources to operate smoothly.
5. VMware Tools not Installed: If the virtual machine lacks essential features or integration with the host system, make sure VMware Tools is installed. Go to the “VM” menu in VMware Workstation and select “Install VMware Tools”. Follow the on-screen instructions to install the necessary drivers and utilities for improved virtual machine performance and integration.
6. Software Compatibility Issues: If the virtual machine encounters compatibility issues with certain software or operating systems, ensure that you are using a compatible version of VMware Workstation. Also, check the documentation and support forums to see if there are any known issues or workarounds for the specific software or operating system you are using.
7. Error Messages and Log Files: Pay attention to any error messages or warnings displayed during the import or configuration process. These messages can provide valuable insights into the cause of the issue. Additionally, consult the virtual machine’s log files, which can be found in the virtual machine’s folder, to gather more detailed information about potential problems.
By identifying and troubleshooting common issues that may arise during the import and setup of a virtual machine in VMware Workstation, you can overcome these challenges and enjoy a smooth and successful virtualization experience. If further assistance is needed, refer to the VMware Workstation documentation, online forums, or consult with the VMware community for additional support.
Conclusion
Congratulations! You have successfully learned how to import a virtual machine into VMware Workstation. In this guide, we covered the step-by-step process of exporting a virtual machine from its current platform, importing it into VMware Workstation, configuring its settings, and troubleshooting common issues.
By following the outlined steps, you can seamlessly migrate existing virtual machines from other virtualization platforms or download pre-built virtual machines from the internet and import them into VMware Workstation. This allows you to take full advantage of VMware Workstation’s powerful features and capabilities to create, manage, and run multiple operating systems on your computer.
Remember to ensure that you have VMware Workstation installed on your system, and that you have the necessary administrative privileges to import and configure virtual machines. Additionally, make sure you have the required files for the virtual machine you wish to import, and that your system meets the minimum hardware requirements for VMware Workstation.
During the import process, stay vigilant for any common issues that may arise, such as hardware incompatibility, missing files, network connectivity problems, or insufficient resources. Use the provided troubleshooting tips to resolve any issues that may hinder a successful import.
Once the virtual machine is imported and configured, you can power it on and begin using it as you would with a physical computer. Customize the virtual machine’s settings, install necessary software, and explore the host-guest interaction by utilizing VMware Tools for enhanced performance and integration.
With the knowledge gained from this guide, you can confidently import virtual machines into VMware Workstation, paving the way for efficient testing, software development, system administration, and various other use cases. Virtualization offers immense flexibility and productivity, and VMware Workstation serves as a reliable and feature-rich platform to support your virtualization needs.
Now, it’s time to unleash the power of VMware Workstation and explore the endless possibilities that virtualization brings to your computing environment!