Introduction
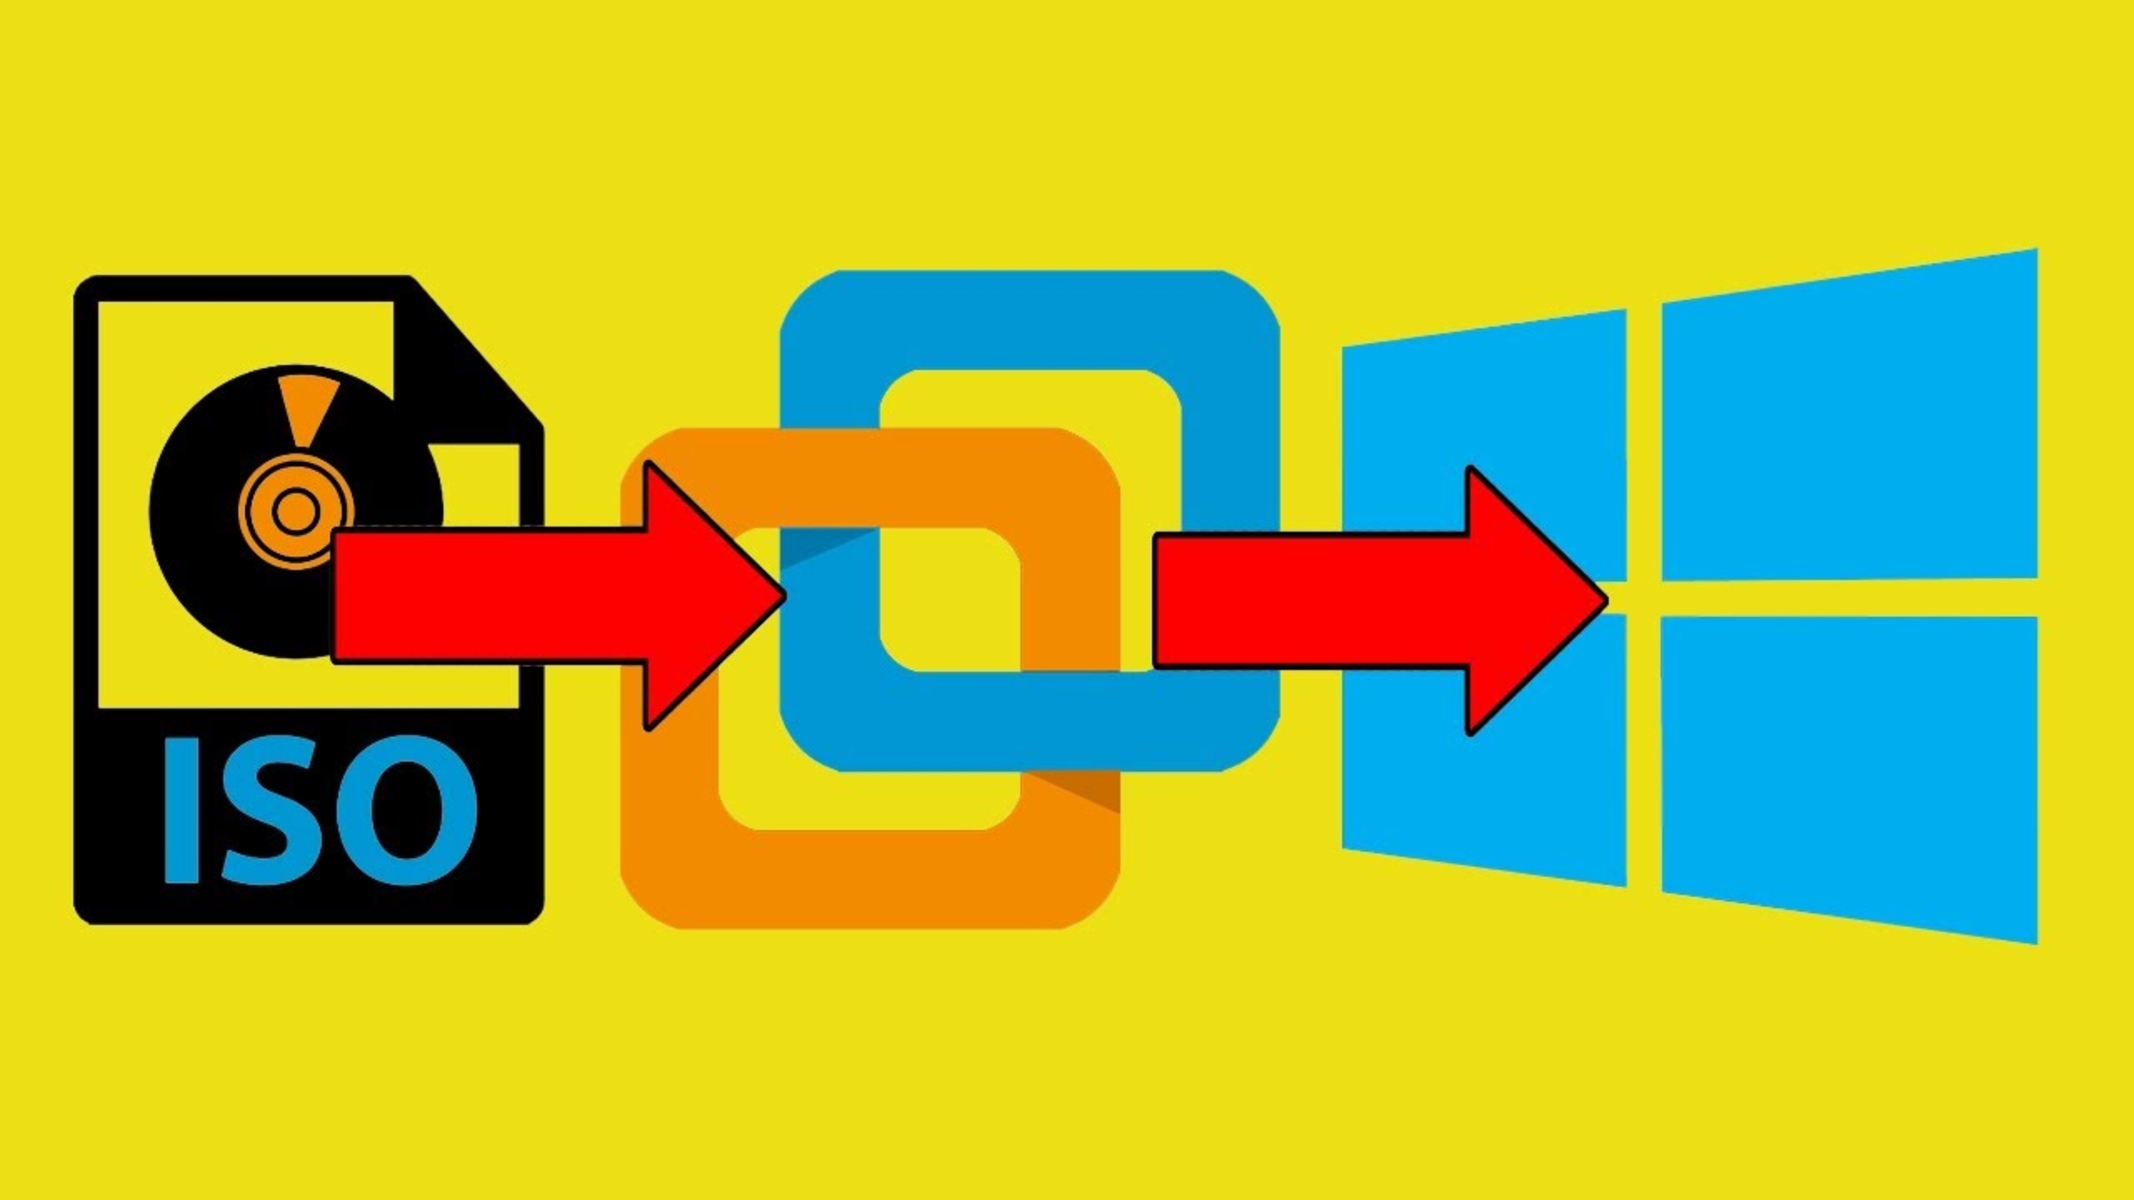
Welcome to this step-by-step guide on how to add a system image to VMware Workstation. VMware Workstation is a virtualization software that allows you to run multiple operating systems on a single physical computer. By adding a system image, you can easily create and configure virtual machines to simulate different operating environments.
Whether you are a developer, IT professional, or someone who wants to experiment with different operating systems, VMware Workstation provides a convenient and efficient way to do so. By following the steps outlined in this guide, you’ll be able to add a system image to VMware Workstation and start using it within a virtual machine.
Note: This guide assumes that you already have VMware Workstation installed on your computer. If you haven’t installed it yet, please refer to the official VMware website to download and install the latest version before proceeding with the steps mentioned below.
In this guide, we’ll cover the necessary prerequisites, as well as the step-by-step process of adding a system image to VMware Workstation. By the end of this guide, you’ll have a virtual machine up and running with your desired operating system, ready for your specific needs.
So, without further ado, let’s dive into the prerequisites you need to meet before adding a system image to VMware Workstation.
Prerequisites
Before you can add a system image to VMware Workstation, there are a few prerequisites that you need to fulfill. These requirements ensure a smooth and successful process. Make sure you have the following:
- VMware Workstation: Ensure that you have VMware Workstation installed on your computer. If you haven’t installed it yet, visit the official VMware website and download the latest version compatible with your operating system.
- System Image: Obtain a system image or installation media of the operating system you want to add to VMware Workstation. This could be in the form of an ISO file, DVD, or a folder containing the necessary installation files.
- Enough Disk Space: Check if your computer has sufficient disk space to accommodate the new virtual machine and the system image. Virtual machines can take up a significant amount of disk space, so make sure you have enough free space to avoid any storage issues.
- System Requirements: Review and meet the system requirements for the operating system you plan to add. Different operating systems have different hardware and software requirements. Ensure your computer meets these requirements to run the virtual machine smoothly.
By fulfilling these prerequisites, you will have all the necessary components and knowledge to proceed with adding a system image to VMware Workstation. Once you have ensured that you meet these requirements, let’s move on to the next section, where we will guide you through the steps involved in the process.
Step 1: Downloading the System Image
The first step in adding a system image to VMware Workstation is to obtain the image or installation media for the operating system you wish to use. Follow these instructions to download the system image:
- Identify the Operating System: Determine which operating system you want to use within the virtual machine. This could be Windows, Linux, macOS, or any other supported operating system.
- Access the Official Source: Visit the official website of the operating system or the software provider where you can legally download the system image. This is crucial to ensure you have a genuine and secure installation.
- Choose the Version and Edition: Select the specific version and edition of the operating system you want to use. Pay attention to system requirements and consider factors such as stability, features, and compatibility with your applications.
- Download the System Image: Click on the appropriate download link to start the system image download. The file may be in the form of an ISO file or a compressed archive. Ensure that you have a stable internet connection to complete the download successfully.
Once the system image is downloaded, continue to the next step to create a new virtual machine in VMware Workstation.
Step 2: Creating a New Virtual Machine in VMware Workstation
After downloading the system image, the next step is to create a new virtual machine in VMware Workstation. Follow these steps:
- Launch VMware Workstation: Open VMware Workstation on your computer.
- Create a New Virtual Machine: Click on the “Create a New Virtual Machine” option from the welcome screen or go to the “File” menu and select “New Virtual Machine.”
- Choose a Configuration Method: In the New Virtual Machine Wizard, you will be prompted to choose a configuration method. Select the appropriate option based on the source of your system image. If you have an ISO file, select “Installer disc image file (iso)” and browse to the location of the system image. If you have a physical DVD, choose the appropriate option to use the optical drive. Alternatively, if you have a pre-installed operating system, select “I will install the operating system later.”
- Select the Guest Operating System: Choose the guest operating system that matches the operating system of the system image you downloaded. If the exact version is not listed, select the closest match.
- Name the Virtual Machine: Provide a name for your virtual machine and choose a location where it will be stored on your computer.
- Specify Disk Capacity: Decide on the disk capacity for the virtual machine. You can either choose a specific size or use the recommended size based on the system image requirements. Ensure that you have enough free disk space available.
- Customize Hardware: Customize the virtual machine’s hardware settings according to your needs. This includes options such as memory allocation, networking configuration, display settings, and more.
Once you have completed these steps, you are ready to configure the settings for your new virtual machine. In the next step, we will guide you through the process of configuring the virtual machine settings to prepare it for the system image.
Step 3: Configuring Virtual Machine Settings
After creating a new virtual machine in VMware Workstation, the next step is to configure its settings to ensure optimal performance and compatibility. Follow these steps to configure the virtual machine settings:
- Power On the Virtual Machine: Power on the newly created virtual machine by clicking the “Power on this virtual machine” option or selecting it from the virtual machine library.
- Install the Operating System: If you have selected the option to install the operating system later, you need to complete the installation process now. Insert the installation media or browse to the system image file when prompted and follow the on-screen instructions to install the operating system.
- Install VMware Tools: Once the operating system is installed, it is highly recommended to install VMware Tools. VMware Tools enhance the performance and functionality of the virtual machine, providing better integration between the guest and host systems. In the VMware Workstation menu, go to “VM” and select “Install VMware Tools.”
- Configure Networking: Depending on your requirements, configure the networking settings of the virtual machine. You can choose from options such as bridged, NAT, or host-only networking, enabling network connectivity for the virtual machine.
- Allocate Memory and CPU: Adjust the memory and CPU resources allocated to the virtual machine. Consider the system requirements of the guest operating system and the capabilities of your host system to ensure optimal performance.
- Customize Display Settings: Customize the display settings of the virtual machine, including screen resolution, graphics memory allocation, and multiple monitor support. These settings can enhance the visual experience within the virtual machine.
- Configure Shared Folders: Set up shared folders between the host and guest operating systems. This allows you to easily transfer files and data between them.
Once you have completed these virtual machine settings, you are now ready to add the system image to the virtual machine. In the next step, we will guide you through the process of adding the system image to the virtual machine.
Step 4: Adding the System Image to the Virtual Machine
Once you have configured the virtual machine settings, the next step is to add the system image to the virtual machine. Follow these steps to complete this process:
- Power off the Virtual Machine: Ensure that the virtual machine is powered off before proceeding. If it is running, shut it down gracefully.
- Access Virtual Machine Settings: In VMware Workstation, select the virtual machine and go to the “VM” menu. Choose “Settings” to access the virtual machine settings.
- Choose Storage: In the virtual machine settings, select the “Hardware” tab and click on “Add” to add a new device to the virtual machine.
- Add CD/DVD Drive: From the list of device types, choose “CD/DVD Drive.” Click “Next” to continue.
- Specify the Source: In the “Use ISO image” section, select the appropriate option based on the location of your system image. If the system image is in an ISO file format, choose “Use ISO image” and browse to the file location. If the system image is on a physical DVD drive, select “Use physical drive” and choose the correct drive letter.
- Complete the Adding Process: Review your settings and click “Finish” to add the CD/DVD drive to the virtual machine. Make sure the system image is listed under the CD/DVD drive of the virtual machine in the settings.
With the system image added to the virtual machine, you are now ready to proceed to the final step and complete the setup of the virtual machine. In the next step, we will guide you through the process of completing the virtual machine setup.
Step 5: Completing the Virtual Machine Setup
After adding the system image to the virtual machine, the final step is to complete the setup and ensure everything is in order. Follow these steps to finalize the virtual machine setup:
- Power on the Virtual Machine: Start the virtual machine by clicking the “Power on this virtual machine” option or selecting it from the virtual machine library in VMware Workstation.
- Follow the System Image Installation: The virtual machine will boot from the system image you added. Follow the on-screen instructions to install the operating system using the system image. This process will vary depending on the specific operating system you have chosen.
- Configure the Operating System: Once the installation is complete, configure the operating system settings according to your requirements. This includes setting up user accounts, network connections, and any additional software or updates needed.
- Install Additional Software: Install any additional software or applications that you require within the virtual machine environment. This could include development tools, office suites, or any other software specific to your needs.
- Perform System Updates: Update the operating system and installed software to ensure you have the latest security patches and bug fixes. This helps maintain system stability and protection against potential vulnerabilities.
- Test the Virtual Machine: Confirm that the virtual machine is functioning as expected by running various applications and performing basic tasks. This allows you to ensure that everything is working smoothly within the virtual environment.
- Save and Reuse: Once you are satisfied with the virtual machine setup, you can save it as a snapshot or template to reuse it in the future. This eliminates the need to repeat the entire setup process if you want to create additional virtual machines based on the same system image.
Congratulations! By following these steps, you have successfully completed the setup of the virtual machine with the added system image. You can now enjoy the benefits of running different operating systems and experimenting with various software configurations within the virtual environment provided by VMware Workstation.
Conclusion
Adding a system image to VMware Workstation opens up a world of possibilities for running multiple operating systems on a single computer. By following the step-by-step guide provided in this article, you have learned how to download the system image, create a new virtual machine, configure its settings, add the system image, and complete the virtual machine setup.
With VMware Workstation, you can easily switch between different operating systems, test software in various environments, and develop applications with ease. The flexibility and convenience provided by virtual machines streamline the process of working with different operating systems, saving time and resources.
Remember to always download system images from official and trusted sources to ensure the integrity and security of your virtual machines. Additionally, make sure your computer meets the system requirements for running the virtual machines smoothly.
By understanding the process of adding a system image to VMware Workstation, you now have the knowledge and skills to explore different operating systems and test software in a safe, isolated environment.
So go ahead and unleash your creativity, expand your skills, and enjoy the benefits of virtualization with VMware Workstation. Have fun exploring the vast world of operating systems!