Introduction
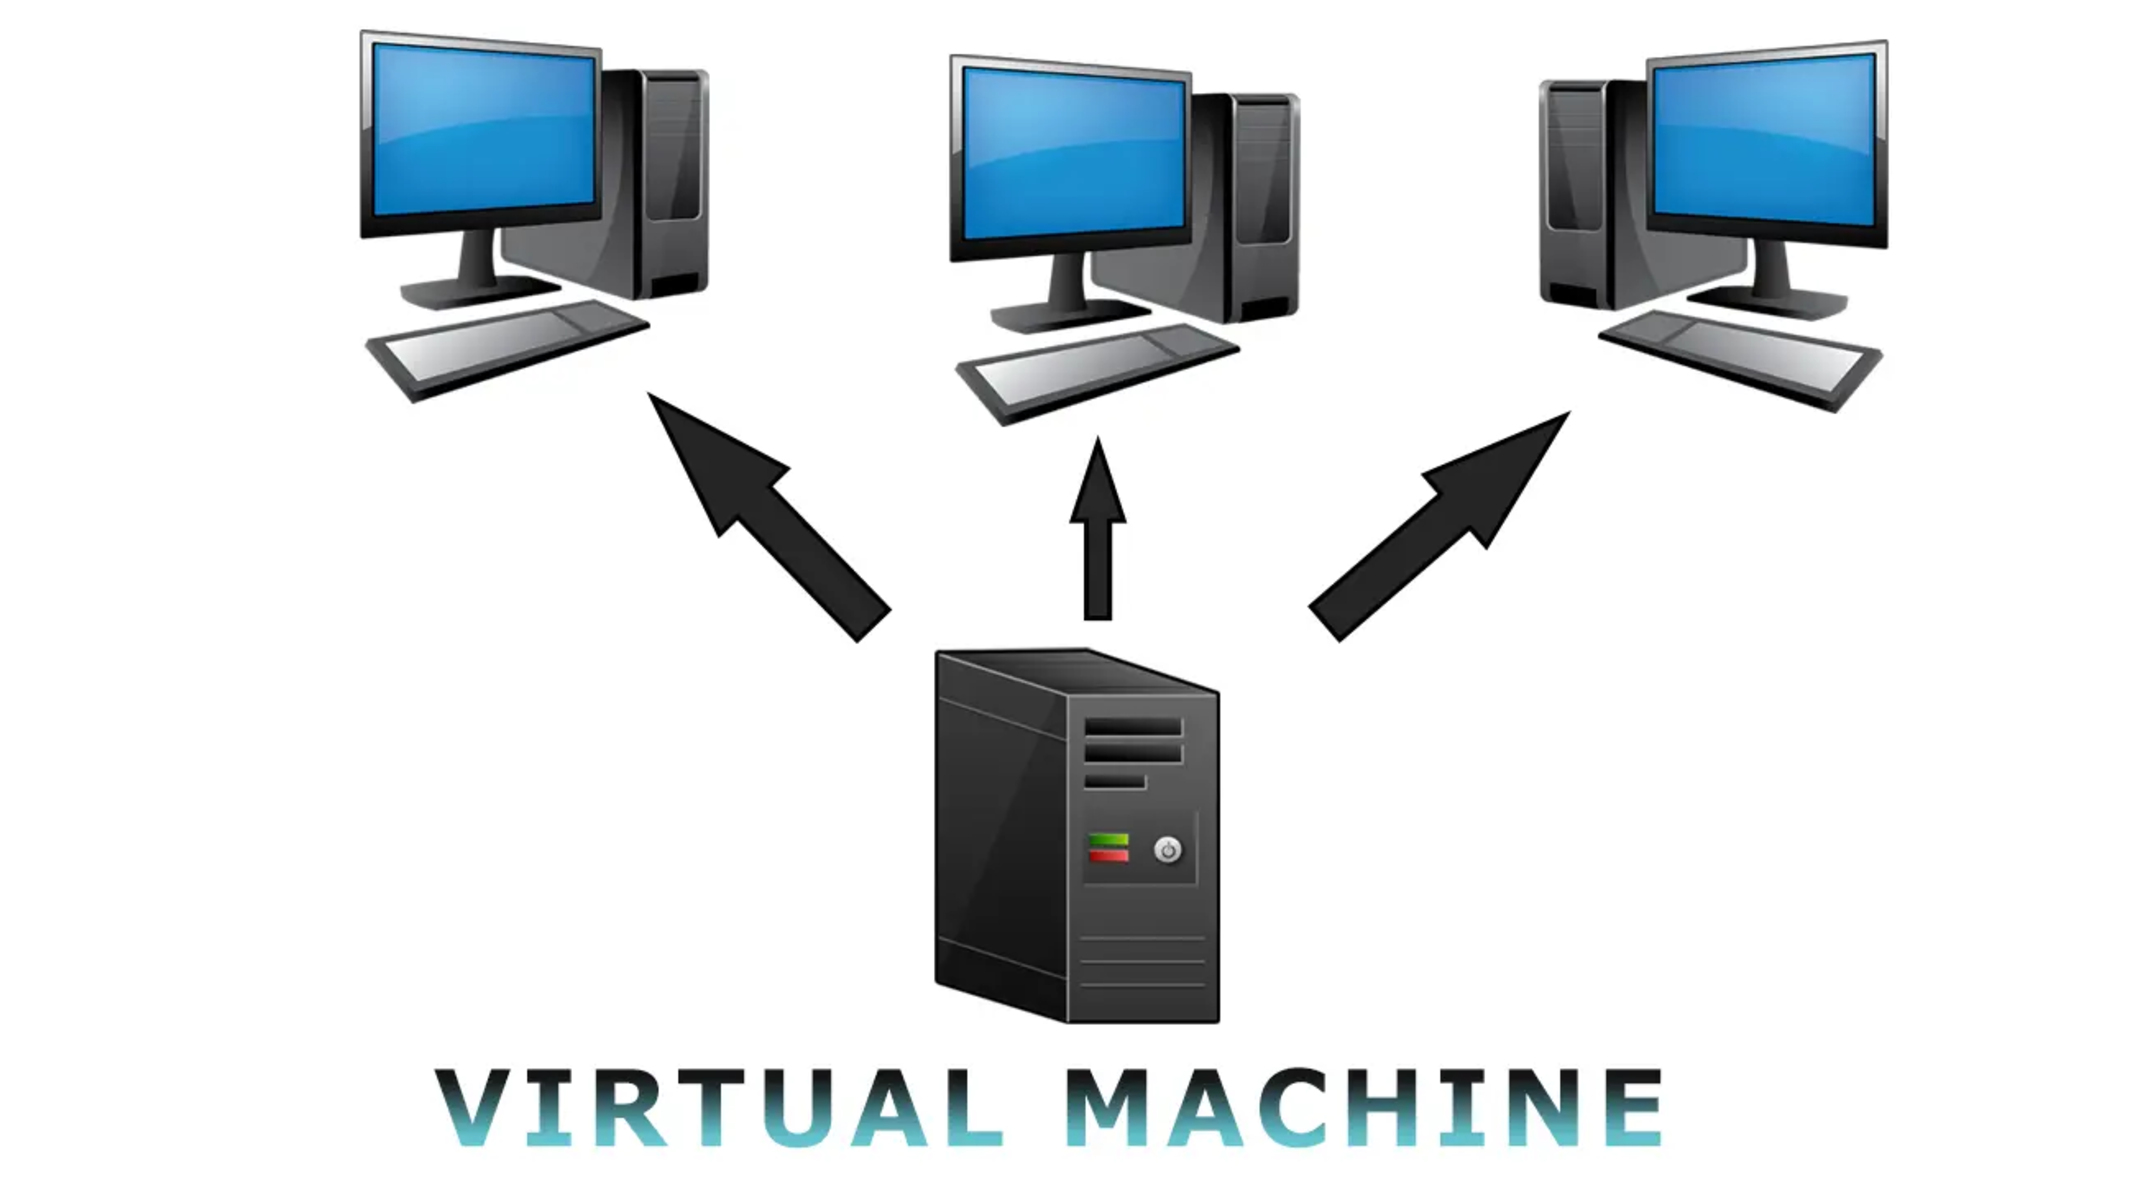
Welcome to the world of virtual machines! VMware Workstation Player is an efficient and powerful tool that allows you to run multiple operating systems on a single physical machine. It offers a range of features to help you manage and organize your virtual environment with ease.
One of the key advantages of VMware Workstation Player is its ability to clone virtual machines. Cloning a virtual machine creates an identical copy of the original, which can be useful for a variety of purposes, such as testing new software configurations, creating backups, or setting up multiple instances of the same operating system.
In this article, we will walk you through the step-by-step process of cloning a virtual machine on VMware Workstation Player 12. Whether you are a novice looking to explore the world of virtualization or an experienced user seeking to streamline your workflow, this guide will provide you with all the information you need to successfully clone your virtual machines.
Before we dive into the process, it is important to note that this tutorial assumes you have already installed VMware Workstation Player on your machine and have a virtual machine ready for cloning. If you haven’t done so yet, make sure to download and install the latest version of VMware Workstation Player from the official VMware website.
Now, let’s get started with the cloning process and unlock the full potential of virtualization!
Prerequisites
Before you begin the process of cloning a virtual machine on VMware Workstation Player, there are a few prerequisites that need to be in place. Ensure that you have the following requirements fulfilled:
- Installed VMware Workstation Player: Make sure you have VMware Workstation Player installed on your computer. If you haven’t installed it yet, you can download the latest version from the official VMware website.
- Running Virtual Machine: You should have a virtual machine up and running that you want to clone. This virtual machine can be in a powered-on or powered-off state.
- Sufficient Disk Space: Make sure you have enough free disk space on your computer to accommodate the clone. The amount of space needed will depend on the size of your virtual machine and the type of clones you want to create.
- Administrative Access: To perform the cloning process, you will need administrative access on your computer. Ensure that you have the necessary privileges before proceeding.
By having these prerequisites in place, you will be ready to clone your virtual machine and leverage the benefits of virtualization. With VMware Workstation Player, you can easily create multiple copies of your virtual machines to suit your specific needs, whether it’s for testing, development, or any other purpose.
Now that you have the necessary prerequisites, let’s move on to the step-by-step process of cloning a virtual machine on VMware Workstation Player.
Step 1: Open VMware Workstation Player
The first step to cloning a virtual machine on VMware Workstation Player is to open the application. Follow these simple instructions:
- Locate the VMware Workstation Player icon on your desktop or in your applications folder.
- Double-click on the icon to launch the VMware Workstation Player application.
- Once the application is open, you will be greeted with the main interface of VMware Workstation Player.
By opening VMware Workstation Player, you are now ready to proceed with the cloning process. The application provides a user-friendly interface that makes it easy to manage your virtual machines and perform various tasks, including cloning and customization.
It’s worth noting that VMware Workstation Player offers a range of additional features that can enhance your virtual machine experience. These include snapshot capabilities, virtual network configuration, and the ability to connect to remote servers. However, for the purpose of this tutorial, we will focus specifically on the cloning process.
Now that you have VMware Workstation Player open and ready, let’s move on to the next step: selecting the virtual machine you want to clone.
Step 2: Select the Virtual Machine to Clone
Once you have VMware Workstation Player open, it’s time to select the virtual machine that you want to clone. Follow these steps:
- In the VMware Workstation Player interface, navigate to the library tab, usually located on the left-hand side of the window.
- Within the library tab, you will see a list of all the virtual machines that are currently available.
- Locate the virtual machine that you want to clone from the list.
- Once you have found the virtual machine, click on it to select it.
By selecting the virtual machine, you are indicating that this is the one you want to create a clone of. VMware Workstation Player allows you to clone both powered-on and powered-off virtual machines, giving you the flexibility to select the state that best suits your needs.
It’s important to note that if your virtual machine is currently powered on, you will have the option to either clone it while it’s powered on or power it off and then clone it. The choice depends on various factors, such as the specific requirements of your virtual machine and the purpose of the clone.
Now that you have selected the virtual machine you want to clone, let’s move on to the next step: choosing the clone type.
Step 3: Choose the Clone Type
After selecting the virtual machine you want to clone in VMware Workstation Player, the next step is to choose the type of clone you want to create. VMware Workstation Player offers two options for cloning:
- Full Clone: A full clone creates an exact replica of the original virtual machine, including all disks and virtual machine settings. It is an independent copy that does not share any resources or disks with the original virtual machine.
- Linked Clone: A linked clone creates a new virtual machine that shares virtual disks with the original virtual machine. Linked clones are based on a snapshot taken at the time of cloning, and any changes made to the original virtual machine after cloning are not reflected in the linked clone.
Choosing the clone type depends on your specific needs and requirements. A full clone is useful when you want a completely independent copy of the virtual machine, while a linked clone is beneficial if you want to conserve disk space by sharing virtual disks.
To choose the clone type in VMware Workstation Player, follow these simple steps:
- In the VMware Workstation Player interface, with your selected virtual machine highlighted, click on the “Manage” tab.
- Within the “Manage” tab, click on “Clone” to open the cloning wizard.
- In the cloning wizard, you will be presented with the option to choose the clone type. Select either “Full Clone” or “Linked Clone” based on your preference.
Once you have chosen the clone type, you can proceed to the next step: customizing the cloned virtual machine.
Step 4: Customize the Cloned Virtual Machine
After choosing the clone type in VMware Workstation Player, the next step is to customize the settings of the cloned virtual machine. This allows you to make any necessary modifications or adjustments to the cloned virtual machine to meet your specific requirements. Follow these steps to customize the cloned virtual machine:
- In the cloning wizard, you will be presented with a summary of the clone settings. Review the settings to ensure they are accurate.
- If you want to customize the settings before cloning, click on the “Customize Hardware” button.
- In the custom hardware settings window, you can make various modifications to the cloned virtual machine, such as adjusting the number of processors, allocating more memory, or changing the network adapter type.
- Once you have made the desired changes, click “Save” to apply the custom hardware settings.
- Review the clone summary once again to ensure all settings are correct.
Customizing the cloned virtual machine allows you to tailor it to your specific needs and requirements. You can allocate more resources if you need better performance, adjust network settings for connectivity, or make any other necessary changes to optimize the cloned virtual machine’s functionality.
It is important to note that customizing the hardware settings is optional. If you are satisfied with the default settings, you can proceed with the cloning process without making any modifications.
Now that you have customized the cloned virtual machine, let’s move on to the next step: specifying the clone location.
Step 5: Specify the Clone Location
After customizing the settings of the cloned virtual machine in VMware Workstation Player, the next step is to specify the location where you want to save the clone. By choosing the clone location, you can determine the directory or folder where the cloned virtual machine will be stored. Follow these steps to specify the clone location:
- In the cloning wizard, you will find the “Clone Name” field. Enter a unique name for the cloned virtual machine.
- Below the “Clone Name” field, you will find the “Location” field. Click on the “Browse” button next to it.
- Navigate to the directory or folder where you want to save the cloned virtual machine.
- Once you have selected the desired location, click “OK” to confirm the clone location.
Choosing an appropriate clone location is essential for efficient management and organization of your virtual machines. You can save the cloned virtual machine in a specific folder, on a different drive, or even on an external storage device, depending on your preferences and available resources.
Ensure that you have enough disk space in the selected location to accommodate the cloned virtual machine, as it will require storage space equivalent to the original virtual machine.
Now that you have specified the clone location, let’s move on to the next step: reviewing the summary and initiating the clone process.
Step 6: Review the Summary and Clone the Virtual Machine
After specifying the clone location in VMware Workstation Player, it is important to review the summary of your clone settings before initiating the cloning process. This allows you to double-check all the configurations and ensure that everything is set up correctly. Follow these steps to review the summary and clone the virtual machine:
- In the cloning wizard, you will see a summary of the clone settings, including the clone name, clone type, and clone location.
- Carefully review the summary to verify that all the settings are as desired.
- If you need to make any changes, you can go back to the previous steps to modify the settings accordingly.
- Once you are satisfied with the summary and settings, click the “Finish” button to initiate the cloning process.
When you click “Finish,” VMware Workstation Player will begin creating the clone of the virtual machine based on the specified settings. The time required for the cloning process will depend on the size of the virtual machine and the performance of your computer.
It is important to note that while the cloning process is running, it is advisable to avoid making any changes to the original virtual machine to ensure a successful and accurate clone.
Once the clone is created, you will have an identical copy of the original virtual machine available in the specified clone location. You can use this cloned virtual machine for various purposes, such as testing new software, creating backups, or running multiple instances of the same operating system.
Now that you have reviewed the summary and initiated the cloning process, let’s move on to the final step: powering on the cloned virtual machine.
Step 7: Power On the Cloned Virtual Machine
After successfully cloning the virtual machine in VMware Workstation Player, the final step is to power on the cloned virtual machine. Powering on the cloned virtual machine allows you to start using it and access the operating system and applications within. Follow these steps to power on the cloned virtual machine:
- In VMware Workstation Player, navigate to the library tab to view the list of virtual machines.
- Locate the cloned virtual machine that you just created in the clone location.
- Once you have located the cloned virtual machine, right-click on it and select “Power On” from the context menu.
After selecting “Power On,” VMware Workstation Player will start the cloned virtual machine, and you will be able to interact with it like any other virtual machine. You can log in, perform tasks, and use the applications installed on the cloned virtual machine, just like you would with the original virtual machine.
It’s important to note that the cloned virtual machine is now completely independent from the original. Any changes made to the cloned virtual machine will not affect the original virtual machine, ensuring data isolation and flexibility in your virtual environment.
With the cloned virtual machine powered on, you can now utilize it for various purposes, such as software testing, development, or running different applications in isolation. Additionally, you can further customize the cloned virtual machine’s settings, install new software, or make any necessary adjustments as per your requirements.
Congratulations! You have successfully completed the process of cloning a virtual machine on VMware Workstation Player. By following these steps, you can easily create multiple copies of your virtual machines and maximize the benefits of virtualization.
Now that you have the cloned virtual machine up and running, you can explore its capabilities and leverage its functionalities to streamline your workflow and enhance your virtual environment.
Conclusion
Cloning a virtual machine on VMware Workstation Player is a powerful and versatile feature that allows you to create identical copies of your virtual machines. This process is instrumental in various scenarios, such as software testing, creating backups, or setting up multiple instances of the same operating system.
In this article, we have walked through the step-by-step process of cloning a virtual machine on VMware Workstation Player. We started by opening the application and selecting the virtual machine to clone. Then, we chose the appropriate clone type and customized the settings of the cloned virtual machine. Next, we specified the clone location and reviewed the summary to ensure accuracy. Finally, we powered on the cloned virtual machine, allowing us to utilize it for various purposes.
By following these steps, you can easily replicate your virtual machines and leverage the benefits of virtualization. VMware Workstation Player provides a user-friendly interface and a range of features to simplify the cloning process and enhance your virtual environment.
Remember, when cloning a virtual machine, it is crucial to have the necessary prerequisites in place, such as VMware Workstation Player installed, a running virtual machine, sufficient disk space, and administrative access. These prerequisites ensure a smooth and successful cloning process.
Whether you are a beginner exploring the world of virtualization or an experienced user managing complex virtual environments, the ability to clone virtual machines on VMware Workstation Player can greatly enhance your productivity and provide flexibility in your workflow.
So, go ahead and start cloning your virtual machines with VMware Workstation Player to unlock the full potential of virtualization and streamline your tasks. Enjoy the benefits of multiple instances, easy backups, and efficient software testing with ease!


